Author Topic: Wingnut Wings Junkers J.1 Progress Build  (Read 6828 times)

Online RAGIII

  • Hero Member
  • *****
  • Posts: 19072
Re: Wingnut Wings Junkers J.1 Progress Build
« Reply #15 on: November 10, 2013, 09:23:55 PM »
Terrific work with the Pastels and dry brushing! Your wing fix is perfect!!
RAGIII
"A man has to know his limitations": Harry Callahan

"Don't slop it on" Lynda Geisler

Offline mgunns

  • Hero Member
  • *****
  • Posts: 2255
Re: Wingnut Wings Junkers J.1 Progress Build
« Reply #16 on: November 13, 2013, 02:18:33 AM »
Hello Phillip:

Your build log is very well done and I like the work you are doing.  The repair to the wing is outstanding and once painted disappears.  I like your approach to the areas that are hardly visible as well.  Your interior detailing is nicely done with maximum results.  I have this kit as well and I always enjoy seeing the build logs.  One of these I will pull mine out, until then I will follow yours.  Keep up the outstanding work and sharing your progress.

Best

Mark
Mark

We few, we happy few.....

Offline Phillip1

  • Newbie
  • *
  • Posts: 40
Re: Wingnut Wings Junkers J.1 Progress Build
« Reply #17 on: November 17, 2013, 10:14:57 AM »
mgunns, RAG111, stefanbuss, Des, Andi Little, Ernie Parsons, coyotemagic-thanks for the continued support.

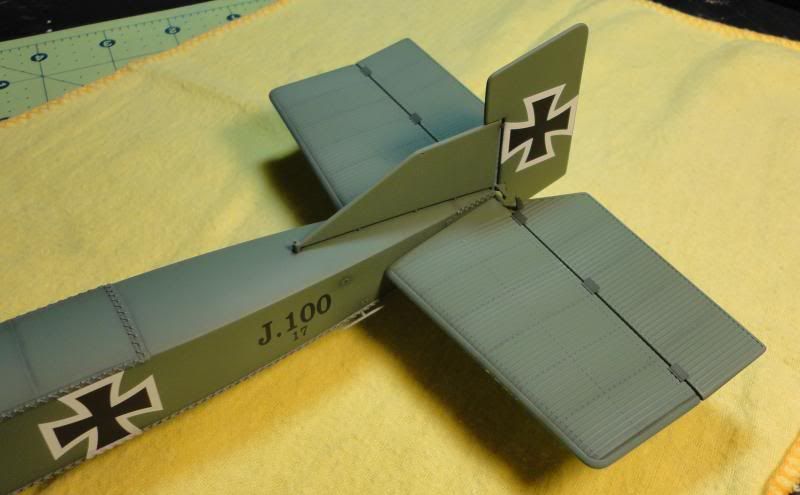
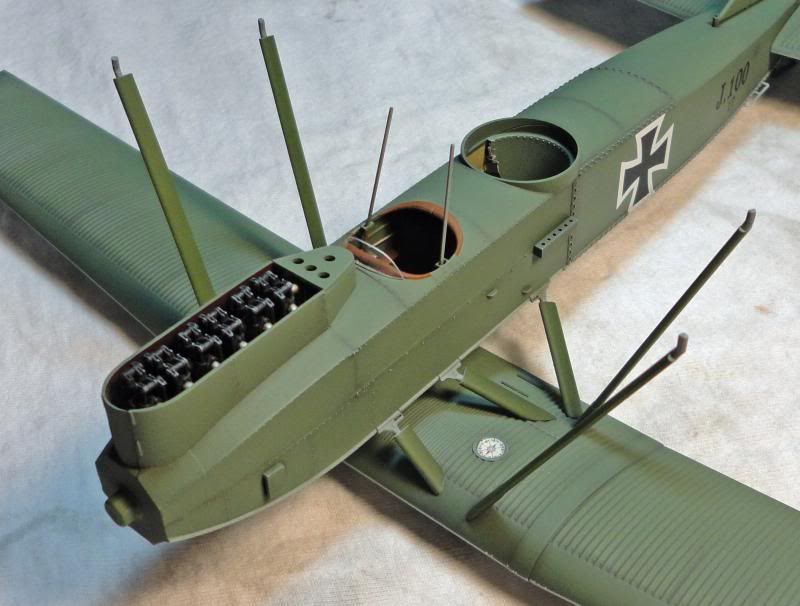
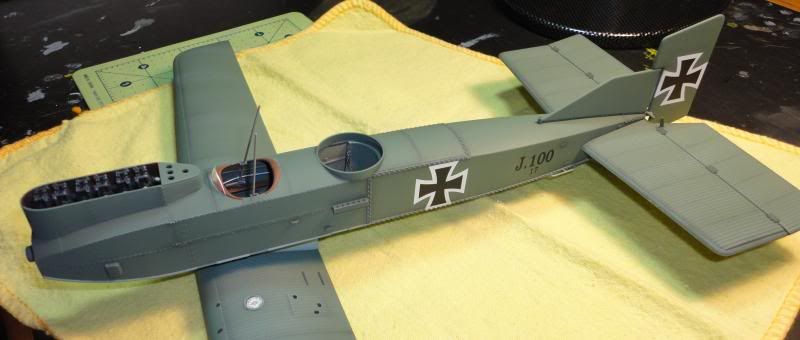
1st Image: Work moves to decaling and putting together the subassemblies.  In this photo the protective tape around the cockpit and engine has been removed.  Also, the fuselage decals have been added.  A thick coat of Future polish was sprayed where the decals went before they were applied.  After the decals cured, a 50/50 mixture of Testors Dullcote and thinner was airbrushed over the areas.

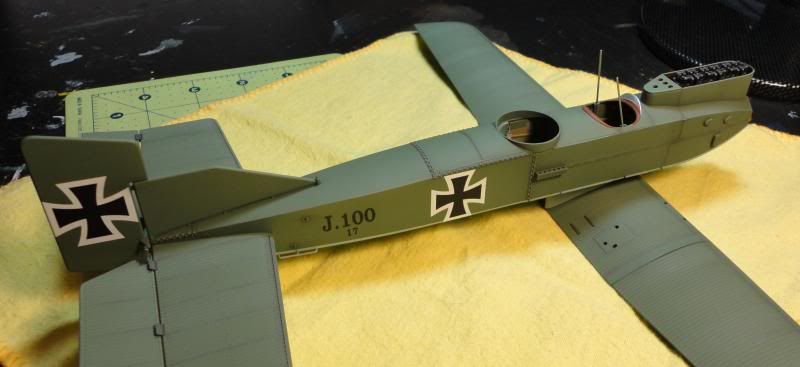
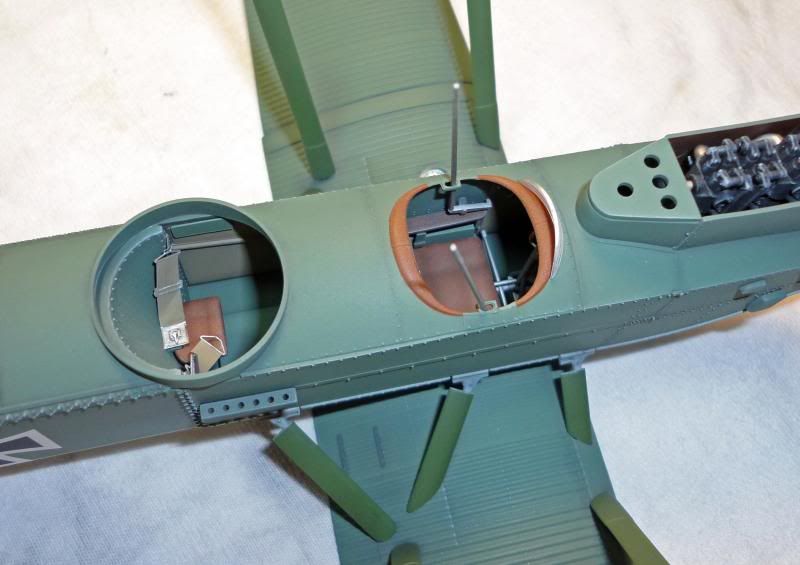
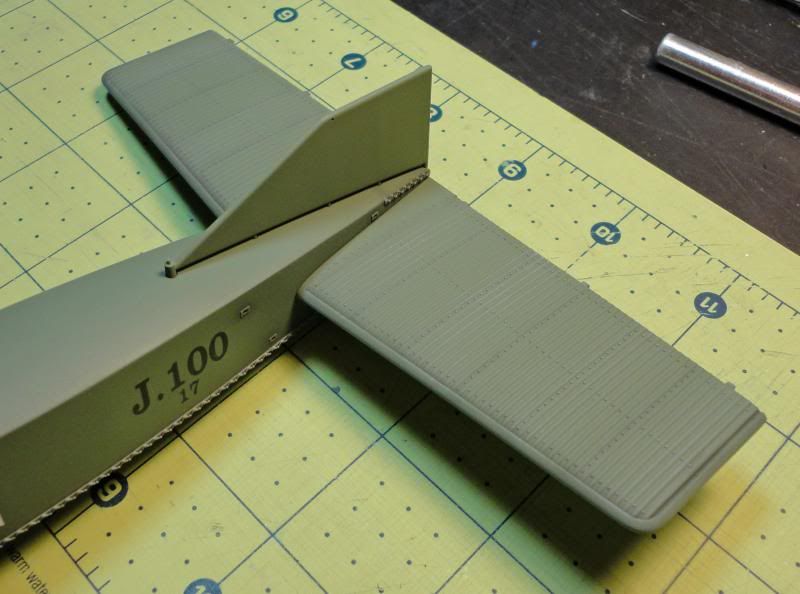
2nd Image: The stabilizer and tailfin have been added.

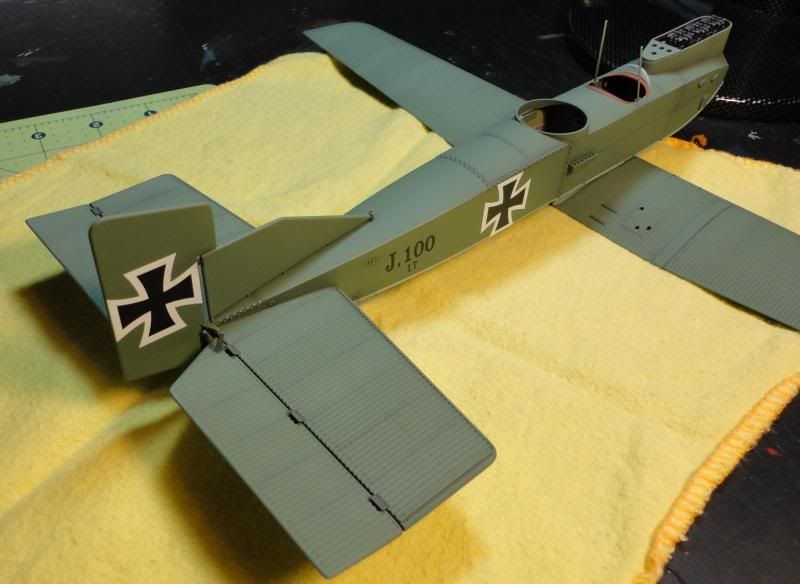
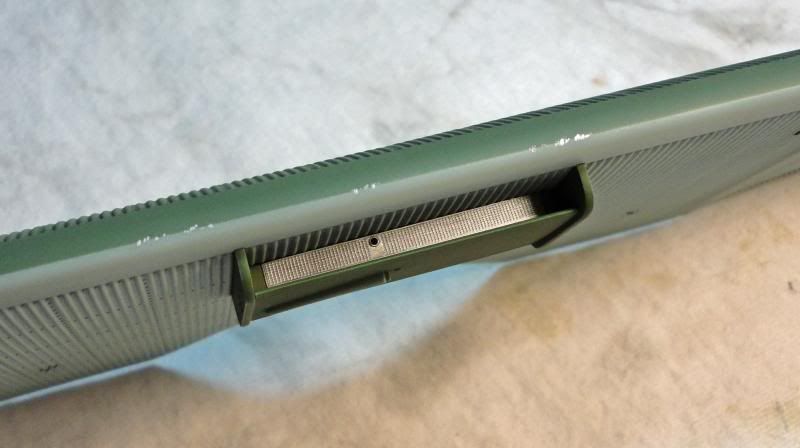
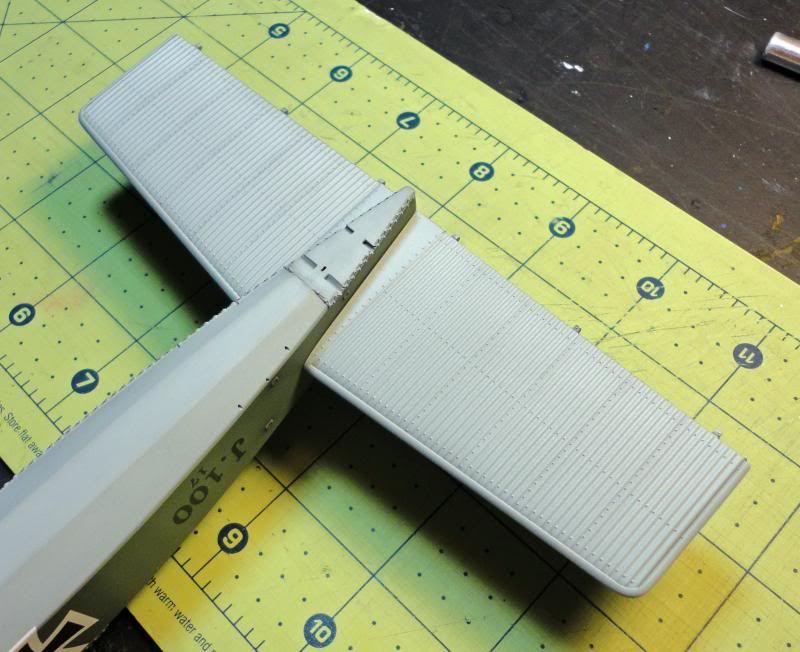
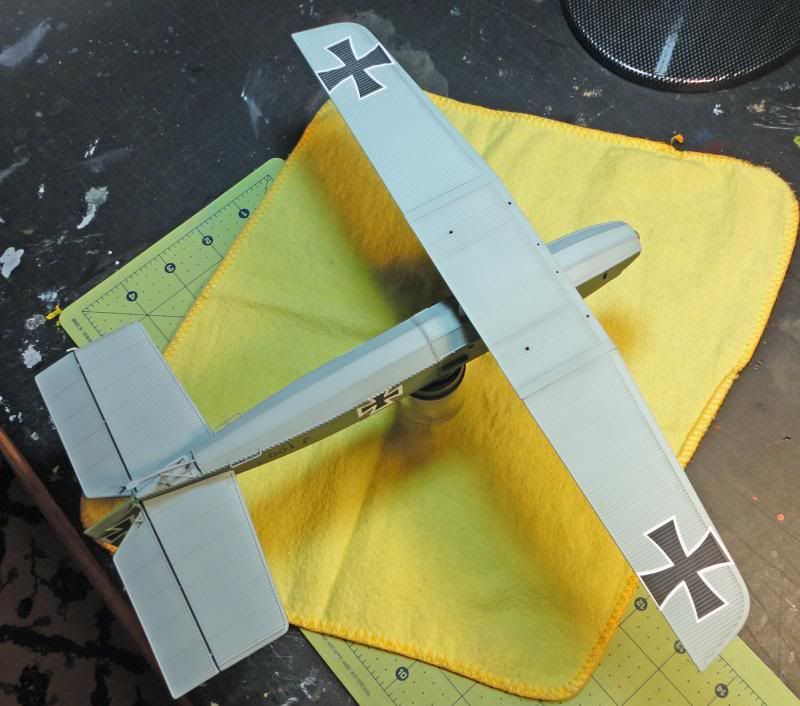
3rd Image: The underside of the stabilizer area is shown   

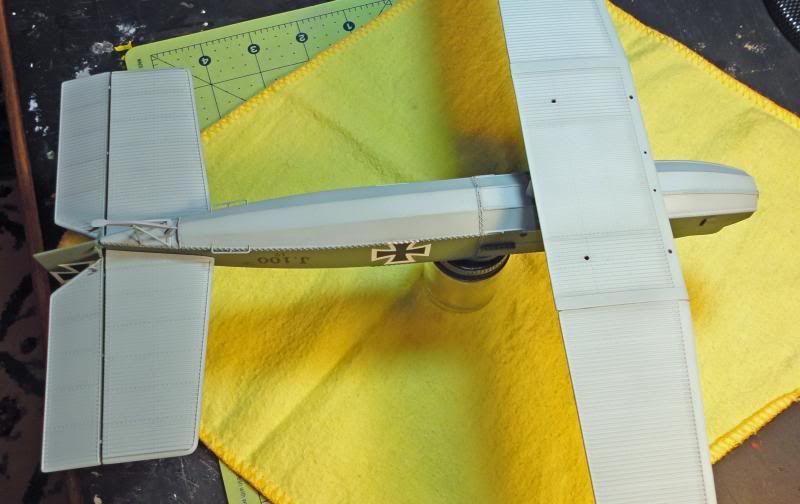
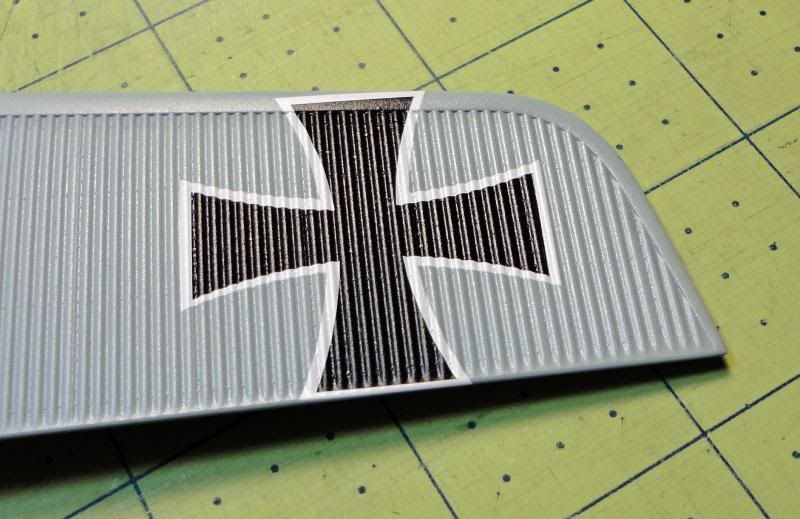
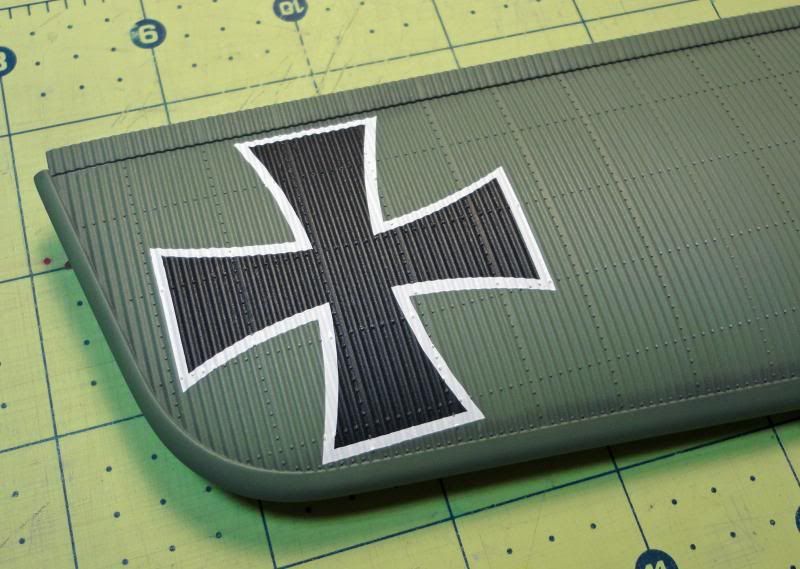
4th Image: When it came to decaling the wings I would like to say all I had to do was: a) put the decals in place, b) brush on some Micro-Sol and c) leave it overnight to achieve a painted on look.  But that’s not the case.  I knew from previously decaling surfaces like this that even with good decals a lot more work is required.  After brushing on Micro-Sol, I applied pressure to force the decals into the corrugated valleys.  This caused some splitting and tearing, which was expected.  The next step was taking a straight pin and puncturing dozens of holes in the decal wherever it was not laying flush against the model.  Another coat of Micro-Sol was added.  After the decal had completely laid down, I added black and white touch up paint to areas where they were split.  Lastly, another heavy coat of Future was sprayed to the entire decal to give it a uniform finish.  It was a lot of work, but I am very happy with the results.  This photo shows how well the decal is laying down on the lower wing.  Final Dullcote has not been applied.

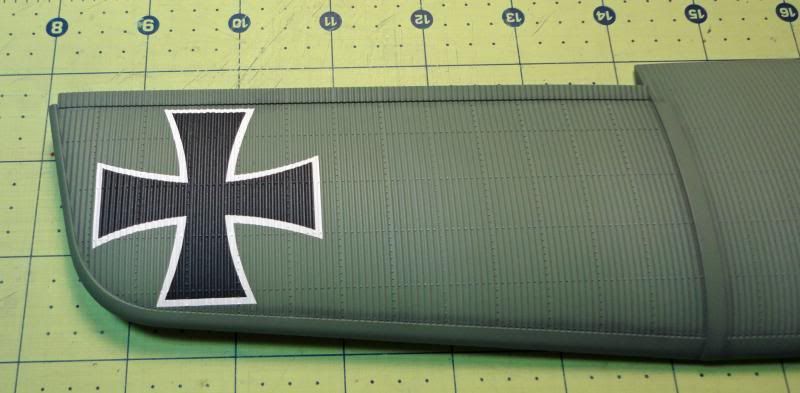
5th and 6th Image: These photos show a completely finished upper wing decal after the Dullcote was applied.

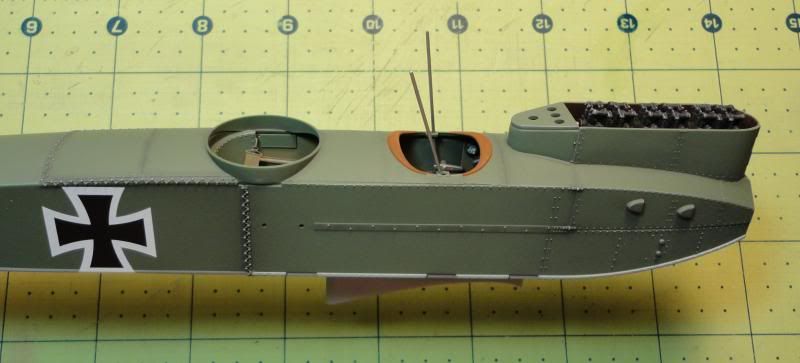
7th through 10th image: Photos of the fuselage after the lower wing has been attached.


11th through 12th Image: Photos of the underside fuselage and lower wing.


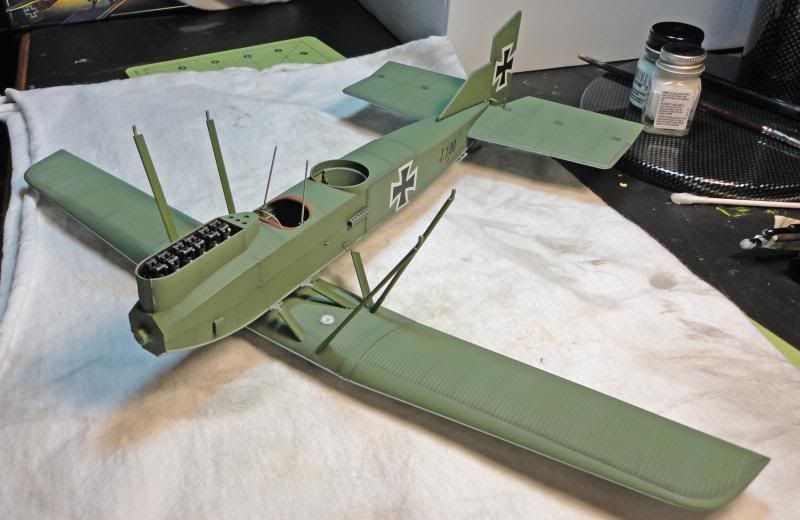
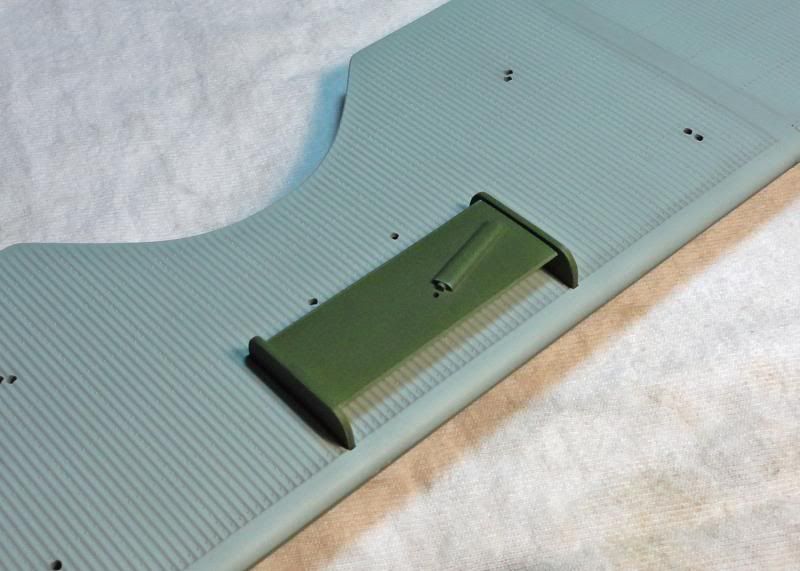
13th through 15th Image: Some of the fuselage and wing struts have been glued in place.  The struts, landing gear and radiator were painted dark green.  I used Model Master Field Green.


16th and 17th Image: The radiator is shown attached to the upper wing.  The second photo gives a good view of the sharp demarcation color line, and how Model Master Aluminum paint was applied at random to represent chipping. 


Until next time…

Offline Des

  • Administrator
  • Hero Member
  • ******
  • Posts: 9325
    • ww1aircraftmodels.com
Re: Wingnut Wings Junkers J.1 Progress Build
« Reply #18 on: November 17, 2013, 10:31:53 AM »
For a big ugly brute of an aeroplane you are doing a great job Phillip, you have done a marvelous job with the painting and the decal application is superb, looking forward to seeing more updates.

Des.
Late Founder of ww1aircraftmodels.com and forum.ww1aircraftmodels.com

Online RAGIII

  • Hero Member
  • *****
  • Posts: 19072
Re: Wingnut Wings Junkers J.1 Progress Build
« Reply #19 on: November 17, 2013, 10:44:42 AM »
For a big ugly brute of an aeroplane you are doing a great job Phillip, you have done a marvelous job with the painting and the decal application is superb, looking forward to seeing more updates.

Des.

Sometimes another Modeler just Nails the description of the in progress pictures and the build. I think Des has done just that so I will merely second all he said!
RAGIII
"A man has to know his limitations": Harry Callahan

"Don't slop it on" Lynda Geisler

Offline Ernie

  • Hero Member
  • *****
  • Posts: 3961
  • "Once more into the breach"
Re: Wingnut Wings Junkers J.1 Progress Build
« Reply #20 on: November 17, 2013, 11:24:52 AM »
Great progress, Phillip.  Your decal application over the corrugation is perfect.
Well done!

Cheers,
Ernie :)
The new old guy, take two...

Online lcarroll

  • Administrator
  • Hero Member
  • ******
  • Posts: 8581
Re: Wingnut Wings Junkers J.1 Progress Build
« Reply #21 on: November 17, 2013, 12:28:53 PM »
Lovely work Phillip. I particularly like the subtle high lighting of the details, adds realism in a big way. You have a magnificent Model coming on here!
Cheers,
Lance

Offline mgunns

  • Hero Member
  • *****
  • Posts: 2255
Re: Wingnut Wings Junkers J.1 Progress Build
« Reply #22 on: November 17, 2013, 12:34:41 PM »
Hello Phillip:

I will echo the sentiments of the others here, lovely work and the different highlights really add to the overall effect and breaks up the solid green of the paint scheme.  Your decal work, albeit time consuming has paid off with a nice decal that looks like paint.
Looking forward to seeing you progress through the next steps.  I really like your photo's and now you annotate them.

Best

Mark
Mark

We few, we happy few.....

Offline Andi Little

  • Full Member
  • ***
  • Posts: 182
Re: Wingnut Wings Junkers J.1 Progress Build
« Reply #23 on: November 17, 2013, 07:39:12 PM »
Phillip ............
Your build continues to impress. ........... I'm very impressed with the cleanliness of your finishes, it just seems so visually accessible when done this way - my build tends toward "sticky and manky". So this is a boon of a build thread to follow: which brings me to:- You're spraying "future"?? I've had this conversation before with Guy, but how are you spraying a "heavy" coat of future without it "pooling"? Danged if I can do it. Also what are you using to thin the Testers Dulcote with? - I've pretty much given up on the Alclad matt coat as it just gets sticky and horrible with the smallest amount of handling, or so it would appear - although I could of course be doing it wrong? - It's been known before you know!!!

Great job - keep posting those full to the brim pictorials - they're most welcome for twonks like me.
KBO ............. Andi.

Offline IFF1418

  • Hero Member
  • *****
  • Posts: 1541
Re: Wingnut Wings Junkers J.1 Progress Build
« Reply #24 on: November 17, 2013, 08:32:40 PM »
This is a great build Philippe. As for so many interiors, it is a pity that all this beautiful work is hardly to be seen. Looking forward for your next updates.

Kind regards
Patrick

Offline pepperman42

  • Hero Member
  • *****
  • Posts: 4475
  • Sergeant, my brown pants.......
Re: Wingnut Wings Junkers J.1 Progress Build
« Reply #25 on: November 17, 2013, 11:59:59 PM »
Just catching up on this amazing build. I didnt know there was spare material for the wing fix-thanks for the heads up. Your paint and decal work is perfect!!

Steve

Offline stefanbuss

  • Hero Member
  • *****
  • Posts: 976
Re: Wingnut Wings Junkers J.1 Progress Build
« Reply #26 on: November 18, 2013, 02:37:13 AM »
I particularly like the way the decals went onto the corrugated wings. This looks very convincing.

Stefan

Offline Nigel Jackson

  • Hero Member
  • *****
  • Posts: 2608
Re: Wingnut Wings Junkers J.1 Progress Build
« Reply #27 on: November 18, 2013, 03:14:58 AM »
Another lovely piece of work under way, Phillipe. Congratulations so far. I look forward to seeing the final thing.

Best wishes
Nigel

Offline coyotemagic

  • Hero Member
  • *****
  • Posts: 7710
  • "Here's to not buggering it up." -Winston Chuchill
    • My Models
Re: Wingnut Wings Junkers J.1 Progress Build
« Reply #28 on: November 18, 2013, 03:17:06 AM »
Very nice, clean work, Phillip!  The decals have settled into the corrugations beautifully.
Cheers,
Bud
"All men dream: but not equally. Those who dream in the dark recesses of the night awake in the day to find all was vanity. But the dreamers of day are dangerous men, for they may act their dreams with open eyes, and make it possible." -T. E. Lawrence

Offline Phillip1

  • Newbie
  • *
  • Posts: 40
Re: Wingnut Wings Junkers J.1 Progress Build
« Reply #29 on: November 18, 2013, 04:58:48 AM »
Andi,

Thanks for the compliments.  I am glad you are enjoying the build.  Since you asked, I have listed some of the modeling building techniques I use.  Remember, there is no one right way to do any of this.
>Paint Application: I thin the paint to the consistency of "fat free milk", and spray in multiple, thin coats.  After EVERY coat I gently go over the area with either a thick, sable brush or very soft cloth.  I do this to remove any trapped dust or grainy paint build up.  Doing this really improves the finish.  My airbrush pressure is set between 20-25 psi.
>Airbrushing Future Polish: This is thicker and has a different consistency than thinned paints, so I spray it at 40 psi.  I spray it the same way, in thin multiple coats. Applying in this way eliminates the possibility of "pooling".  No buffing is done.  Many modelers airbrush Future before adding decals to create a glossy surface to adhere to.  I always let the Future cure at least one day before adding any decals.
>Airbrushing Dullcote: Testors Dullcote is thick of the bottle and has to be thinned down.  I use Testors "Universal Enamel Thinner" and use an equal mix of dullcote and thinner (50/50).  The airbrush pressure and buffing procedure used is the same described above.

I use the methods above because (after tweaking them for many years) they work for me.  I am always amazed how the many excellent modelers on this website employee so many different painting/weathering/decaling techniques and achieve museum quality results.

I hope this helps.

Phillip