mgunns, RAG111, stefanbuss, Des, Andi Little, Ernie Parsons, coyotemagic-thanks for the continued support.
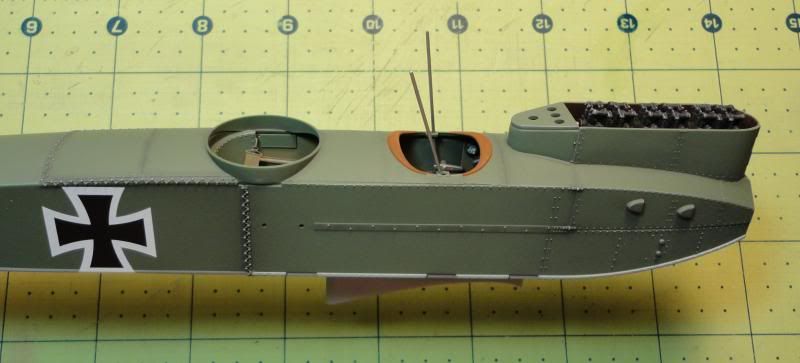
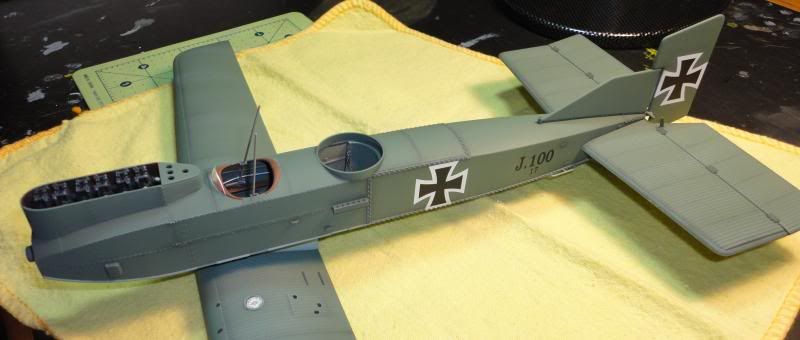
1st Image: Work moves to decaling and putting together the subassemblies. In this photo the protective tape around the cockpit and engine has been removed. Also, the fuselage decals have been added. A thick coat of Future polish was sprayed where the decals went before they were applied. After the decals cured, a 50/50 mixture of Testors Dullcote and thinner was airbrushed over the areas.
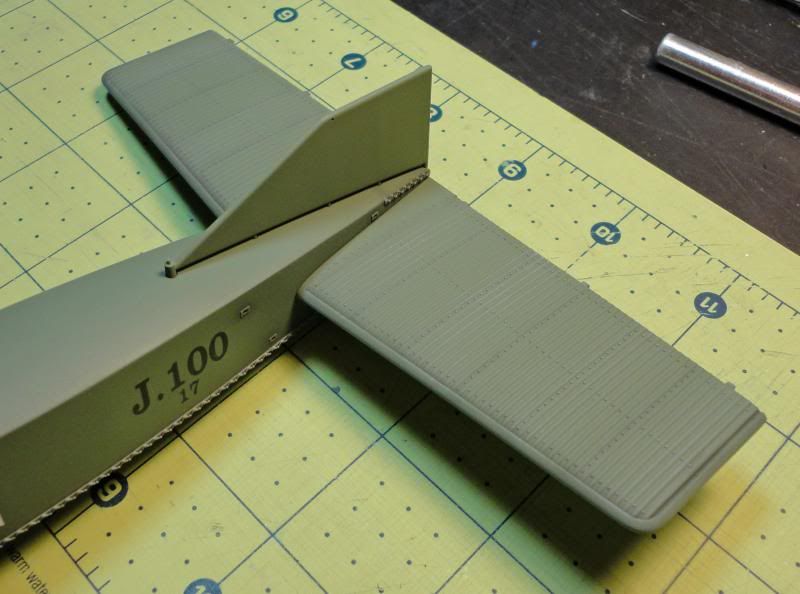
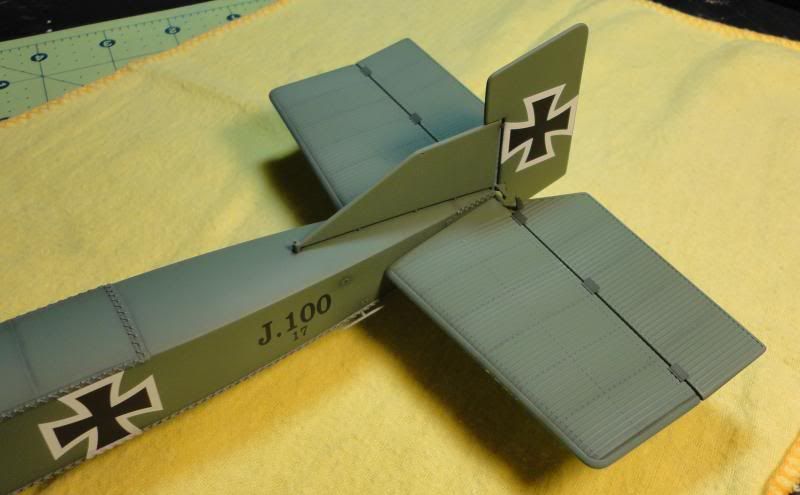
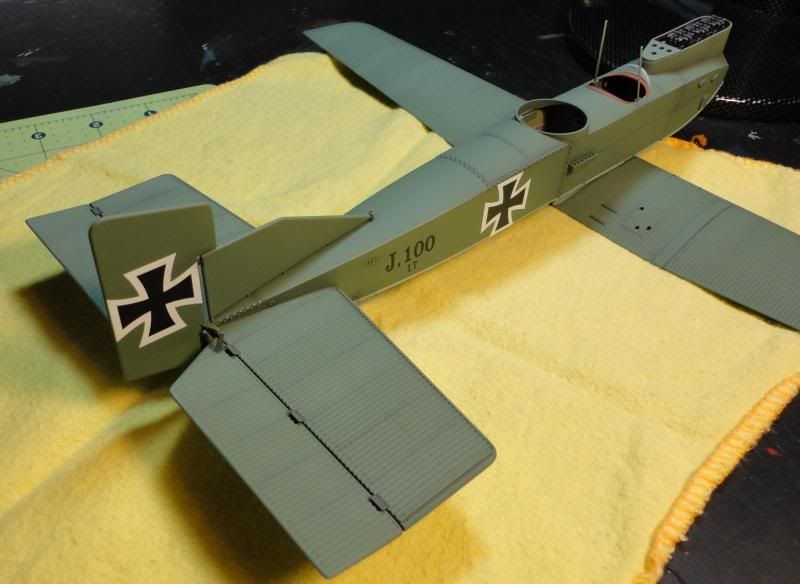
2nd Image: The stabilizer and tailfin have been added.
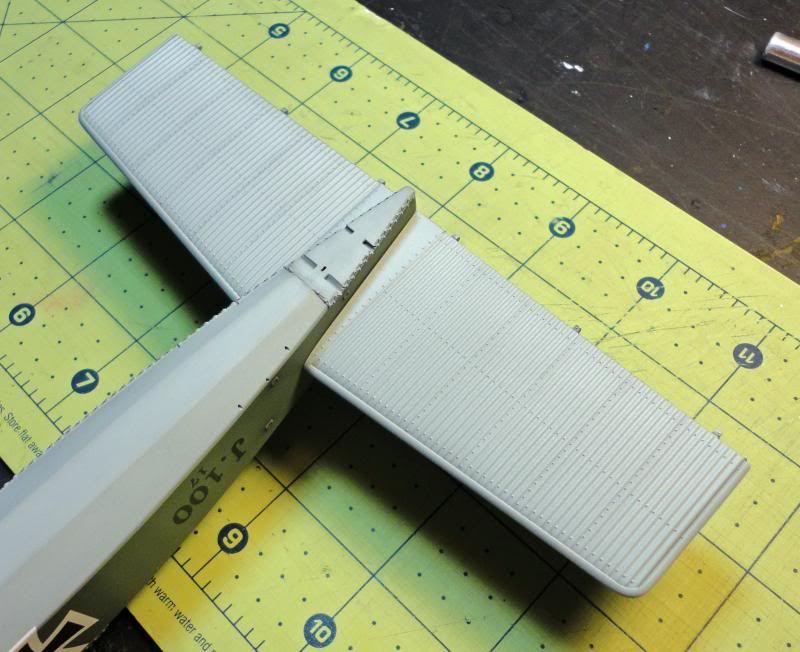
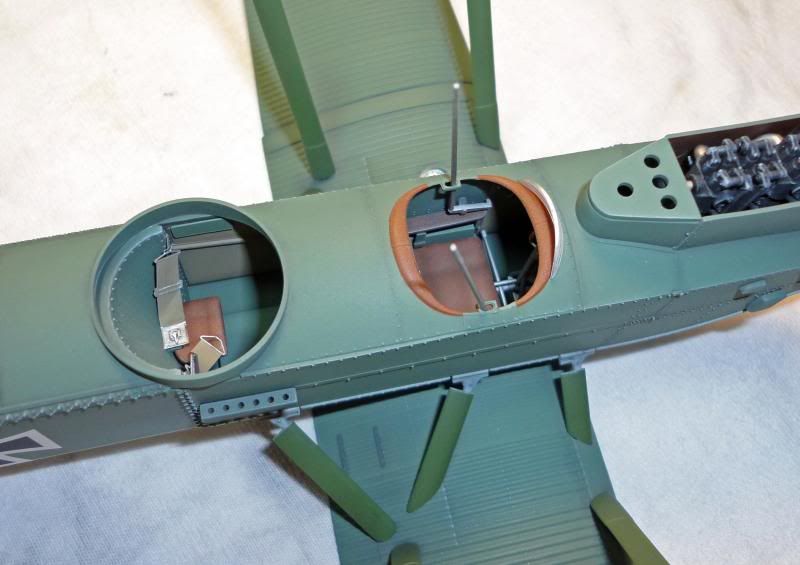
3rd Image: The underside of the stabilizer area is shown
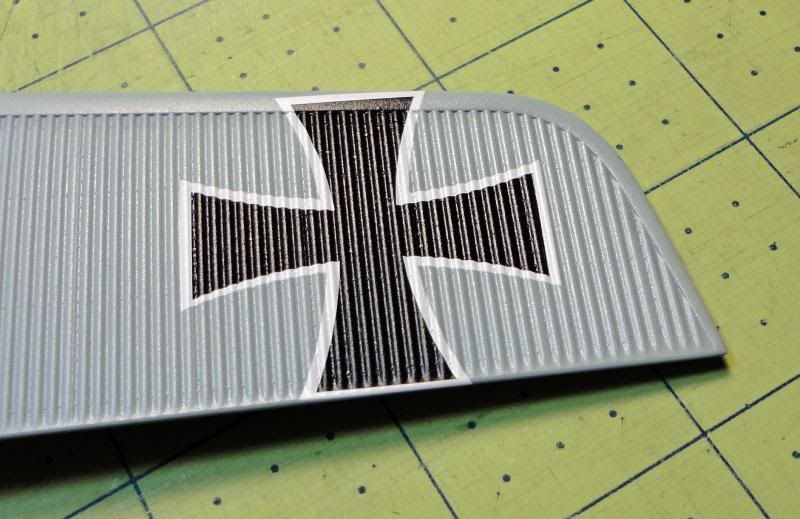
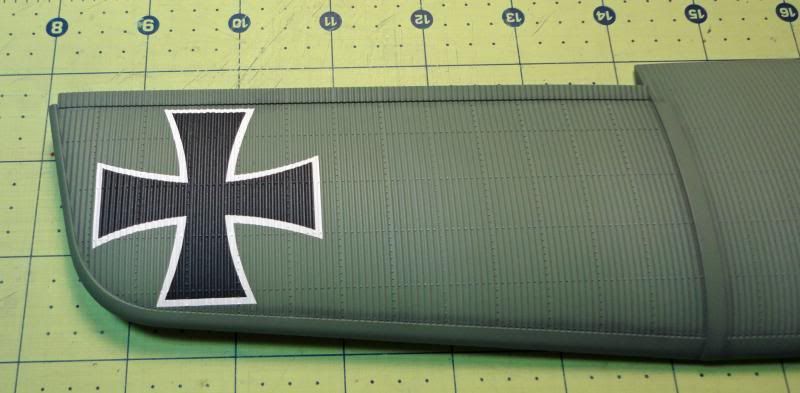
4th Image: When it came to decaling the wings I would like to say all I had to do was: a) put the decals in place, b) brush on some Micro-Sol and c) leave it overnight to achieve a painted on look. But that’s not the case. I knew from previously decaling surfaces like this that even with good decals a lot more work is required. After brushing on Micro-Sol, I applied pressure to force the decals into the corrugated valleys. This caused some splitting and tearing, which was expected. The next step was taking a straight pin and puncturing dozens of holes in the decal wherever it was not laying flush against the model. Another coat of Micro-Sol was added. After the decal had completely laid down, I added black and white touch up paint to areas where they were split. Lastly, another heavy coat of Future was sprayed to the entire decal to give it a uniform finish. It was a lot of work, but I am very happy with the results. This photo shows how well the decal is laying down on the lower wing. Final Dullcote has not been applied.
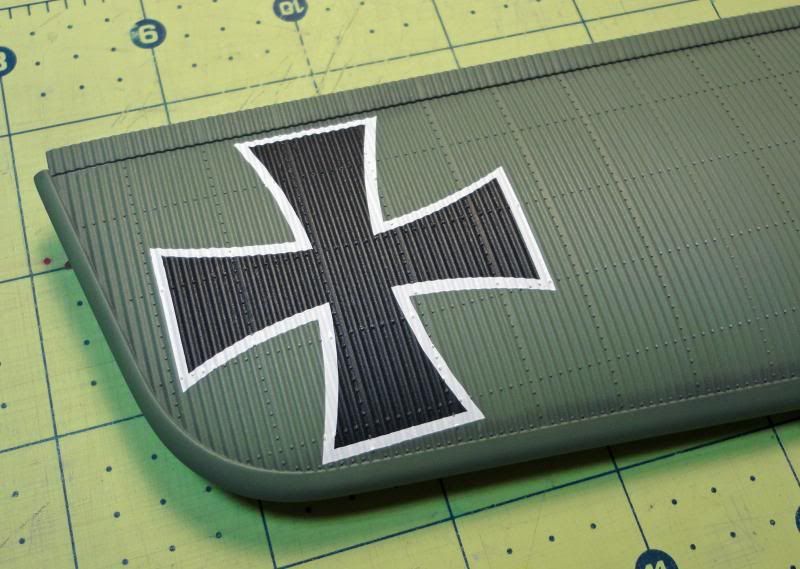
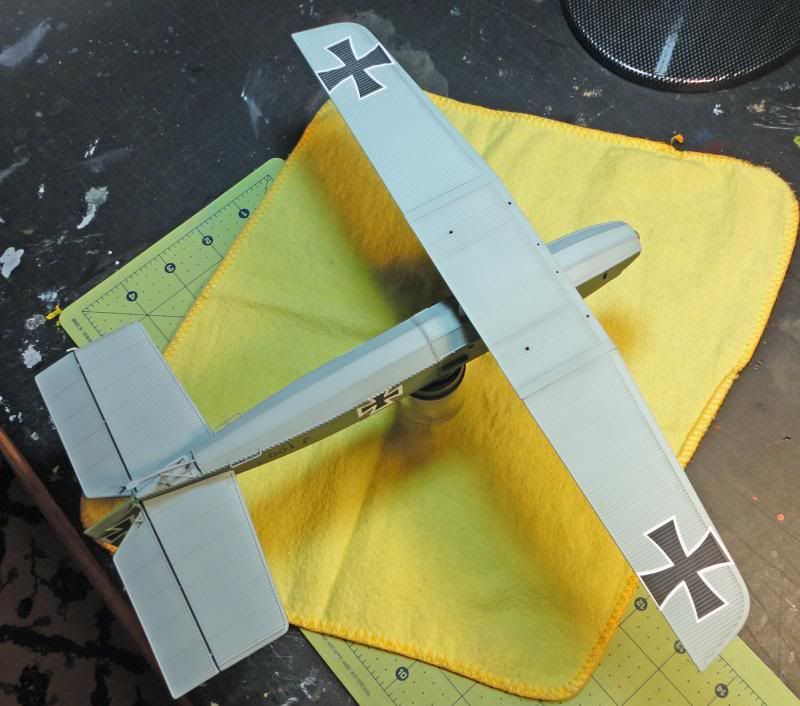
5th and 6th Image: These photos show a completely finished upper wing decal after the Dullcote was applied.
7th through 10th image: Photos of the fuselage after the lower wing has been attached.

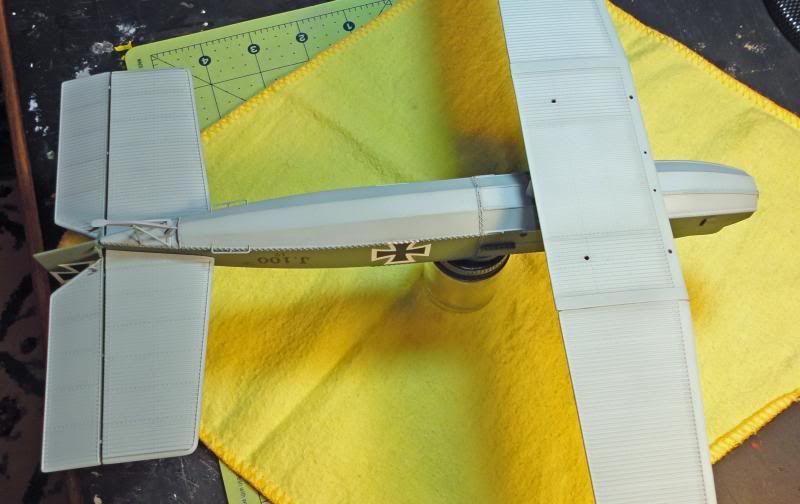
11th through 12th Image: Photos of the underside fuselage and lower wing.
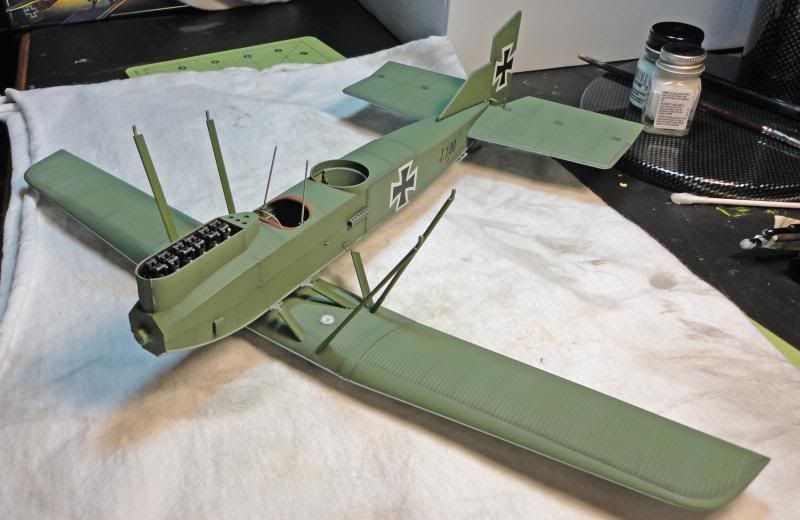
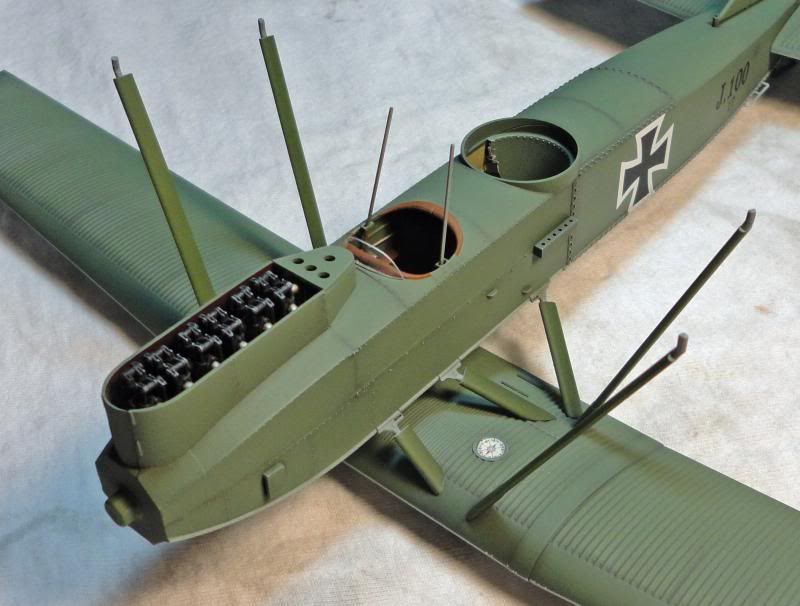
13th through 15th Image: Some of the fuselage and wing struts have been glued in place. The struts, landing gear and radiator were painted dark green. I used Model Master Field Green.
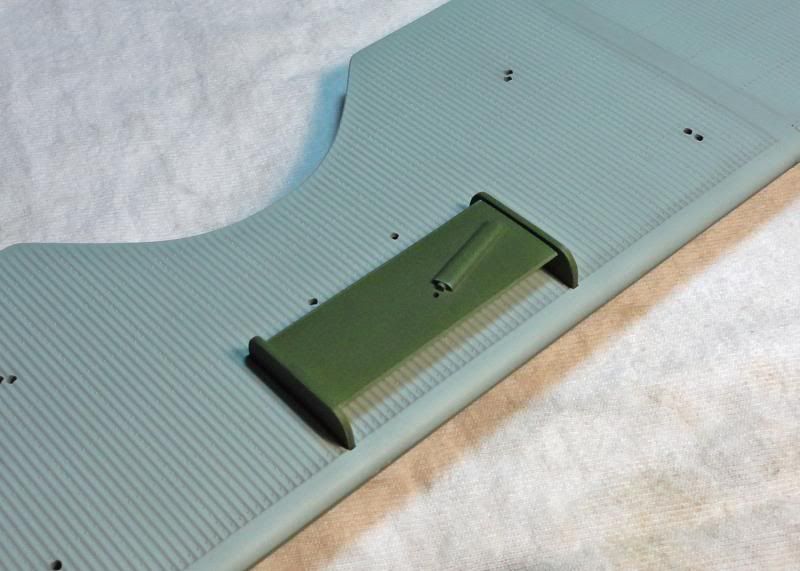
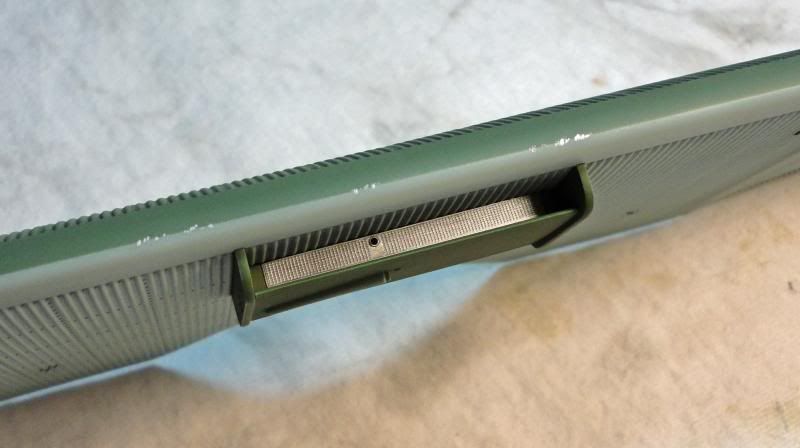
16th and 17th Image: The radiator is shown attached to the upper wing. The second photo gives a good view of the sharp demarcation color line, and how Model Master Aluminum paint was applied at random to represent chipping.
Until next time…

