thank you al, gents!
today was the day... ready for a lot of pics?
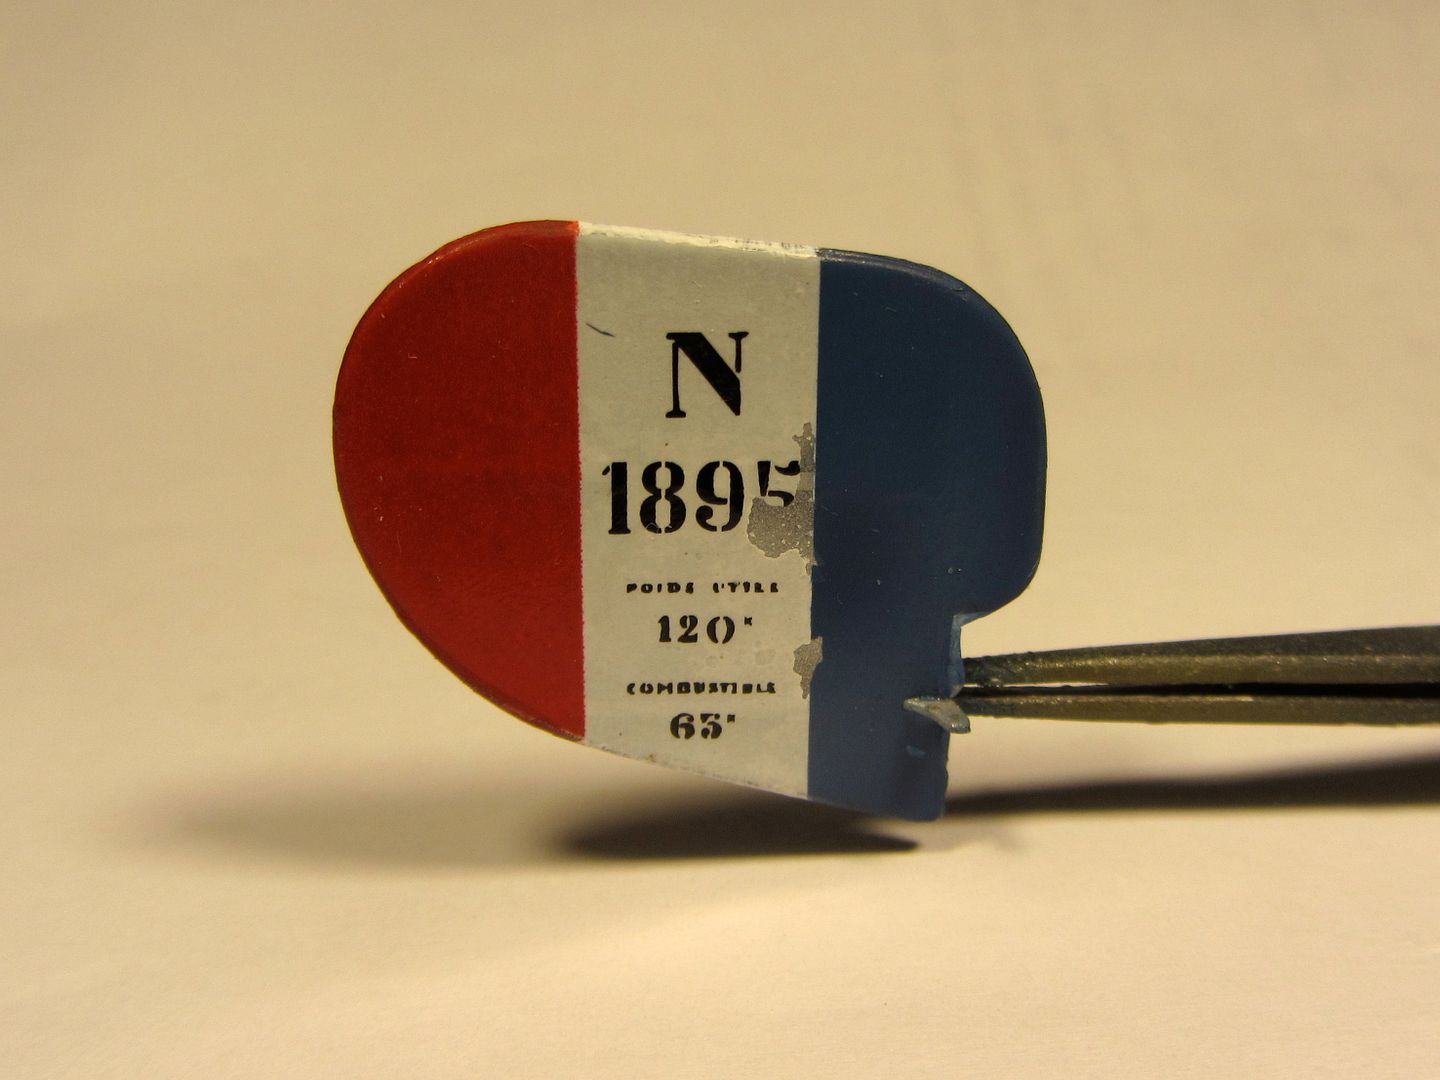
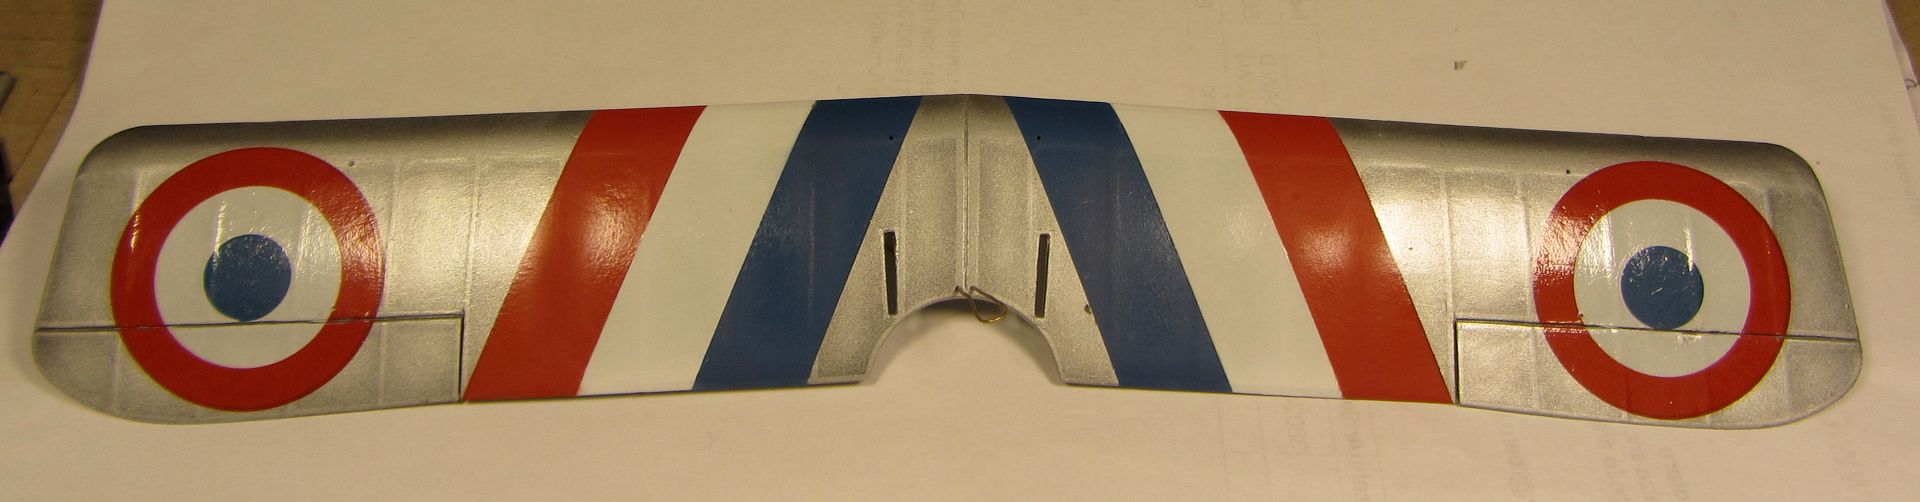
we start as usual, from the beginning, nay, from the tail:
tweaking the colors, and then masking the decals in place, although protected by a film of the future, driven to those result...
8656
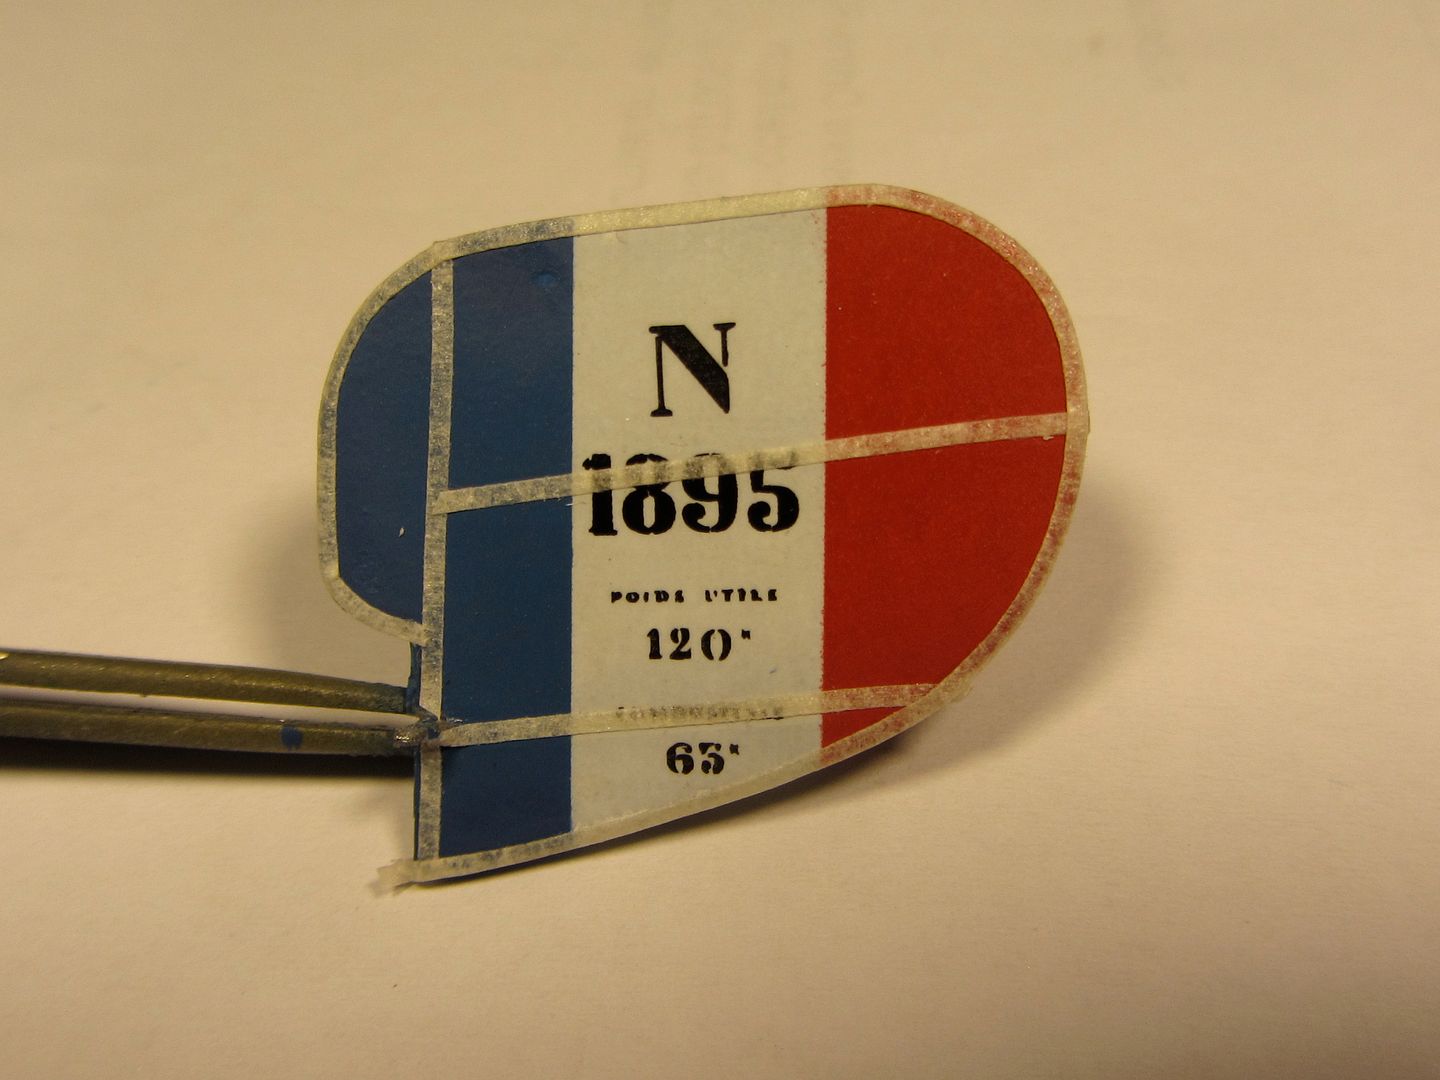
s**it happens ... brush, patience, and eye.
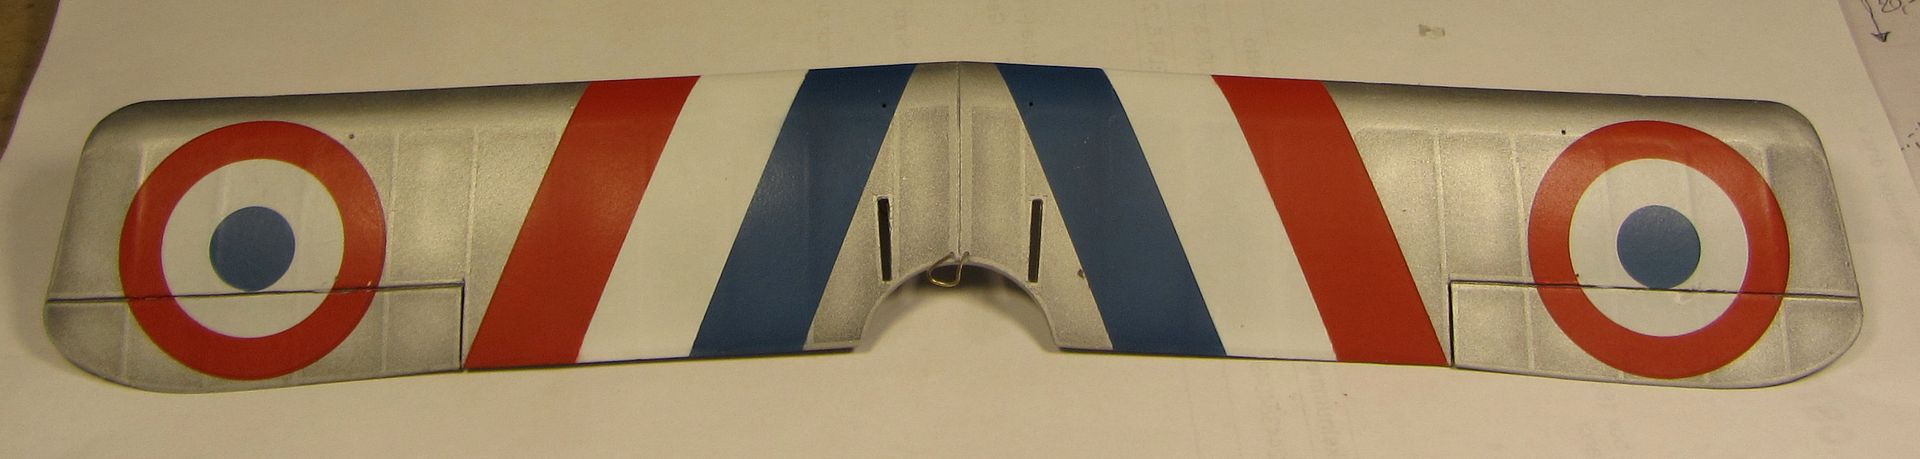
oh, well. I re-adjusted the adjustable and masked again for postshading.
8666
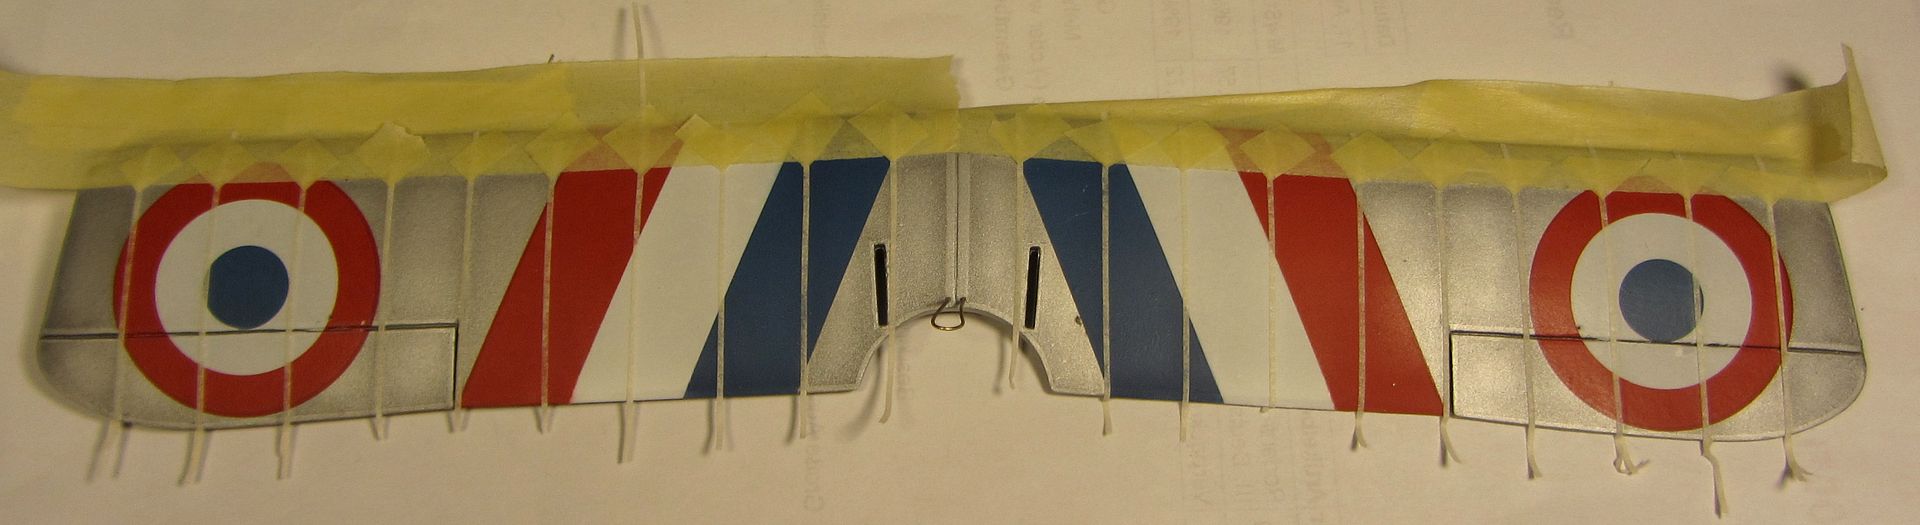
and here we are.
8670
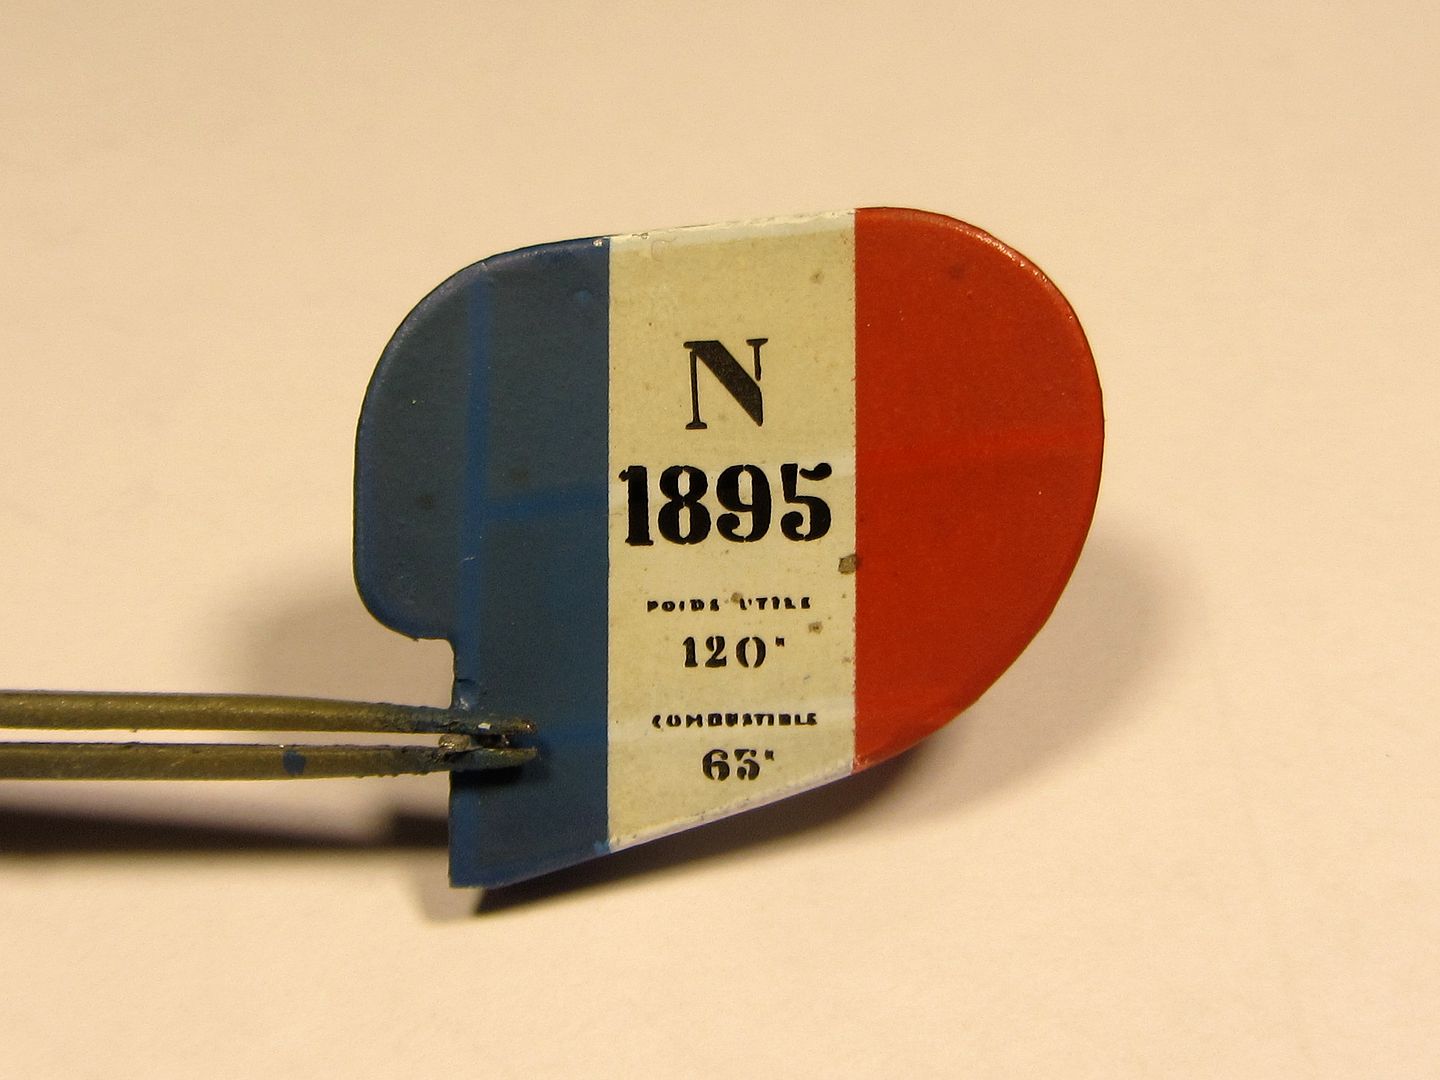
but, you will ask and wonder, also raising those tiny ribbons may weed out the color? the answer, my beautiful little fairies, is YES '.

8671
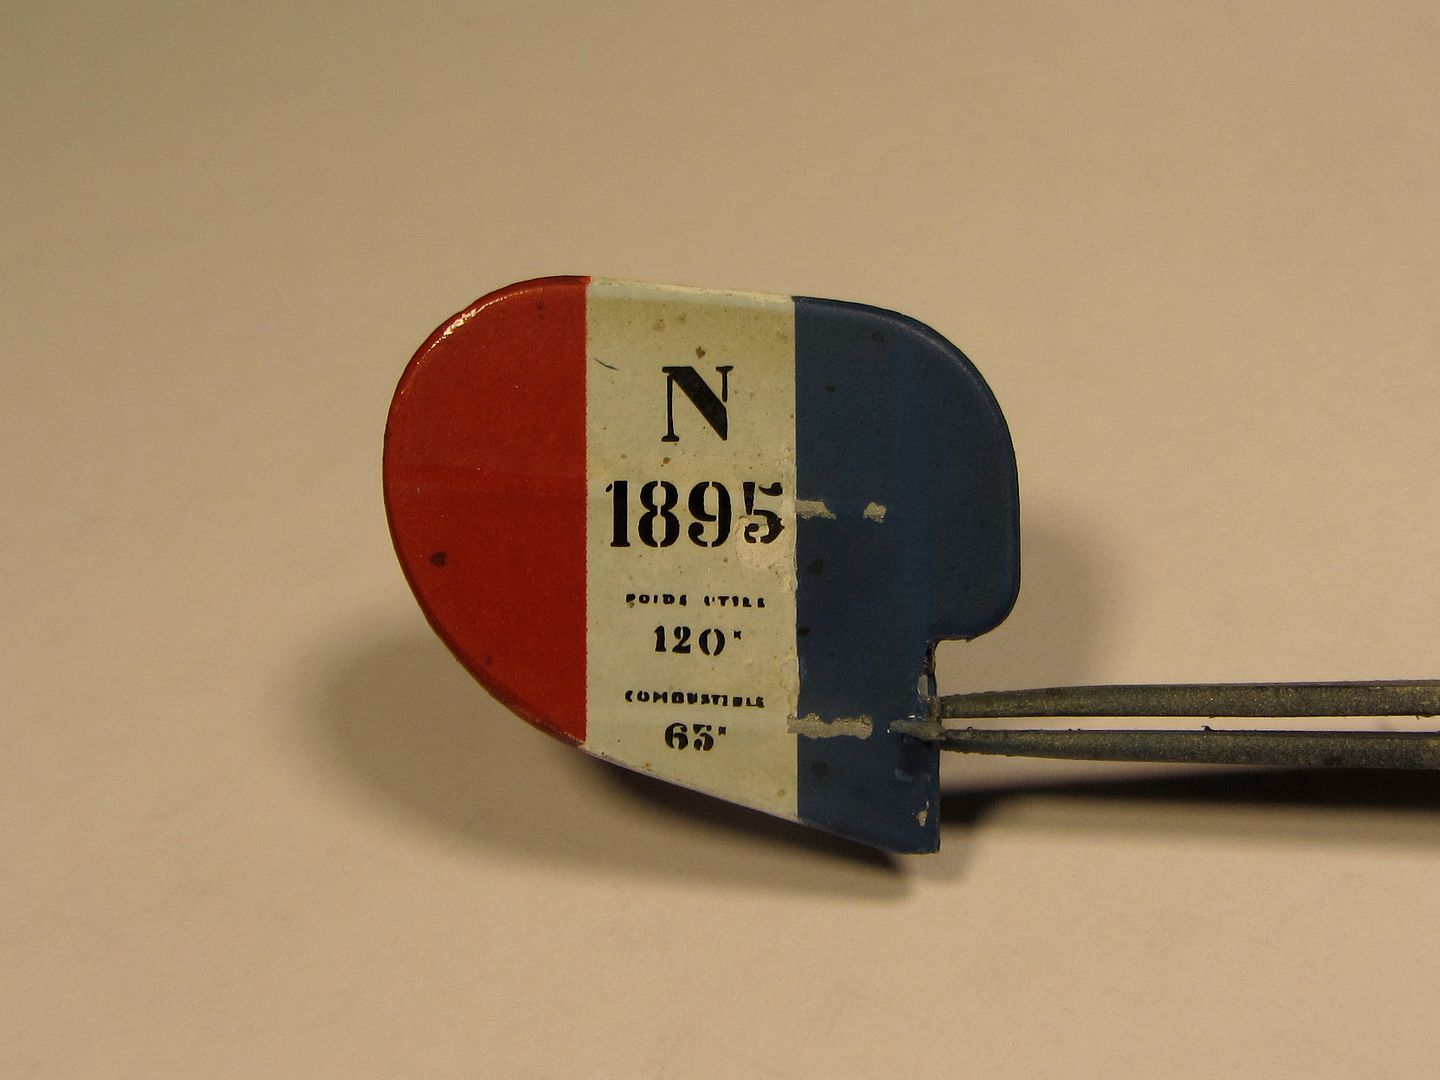
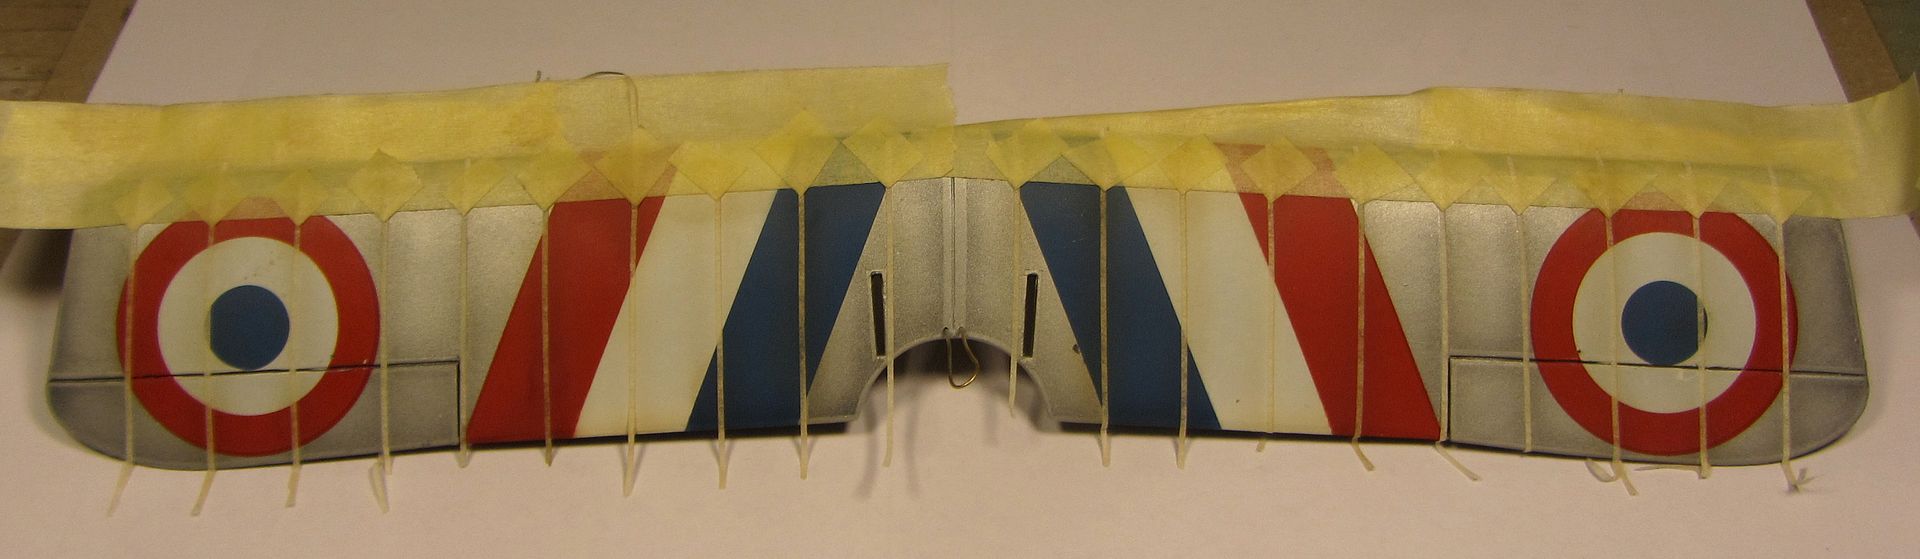
but the model is suffering. ooooom.... where was the deep blue?
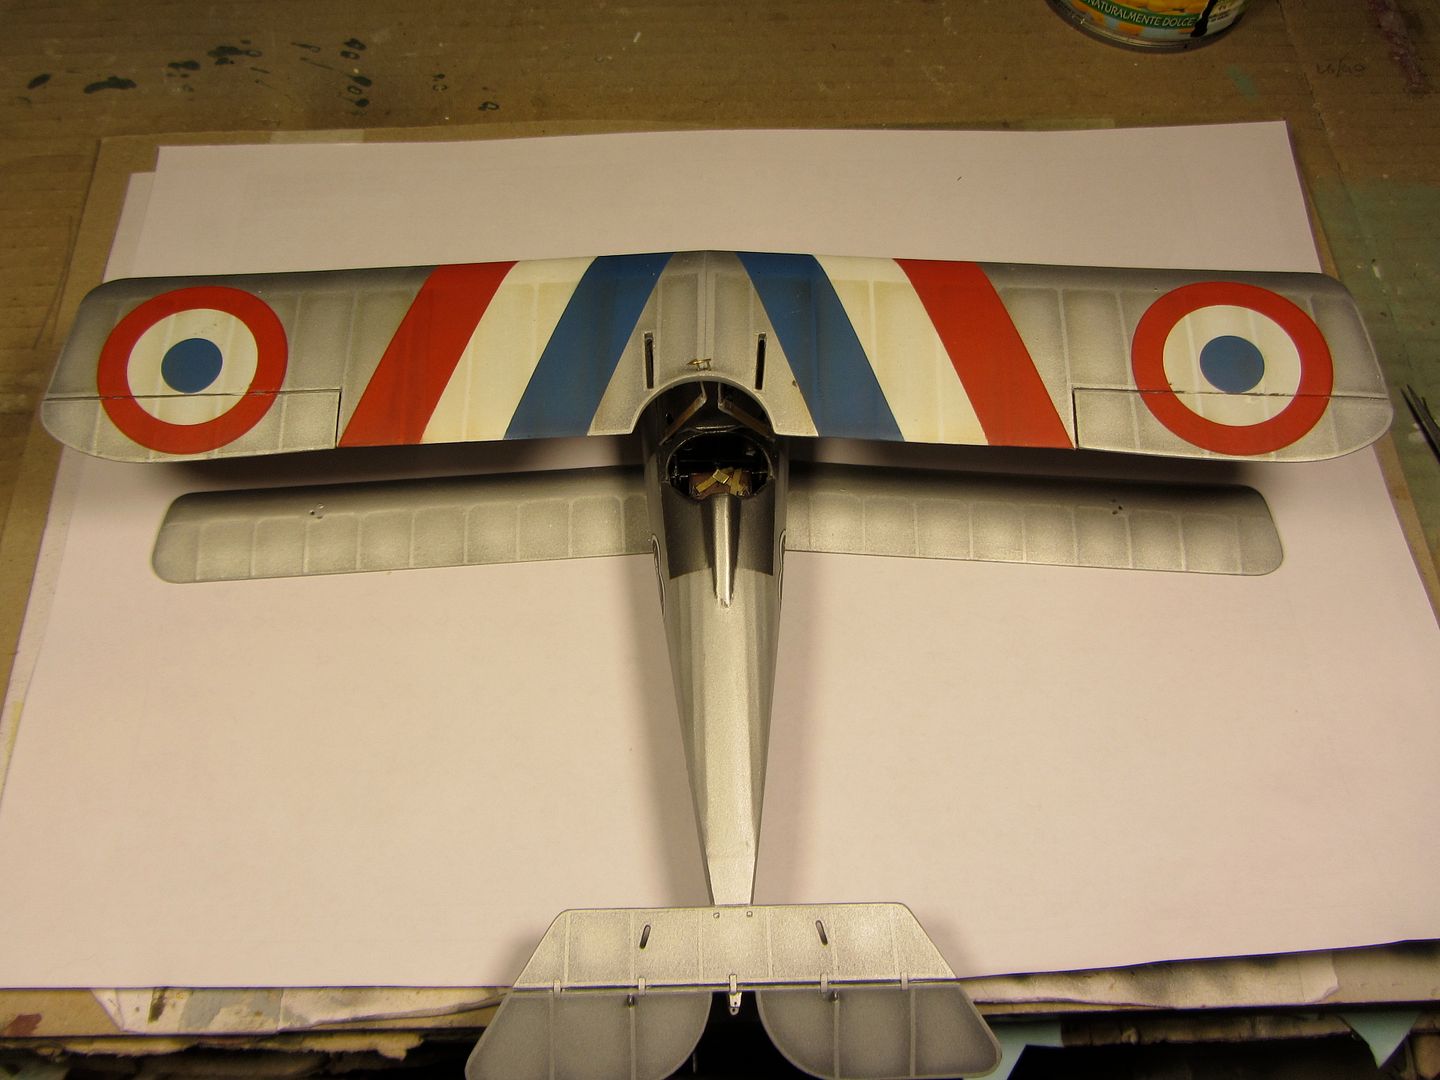
the bulk of the work was obviously not the tail, but the upper wing ... here it is. I'll put an uninterrupted and boring sequence of photos to explain, I hope you interest and can be useful.
first of all, after a future's coat, I masked all the wing and I reworked white, red and blue.
8661
and then I gave it another coat of clear matt. here it is, as expressive as nicholas cage...

8664
good. now in with tape, over and over again.
8665
then I gave it a coat of raw umber oil paint very diluted. I'm just beginning experimenting with this technique, I find it may give very interesting results, using the airbrush with oils.
8676
here we are. mmmmmmmmmmmmmmmmmmh... too dark on white.
8678

correction.
8679
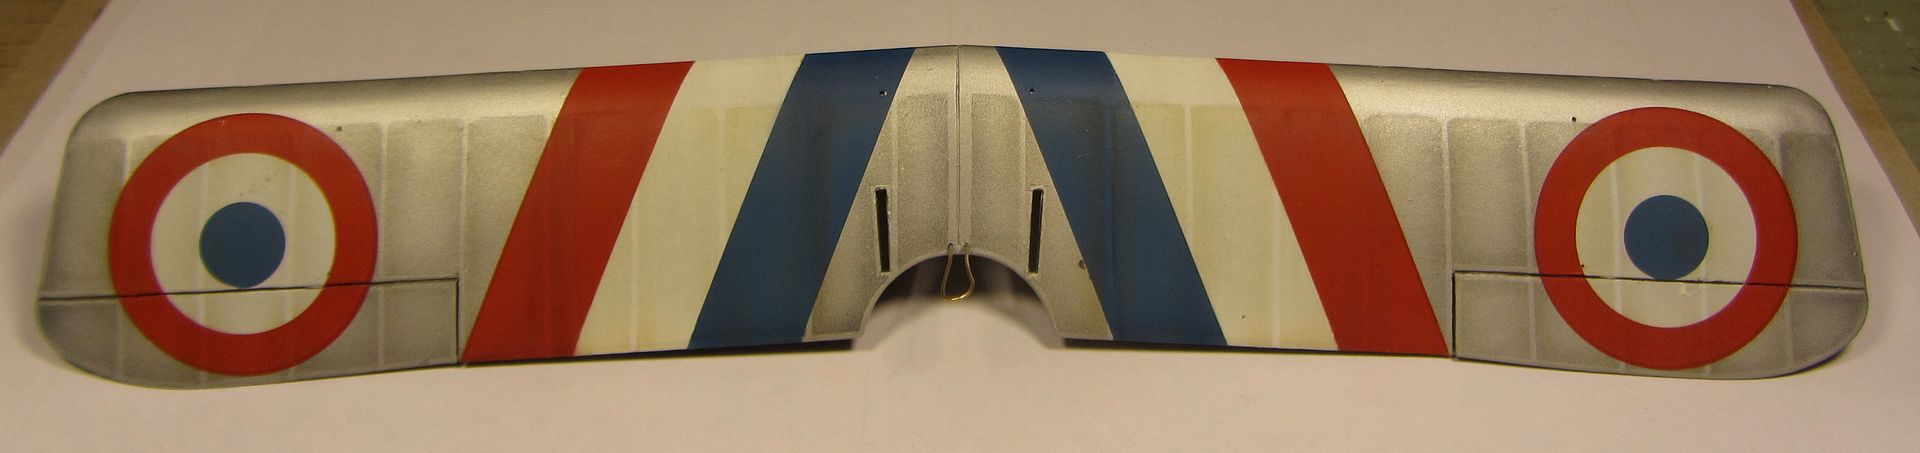
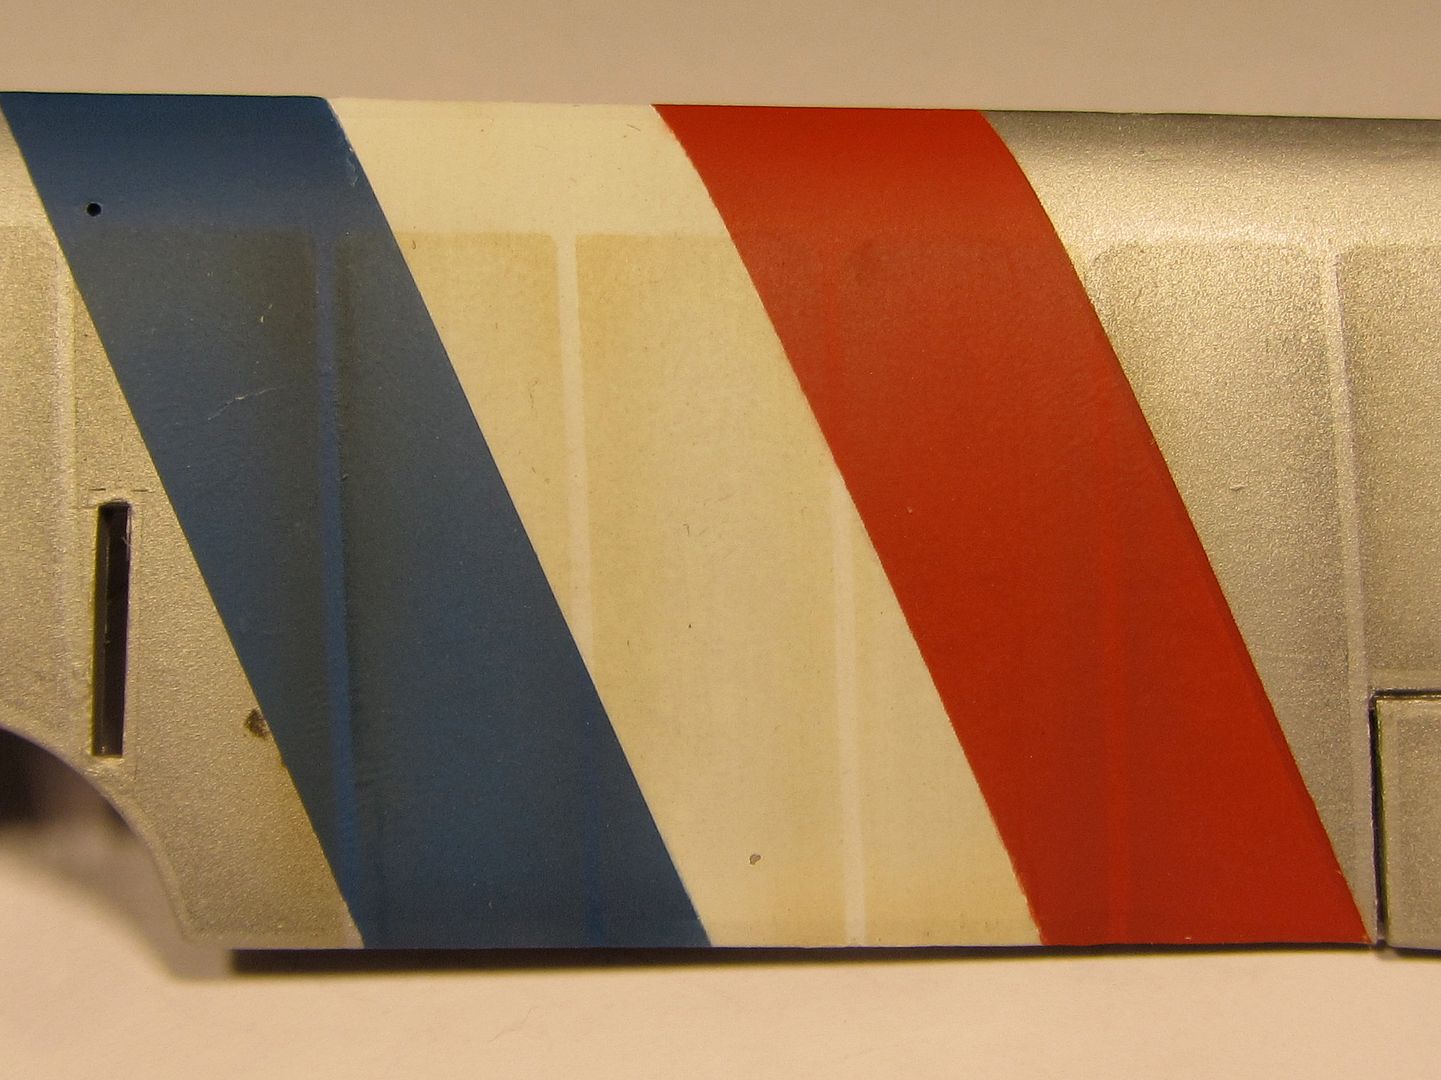
zoom in.
8681
tired?
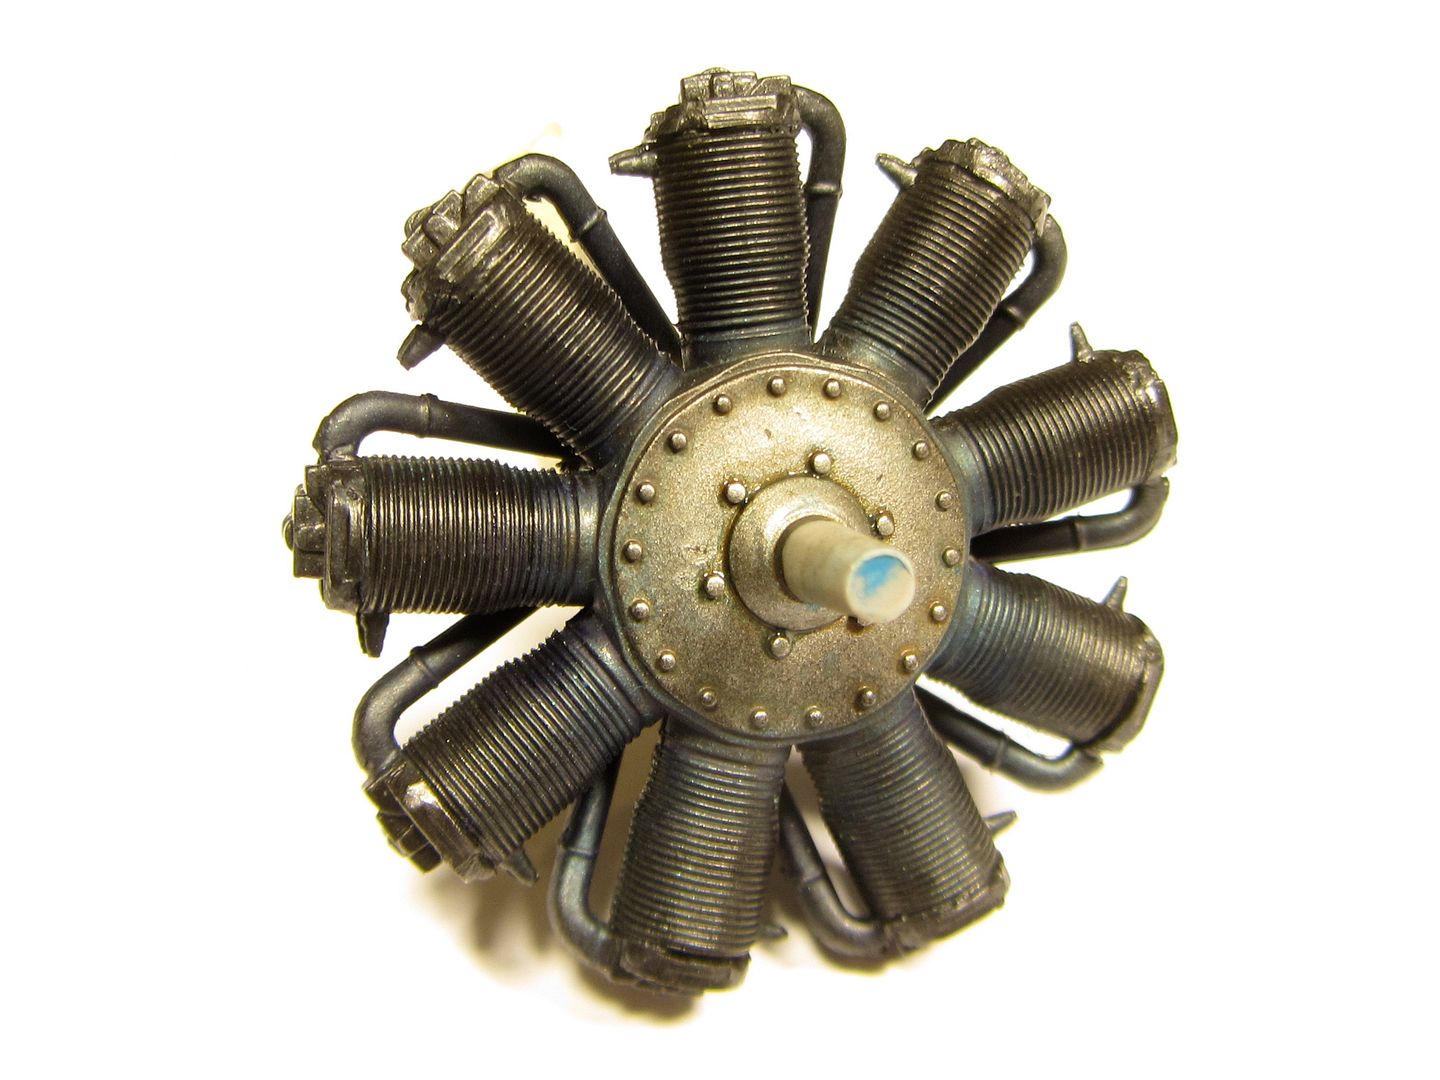
I add a gallery of various photos, little things made taking advantage of the airbrush dirt...
a round of transparent blue at the base of the cylinders ...
8668
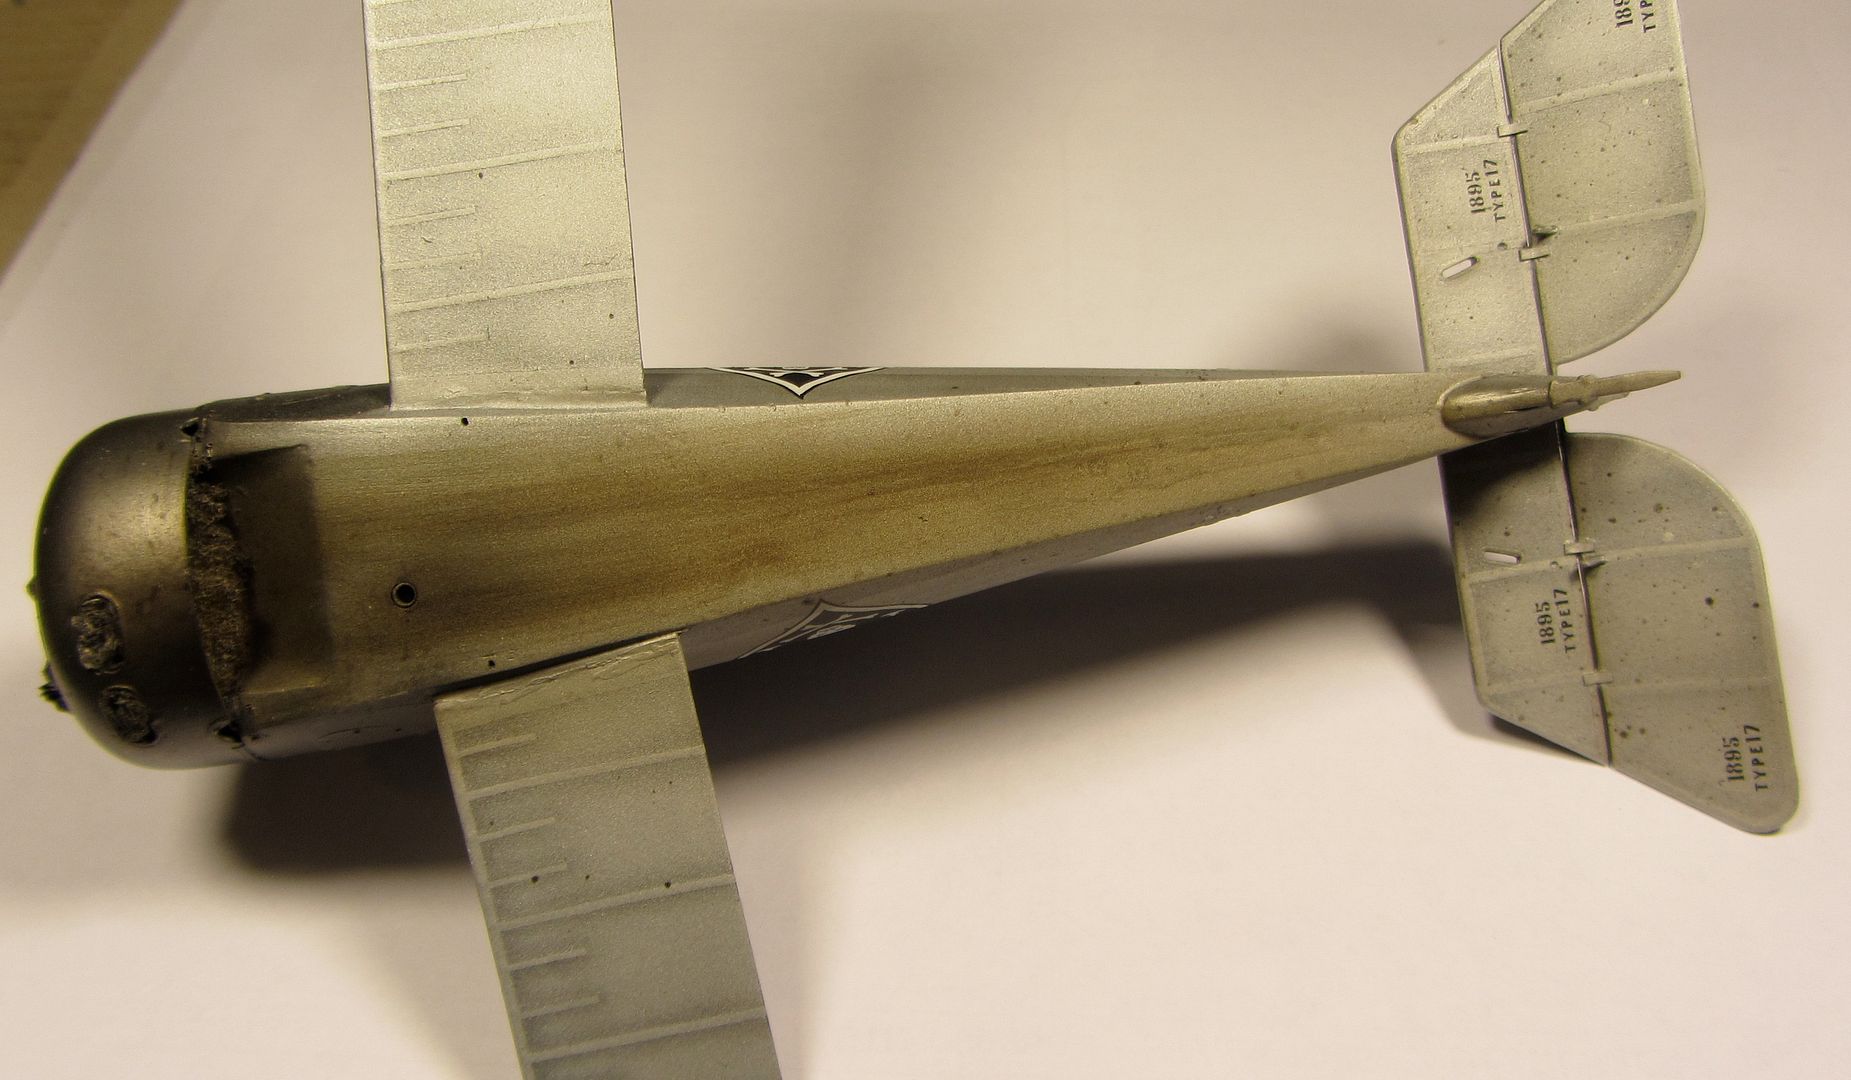
smoke and dirt on the belly, where the motor let the exaust out.
8672
detail. I consider it a basis for further work with various effects.
8674
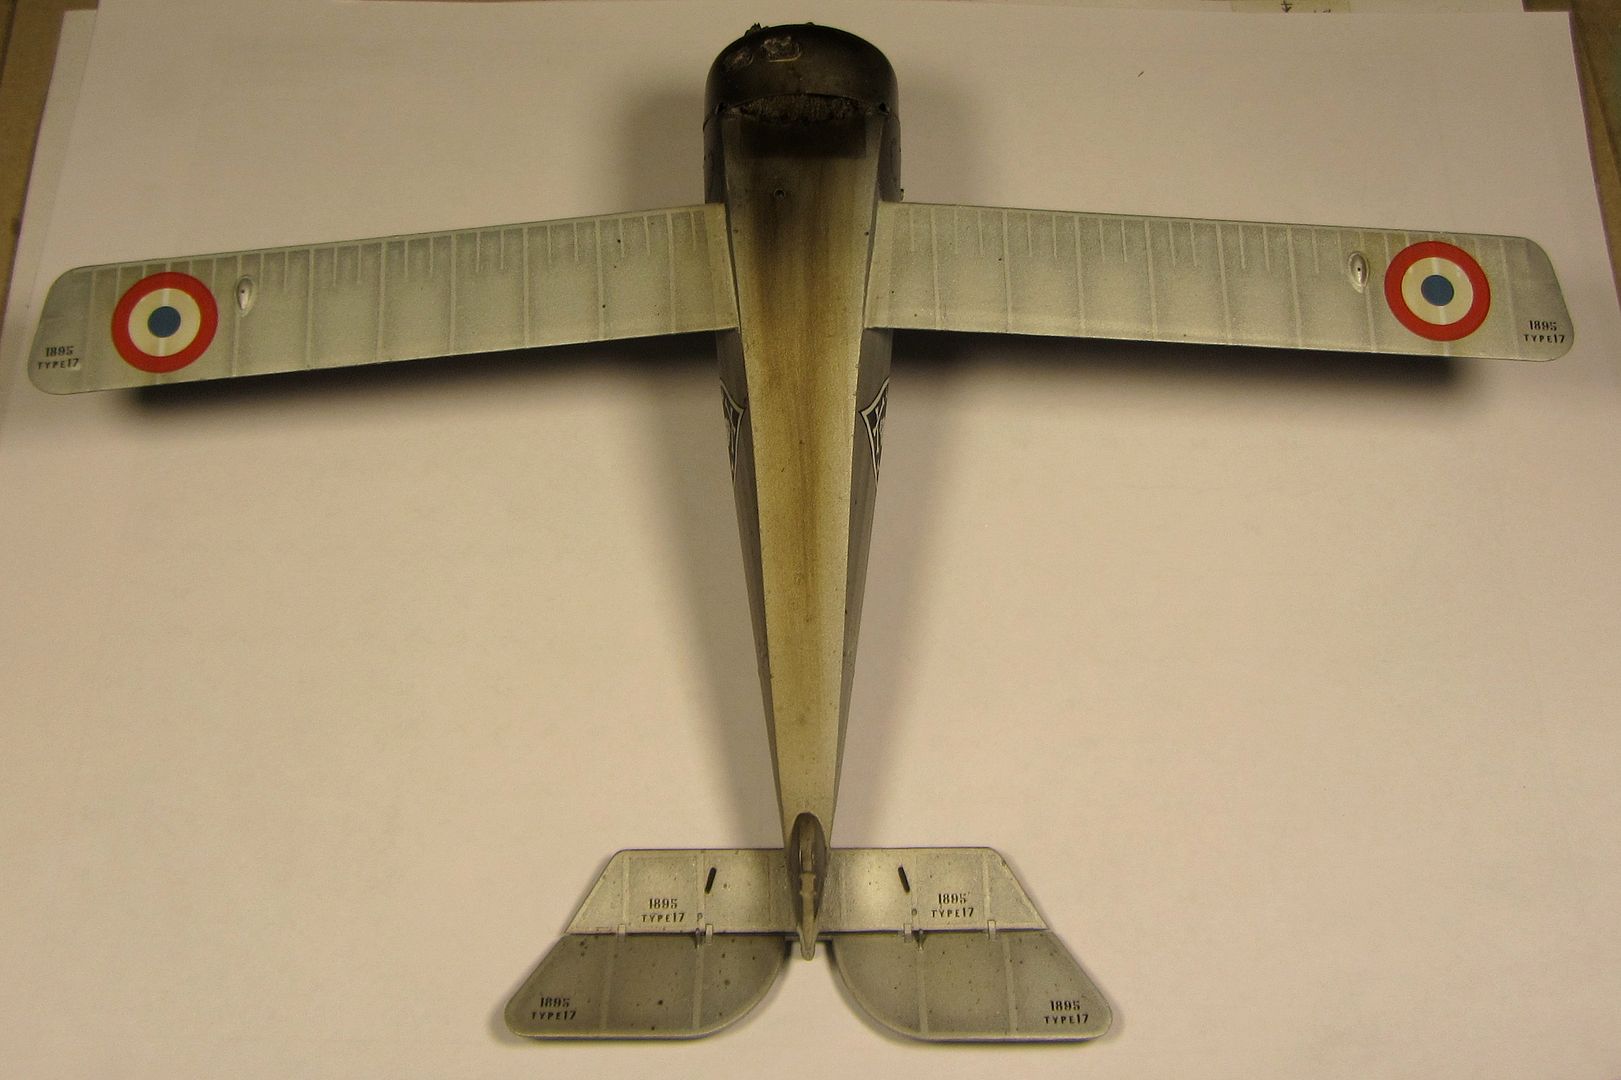
and an idea of where we're going ...
8682
right? wrong? well...
0648
bye bye, p.


