Merian C. Cooper - The Beginnings of HistoryOur historical segment begins with Merian C. Cooper. His story is crucial to understanding the presence of American volunteers in the 7th Squadron and the very formation of the Kościuszko Squadron. These men were not the only U.S. citizens who took up arms for Poland. A large number of Polish-American volunteers arrived in Poland with Haller's Army, though that is an entirely different story.

What set Cooper and his fellow pilots apart was that they had no direct ties to Poland?almost none.
On October 11, 1779, during the Battle of Savannah, Kazimierz Pułaski died from wounds sustained in combat while being carried in the arms of Colonel John Cooper. It was Merian's own great-grandfather who personally brought the wounded Pułaski aboard the ship Wasp. He considered the Polish general a friend and made sure that, ten days after his death, when the ship reached land, a symbolic burial was held. Over Pułaski?s body, John Cooper swore an honor-bound oath - one day, he or his descendants would repay this debt.
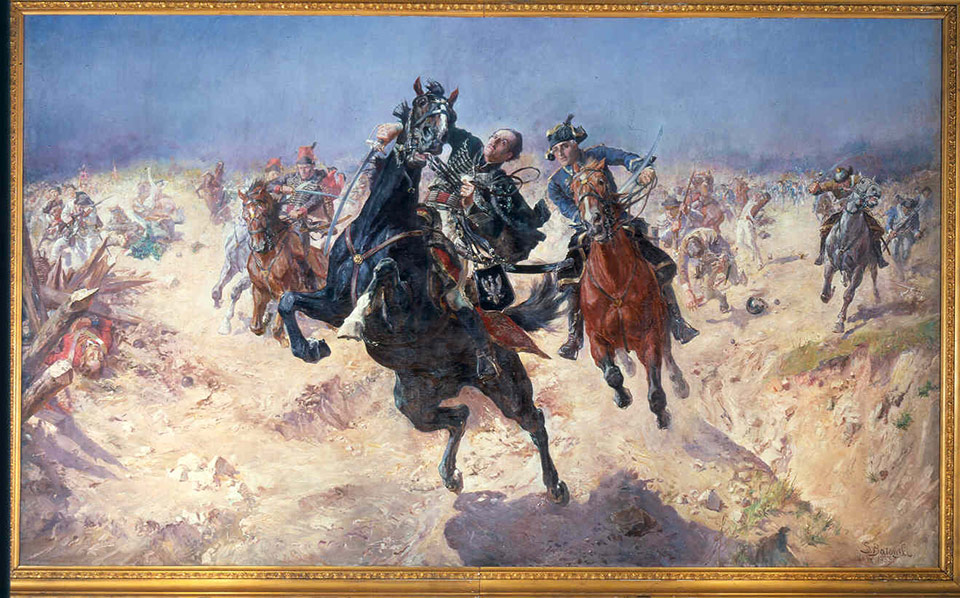
Pulaski's death
According to family legend, John Cooper was also acquainted with another Polish hero, Tadeusz Kościuszko - a name well known and respected in the United States. This story, passed down through generations of the Cooper family, would later change Merian's life forever.

Tadeusz Kościuszko
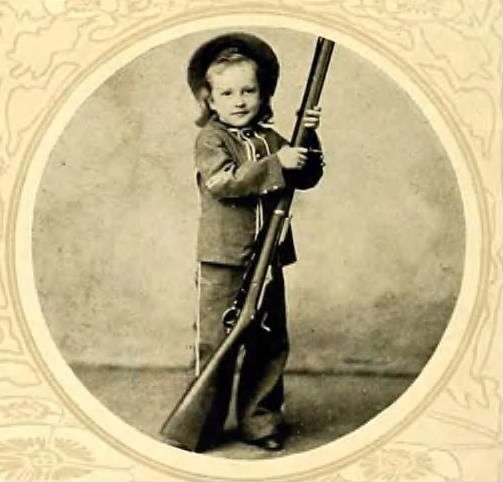
"Mad Bolshevik"Merian Caldwell Cooper was born on October 24, 1893, in Jacksonville, Florida, the youngest of three children of John C. Cooper and Mary Caldwell. At the age of six, inspired by the book Explorations and Adventures in Equatorial Africa, he decided he wanted to become an explorer.
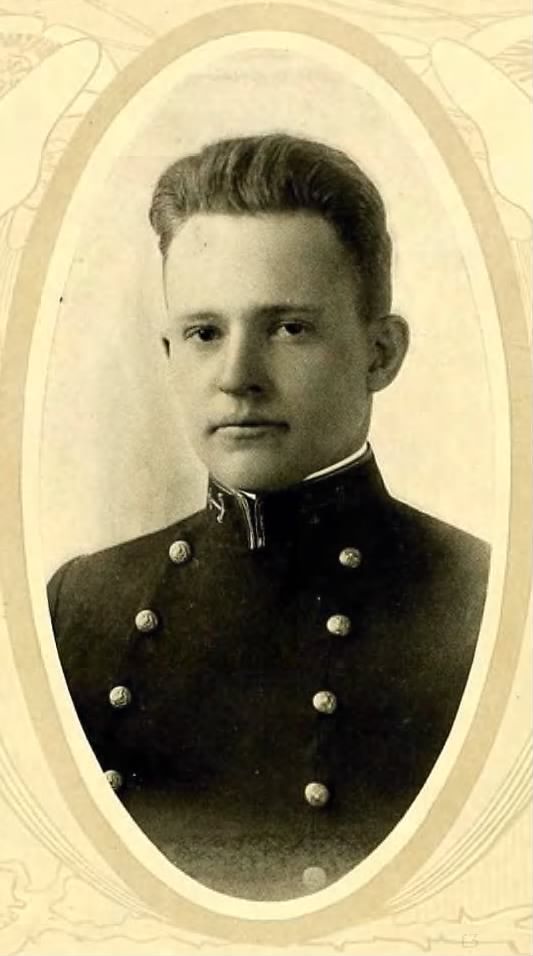
He completed his secondary education in 1911 at The Lawrenceville School in New Jersey and was admitted to the U.S. Naval Academy?but was expelled in his final year for unruly behavior. During this period, he also worked as a journalist for several newspapers.
In 1916, Cooper joined the Georgia National Guard, hoping to participate in combat against Francisco 'Pancho' Villa in Mexico. For his service, he was promoted to the rank of Lieutenant, but he refused the commission - he wanted to fight on the front lines. At the same time, he became fascinated with the emerging field of military aviation (this obsession was rumored to be one of the reasons for his expulsion from the Naval Academy).
Determined to become a pilot, Cooper enrolled in a military flight school in Atlanta, graduating at the top of his class. In October 1917, he was sent to France for further training in Issoudun.
While training, he suffered a serious accident - after a strong impact to the head and losing consciousness mid-flight, his aviation career was suddenly in jeopardy. Due to a severe concussion, Cooper had to relearn how to fly from scratch.
In France, he gained experience as a bomber pilot in the 1st Day Bombardment Group of the United States Army Air Service, serving in the 20th Aero Squadron, which flew Airco DH.4 bombers. According to official records, he was credited with one enemy aircraft downed.

Ironically, the squadron's emblem was a "Mad Bolshevik".
The emblem - a bearded figure wearing a bowler hat, running with two spherical bombs - was created as a PR stunt. In the fall of 1918, the Bolsheviks of the Russian Revolution had not yet gained the ominous reputation they would later hold. The squadron members believed the bomb-throwing radical symbolized what they intended to do to the Germans. Embracing the squadron's unconventional and whimsical spirit, they immediately named their mascot the Mad Bolshevik, and thus became known as the Squadron of the Mad Bolsheviks.

Merian C. Cooper could never have known that, after serving in the Squadron of the Mad Bolsheviks, he would soon be fighting them like a scourge from above.
The Fateful Day - September 26, 1918On September 26, 1918, the squadron received a high-risk mission - to bomb the crucial Dun-sur-Meuse bridge, which spanned the Meuse River about 15 kilometers behind enemy lines.
The first bombing wave, Breguet bombers, took off and was intercepted by ten German Pfalz fighters. Despite the loss of Lieutenant Paul J. O'Donnell, the Americans managed to shoot down two enemy aircraft and complete their bombing run.
However, the Germans remained in the area, waiting for the second wave - Cooper's squadron of DH.4 bombers.

As Cooper and his formation approached, five German fighters attacked them. Just as they repelled the initial assault, 15 or more Fokkers appeared above them and dived straight down into the American formation. The odds were overwhelming.
The result was devastating - three DH.4s went down in flames within enemy territory, a fourth aircraft, crippled and with a severely wounded observer, caught fire mid-flight before crashing.
Cooper's own DH.4 was hit, and his engine caught fire. He assumed his gunner/observer, Lieutenant Edmund Leonard, was dead, and he prepared to jump to his death rather than burn alive. However, at the last moment, he saw that Leonard was still moving despite his injuries.
Instead of jumping, Cooper climbed back into the cockpit and managed to bring the burning aircraft down for a crash landing, saving his observer. In the process, he suffered severe burns to his hands and face.
September 26 was the worst day in the history of the 20th Aero Squadron - five out of seven bombers were lost, and eleven airmen perished.
For Cooper, the war was over.
Captured by the Germans, he spent the last weeks of the war in a military hospital near Wrocław. The U.S. Army officially listed him as deceased.
But not only did he survive, he saved his observer's life as well.
While recovering at a Red Cross hospital in Neuilly, France, Cooper was nominated for the Distinguished Service Cross (DSC). However, in a remarkable display of character, he refused the decoration, writing:
"With all due respect, I ask that my nomination for the Distinguished Service Cross be withdrawn. [...] Upon hearing of my nomination, I was initially overjoyed, as I hold such an honor in the highest regard. However, after much thought, I have come to the conclusion that it would be unjust and unworthy of me to accept an award that was not equally given to the six other officers who fell in flames and perished during the same mission. I did not display any greater courage than my fallen and surviving comrades. [...] I sincerely hope this does not in any way affect the recommendation for my observer, Lieutenant Edmund Leonard, whose actions far surpassed my own."
That was Merian C. Cooper - a warrior with an unshakable sense of honor.
But although the Great War had ended, his war was far from over.
To be continued?_______________________________________________________________________________
Workshop Update - Oeffag D.IIIThe last few days have been mostly spent analyzing the gathered reference materials. This stage is rather tedious, with no spectacular progress on the workbench - most of the effort goes into brainstorming and planning. However, a few significant steps have been made.
The most important one was establishing contact with Craftlab Restaurations, from whom I received some incredibly interesting photographic materials on the construction of the Oeffag D.III. Once again, I was reminded of how fantastic the people around me are -everyone eagerly offered their help and support, which has pushed the project forward in a meaningful way. A huge thank you to all the good souls out there (you know who you are!).
Without further ado, let's get into the details.
Control Cables & Pulley System
As I mentioned earlier, I plan to add control cables in the cockpit and recreate the pulley system that transferred input to the control surfaces. Below is a diagram of the rudder bar and control stick linkage, along with some cockpit photos that proved to be invaluable references. Additionally, a friend helped me produce the necessary parts.
 Pulley Blocks
After an initial cleanup, the pulley blocks were test-fitted inside the fuselage halves - visible in the photos.

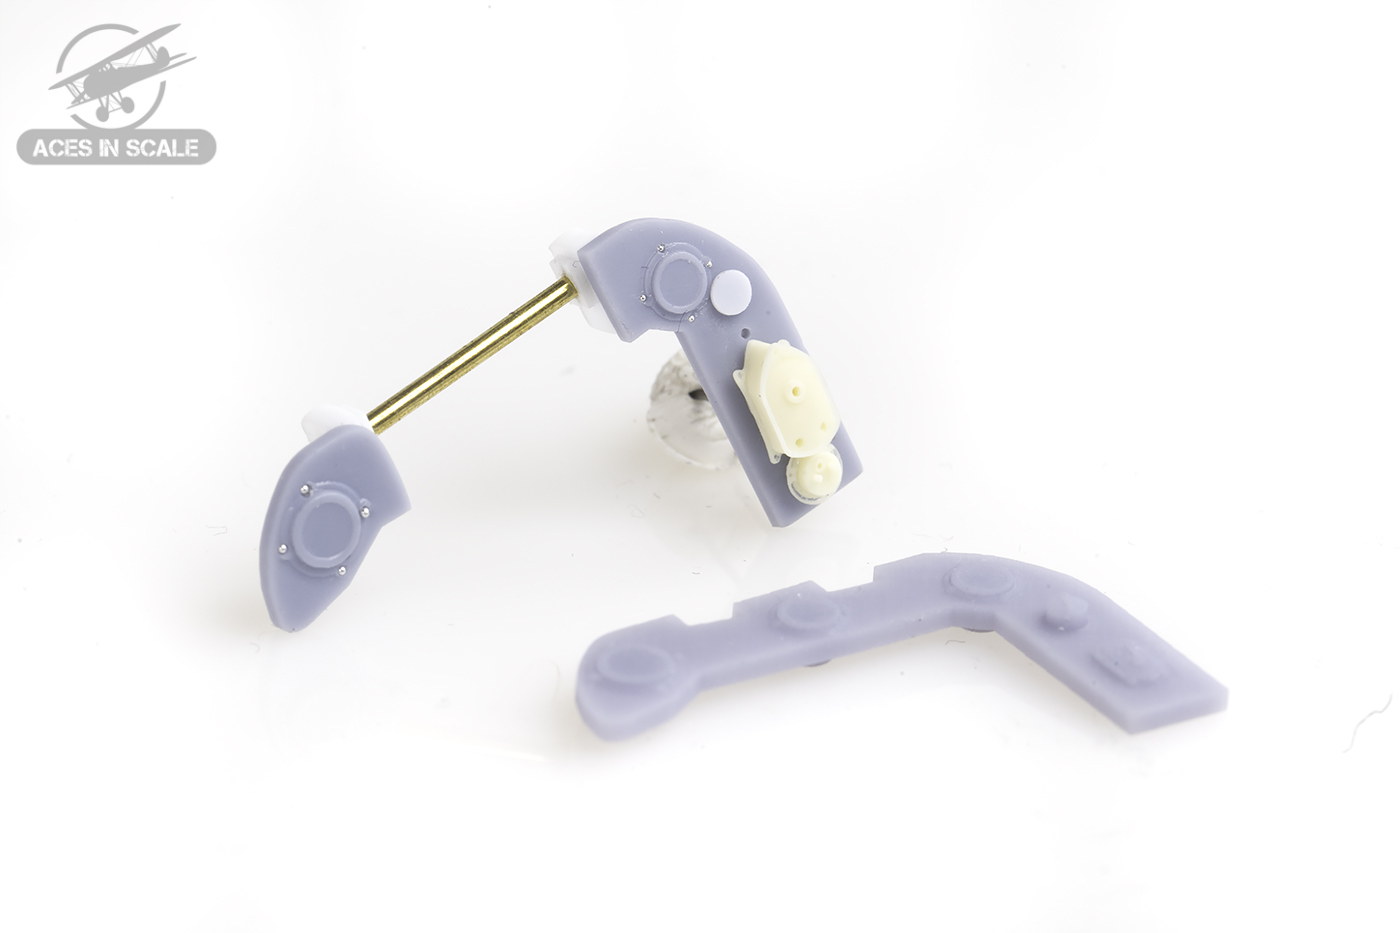
 Control Sticks
Work on the control sticks is also complete. I modified the following components:
The pulley block for the aileron and elevator control cables
The adjustment lever
The guide for the control cables
For comparison, you can also see a third control stick in the photos - this is the original from an earlier edition of the kit.
 Rudder Bar & Frame Rib
I also prepared the frame rib combined with the rudder bar. The rudder bar itself received a few small modifications - I added bolts and a cable guide.
 Instrument Panel
The biggest challenge at this stage turned out to be the instrument panel. It required not only cutting but also rearranging the equipment layout and repositioning the gauges.
The starter switch and magneto selector were sanded down - I will replace them with resin parts (you can see them in the photo, though they are not yet complete).
The additional gauge above the starter will serve as an inclinometer.
In the original kit, the inclinometer is placed at the base of the seat - however, I plan to install a compass there instead, which I will scratch-build.
The tube connecting both parts of the instrument panel received guides, which I further detailed with small strips of styrene.
The screws and rivets holding the gauges were replaced with metal alternatives.
In the photos, you can see the modified instrument panel dry-fitted together, with the original panel in front of it for comparison.
All additional elements are mounted on small locating pins - this will strengthen the CA glue joints, making them more durable and resistant to damage.
That's all for today - until next time!
Best regards,
Lukasz

