Author Topic: WNW Post-war Ninak  (Read 3565 times)

Offline davec

  • Full Member
  • ***
  • Posts: 179
WNW Post-war Ninak
« on: August 05, 2023, 11:30:42 PM »
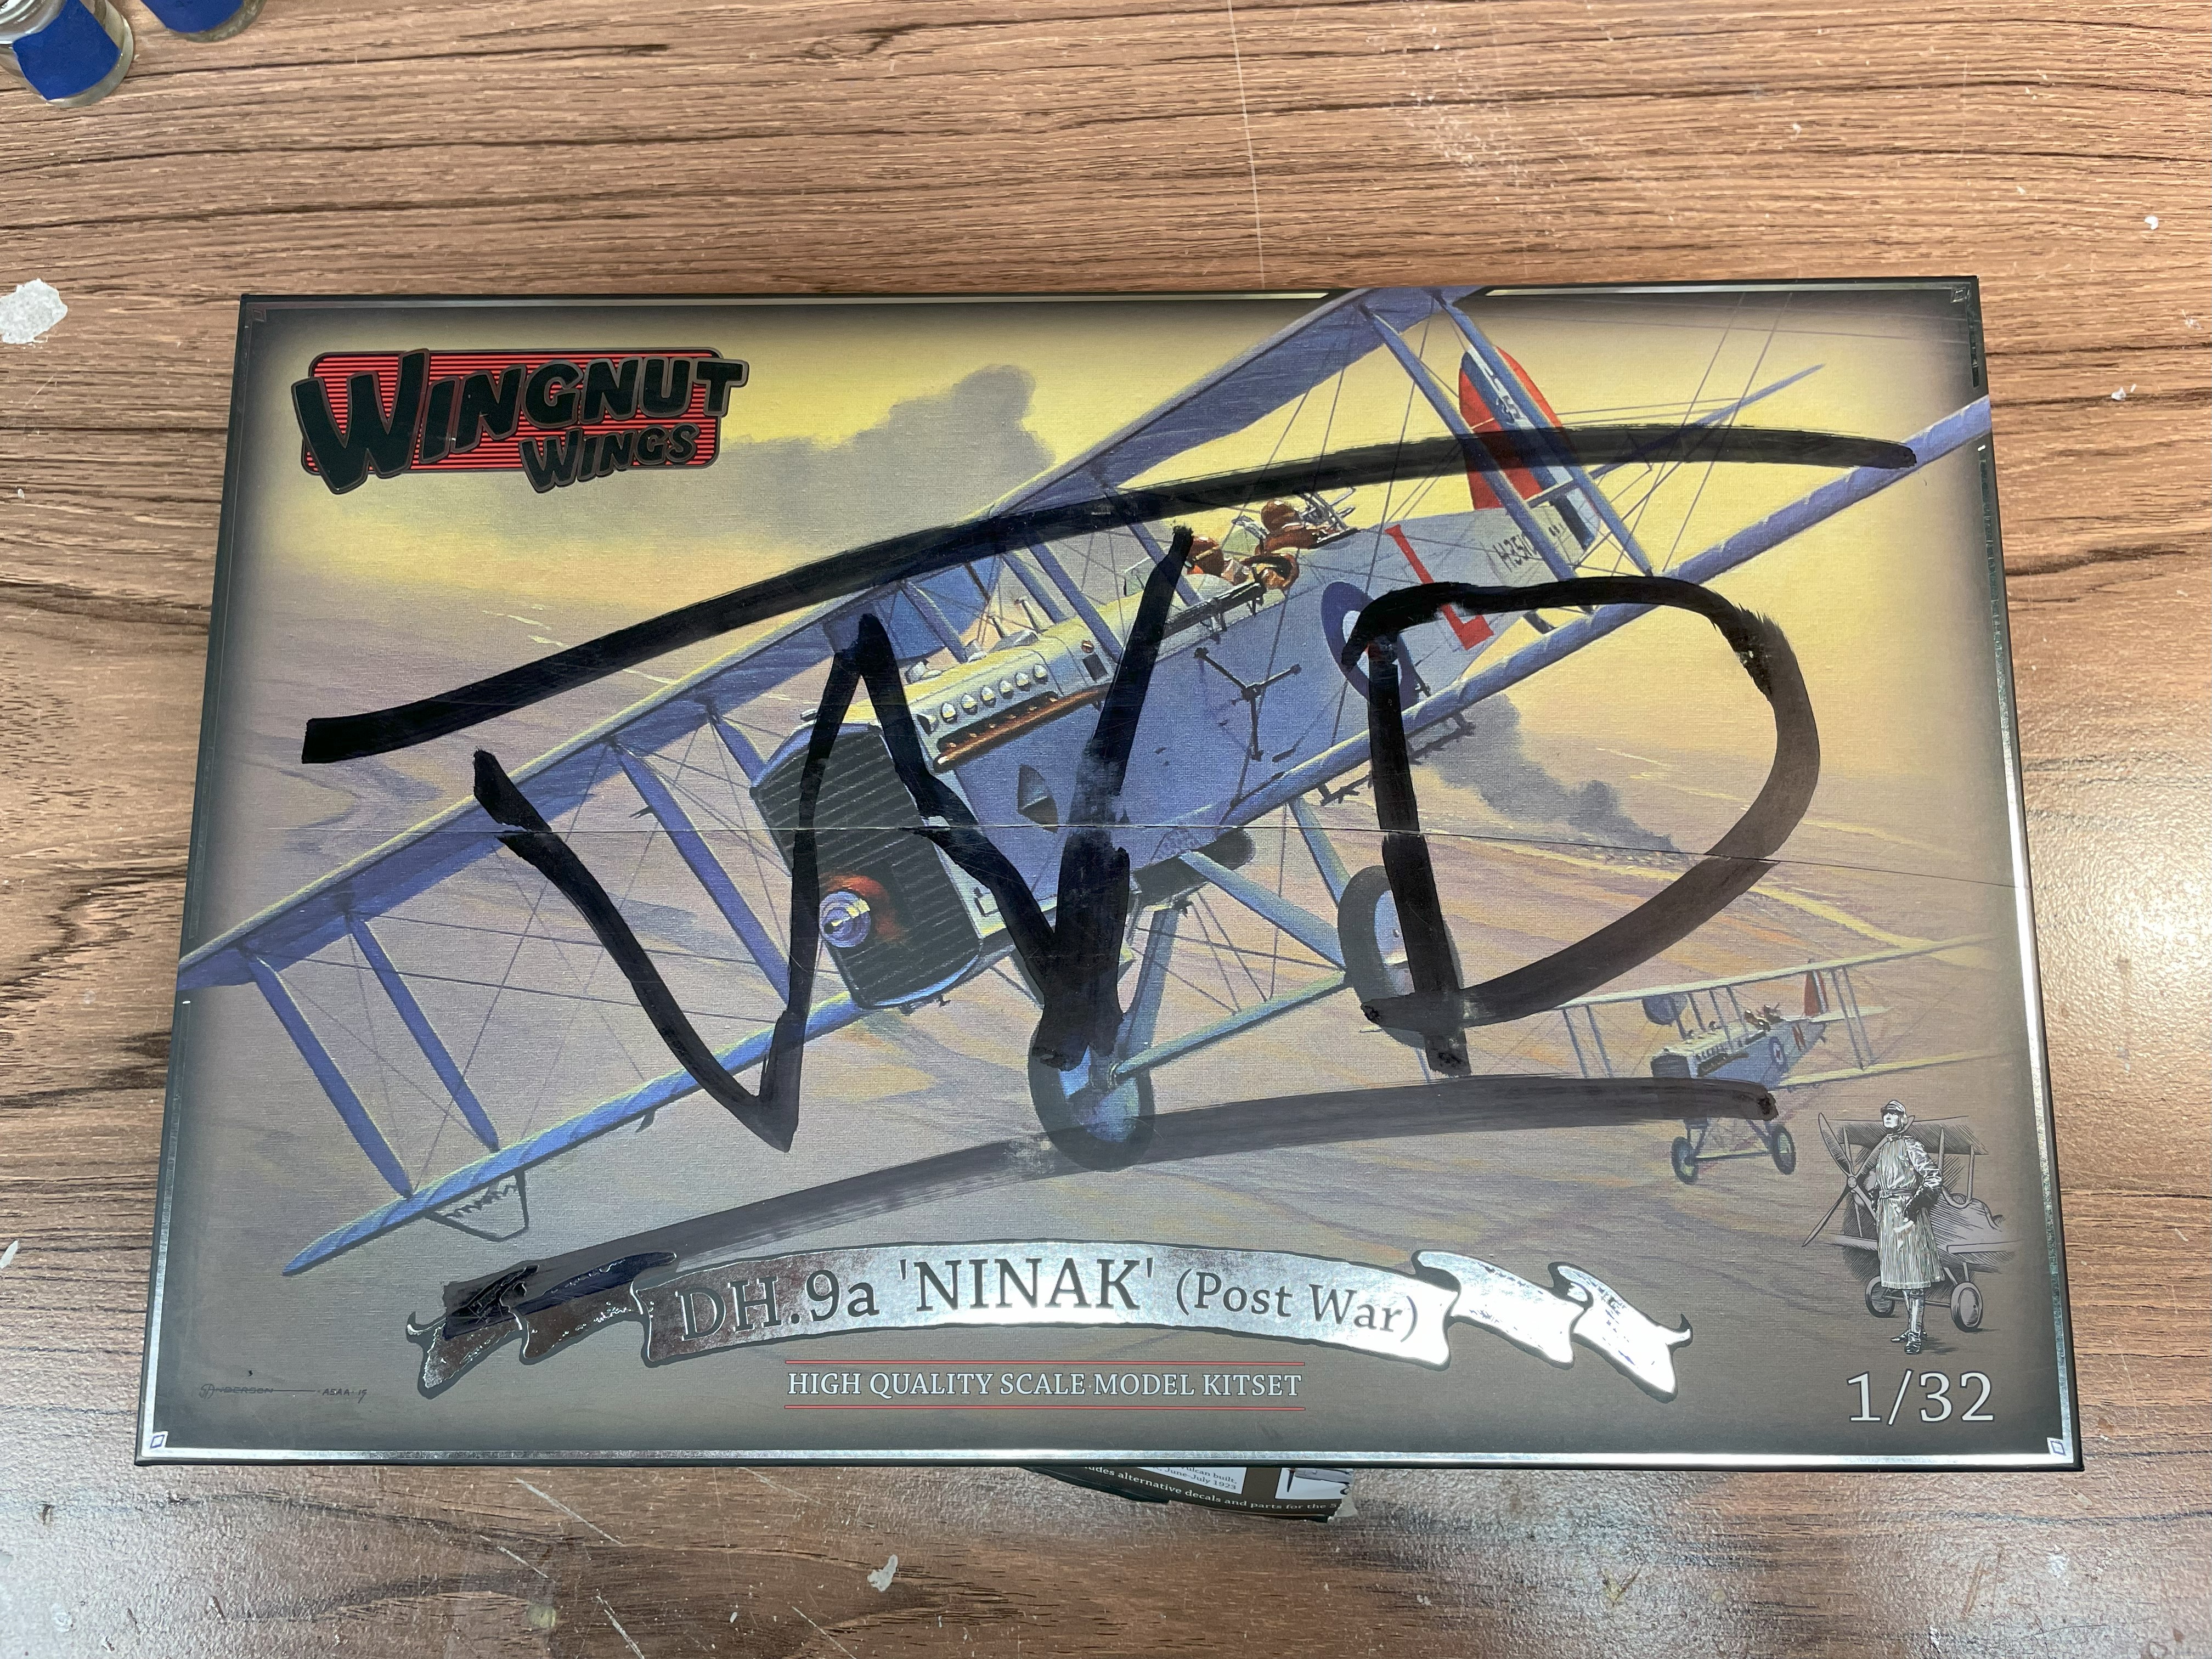
I’m starting my first WW1 model in a while.  My last one was a few years ago, and there have been a lot of life things and a few non-WW1 models in the interim.  I’m going to build the WNW post-war Ninak (which I guess technically isn’t WW1, but it is almost).  I purchased a few kits during the water damage sale around 10 years ago, and this is one of the last of them.


I’m a little torn between schemes.  I’d like to do E8650 from No 84 Squadron (pictures in Eric Larson’s amazing log https://forum.ww1aircraftmodels.com/index.php?topic=10490.0).

The Pheon decals are long unavailable.  I need to make masks or decals myself of the serial numbers on the fuselage (black), tail (black on white background), and JAN in white letters on the fuselage.  The JAN was in honor of Group Captain Arthur Longmore’s daughter Janet, and I’d like to modify slightly to JEN (not historically accurate, but my daughter is Jenny). 

I can’t find commercially available decals or masks with similar font at 1/32 scale.  There are some WW2 RAF, but they look different.

I have some images of the serial numbers (the third picture in Eric’s log and the Ronnie Bar drawing inside the front cover of datafile #141).  How do I get from them to either decals, mask, or a combination?  I have a color ink jet printer (no white ink capability) to do decals or a silhouette stencil cutter.  For software I have photoshop essentials v14 and the full version of the silhouette software. I’d like to replicate the fonts as closely as I can.

Any suggestions?  Looks like I need to make a mask at least for the white background on the tail.  I’ve done some searching already, but haven’t seen much applicable at this small scale.  I’ve played with the software I have, but the edges get pixelated, probably reflecting the resolution of the image I started with.

Thanks!

Dave

Offline Dutch522

  • Hero Member
  • *****
  • Posts: 975
Re: WNW Post-war Ninak
« Reply #1 on: August 06, 2023, 02:27:41 AM »
Hi Dave, how big a hurry are you in for the serials? The problem you're having with pixellation is because Photoshop is a raster-based art application—it only works with pixels—versus a vector-based app like Adobe Illustrator, in which the art is rendered as a series of mathematical plot-points that can be (theoretically) scaled from the size of a billboard to something so tiny you'd need a microscope to see it, all with no loss of resolution. Anyway, if I can get my daughter to reinstall Illustrator for me I'd be happy to do the serials and "JEN" for you, if that would help. You'd still have to figure out how to apply them, but at least you wouldn't have to worry about finding the correct font.

Dave V.

Offline davec

  • Full Member
  • ***
  • Posts: 179
Re: WNW Post-war Ninak
« Reply #2 on: August 06, 2023, 04:48:21 AM »
Hi Dave - many thanks.  After reading your email, I went back to my silhouette software.  Instead of using the trace function, I just tried blowing up my image really large and was able to trace the letters and numbers using the draw polygon and draw curve functions, which will give paths for the cutter. It is a little tedious, but I'm getting better at it. I really appreciate your offering to help me, but wanted to learn how to do this on my own.  I bought the silhouette a while ago and still haven't used it for anything other than masks for circular shapes. If I run into problems, I will reach back out.  I just started cutting parts off the sprues, so I have plenty of time until I am painting serial numbers.  Your email was extremely helpful in getting me unstuck and steering me in the right direction.

Thanks!

Dave

Offline Dutch522

  • Hero Member
  • *****
  • Posts: 975
Re: WNW Post-war Ninak
« Reply #3 on: August 06, 2023, 01:30:22 PM »
A modeler after my own heart! Glad you were able to figure it out, I'm kinda old school so I forgot that a lot of programs have built-in raster/vector capabilities these days. It should work fine for you, and if not, just LMK.

All best,

Dave V.

Offline AngryJazz

  • Hero Member
  • *****
  • Posts: 568
    • @AngryJazz_Models
Re: WNW Post-war Ninak
« Reply #4 on: August 07, 2023, 06:02:27 PM »
Very much looking forward to your build Dave! The scheme is very interesting! May be some inspiration for my Ninak in a far future  ;)
//Ben - @AngryJazz_Models

Offline RAGIII

  • Hero Member
  • *****
  • Posts: 19698
Re: WNW Post-war Ninak
« Reply #5 on: August 08, 2023, 02:54:21 AM »
Looking forward to your build Dave!
RAGIII
"A man has to know his limitations": Harry Callahan

"Don't slop it on" Lynda Geisler

Offline Tim Mixon

  • Hero Member
  • *****
  • Posts: 970
  • Main focus is 1/72 WWI
Re: WNW Post-war Ninak
« Reply #6 on: August 10, 2023, 10:22:05 PM »
Looking forward to seeing this Dave. I have a 1/72 build on the short list.

Offline FAf

  • Hero Member
  • *****
  • Posts: 1227
Re: WNW Post-war Ninak
« Reply #7 on: August 17, 2023, 08:52:18 PM »
Hi Dave - many thanks.  After reading your email, I went back to my silhouette software.  Instead of using the trace function, I just tried blowing up my image really large and was able to trace the letters and numbers using the draw polygon and draw curve functions, which will give paths for the cutter. It is a little tedious, but I'm getting better at it. I really appreciate your offering to help me, but wanted to learn how to do this on my own.  I bought the silhouette a while ago and still haven't used it for anything other than masks for circular shapes. If I run into problems, I will reach back out.  I just started cutting parts off the sprues, so I have plenty of time until I am painting serial numbers.  Your email was extremely helpful in getting me unstuck and steering me in the right direction.

Thanks!

Dave

Hi Dave!
Hopefully you've gone further since you wrote the above, but if you have a Silhoutte cutter this shouldn't be a problem at all for you. I usually do exactly what you describe and these are pretty big markings so no problem cutting them later. If you run into any problems or have any questions about the machine or the process, just send a PM.

What kind of masking material are you using?

Cheers
Fredrik


Offline davec

  • Full Member
  • ***
  • Posts: 179
Re: WNW Post-war Ninak
« Reply #8 on: August 18, 2023, 12:03:44 AM »
Thanks everyone for your comments.  I've mostly been painting and woodgraining the cockpit parts, so not much in terms of visible progress yet.  We also went away for a few vacation days, so not too many day at the bench.

Fredrik - thanks for the reassurance.  I use oramask stencil material (can't remember which number).

thanks!

Dave

Offline RichieW

  • Hero Member
  • *****
  • Posts: 1966
Re: WNW Post-war Ninak
« Reply #9 on: August 18, 2023, 03:00:30 AM »
I never managed to get hold of the Ninak kit but I can follow your build instead. Looking forward to seeing your progress.

Richie

Offline AngryJazz

  • Hero Member
  • *****
  • Posts: 568
    • @AngryJazz_Models
Re: WNW Post-war Ninak
« Reply #10 on: August 18, 2023, 04:12:49 PM »
I never managed to get hold of the Ninak kit but I can follow your build instead. Looking forward to seeing your progress.

Richie

Sorry for the off-topic, but the Ninak are still avalible if you want it. Dont know where in the world you are located, but...

EU     modellbau-koenig.de/ for about 150€
US     andyshhq.com/ currently on discount for 99$


And for this Ninak build I look forward to seeing your wood painting and cockpit Dave  :)
//Ben - @AngryJazz_Models

Offline davec

  • Full Member
  • ***
  • Posts: 179
Re: WNW Post-war Ninak
« Reply #11 on: August 21, 2023, 06:14:42 AM »
At last, enough progress to post some pictures.  I did the woodgraining and started to assemble the cockpit floor and sides.  I’d appreciate comments about things I could do better.  Some of my substantial blocks of time in the workshop happen after I’ve worked overnight.  It feels great at the time, but when I come back later, the work is never as nice as I thought it was at the time.


Most of the woodgraining was done with yellow ochre and raw sienna winsor and newton alkyd oils over Tamiya desert yellow then coated with Tamiya clear yellow.  The other models that I have built were mostly darker wood.  I’m much happier with how my dark wood comes out than this did.  Next time around I plan a little more brown and less yellow/orange hue.  I wanted the grain to be subtle, but this is a little too much so.

Next step will be a coat of clear flat or light sheen to knock down the gloss.


The control levers are from the HGW set.  I was going to use their instrument panel until I realized it was a different configuration (maybe for the wartime Ninak?) and I didn’t have all the decals for it.  I’m largely focused on the areas that will be visible, so did not run the control wires all the way to the engine/radiator.  One of the victories this time was I've finally had some luck touching up where I get paint on the wood grain.

I’m not sure which interior details went with E8650 – the color scheme seems to come from a single picture. I’m using details from scheme B with the kit, which is another RAF Iraq airplane from the same time period (1923-24) and will be the fallback if I can’t get the masks working the way I want.

Offline RAGIII

  • Hero Member
  • *****
  • Posts: 19698
Re: WNW Post-war Ninak
« Reply #12 on: August 21, 2023, 06:56:55 AM »
Excellent Start! The interior is looking good!
RAGIII
"A man has to know his limitations": Harry Callahan

"Don't slop it on" Lynda Geisler

Offline Dutch522

  • Hero Member
  • *****
  • Posts: 975
Re: WNW Post-war Ninak
« Reply #13 on: August 30, 2023, 09:58:37 PM »
I actually just picked this kit up, along with the post-war Brisfit, so now I'm doubly interested in your build log. The RAF interwar "Silver Wings" era is probably my second great love after the Great War.

Dutch
(who used to sign himself Dave V, but started getting confused by all the Daves and switched to what friends and family have always called me)

Offline davec

  • Full Member
  • ***
  • Posts: 179
Re: WNW Post-war Ninak
« Reply #14 on: September 18, 2023, 12:07:57 AM »
RAGIII and Dutch – thanks for your comments.  I have not been very good about keeping the log up to date, but have been plugging away.  I’ve been working irregularly because of my work schedule and a really good vacation, and went through a period where I was frustrated and didn’t really want to post pictures.

I was particularly frustrated by my woodgraining on the interior.  I don’t like the color it came out, and ended up with some thick oils in corners and crevices that I needed to clean and patch. I do better woodgraining large, flat surfaces where I can use a sponge, and don’t get the same results on the framing where I use a brush.  Also not happy with my color choices for light wood, and wish I had planned ahead better so I didn’t end up with two colors of wood in the storage compartment.  I switched to fast drying alkyd oils and was able to figure out how to touch up in a way that only set me back a day, so I was happy about that.  Also learned that my frustrations about picking out detail with brush painting improved with different paints (Mr Color brushes way better than Tamiya).  My detail painting on the engine (which will be fully covered) came out way better than on the instrument panel.


I’m a little happier now that the fuselage is buttoned up.  I’m also much happier with my seam filling, which only took a few iterations of sanding and filling.  I was pretty careful when assembling the interior to making sure I scraped glue and paint so I could close the fuselage without big gaps.  This worked way better than usual for me, except I ran into a problem that I couldn’t figure out over the curved cushion between the pilot and observer seats.  I ended up with a gap, but was able to fill it with superglue and sand it so the gap isn’t too visible.


Given my dissatisfaction with the interior, I thought I would turn this into a learning experience.  I don’t have a lot of pictures of the plane I am modelling (mostly just the cover picture and side view in the datafile), so decided to try opening the panel to add the storage compartment and added the photoetched stitching.