Hi all!
It's been quite a while now since any updates, but I have been steadily making progress. I need to be more diligent about posting as I am quite far ahead now, so will endeavor to bring this build current and share with you my further progress and misadventures. Gotta start somewhere, so let's continue with the exhaust.
Since I will be using the Roden engine that is slightly bigger than the Eduard supplied one, the exhaust would need to be modified to fit.
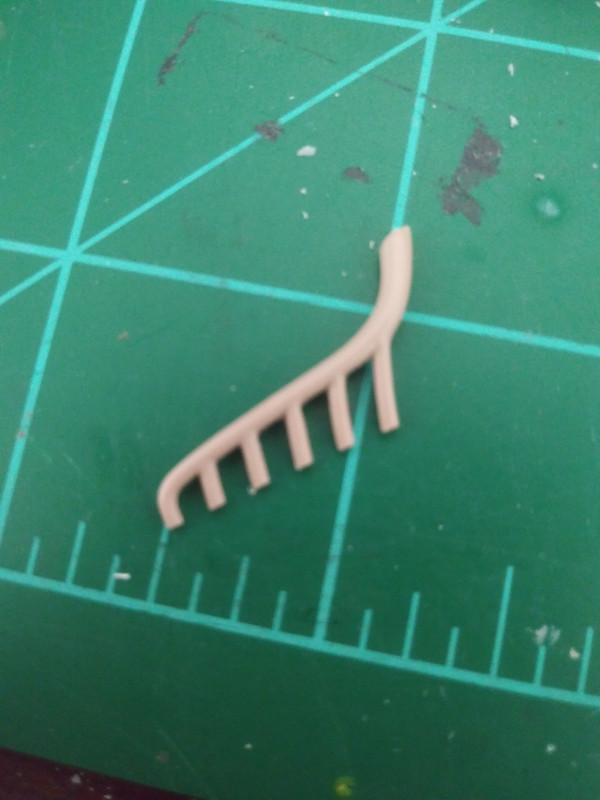

As you can see, the exhaust will not line up properly with the new engine. These early photos are of me testing it with the Engines and Things engine which I ultimately decided not to use. It is dimensionally the same size as the Roden engine so is fine for demonstrative purposes.
First I had to cut apart the exhaust. Scary, I know! With a deep breath, I started cutting.
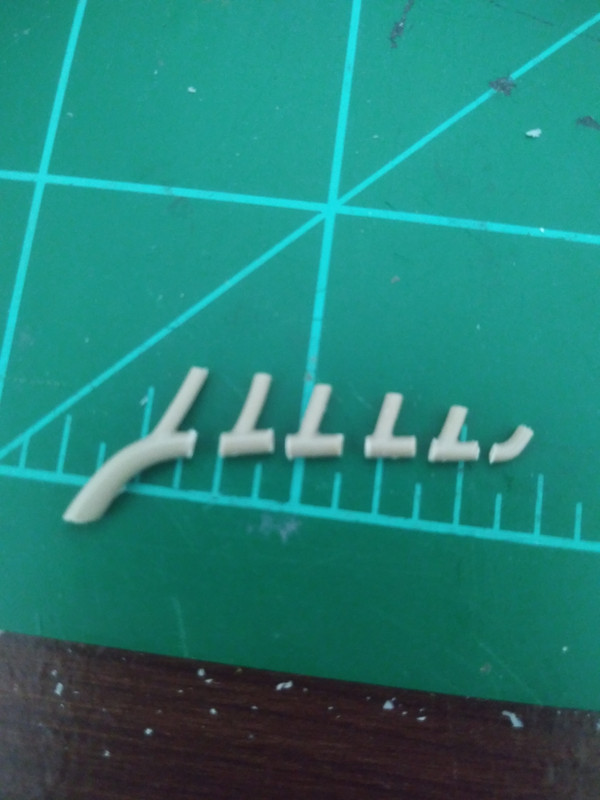
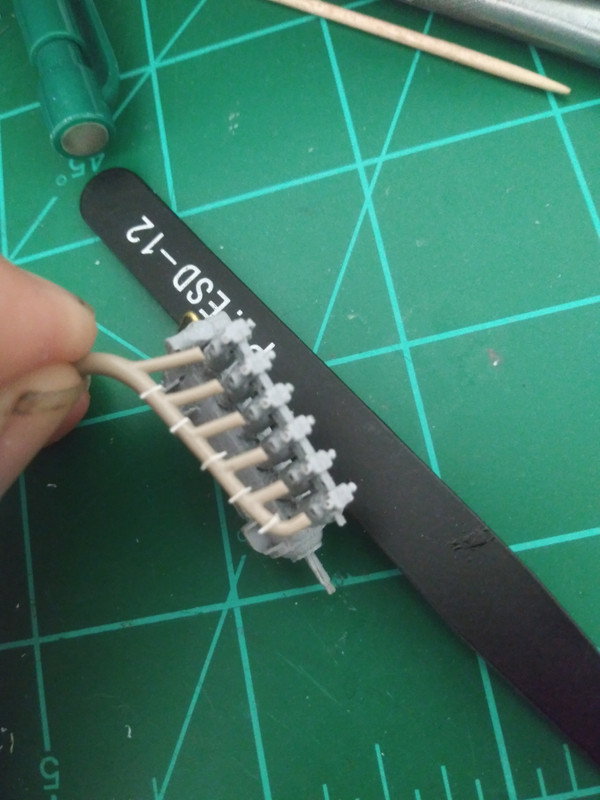
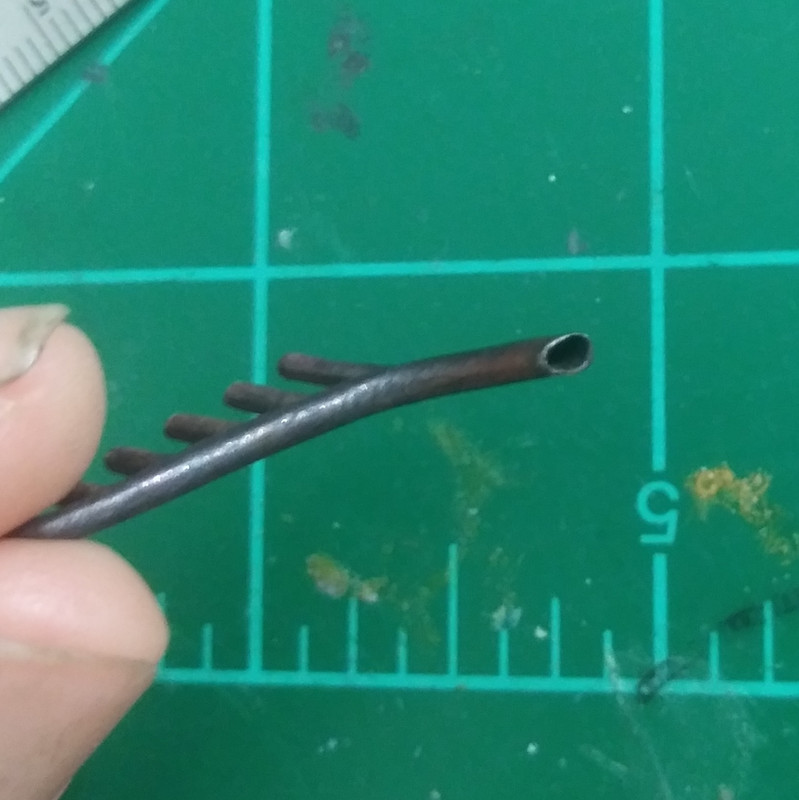
I then drilled through all the parts to be able to insert a length of wire later, making sure to keep track of the parts so that I put them back together properly.
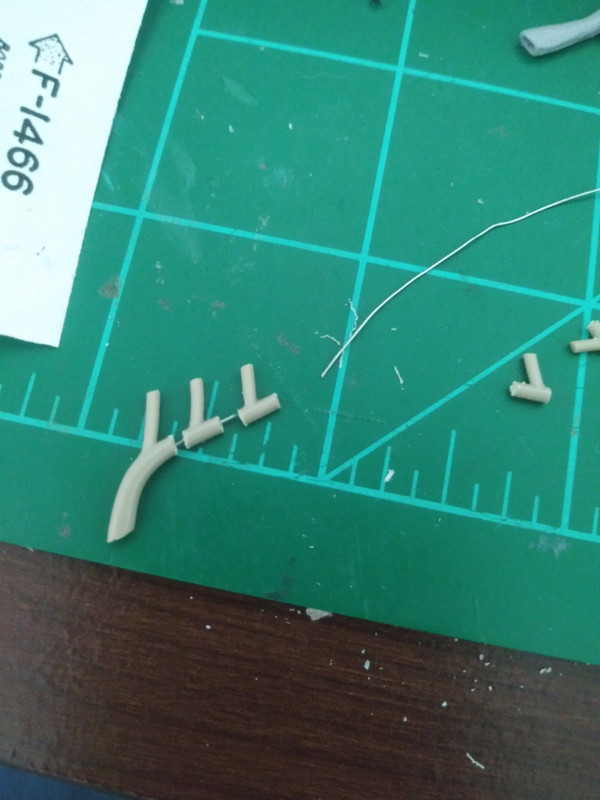
I made five spacers from .25mm thick sheet styrene squares and drilled a hole through the center of each of these. Ironically enough, I used beading wire to string the parts together, very much like stringing a necklace.
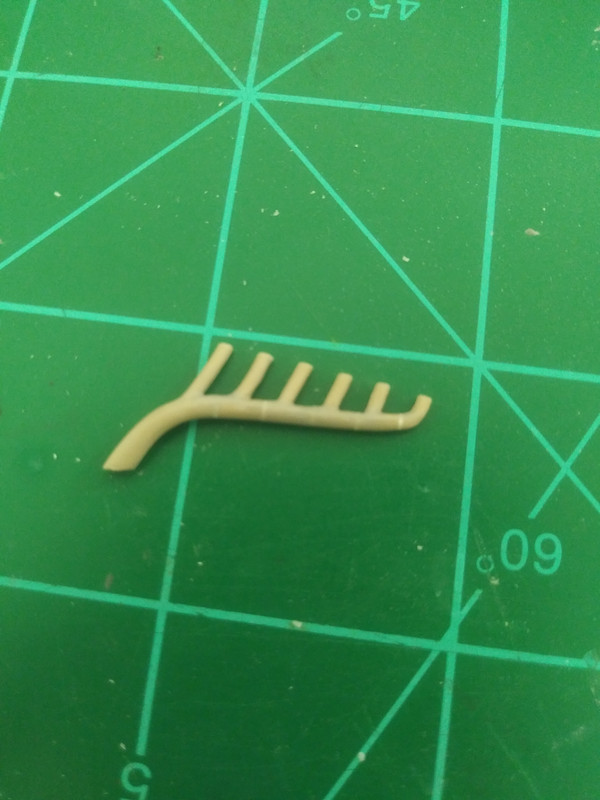
Using styrene cement I pressed all the parts together on the wire, making small adjustments to make sure everything was aligned properly.

Here you can see that the exhaust now fits near perfectly with the larger sized engine block. Success!
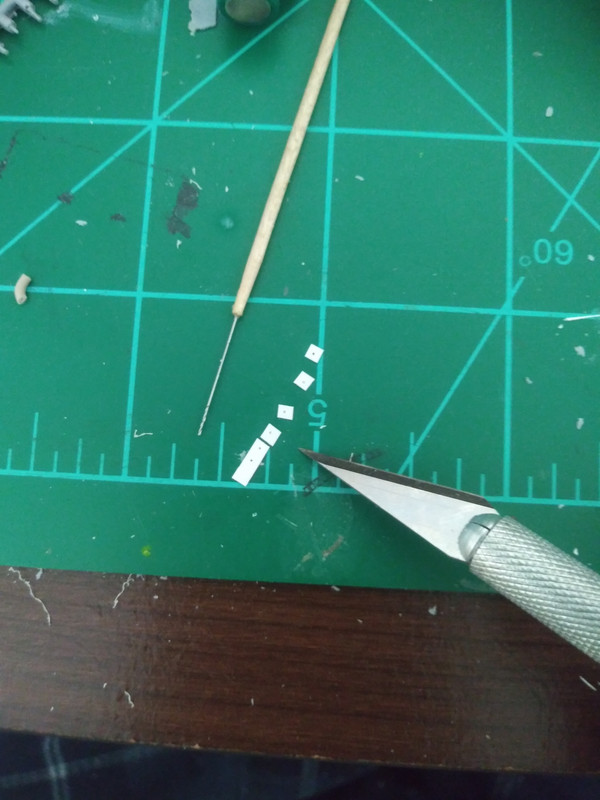
After letting this dry, I used my sprue cutters to trim away the extra material from the spacers and sanded the exhaust to a unified shape. Minor hairline gaps in the assembly were filled with sprue goo and again sanded to shape once cured.
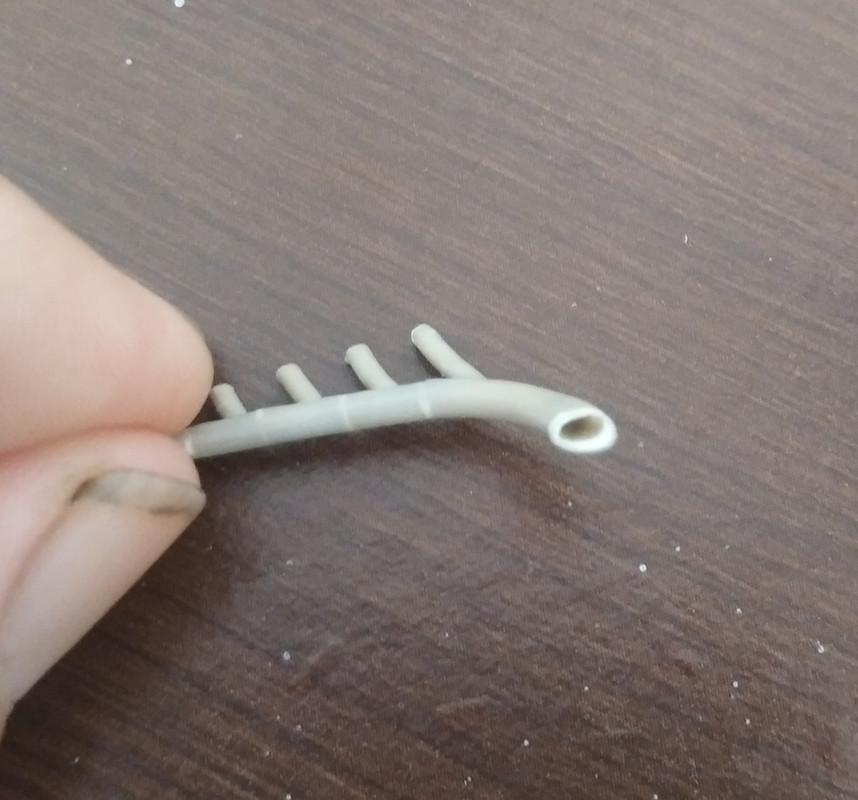
I also added a piece of styrene approximately 1mm thick to the end of the exhaust to make it proportional with the other added length, trimmed and sanded just as I had done with the spacers. I used a very thin piece of stretched sprue to add a lip to the exhaust opening. I drilled out and carefully hollowed the opening with various sized drill bits and my xacto knife with a #11 blade. I cleaned up any swarf and dust with the tiniest bit of extra thin glue. Too much glue and you can melt and distort all that work on the hollowed end, so less is definitely more here. I had to repair it a couple times because of this.
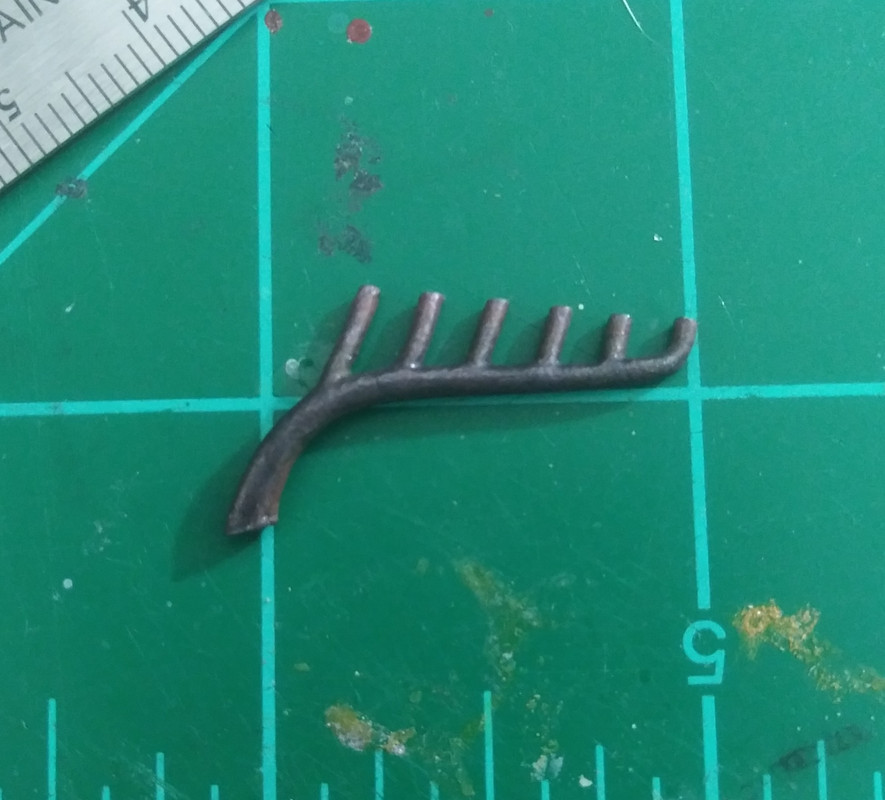
I base coated the exhaust with Stynylrez black primer. Using a drybrush technique, I used Model Master Acryl Jet to give the first addition of color. After that I stippled on burnt iron, a Martha Steward craft paint I found at the local art supply store. I varied these colors back and forth until I was happy with the look I was going for, using close up pictures of the TVAL aircraft as reference. I stippled on very small amounts of highly thinned clear blue, clear red with a fine brush, allowing them to mix slightly here and there, and building up the color with multiple applications. I was going for the sort of discoloration you see on metal from being subjected to high heat. Using the aforementioned base metallic colors, I lightly drybrushed some areas to help unify the colors again. I added a minimum of rust near the exhaust opening and at the base of the stacks where they emerge from the engine. Again, less is more here and references are your friend.
Thanks for looking, more updates in the works.
Chad

