For the next update, I shall continue on with the control stick.
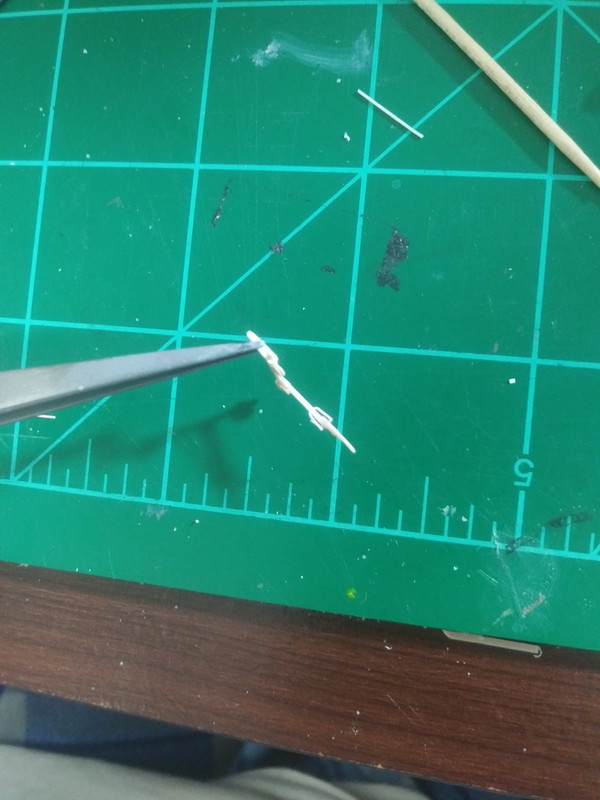
I made the arm that the aileron cables are connected to by laminating 3 thin pieces of sheet styrene together, cutting the middle piece and spacing it so that it would leave a gap for the cable to pass through.
Here I am trying to show the small gap in the arm as described above.
The arm test fitted to the control stick.
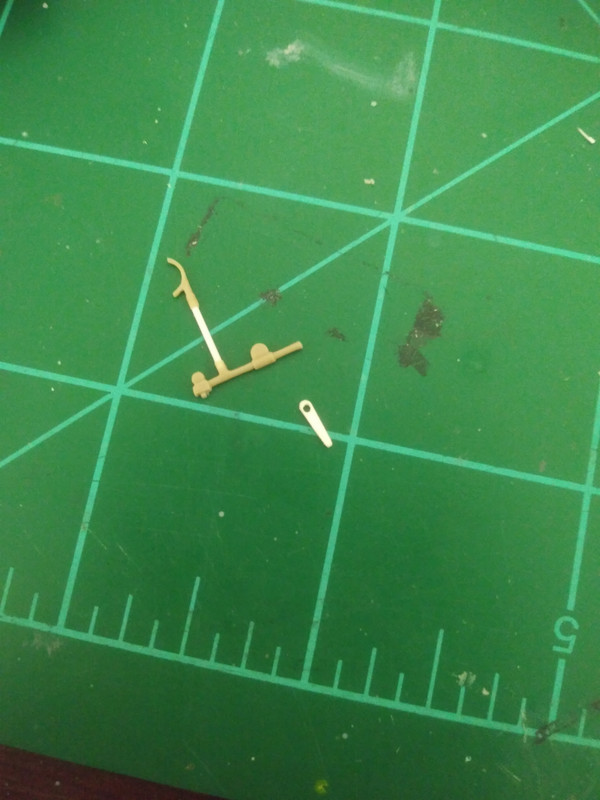
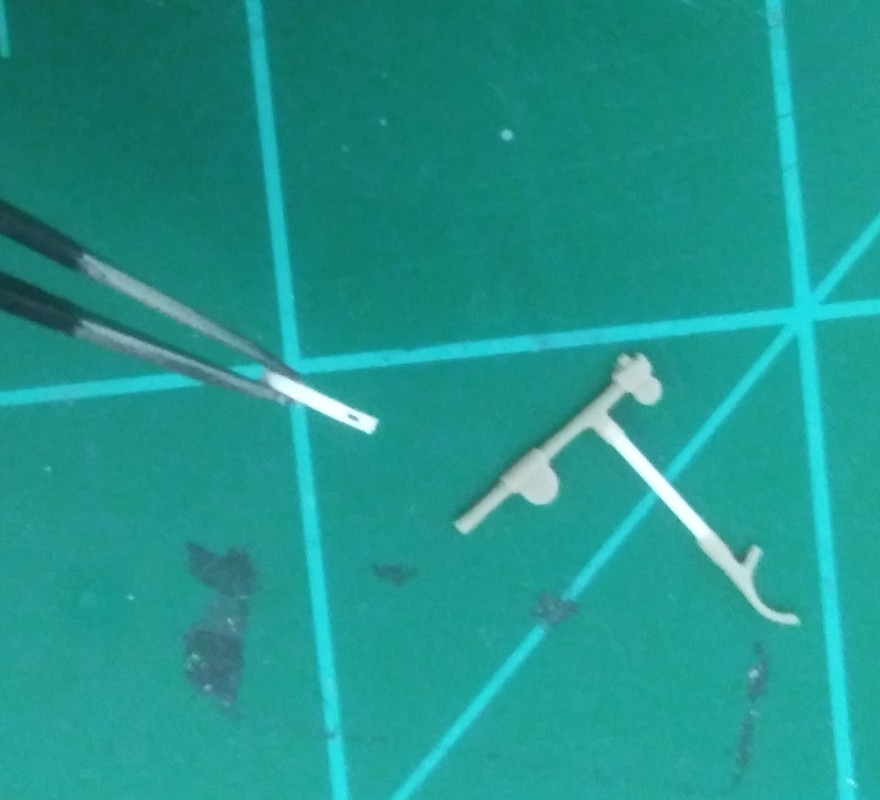
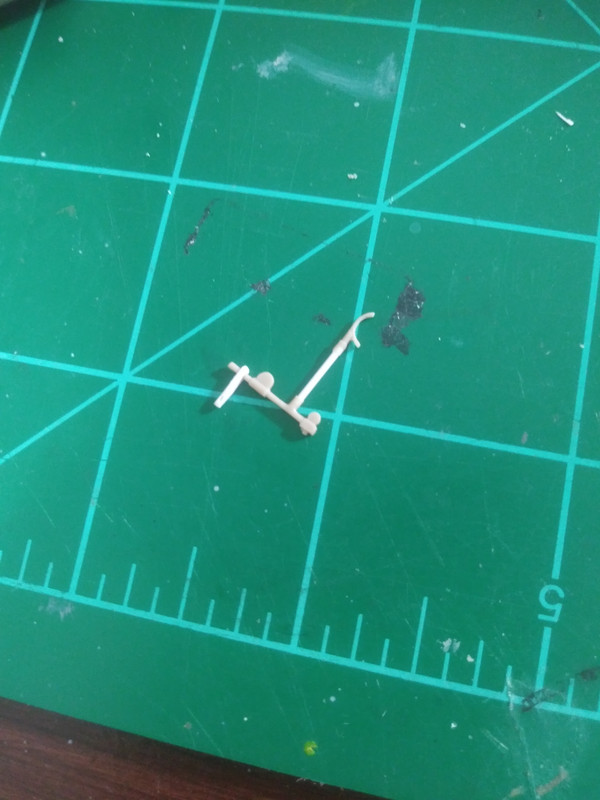
I don't know the nomenclature for all of the extra pieces to the control stick, so I will describe it as best I can and hopefully the pictures will help here too.

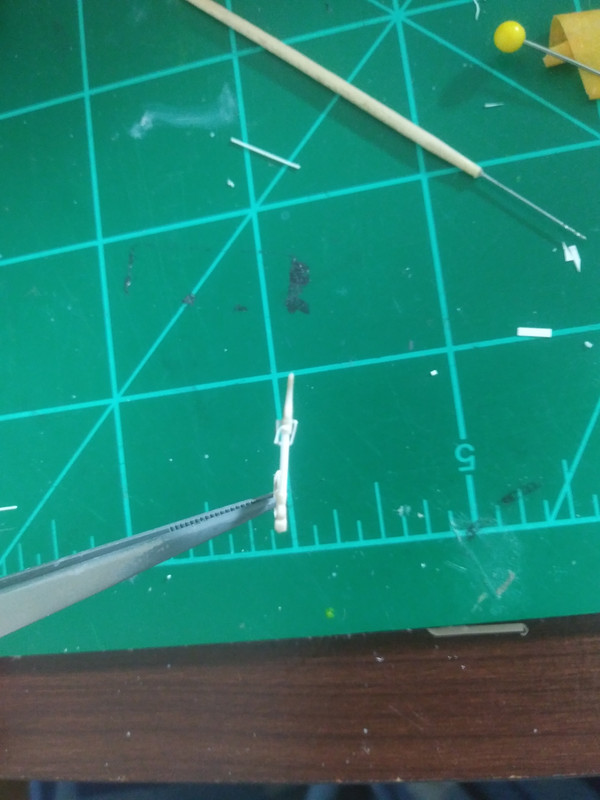
The slanted bar going from the horizontal part of the stick connects to the vertical control stick just under the hand grip in what looks like a "U" shaped flat metal bracket. i eyeballed the size of rod to use and cut a thin strip from styrene sheet. The strip I held with tweezers in the middle and bent the overhanging ends up to form a "U" shape. I measured the total length of this secondary bar to be 10mm, and going by pictures, decided that the rod part should be 7mm and the "U" part making up the remaining 3mm, leaving it longer than needed for now. I glued the two pieces together and set them aside to set up. Next I drilled a hole all the way through the top of the control stick from the side where the "U" would attach to. I pushed a piece of stretched sprue through the drilled hole and snipped it off leaving two bumps on either side of the stick to serve as the attachment points. Next I glued the bar assembly to the stick and trimmed off the excess styrene from the "U" at their attachment points.
I made the control lock lever from scrap styrene trimmings laying on my bench. Basically just a sliver bent into an inverted "L" shape, trimmed to size and glued in place. Sorry that these are difficult to see with everything being white styrene right now. Hopefully I can get some better pictures later once I start getting a coat of primer on everything.
I wanted to improve the rather plain kit seat, and after seeing how @Servus Bertl's improved his on his 1/32 WNW Albatros build I decided to give it a try myself. I don't have any in progress shots of this, but if you would like to see how it was done please go check out his fantastic build here:
https://forum.ww1aircraftmodels.com/index.php?topic=13288.15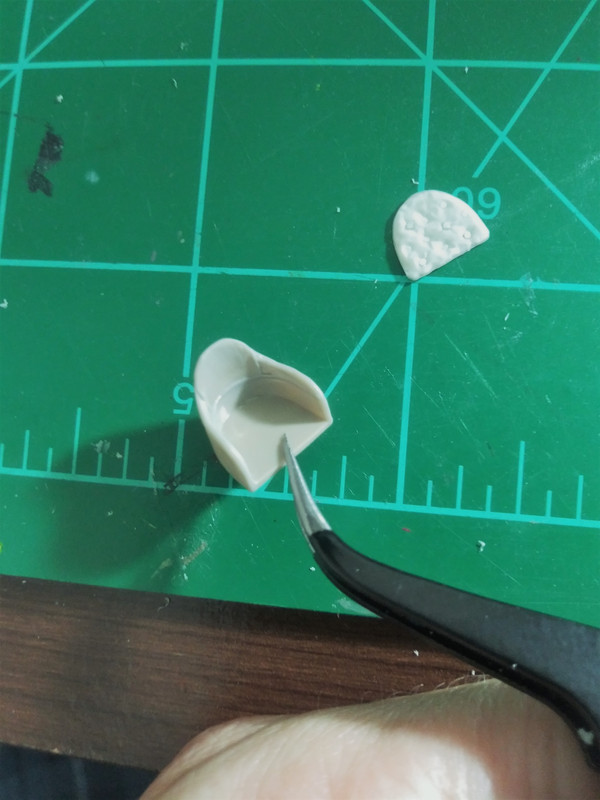
Improved kit seat with scratchbuilt cushion.
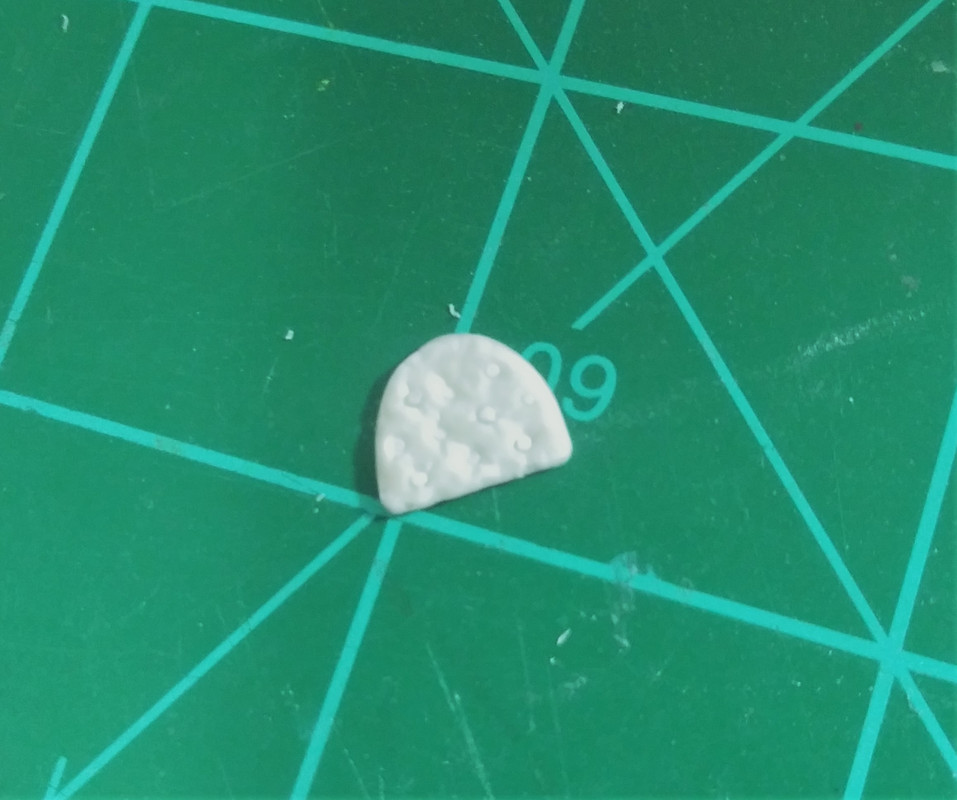
The cushion was carved from sheet styrene, with further contours added with some sprue goo dabbed on and smoothed over with more extra thin liquid cement. The buttons are punched styrene discs pressed into drilled out recesses.
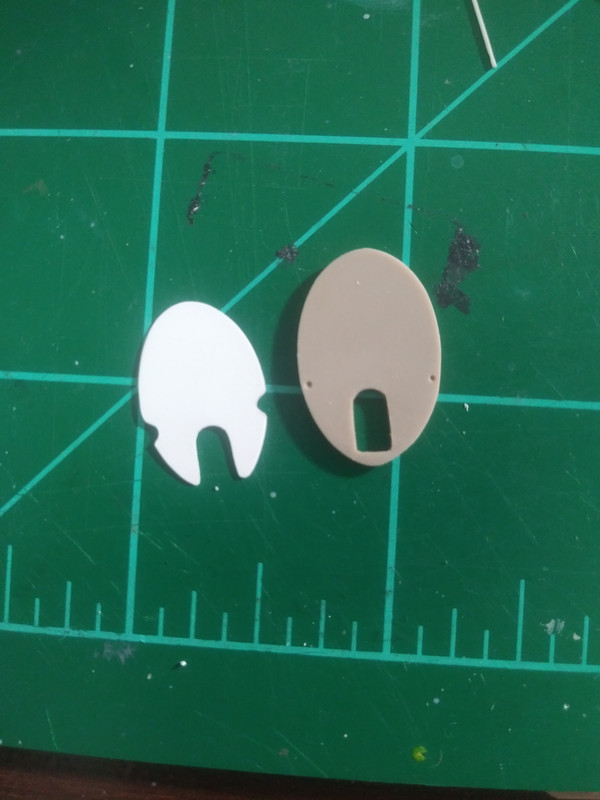
I improved the rear bulkhead by making a cut-out where the control wires will pass through. Also, since it will be fabric covered, I cut out some thin sheet styrene to represent this panel.

Last thing for tonight will be the scratchbuilt pulleys for the aileron control cables.
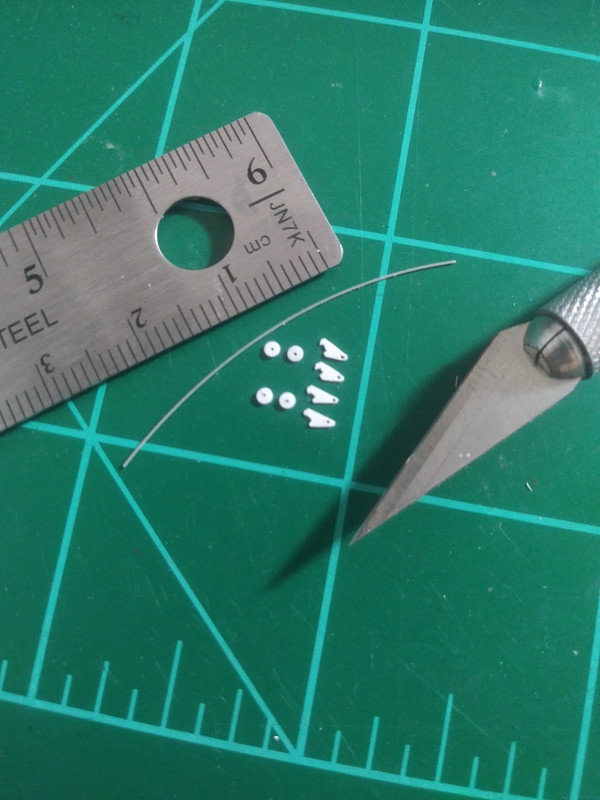
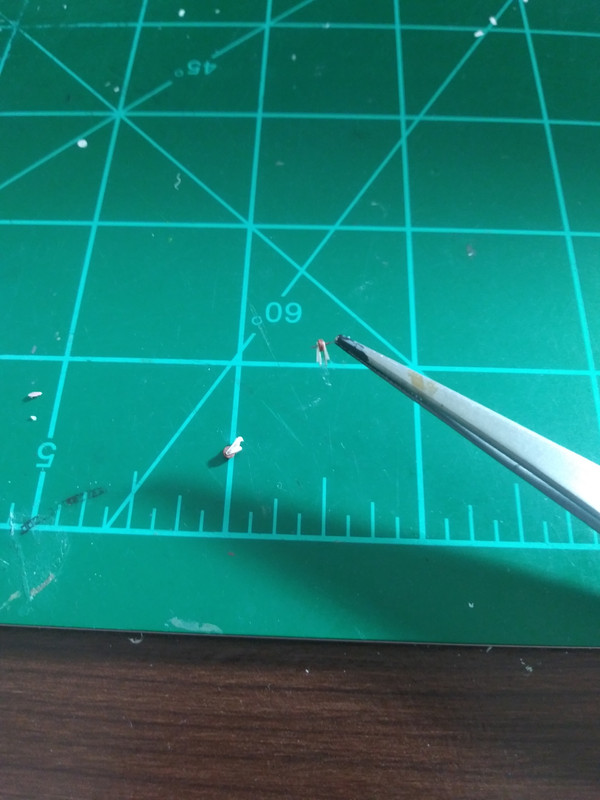
Here are the pieces ready for assembly. I initially made one bracket then used it as a master to cut out the other three. I lost two to the carpet monster along the way so had to make more than I had originally intended. Discs were punched using my punch and die set, that part was pretty easy. What wasn't so easy was getting the hole drilled into them as centered as possible. There were a few rejects of these too until I had four I was happy with. The discs are 1.8mm drilled through with a #80 drill bit. This was tedious, but patience paid off.
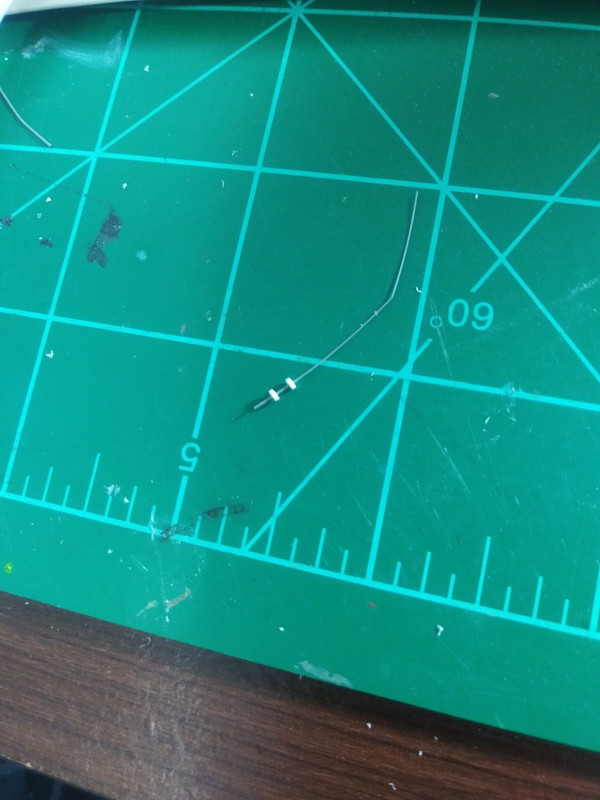
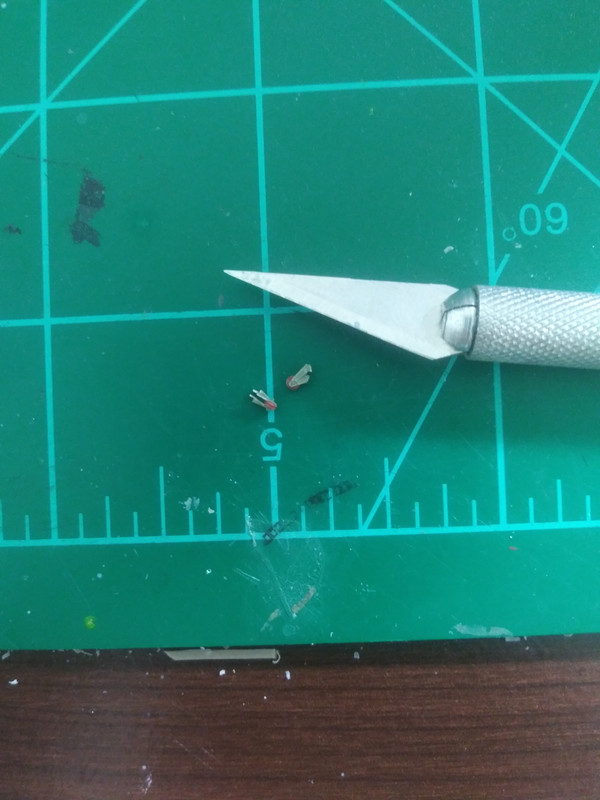
The discs were doubled up and threaded onto a piece of stretched sprue, held in place with extra thin styrene cement.
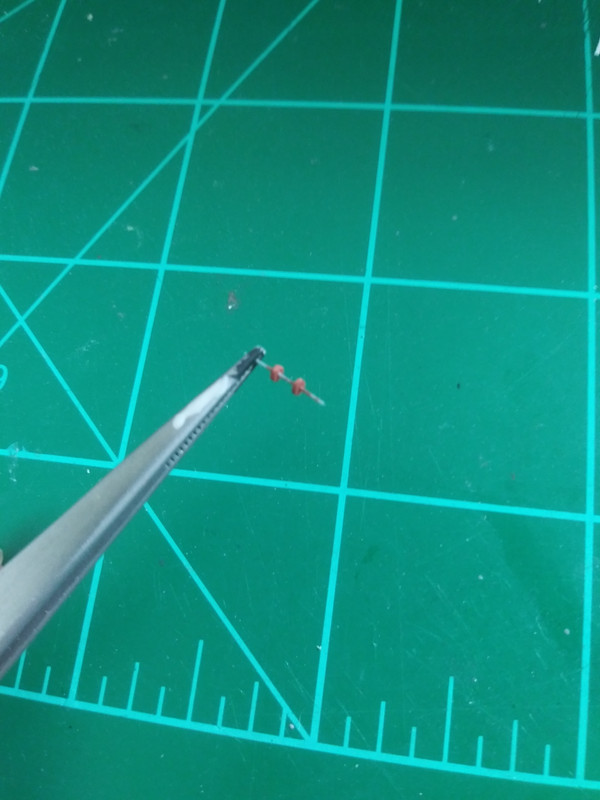
The pulley discs were given a coat of Model Master Acryl Rust. Not shown, but the inside of the pulley brackets were simultaneously painted with grey-green from Lifecolors' WWI German Aircraft acrylic paint set.
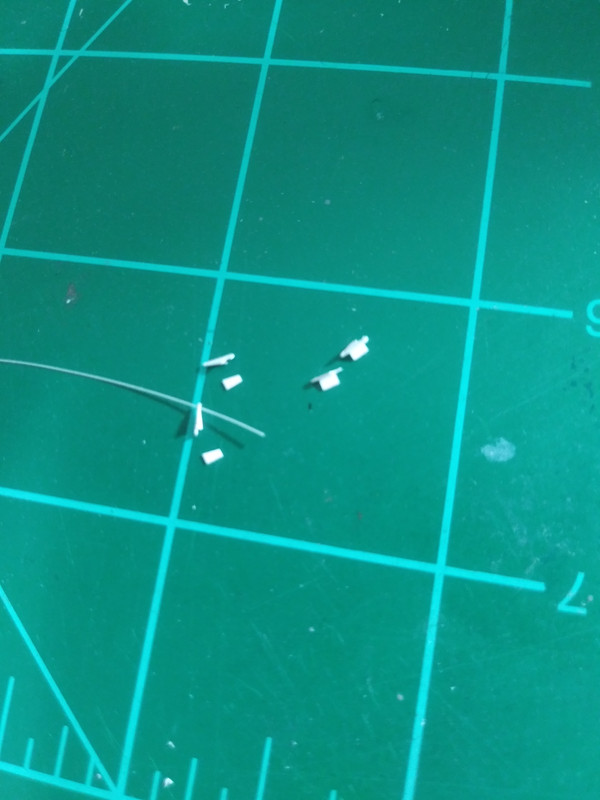
The pulley brackets had a triangular stiffening flange on the outside of each part. I replicated this by gluing rectangles of sheet styrene in place then using my side cutters to trim them to shape once the glue had set.
Now the assemblies were brought together, the brackets placed over the stretched sprue axles and glued in place, the excess sprue being nipped off afterwards.
Here are the pulley assemblies after they were given a coat of the grey-green to the remaining unpainted areas.
That is all for now. The fun part will be doing all the rigging later with a partially closed interior, but I have some ideas of how to tackle that and will share with you all in due time. Thanks for having a look and as always, feedback is always welcomed.
Chad

