Evening All
Thanks Terri, Frank, Ken and william for your comments. I think that fitting the top wing was the biggest hurdle in this build - fixing the booms and supporting structures by contrast has proved to be straightforward.
I attached the booms to the wings using rapid setting epoxy. I had thought of using superglue but in the past I have had disasters when it came to attaching booms to wings so I avoided that method. I filed shallow grooves in the wings using a round file: this was rotated so that I could avoid hitting the rear of the struts. The upper boom was attached first with the horizontal tail surface set between the rear end of the booms - this was held in place with superglue:

When the epoxy has set after 24 hours I put in the upper cross strut between the booms to help give this part of the assembly strength:

Please note that in the above image the model has been inverted onto an upper view of the plan, so that the rear of the lower wing is visible behind the model. The angle of the camera also distorts the view and makes it appear as if the alignment is wrong when it fact it is not. The lower booms were epoxied into place with the rudders: the booms were again attached to the wing with epoxy and the rudders with superglue, thus holding the assembly in place while the epoxy set. To get the correct angle of the lower booms to the wing I used a simple jig to hold the rear of the boom at the correct height:

With the booms, horizontal tail surface and rudders in place and set, it was time to start adding the remaining struts which held the tail lattice together by measuring and cutting plastic rod to fit. All of the struts are of 30thou plastic rod: where they attach to the metal booms I used superglue, the central vertical strut was held with liquid plastic cement:
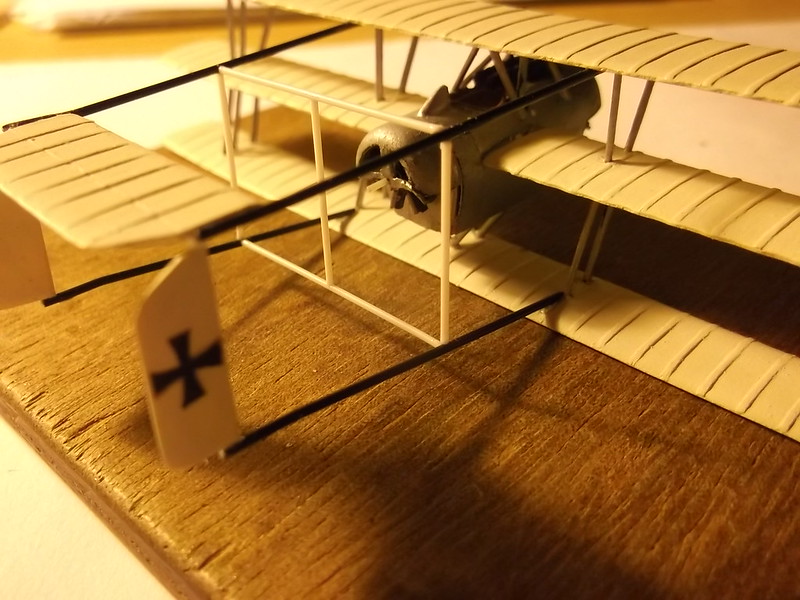
The remaining rear strut assembly was added in the same way as described above:


Now I have to paint the struts and booms and add the undercarriage before I start the rigging.
Thanks for looking.
Stephen.

