Has it really been 3 weeks since my last update? Blimey!
It's not that nothing has been happening, it has. Just very slowly!
When we left this the booms and tail had been fitted and the cross-bracing from the outer wing struts had been fitted.


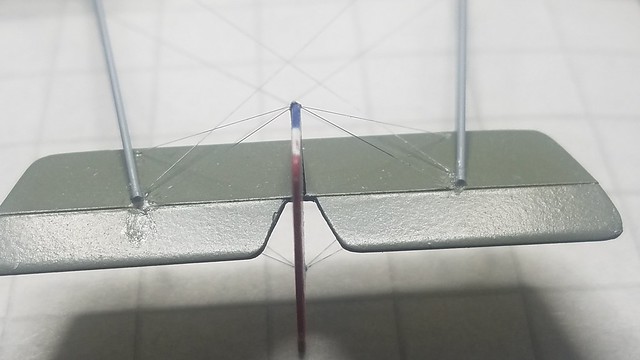
That meant the next step was to fit the cross bracing between the upper and lower booms on each side. I had thought about this a lot and had already fitted the wires at the front end, trapped under the booms when they were attached. They can be seen n the pic above, taped to the top of the upper wing to keep them out of harm's way. My plan was then to tension the lines and secure them before slipping the struts in to secure everything. There are 3 wires involved each side - the first is already fitted, the cross-bracing from outer struts to rear of opposite boom. Then there's the side bracing mentioned above, trapped under the boom at the front end and needing to be tensioned and secured on the boom at the exact point the strut will be attached. The 3rd is the side-to-side cross bracing between the upper and lower ends of the struts.
My first attempt was to do all 3 at the same time. I tensioned the fore-and-aft wire and taped it to hold it secure, then held the side-to-side one across it to pull all the wires against the boom so I could add a tiny drop of CA to secure them all.
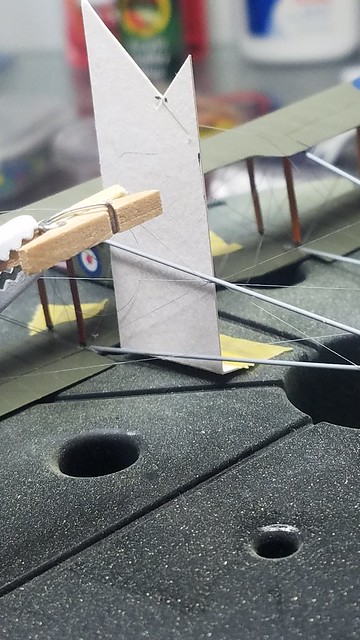
Another high-tech jig was employed to ensure the attachment was at the correct place, and would be equal both sides.


This approach didn't work too well, at least on the first side, so I decided to attach two lines, one at the top and one at the bottom, to one of the struts as per this pic.

That meant I had one less variable while adjusting everything, and worked much better.
Part of the reason this update has taken so long is because my method required one small operation to be done, then I had to wait for it to dry properly before the next small step. Another is that I kept destroying work already done!
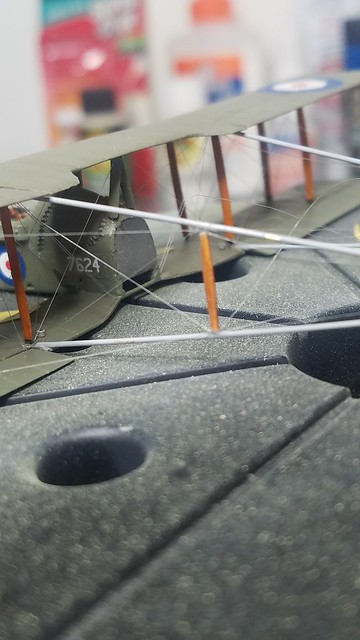
Here's the first strut in place.

That worked ok and was happy with it so proceeded to the other side. While tensioning that I got careless and pulled the entire strut off again, along with the associated wires.
Oh bother, said I.
and left it alone for a few days.
The strut and wires were eventually refitted, and left alone again.
next step, repeat the process on the other side. Without pulling it all off again!
Instead I pulled the wire out from under the lower boom.
Oh bother I said, once more.
and left it alone again.
It took a few attempts to resecure that line, but eventually it was done and I could progress.
The lower boom attachments were done first. The wires tensioned and taped in place, then a tiny dab of CA applied to secure them.
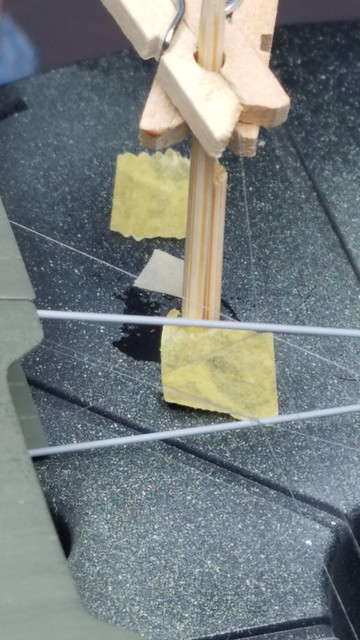
I then resorted to yet another high-tech jig to hold the upper wires in place while they cured: two tiny clothes pegs and a cocktail stick.
The upper cross wire was held by one peg which was slipped over the cocktail stick. The second peg secured the first at the desired height to hold the tension. The fore-and-aft wire was trapped between the cross wire and tensioned, and then all 3 were adjusted to cross the boom at the same point, making sure that point was level with the ones on the other side and the lower one on the same side.


Once that was hardened I could trim and fit the second strut!


Done!
Next step now is to tension the rear half of the side cross-bracing (between the struts and the tail) and add the small strut at the rear end. That SHOULD be far simpler...
Provided I don't pull the struts off....
Time for a beer.
Thanks for dropping by, stay safe!
Ian