Fellow Modelers,
Work has moved to painting the exterior. I have not gotten as far as I wanted, but decided to go ahead and post what I have done.
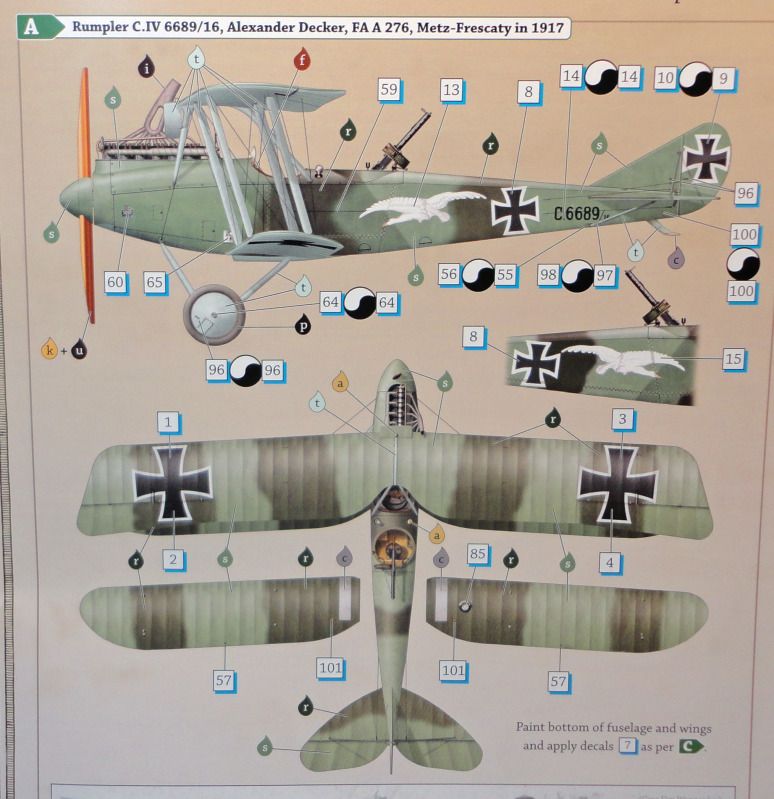
1st Image: This is from the kit instruction book and shows the scheme and markings of the plane I am building.
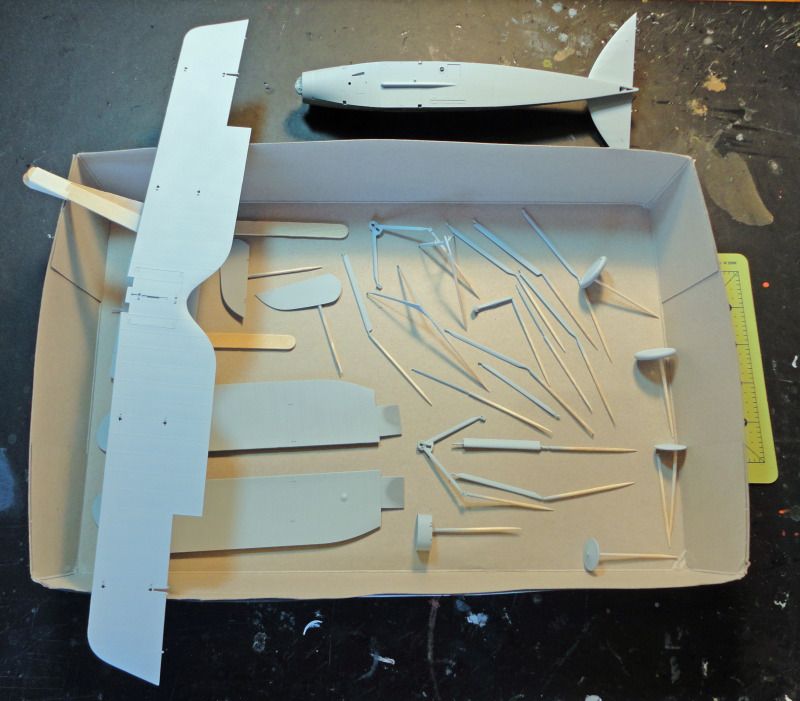
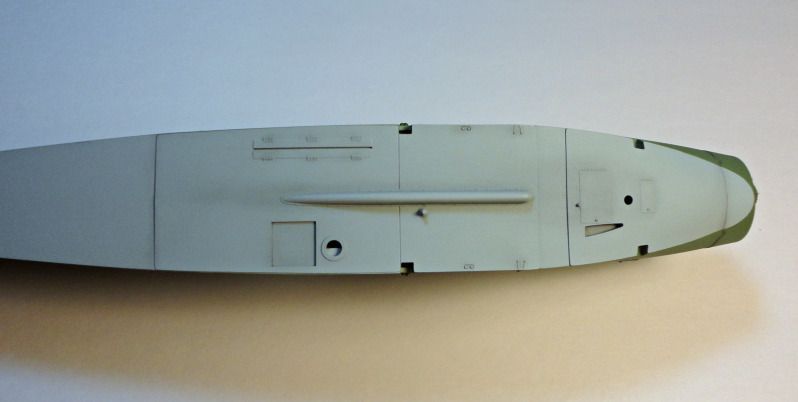
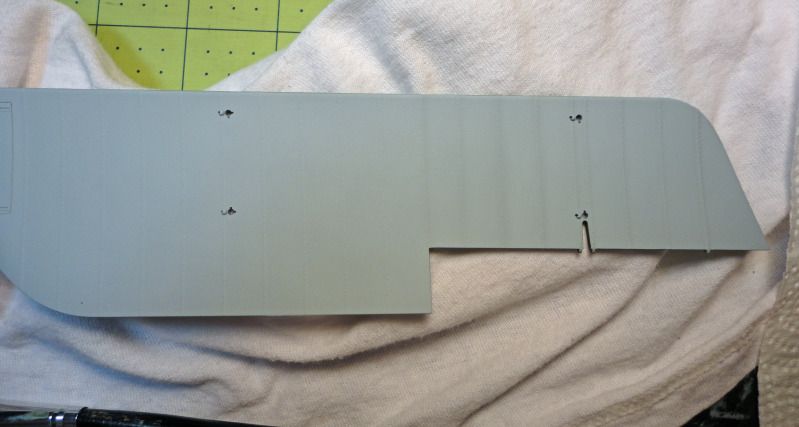
2nd Image: Most of the underside light blue parts are shown after painting. To create this color I mixed ten (10) parts Testors White to one (1) part Model Master Intermediate Blue.
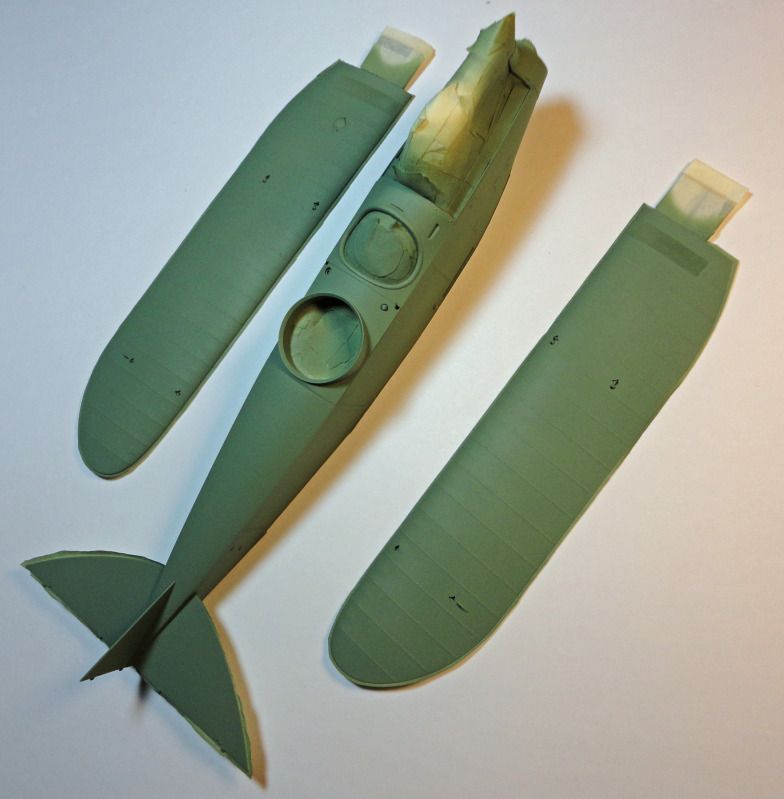
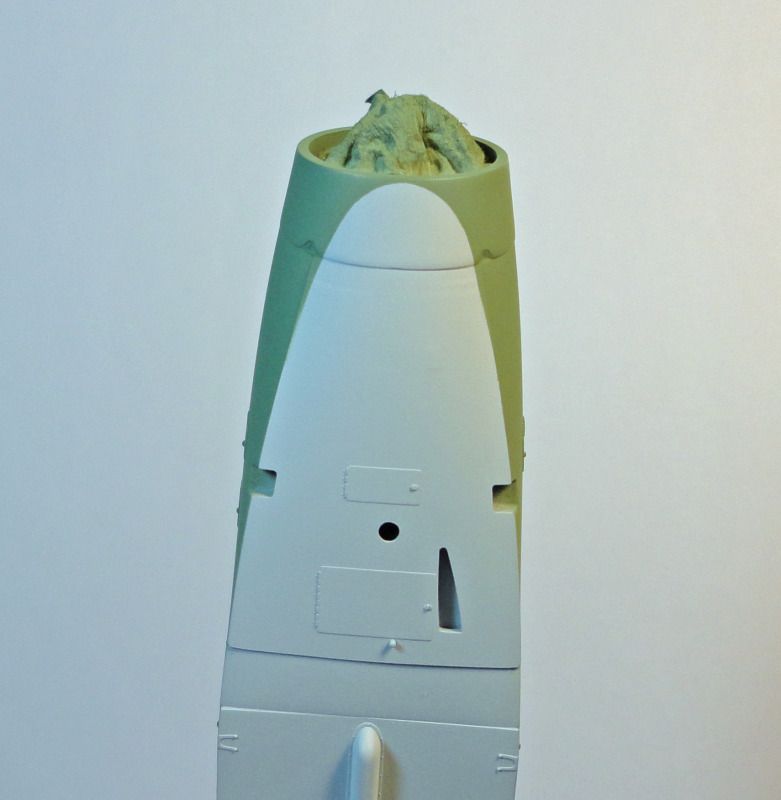
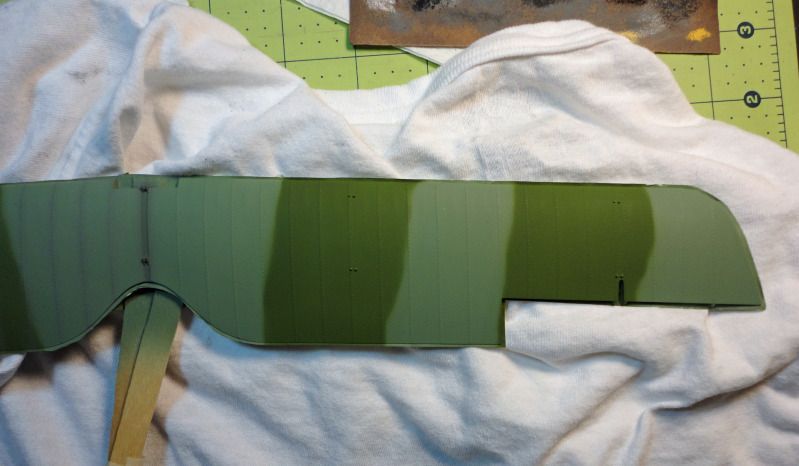
3rd Image: This image shows the fuselage and lower wings after the light green has been applied. In researching German light and dark green colors I found a lot of inconsistencies and variations. Even Wingnut Wing’s instructions state that specific German WW1 aircraft exterior colors are a hotly debated topic, so I guess there is some “give and take” here. For the light green I used Model Master RAF Interior Green. For the dark green I used Model Master Field Green. I do not know how accurate they are, but I am happy with them.
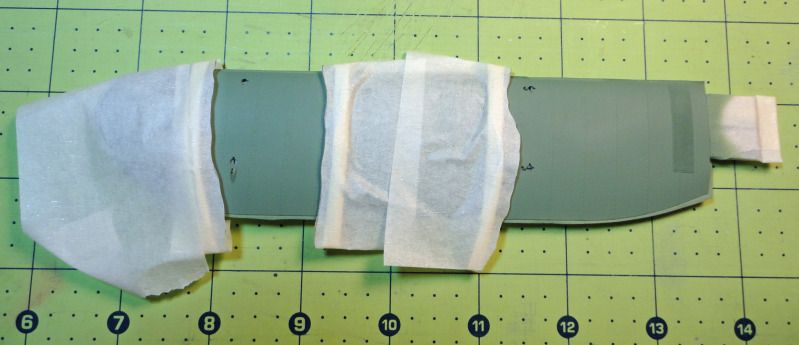
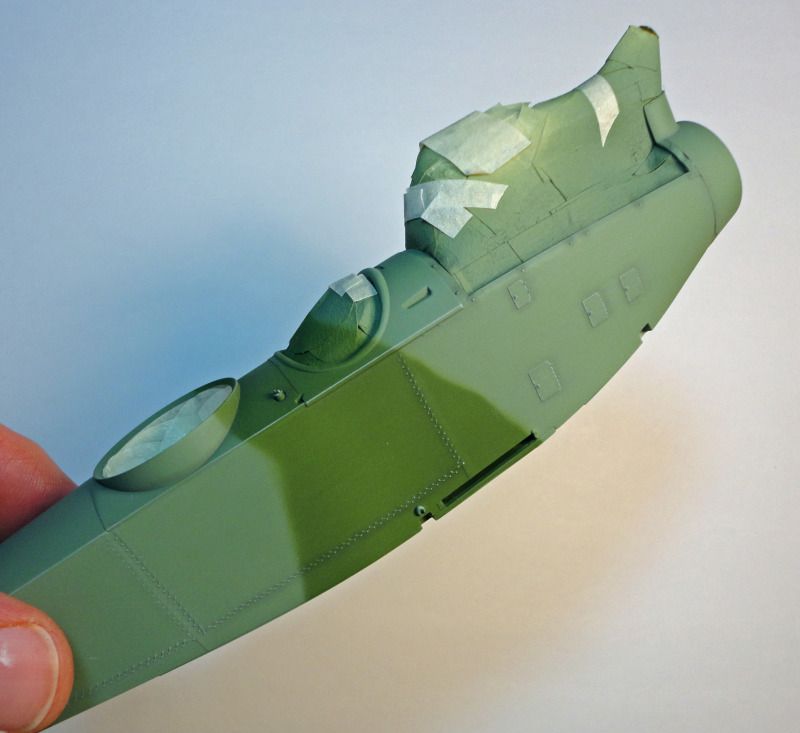
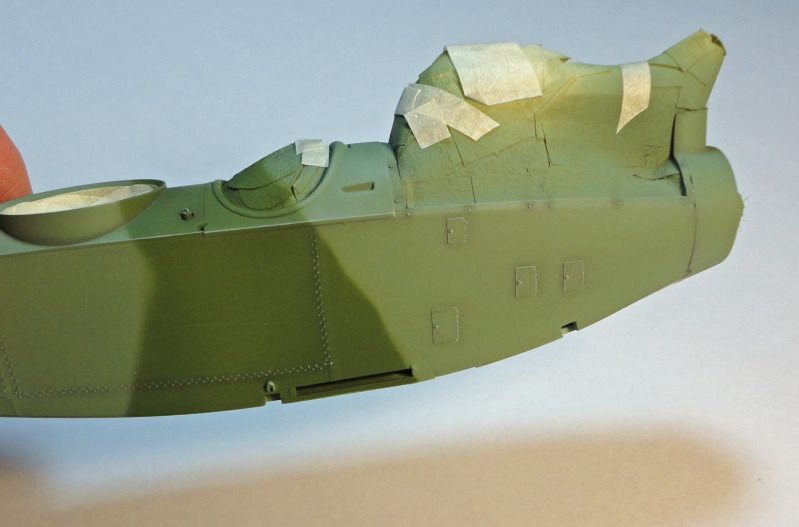
4th Image: The demarcation line between the two greens is very loose with no specific pattern. To achieve this effect I first cut the masking tape shapes based on the instruction’s profile drawings. Next, I made sure the edges of the tape stayed at least 1/8” off of the model so a very loose, blurred line could be produced. Some modelers who are very skilled with their airbrush can do this by hand, but I have to use masking tape. This image shows the masking tape in place and the dark green paint ready to be added.
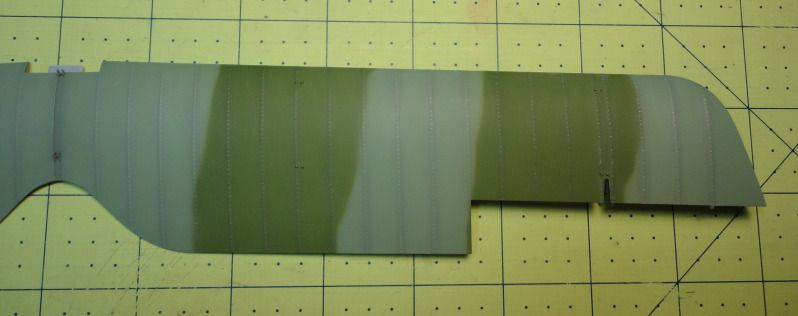
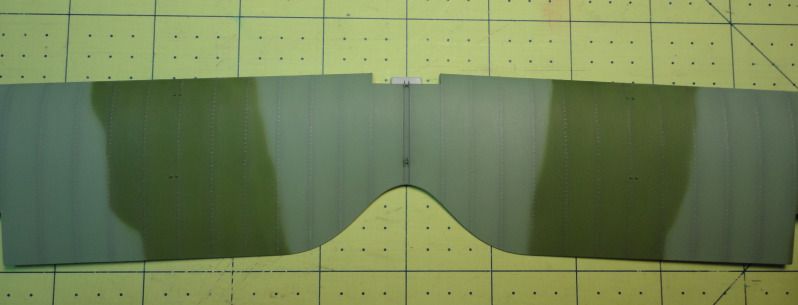
5th Image: The lower left wing is shown after the dark green paint is applied.
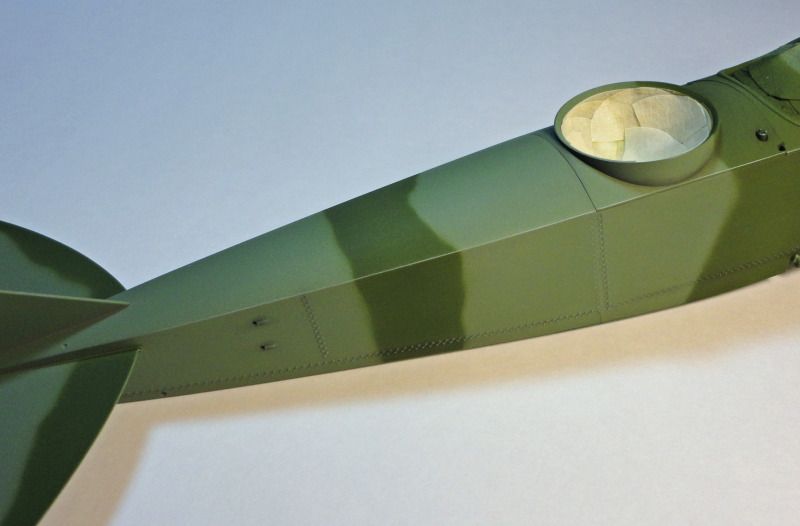
6th Image: The demarcation line between the lower and upper fuselage colors is very sharp. The only challenge was the tight curve at the nose. This image shows this area after the masking tape was removed.
7th Image: The fuselage belly is shown after weathering has been added with medium gray pastel dust.
8th to 10th Image: Views of the fuselage are shown after being weathered with pastel dust and dry-brushing. These photos also show how effective the raised masking tape method can be in helping to produce a loose demarcation line between colors.
11th Image: Pastel dust weathering is being added to the bottom side of the upper wing to highlight the location of the internal ribs. I find the hardest part about doing this kind detailing is knowing when enough is enough.
12th Image: Pastel dust is now added to the top side of the upper wing. The left side has been done, and the right side is still “clean”.
13th and 14th Image: Two views of the top side of the finished upper wing. It is now ready to be coated with Future polish and then decaled.

Until next time…

