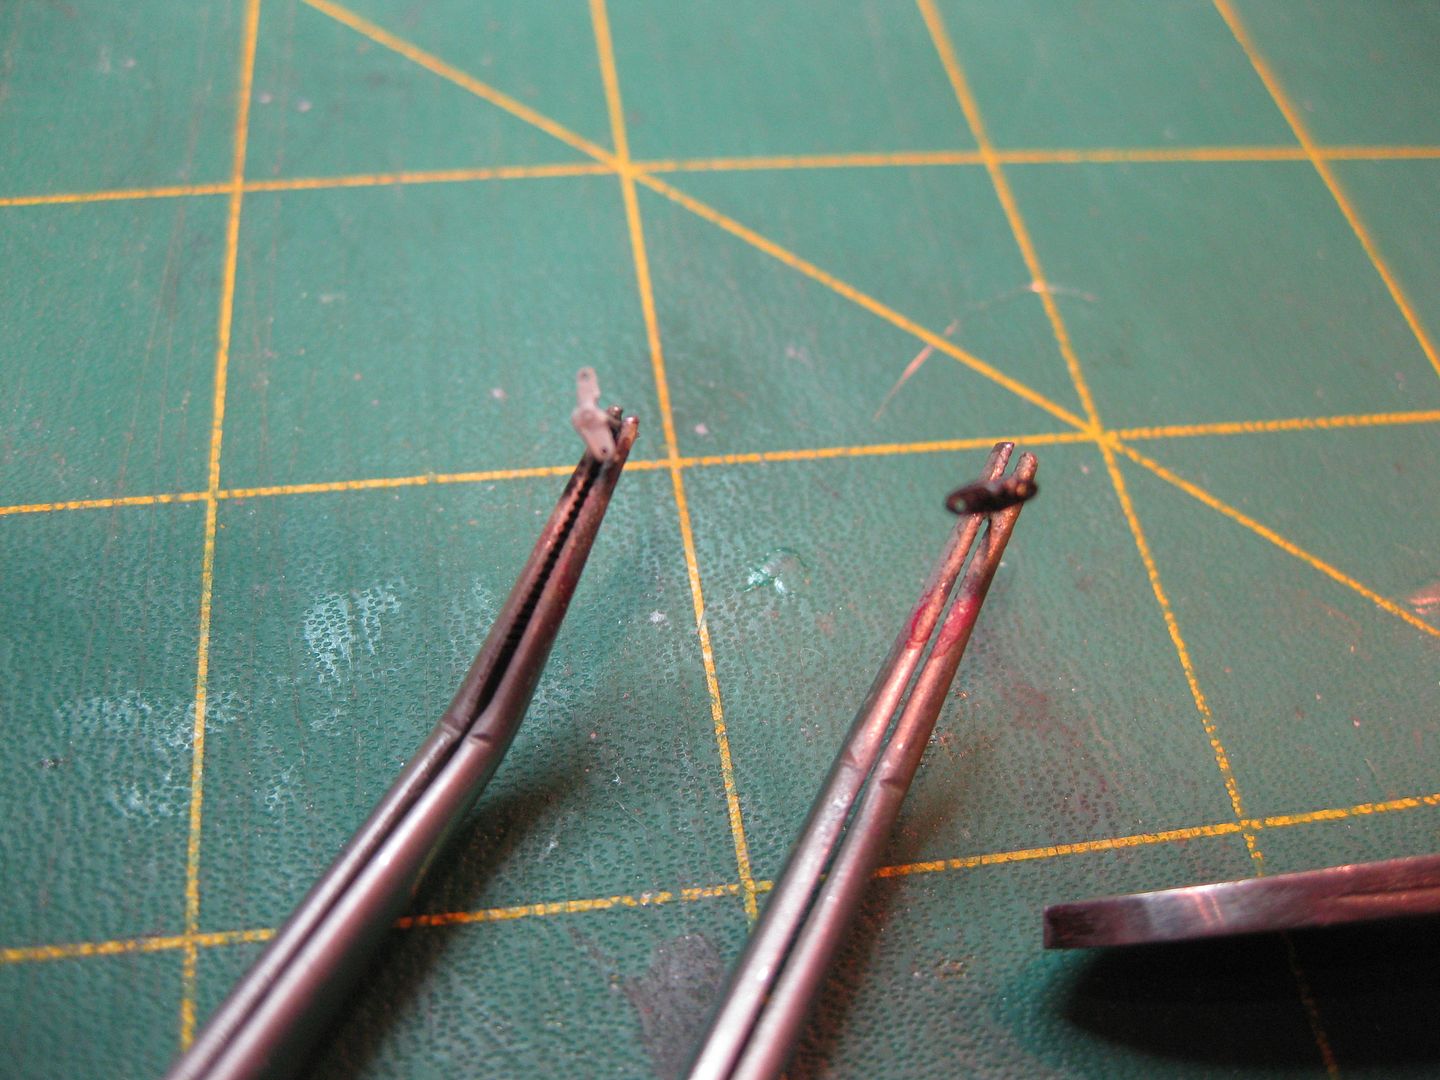
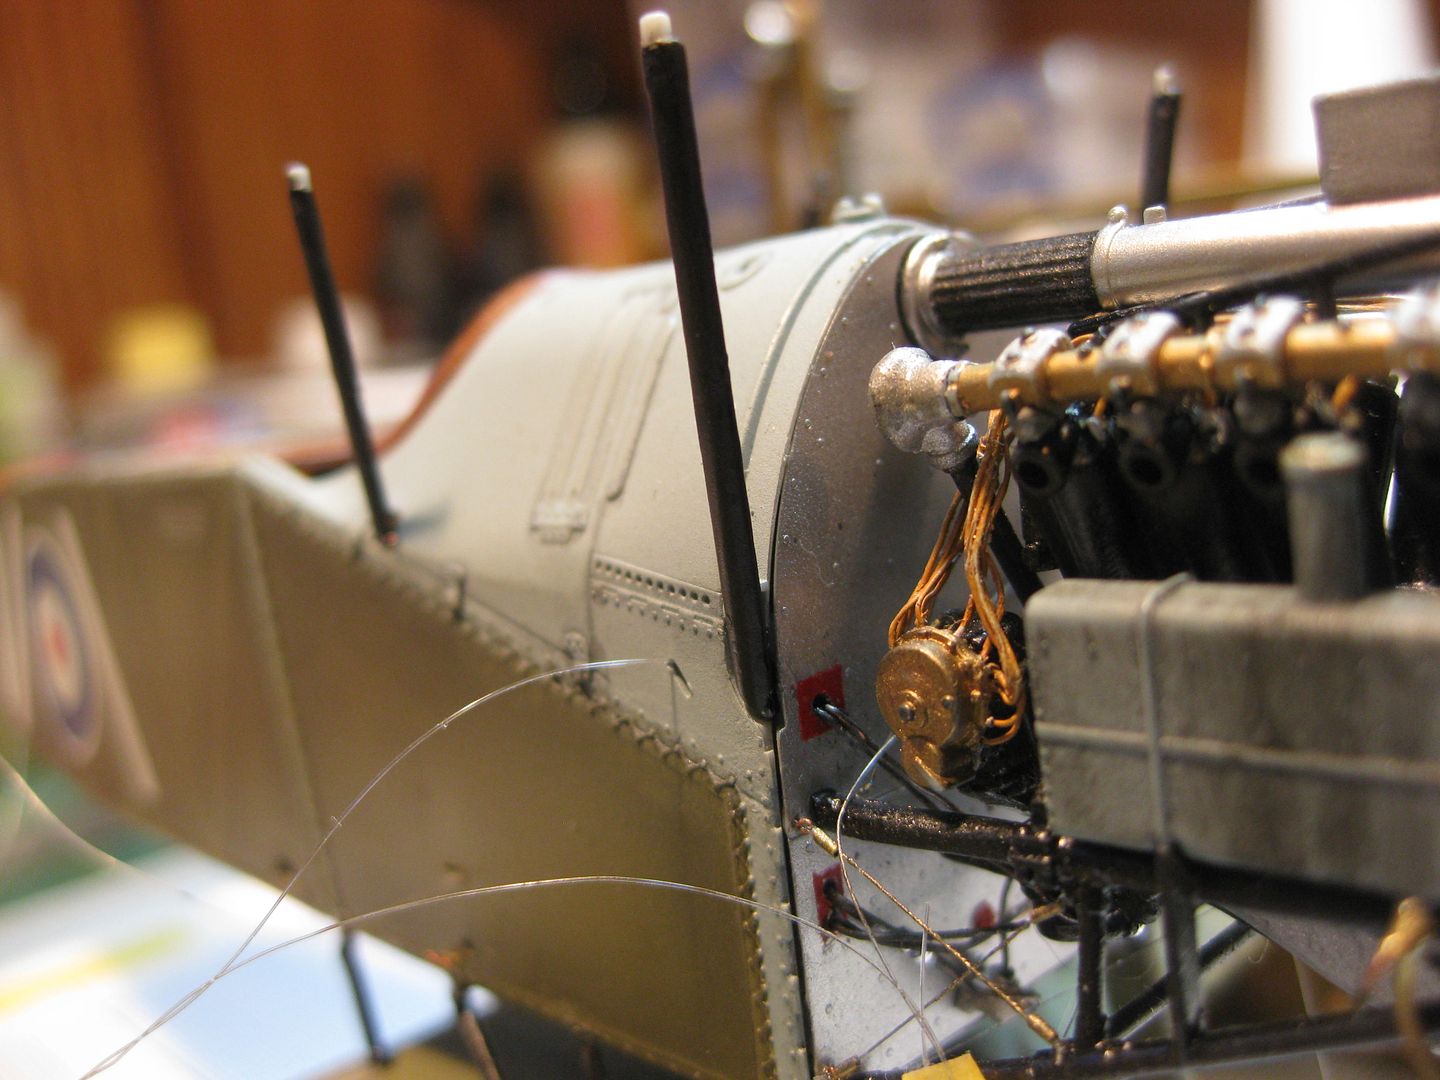
Thought I'd post another update, the upper wing is on and the wing rigging almost complete. I elected to complete a few more of the smaller bits and "scratched" a pair of bell cranks for the radiator shutter controls, the latter are pretty fragile so will be added when the flight control wires are installed.
The bell cranks, combination of sheet brass, styrene sheet, and steel wire:
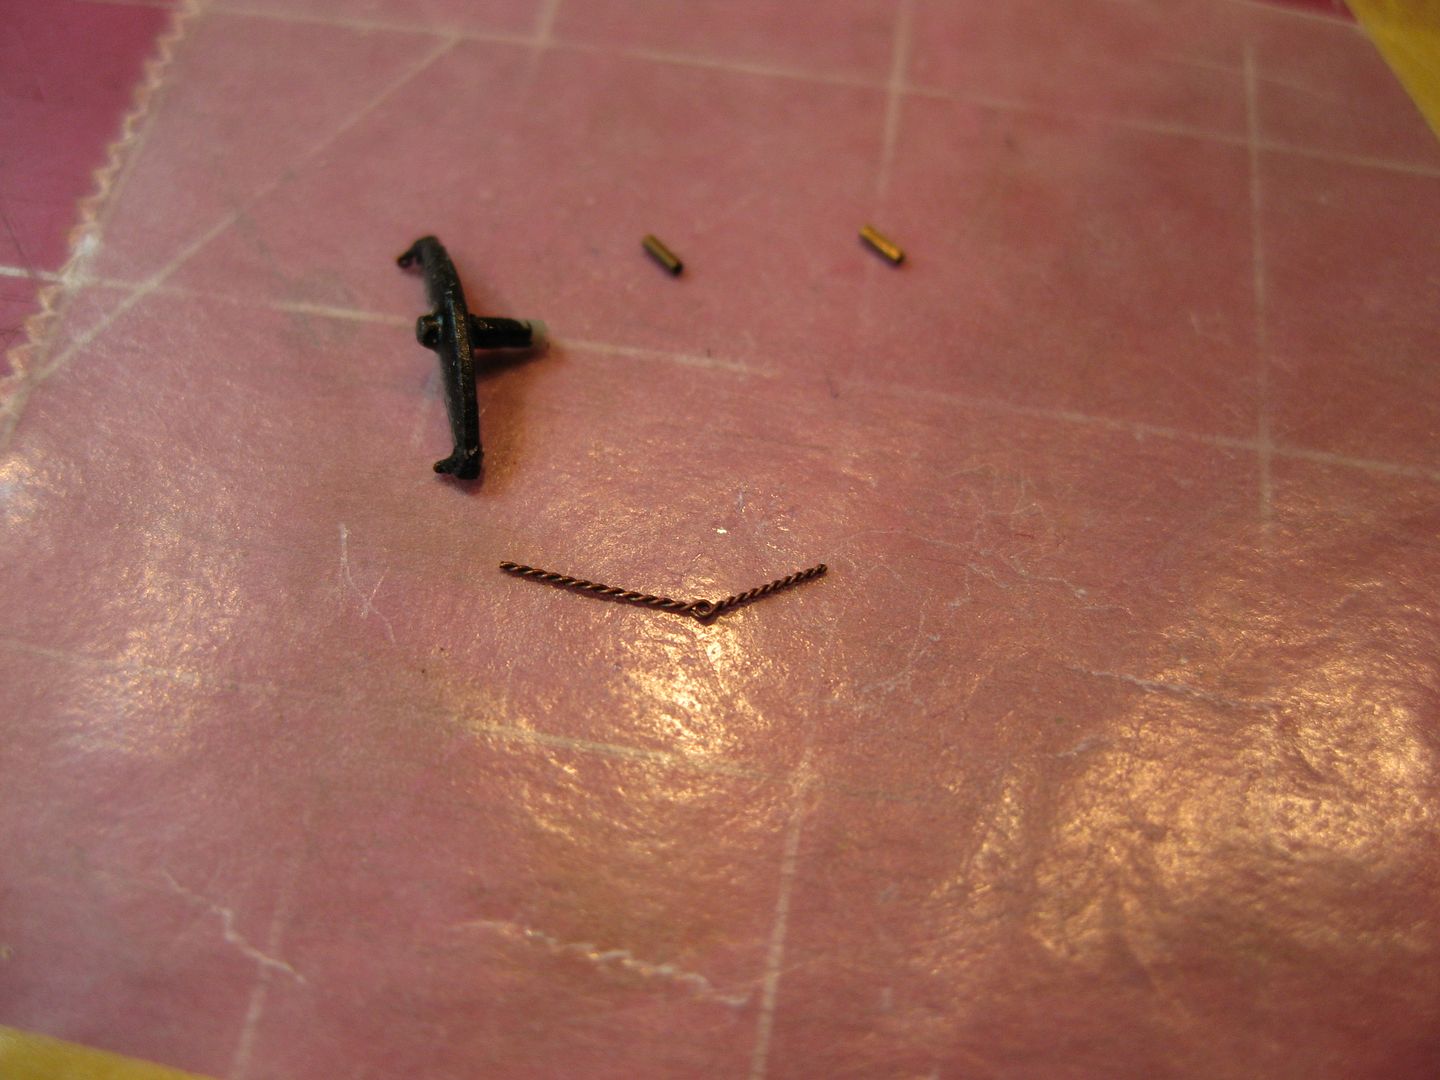
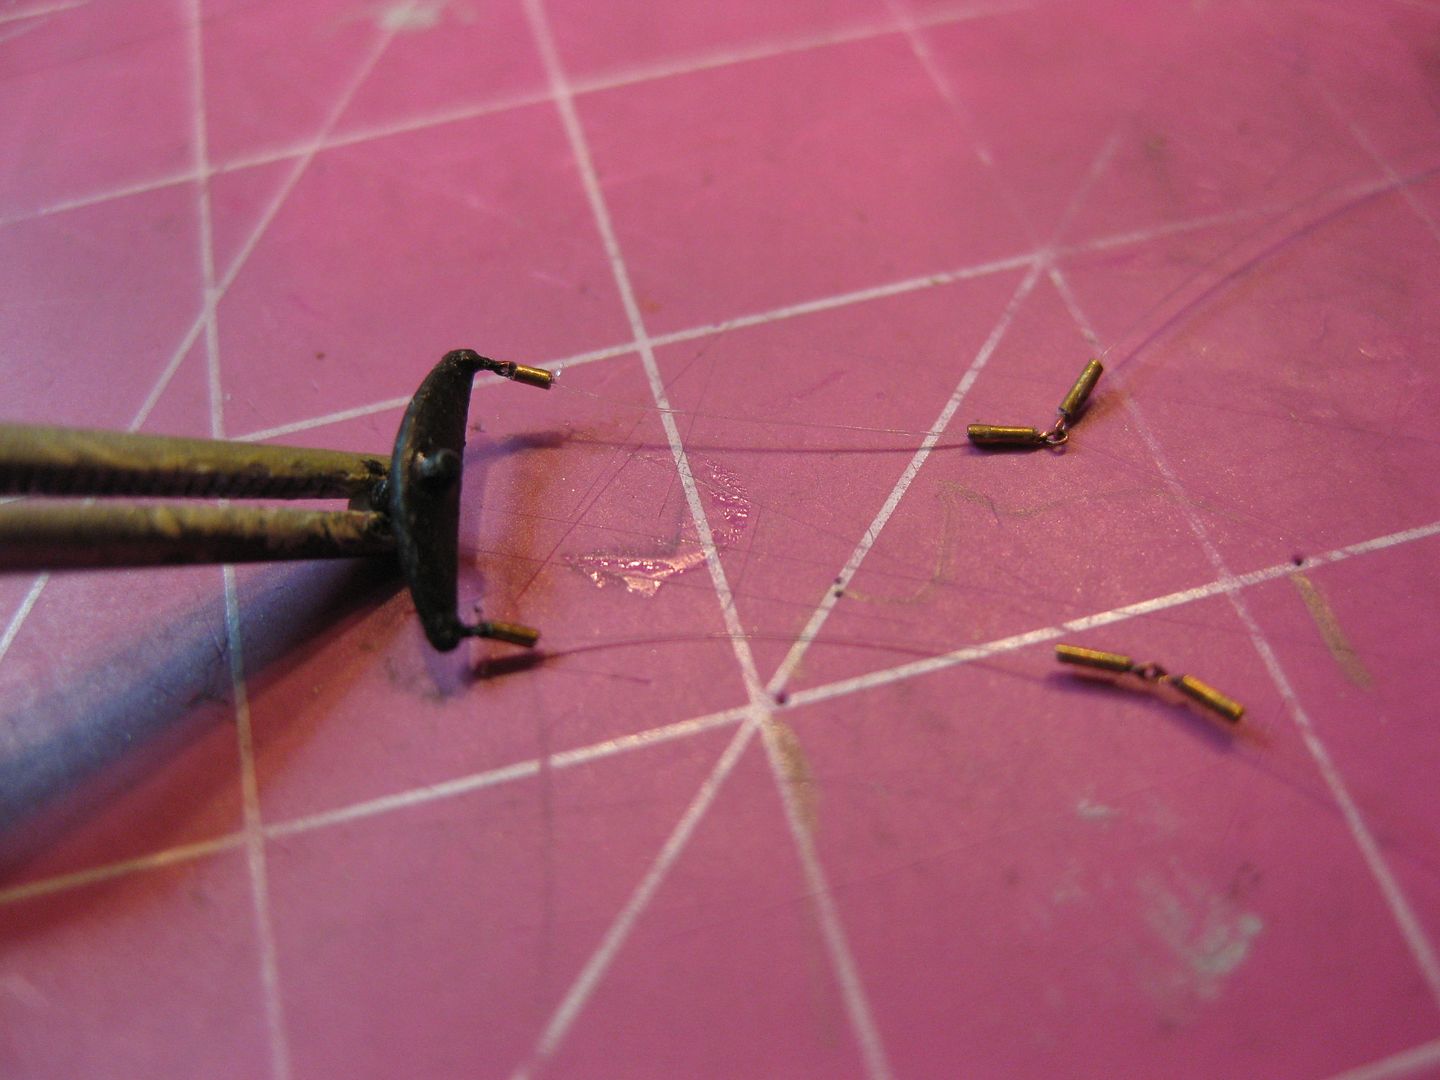
Here's the cranks for the elevator control wires. I added the double adjustable turnbuckles using, in this case, Bob's Buckles, some of his experimental "Doubles" which he had provided gratis for me to try; Highly recommended and Thank You von Bucklegifter!
and the finished product:
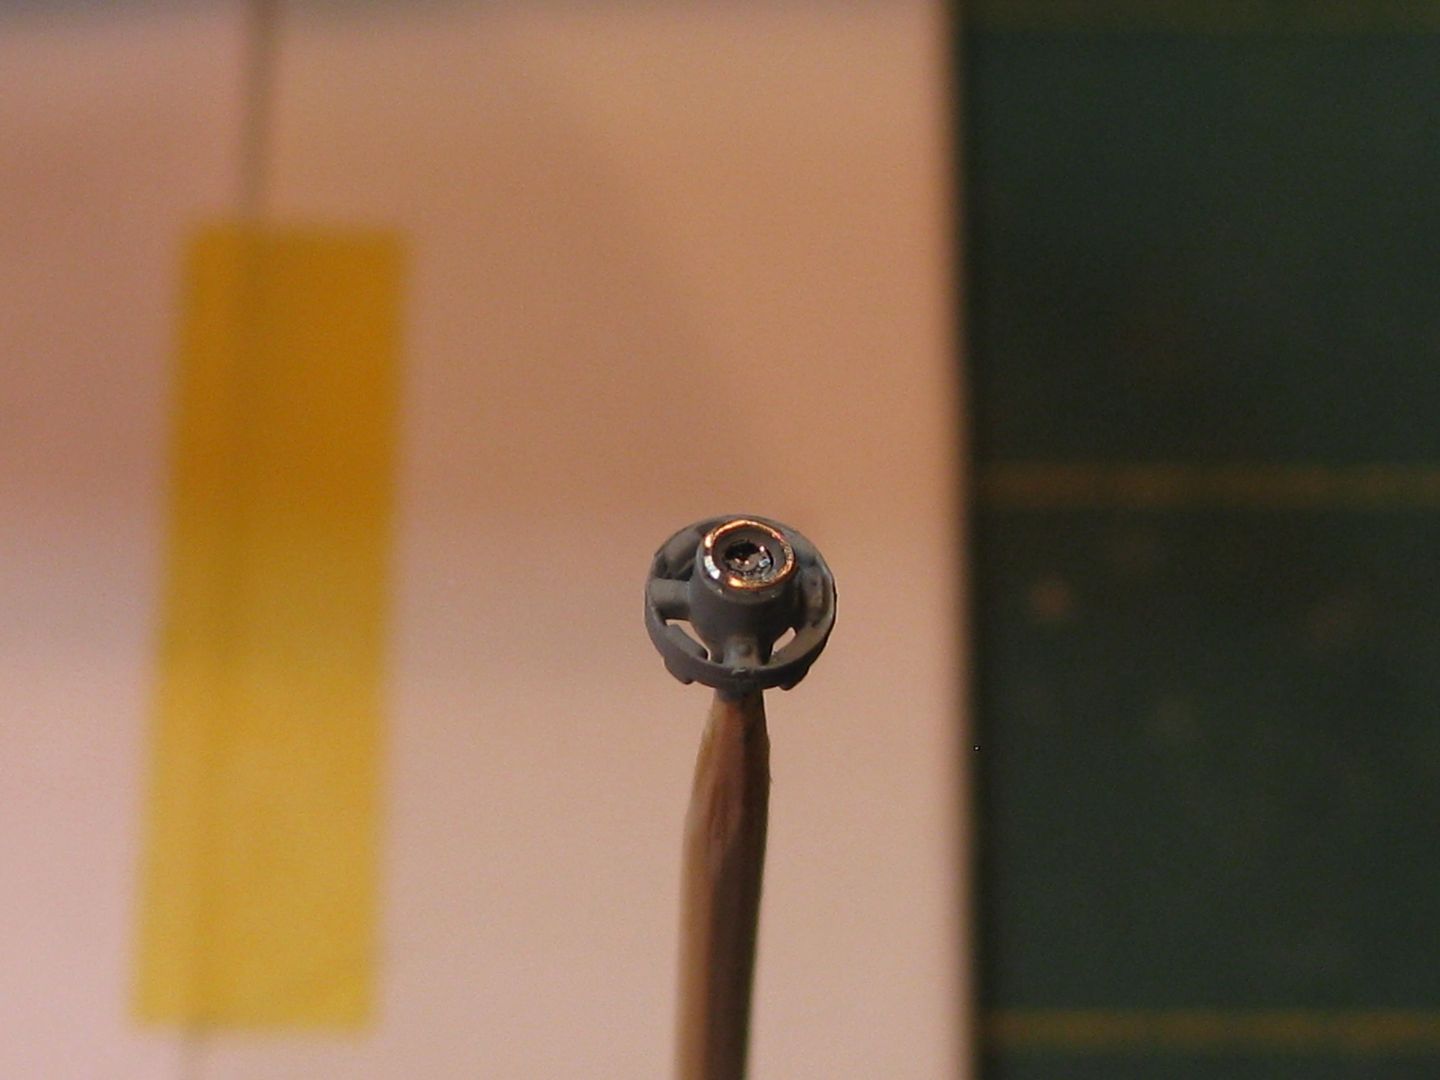
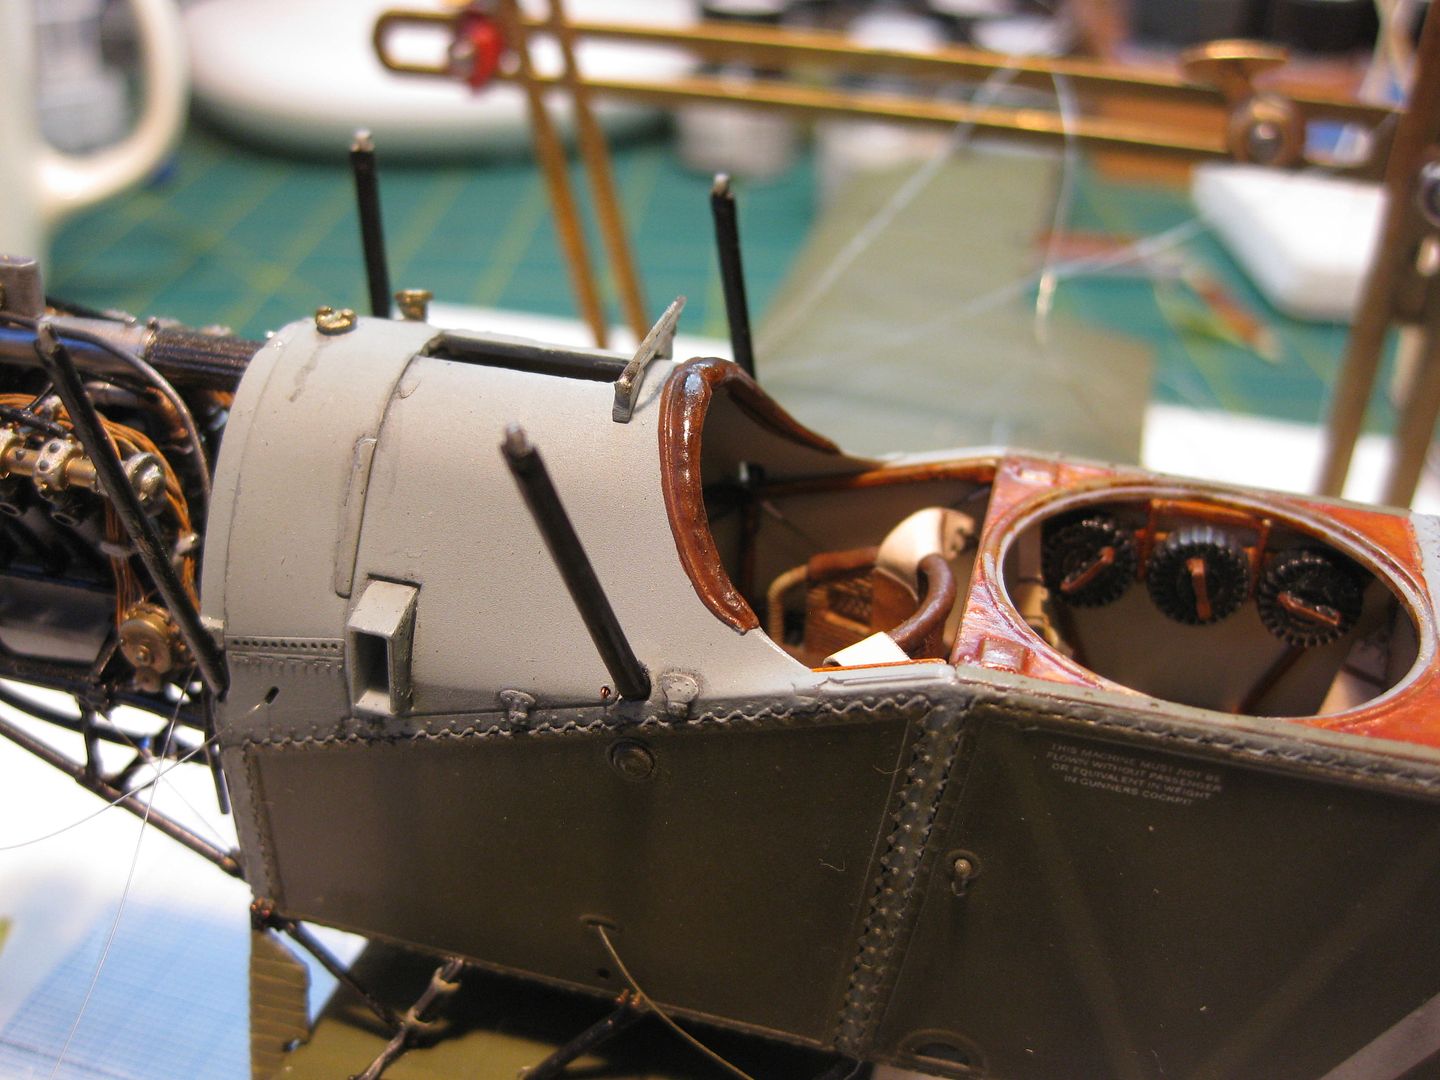
I also added a bezel to the compass and used a drop of Future to create a glass effect:
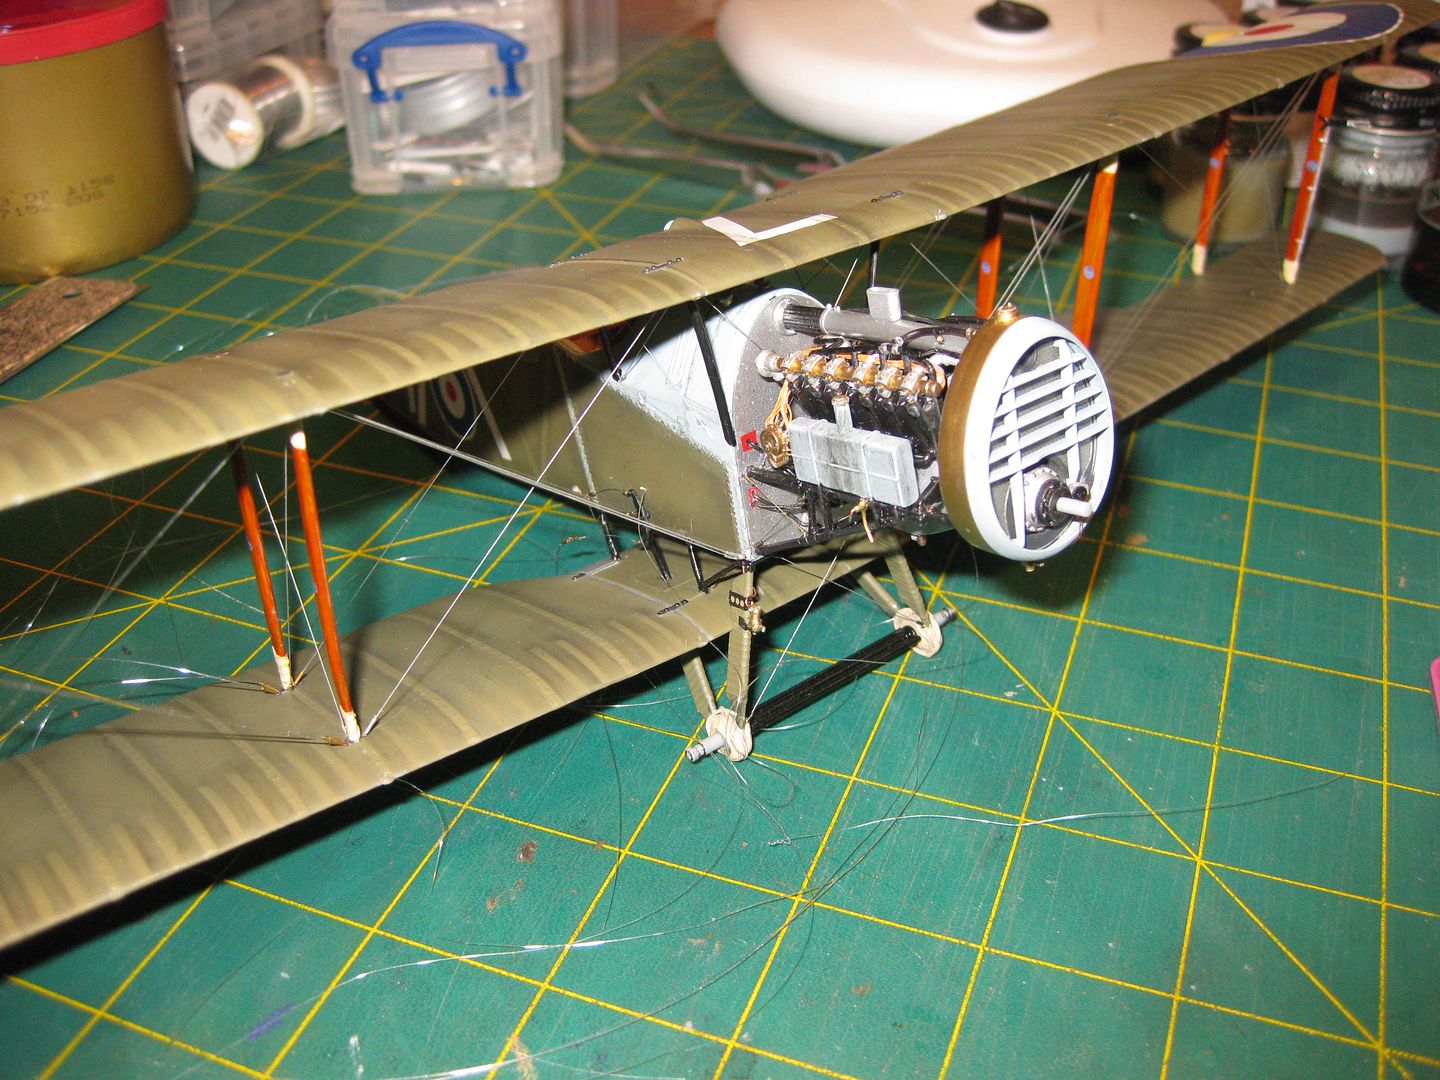
The wing went on very smoothly. The cabanes were CA'ed with the model in the Assembly Jig and at that point, finding the two bay configuration too cumbersome to work inside the jig to add the 8 main wing struts I elected to remove the model from the jig and add the struts from inner to outer on each wing, doing the two inners each side, then the outers. The fit was excellent and no alignment errors are apparent. Great engineering by WNW!
First the cabanes after using the Jig and the upper wing to align them and cement the lower connections, the windscreen was added along with the Aldis Sight to the upper wing as well:
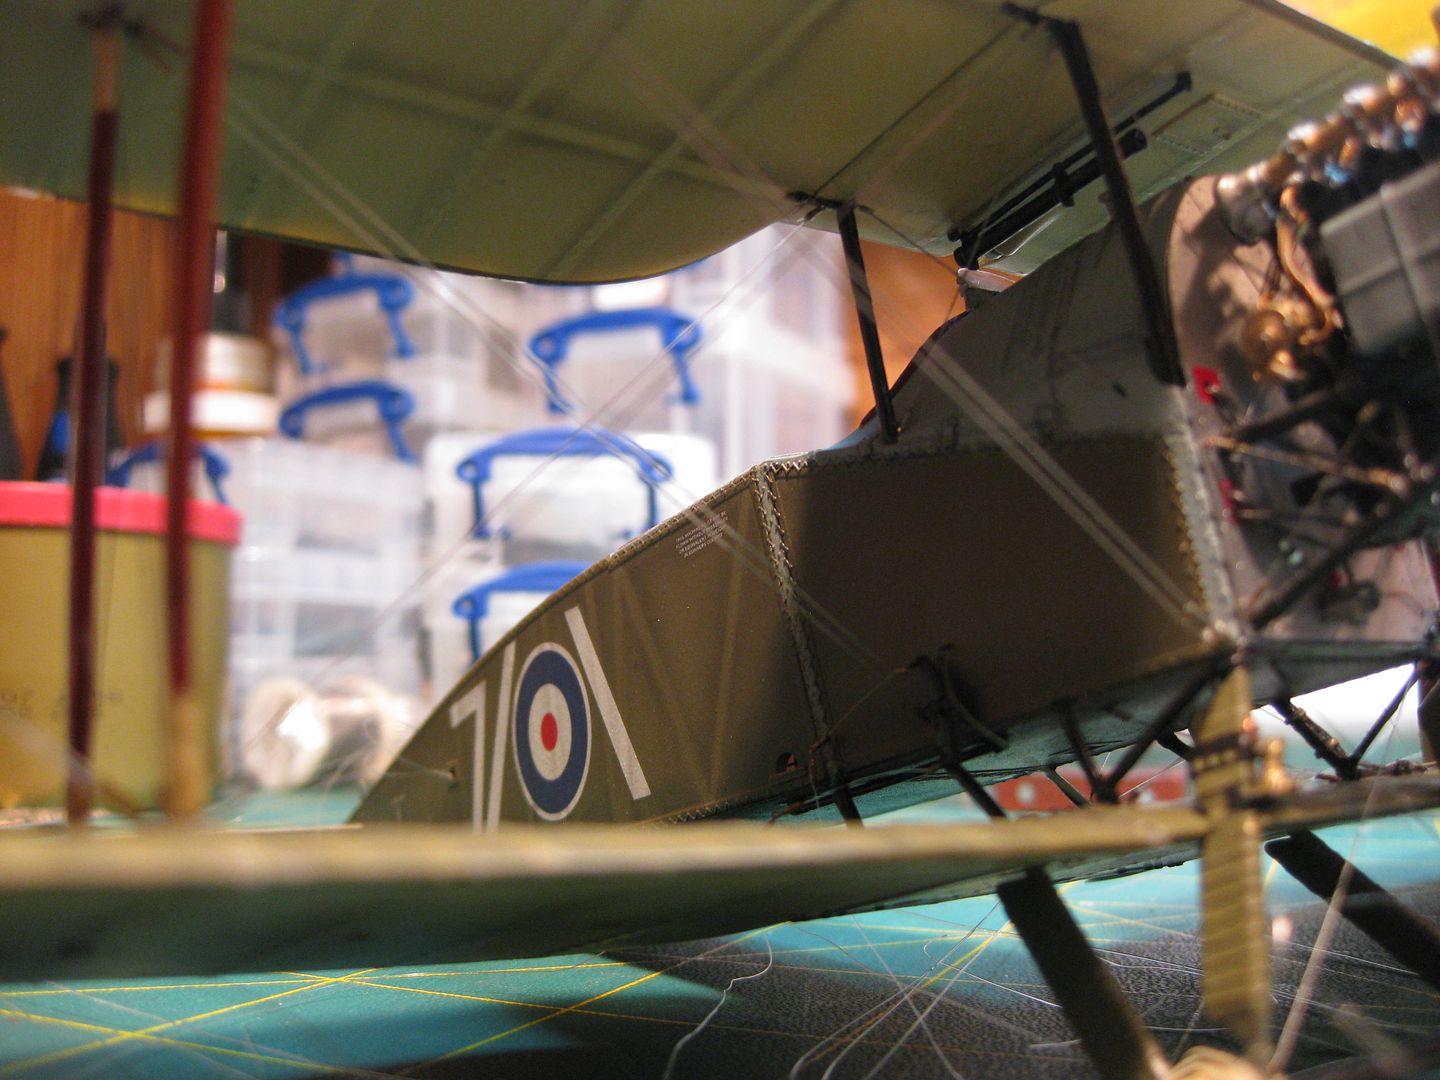
......and a few photos of the upper wing and main struts in place with the rigging in progress. Sequence for rigging was cabanes both sides and front, inner bays in sequence, then to the outer bays. The rigging is a combination of .013 and .010 monofil with .020 mono for the heavier double Flying Wires.
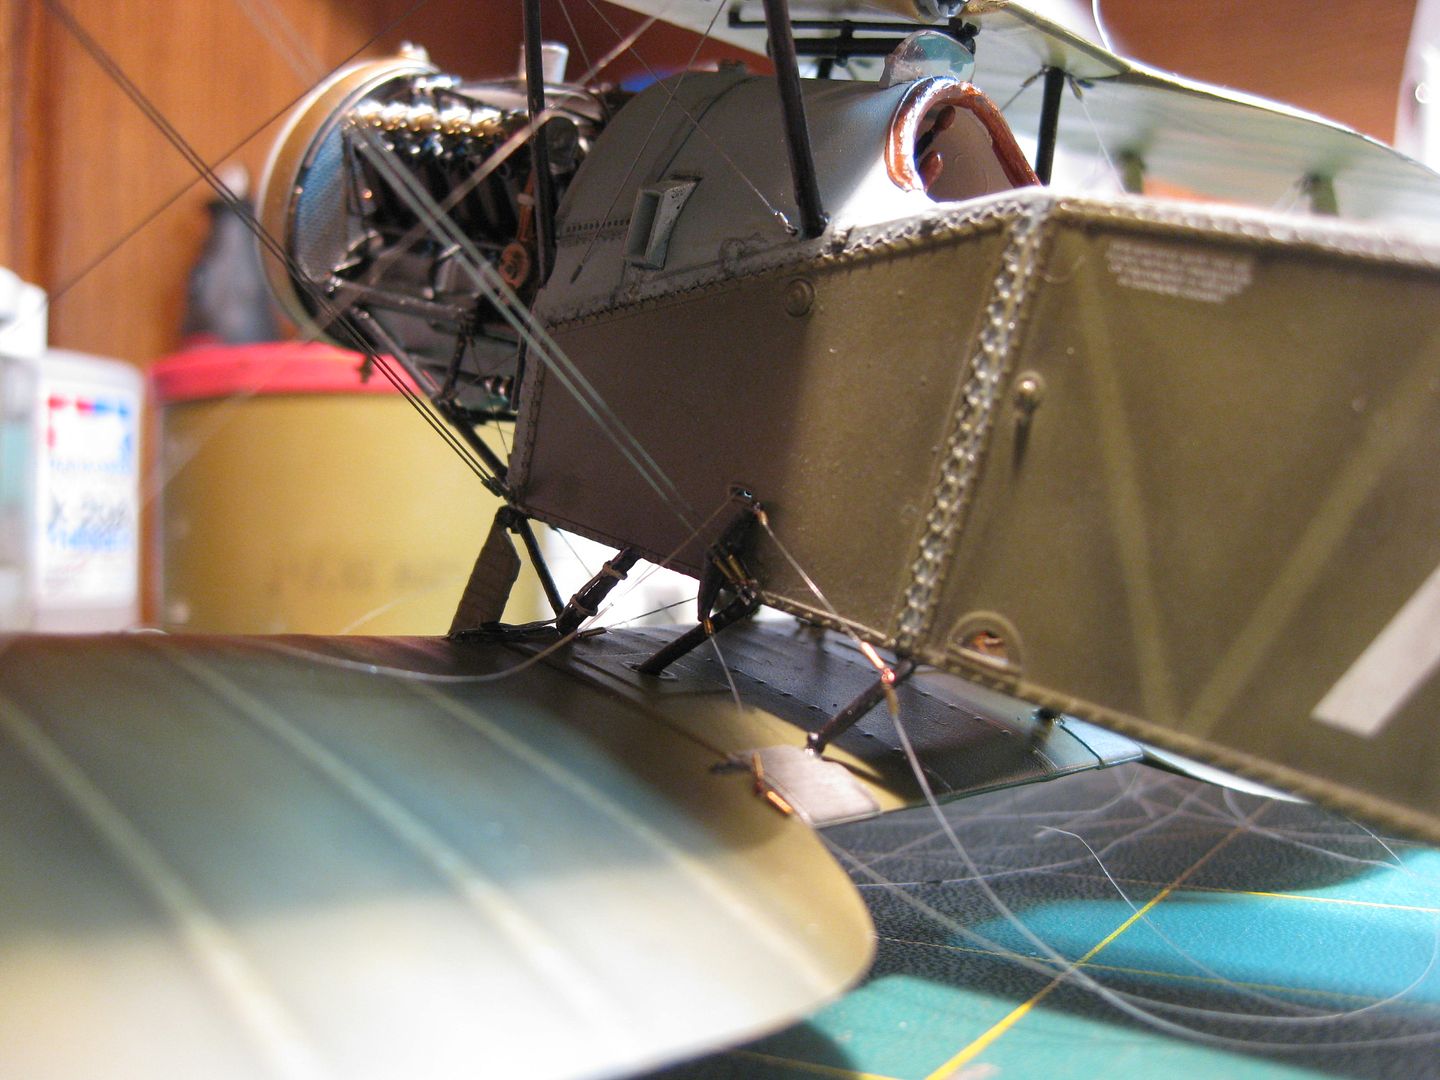
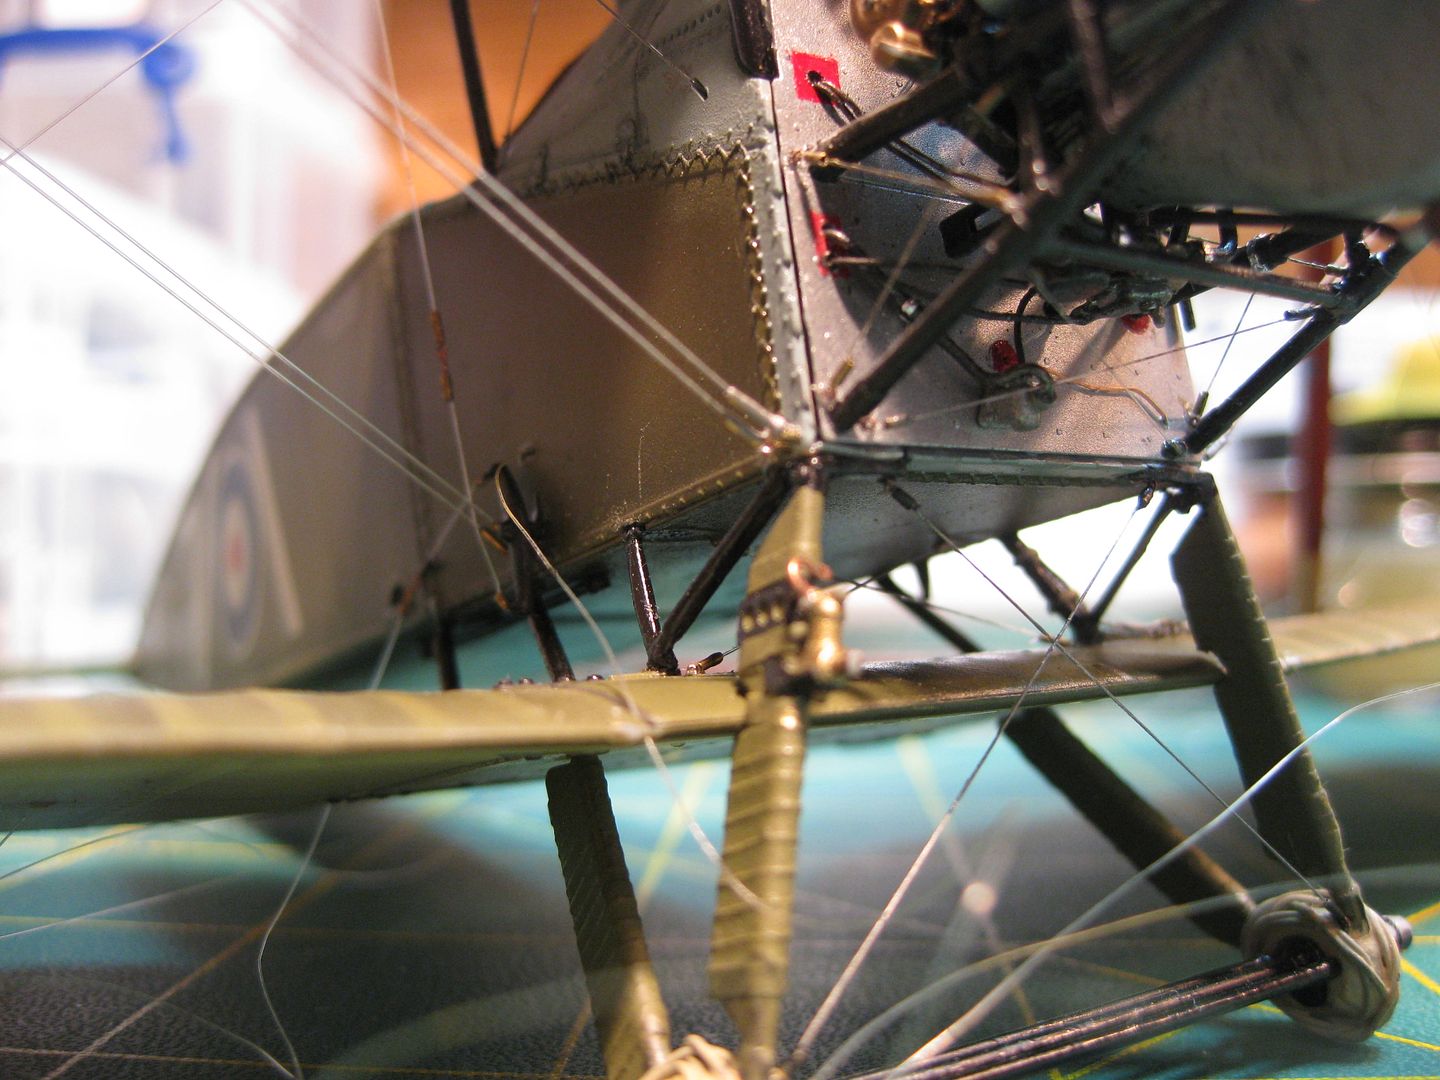
That's the progress to date. I have to take a week off the project to travel to Ontario for my Stepson's Wedding, I guess that's an acceptable excuse for another delay! More to follow in a week or so, all suggestions and comments most welcome and thanks for looking.
Cheers,
Lance

