Evening All,
I am entering this group build in the hope that I will be able to complete this by the deadline, even though we are already a couple of months into the build. Life is not being very conducive to modelling at present and does not look like it is going to change in the near future, but even if I do not make the deadline, I will continue and finish it on another part of this site. Many of you will be aware that I have already dedicated another model to Des' memory, but could not enter it to this GB because I had already started it. This will be my second tribute to a truly great modeller.
If you do not know what the Caproni Ca 5 looked like here are a couple of links:
https://www.alamy.com/italian-caproni-ca5-bomber-plane-ww1-image66158621.htmlhttps://1000aircraftphotos.com/Contributions/SmithGaryL/8921.htmIt was a trimotor bomber designed in 1917 to replace the successful Caproni Ca 3 which was used by the Italians to bomb targets in Austria. This required the aircraft to fly long distances including over the Alps, so a third engine was considerd to be desirable in case one of them malfunctioned on the long flights. Unfortunately the engines chosen to power the Ca 5 were not particularly reliable, so although the airframe was sound, the aircraft was rather less so and the Ca 3 soldiered on beside its successor to the end of the war. However the type remained in service until the early 1920's and was used by the Americans.
I cannot find any kit of this machine which makes it an ideal subject for a scratch build to Des' memory. Interesting features of the type include the engines, triple tail unit, twin booms a platform for the rear gunner above the engine, and double wheeled undercarriage: markings seem to have been relatively straightforward too so can be easily made at home.
There is some reference material on this type - certainly enough to be able to make a reasonably accurate model, although as usual with WW1 types, colours are interpreted in different ways in the sources.
I have assembled my kit: styrene sheet of various thicknesses, strip, rod, wood, and other materials as needed as the build progresses. I have started by marking up the fuselage nacelle on a block of wood and am ready to start carving:

and I have cut some styrene sheet for the wings. These are quite thick so to get the thickness and aerofoil section I am trying out an idea. I have cut a piece of 30 thou card which has been bent in hot water and laminated this with a strip of 20 thou card which was laid over the top. The 30 thou strip was wide enough to extend to the rear spar, and then a strip of 20 thou card and 10 thou card was laid along the trailing edge of the 30 thou card. Here are the strips before they were glued together:

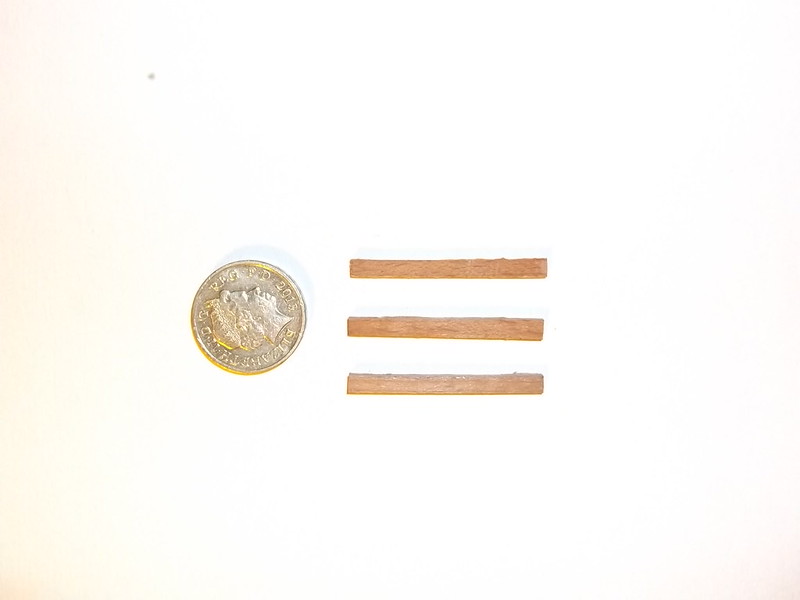
The underside will be sanded and filled to give the aerofoil section and any joints smoothed over with filler: hopefully if there are any remaining marks these will not be visible because they will be under the wings. Finally I have cut some wood ready to be carved into propellors:
Thanks for looking.
Stephen.

