Hallo everybody...
It's a very long time I don't update my thread, but I slowly went on, and here is some new picture of the current state of the tri-build...
I worked a bit on the PC to find the correct size of the decals I need to print myself. Then I printed a sample on paper and tried to figure out the way the decals will look on the Italian planes (there are many more signs on the Italian fuselages than on the all blue Belgian HD1)
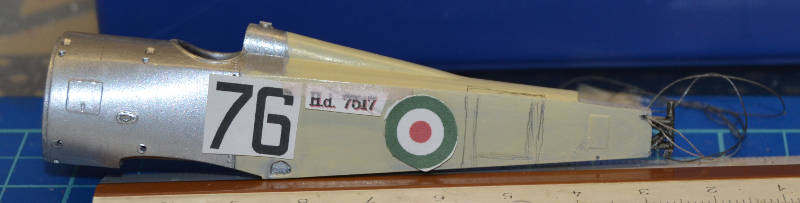
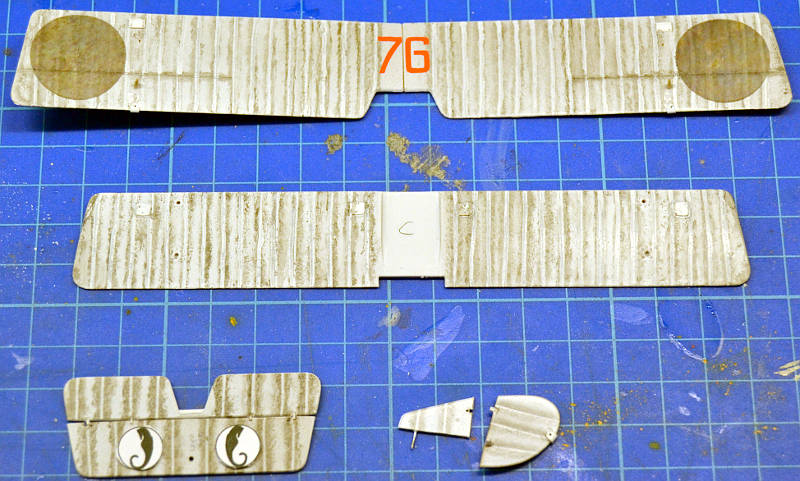
Scaroni Markings (I sketched using a pencil the white square with black outline)
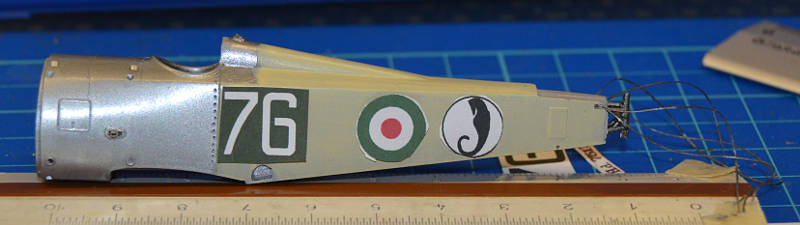
Michetti's Markings
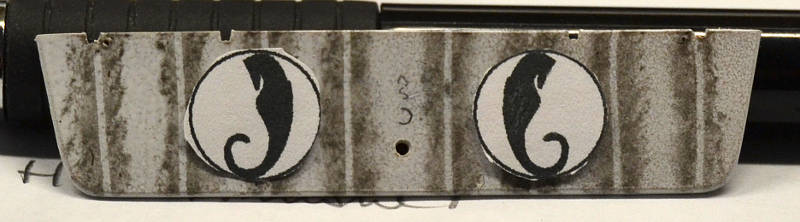
Michetti's seahorses placed as they will look on the fixed tailplane
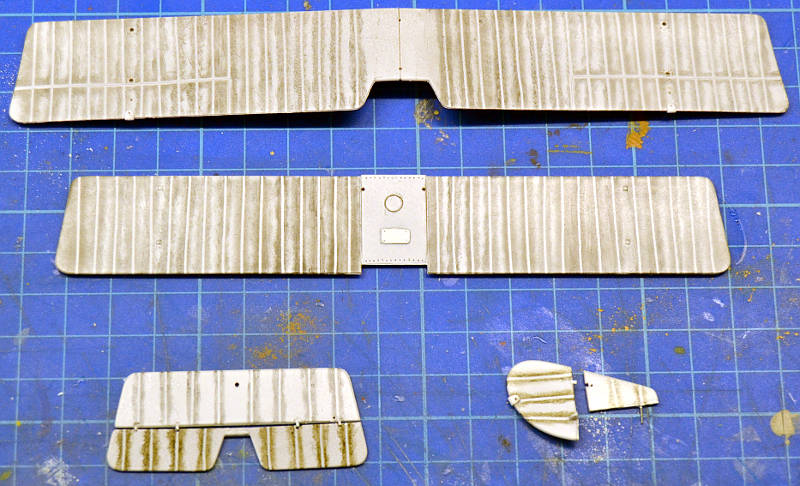
As you see in this picture I also made the preshading on the flying surfaces:
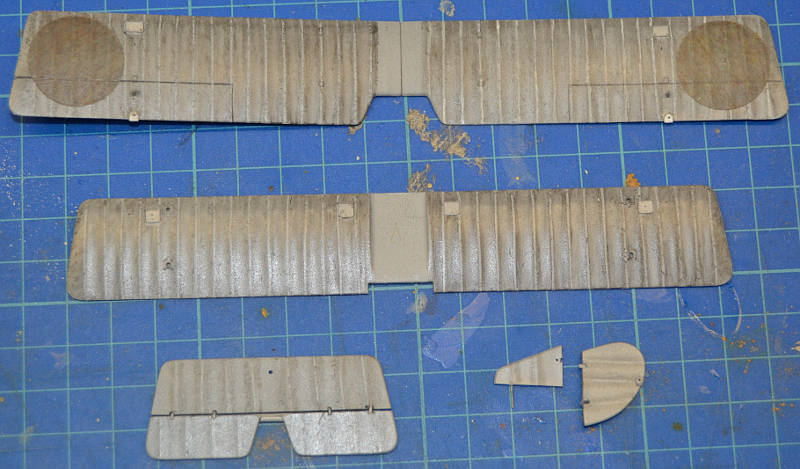
Coppens surfaces (top faces): I already masked the place where the cockades will be

Coppens surfaces (bottom faces): cockades will go beneath the lower wing
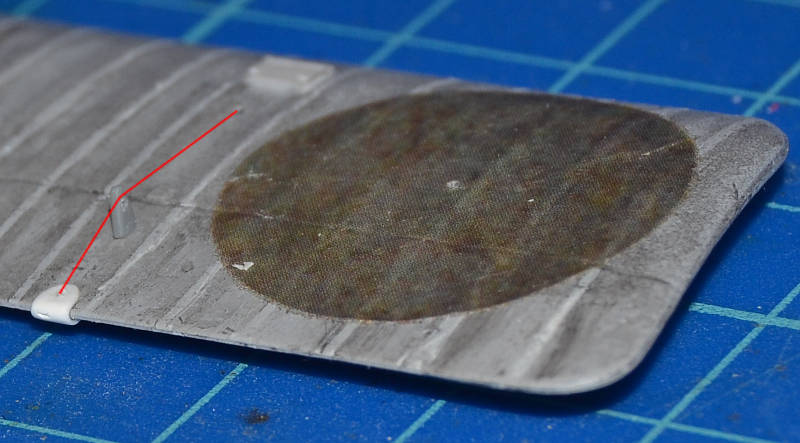
Coppens: top wing detail of the right control horn, in red I traced the control cable, as shown in this precious Jamo's picture

Same work was done on the 2 Italian planes.
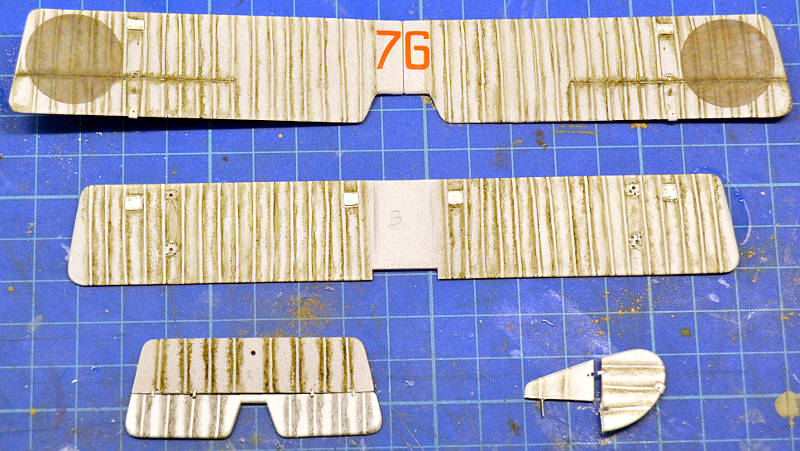
Scaroni's surfaces (top faces): masked for the cockades and for the 76 squadriglia ID (the orange mask was kindly supplied by our forum colleague "spartacus2000")
Scaroni's surfaces (bottom faces)
Michetti's surfaces (top faces): masked as his comrade Scaroni
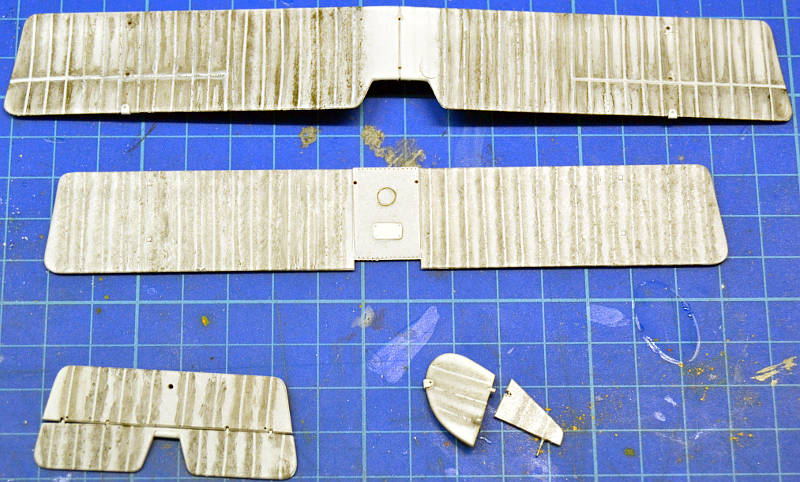
Michetti's surfaces (bottom faces)
Then I was looking at this other Jamo's photo

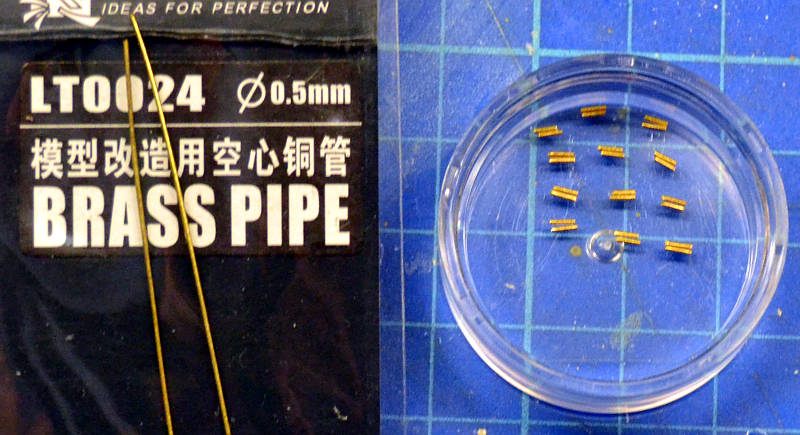
the cables going from the fuselage to the top wing were double (in the Italians as well)
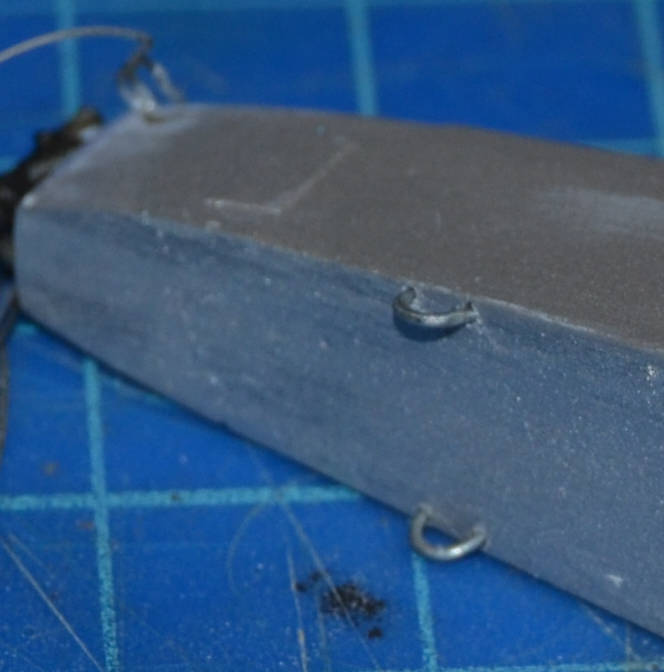
So I decided to go this way: I cut 24 small pieces of 0.5 mm diameter brass tube:
Then I joined them in couples by a thin copper wire
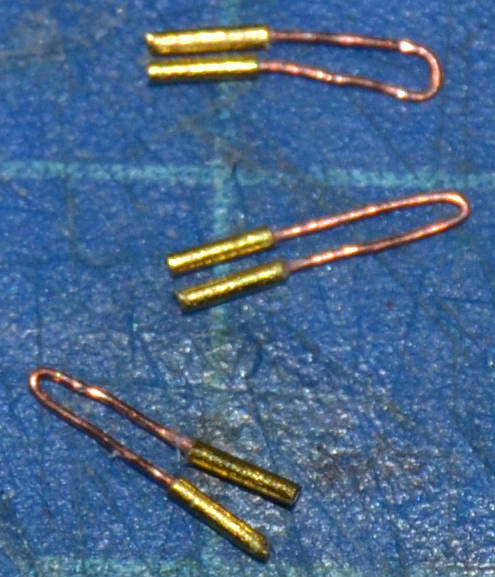
And this is the way they will go in the 12 holes I already pierced in the 3 fuselages.
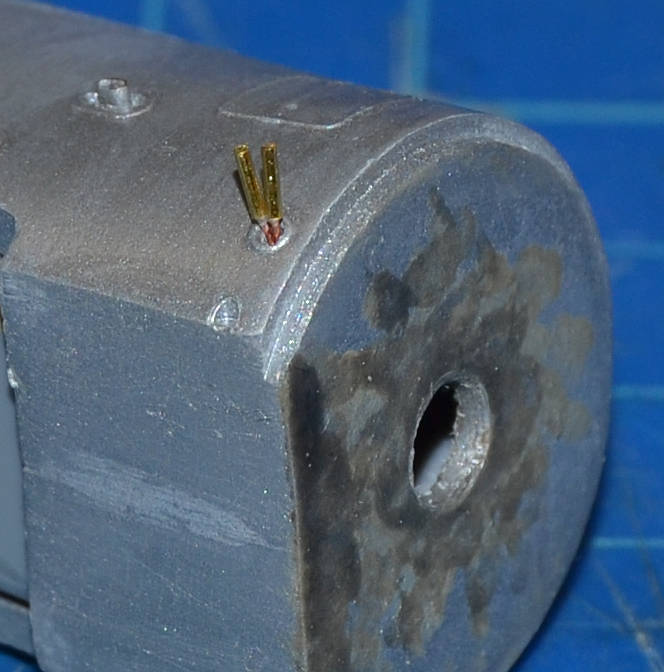
I plan to glue the 2 brass chunks one another to keep the 2 cables close and parallel.
The monofilament will be glued of course in the loose end of the brass chunks.
Playing on with wires I also added to the Belgian fuselage the handles
the Italian pictures never show those handles.
Wow, a lot of information, but this is all for now!
Ciao and thanks for looking
Antonio

