Evening All,
I am not used to working in this gargantuan scale and have made some mistakes as a result, which I am not going to share as I am too ashamed to do so!! I have also been a bit frustrated at not being able to get things to work, so I have decided instead to try out an idea and make a proof of concept. If this does not work as I want it to I will have to think again. "This" being the other half of the wings - ie the solid bits.
I am using brass bar for the spars - they will be soldered to the cockpit frame in due course, but before I get too far I want to make sure that I can make the covered wing halves first. I am going to mould these using my well tried push moulding system, but I am not sure whether they are going to be too large, especially given the problems I had with the nacelle half. What follows is what I have learned so far.
I started by making the moulds for the upper and lower wing sections. As on most WW1 types these were concave sections, so I have to make two separate pieces and glue them together. I used basswood for the moulds as it is easy to work but provides a really strong former. To get the curvature right I used card formers:
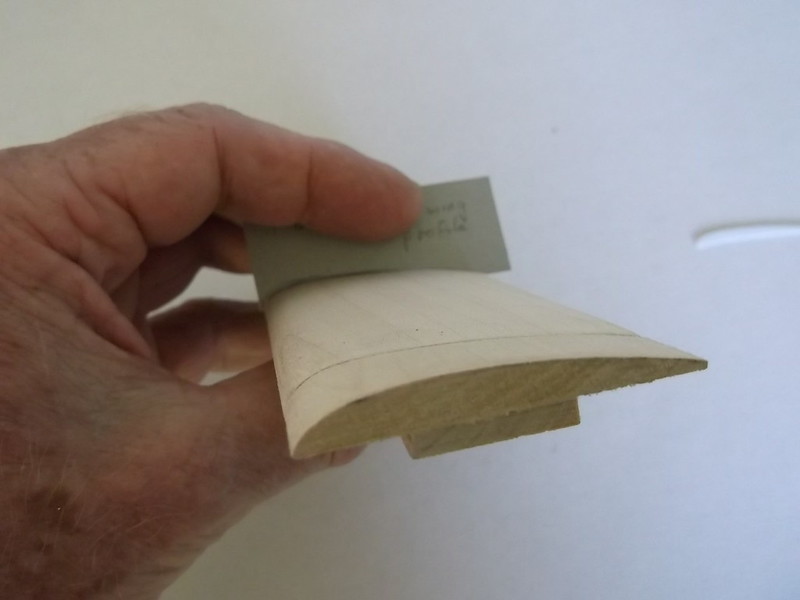
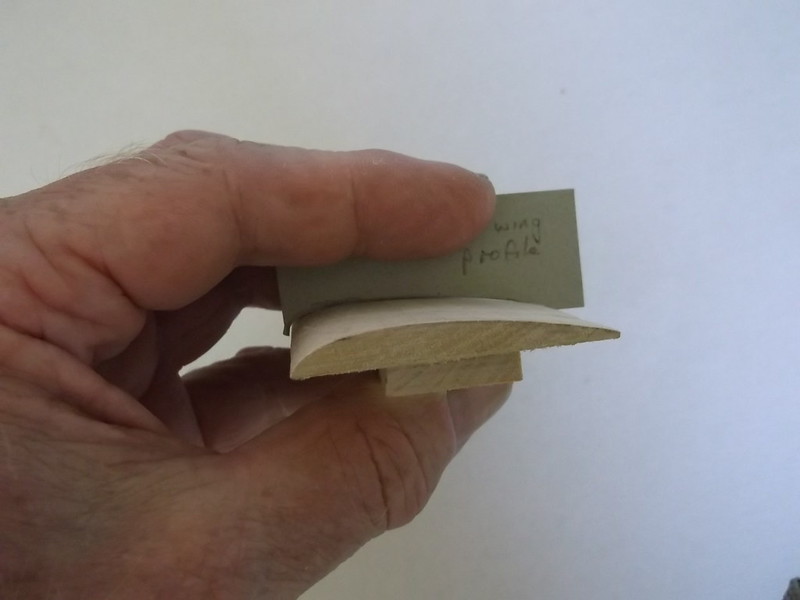
This is the upper surface of the wing and the former is at each end - the shape is close enough for me because it will vary a little during the moulding process, but at this scale nobody will see if its only 98% accurate, especially after the ribs and other details have been added.
So on to the moulding - a piece of plywood with a suitable hole cut in it, 30 thou card pinned to the plywood and the formers put ready:
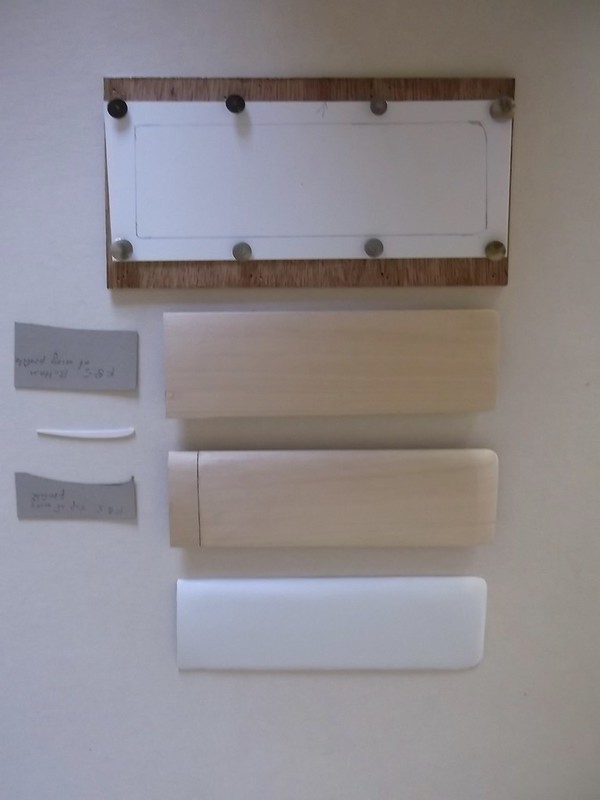
Also shown are the card formers, a rib which was used as a guide for the upper and lower surface card formers, and at the bottom - success a moulded wing surface. I found that because this moulding is so large that I had to heat the male moulds under the grill at the same time as I heated the plastic, otherwise I could not get the plastic to bend as required. After 4 aborted attempts I managed to get an acceptable upper and lower wing surface:
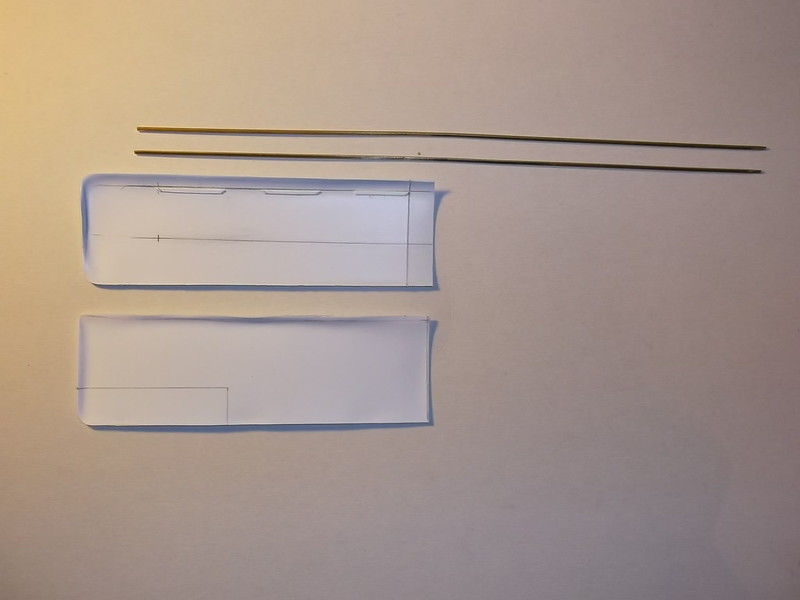
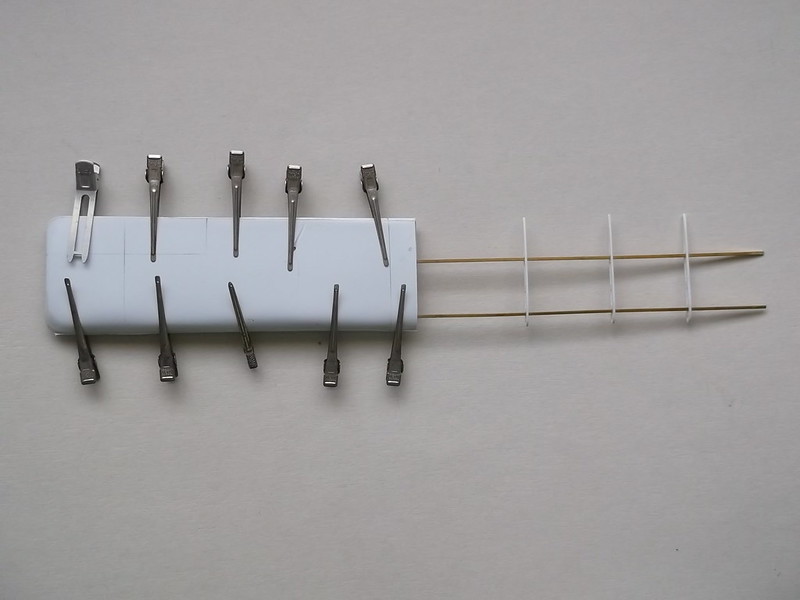
This will be a top wing half: the lower wing half is slightly shorter. The spars are shown ready to glue into place. I used epoxy glue to hold the spars which were attached to the upper half of the wing:

Getting the alignment right was a bit of a problem so to help things I used some ribs to hold the spars parallel and tape to hold it down while I applied the epoxy and allowed it to cure. After leaving this overnight I could glue the lower half of the wing into place and held it there while the glue set with my usual clamps - some of my late mother's hair grips:
Now the problems began to show - the moulds were not the best that I have made and trying to get the lower half of the wing to sit into the upper half was tricky and left some rather crude joints as these photos show: This is the leading edge of the wing:
and this is the trailing edge and tip:

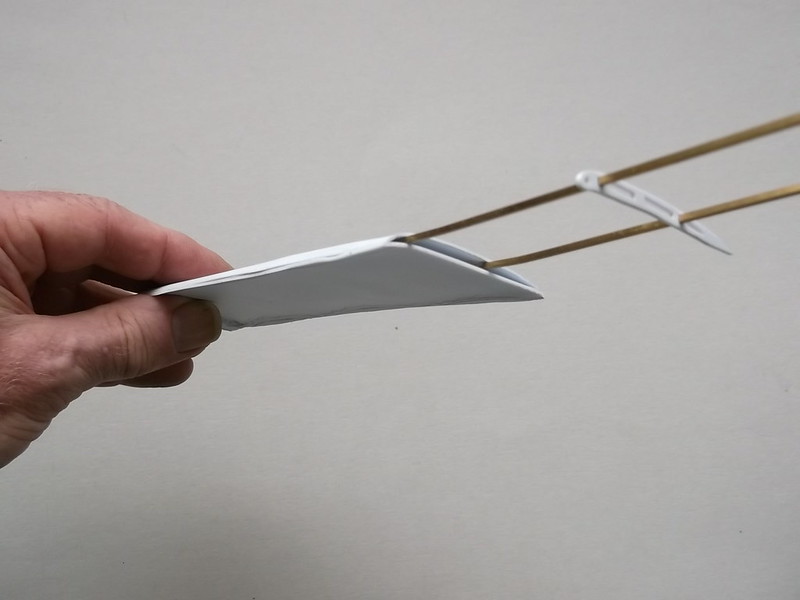
Not WNW standard. However after a few hours of filing, filling and sanding I managed to get acceptable joints all the way along the edges and tips. I also drilled a hole in the upper surface where the boom will have to be fixed and found that when I inserted a piece of brass rod to represent the boom the end made direct contact with the rear spar, which means that I can use epoxy to make a firm joint there:

The pencil marks show the aileron position and where the struts will be fixed later. Just as I thought that this was going really well and that I might be able to use this prototype on the model I discovered that the spar spacing where the spars enter the wing is wrong!!! Somehow the *@#^* things had moved when I was adding the epoxy and I had not checked them against the plans! Lesson learned (I hope). However I have proved that my idea works, but I also think that I can make some better moulds if I use a vacuform machine. As I do not possess one of these high-tech instruments of torture I will have to see if I can use one at my former place of employment..... so a trip down the road to my former school will be taking place shortly and I will be begging a favour from an old colleague.
Thanks for looking.
Stephen.

