Evening All,
As promised there have already been some changes! After a couple of trials my brother and I decided that the plastic gears in the motor might wear too quickly and as this will not be accessible in any way when complete we decided to buy a second motor and replace all of the gears, inside and out. We also made a new perspex box. I am not showing a photograph of the modified gearing - it looks the same as in plastic except that the gears are now brass. I have been carefully measuring and calculating where the motor should go. There are two important factors to consider:
1. The vertical shaft of the motor must be exactly at the mid-point of the width of the base because the wings of the model will have to fit inside the clear perspex cover;
2. the shaft also has to be in a precise position in relation to the length of the base because the nose and tail of the model have also got to fit under the cover.
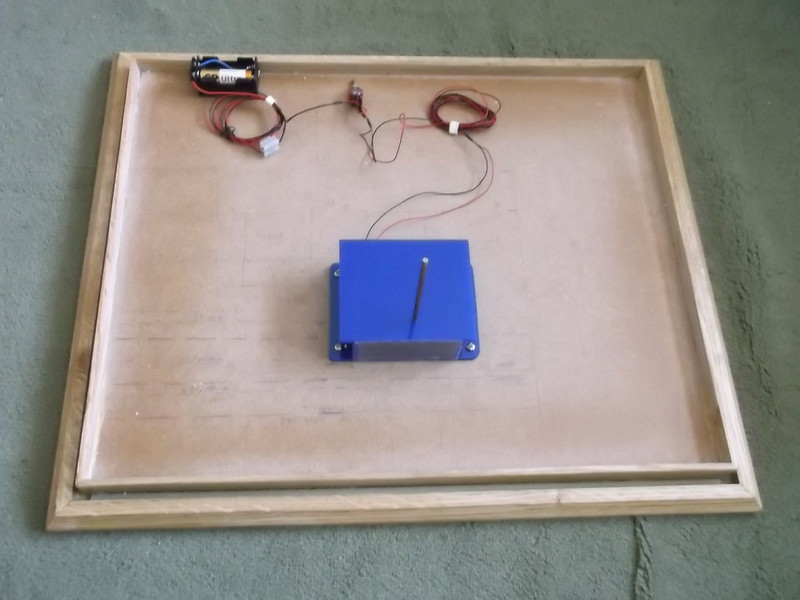
When I ordered the base I allowed a couple of inches (approx 5mm) clearance between the extremities of the model and the perspex cover, so there is little room for error. Fortunately the turntable at Seemoos was on the edge of a bank and it happens that the top of the casing of the motor is just about the same as the ground level of the top of the bank. This means that I can cover the motor case with plaster bandage, build the slope in front of the motor, and level the ground at the base of the bank to coincide with the edge of the base frame, and it will be very close to scale. The motor has been screwed to the base. The lines on the board mark where the various platforms will be, and the top and bottom of the bank slope.

The battery holder, switch and wiring are at the back of the image.
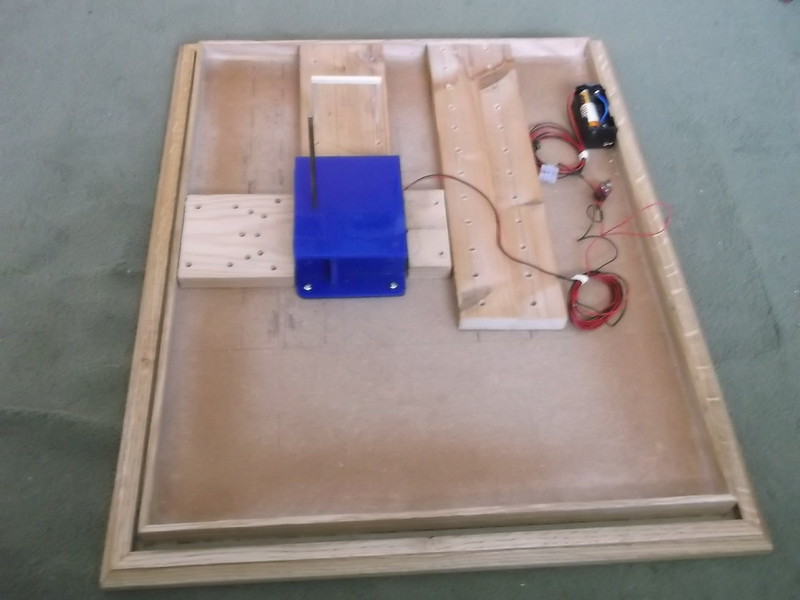
Another structural element that has had to be measured and planned is the location of the posts and beams that will support various platforms including the turntable, between the hangar and turntable, slipway and a side platform from the turntable. There was also a platform immediately in front of the hangar. To ensure that the posts will be in the correct positions and stable I decided to drill holes in a wood plank which I found in my garage. I cut it into lengths and drilled the necessary holes and then screwed the wood bases to the display base, and I have made one queen post from dowel and obechi which is visible in this image:

The gap in the front of the base is where I will be putting an information board: the edge of the landscaped section will be marked off by a vertical sheet of plywood.
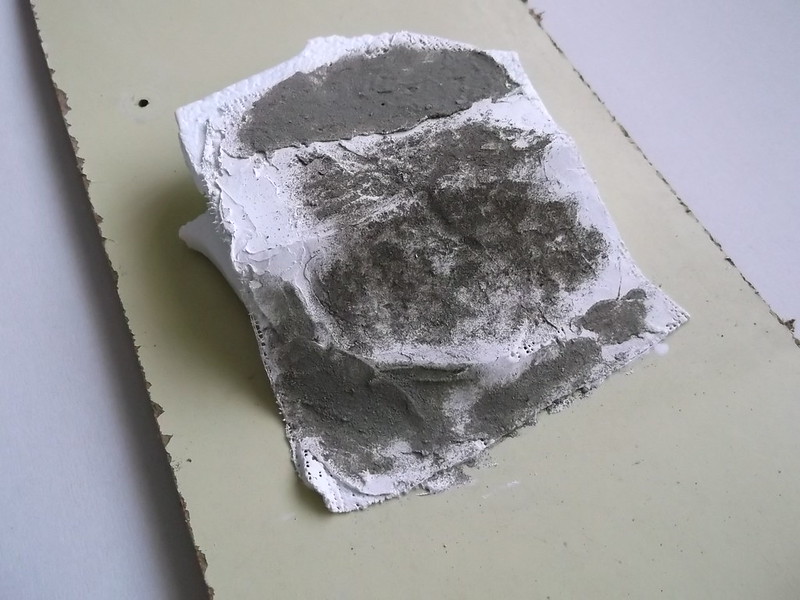
I have also been experimenting with plaster bandage as I have not used this material before. I wanted to create a bank with a level surface on each side of the bank. I used some scrap expanded polystyrene which I had glued together to create an uneven slope which I then covered with the plaster bandage:


When this had dried out I smeared a layer of plaster filler to fill the holes in the bandage. Finally I used some diluted PVA white glue and scattered some sand over it. This is the result which I think is not bad for a first attempt:


I am thinking of using sheets of expanded polystyrene covered with plaster bandage for the groundwork because it is very light and I have quite a supply of it.
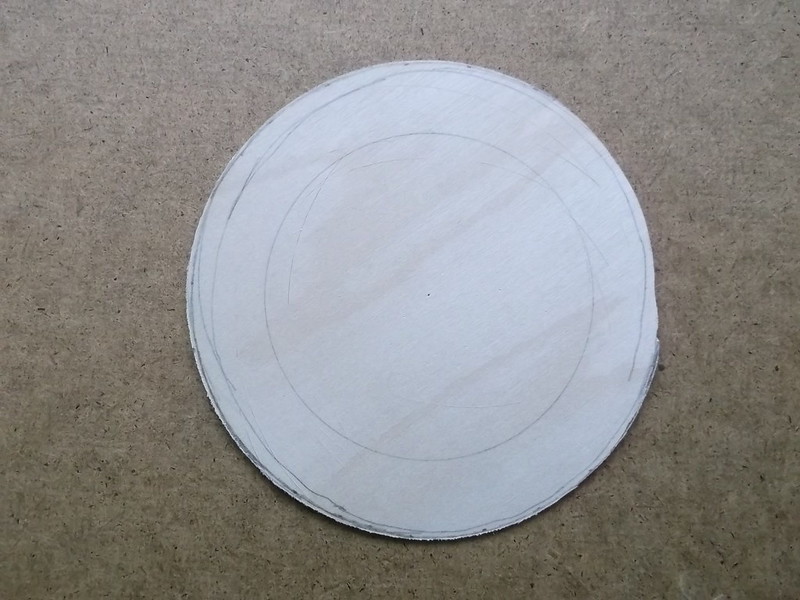
Finally I have been trying to make the turntable and surrounding platform. The turntable consisted of a thick wood planks which seemed to have been fixed to some form of frame, the details of which are unknown to me. In fact just how the turntable was constructed and held in place is also a mystery to me, so I am using modeller's license to make something that will look plausible but also be practical. The circular platform around the turntable also consisted of a series of wooden planks but these were spaced and seem to have been supported by queen posts with horizontal beams between the queen post supports. This would be very difficult to replicate accurately, so instead I intend to cut a ring of plywood and glue wood strips to it. I can cut a turntable base from the disc centre of the plywood ring. I have cut a circle of plywood but am not very happy with the result because I have had real problems with the outer edge and I am not sure how I can get a clean edge inside too.

I am in deep thought about this at the moment and am considering using some other material, perhaps thin basswood sheet.
More mistakes and changes to come!
Stephen.