I succeeded in working some time on the Breguet: I have decided not to prime the fuselage, there are too many details to mask and the control cables going to the tail, so I started to paint it.
I painted with Tamiya flat aluminium the metallic parts that will be covered with the camouflage and also half of the belly.
The remainder will be painted Misterkit MKFR03 Light Yellow, same colour of the fuselage inside.
At the moment this is the state of the work:
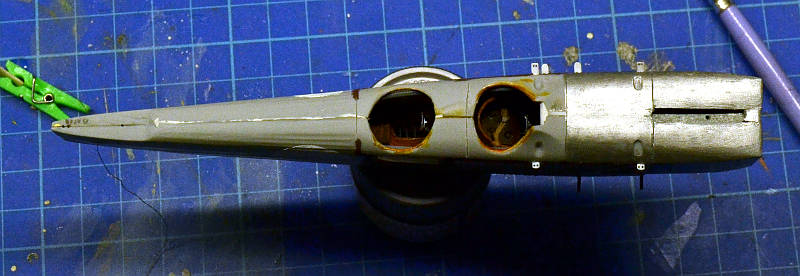
top view
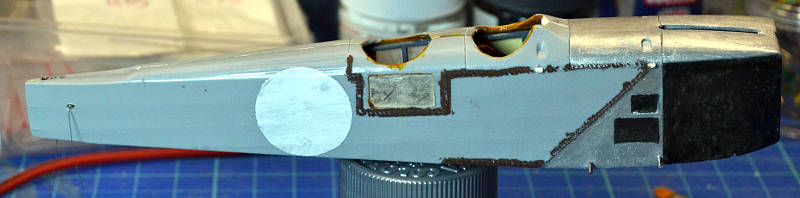
Starboard side:
- the white circle was made to lay the decal upon it, it was intended to avoid the dark colours of the camo peeping from under the decal, it will be masked before painting the camouflage
- the boxes painted in dark iron will be the seat of the two little panels with louvres for air
- I also painted dark brown the seams / stitching. They were touched up after taking the photo, here they appear a bit irregular, that is because I took off too rapidly the masking tape. The stitching will be overpainted by the camo colors and after I will try to gently brush them to let the brown come out (wish me luck on this, I never tried it!)
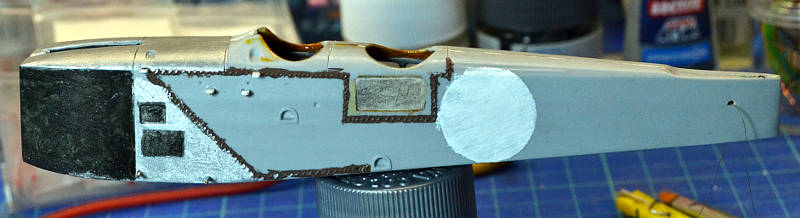
Port side
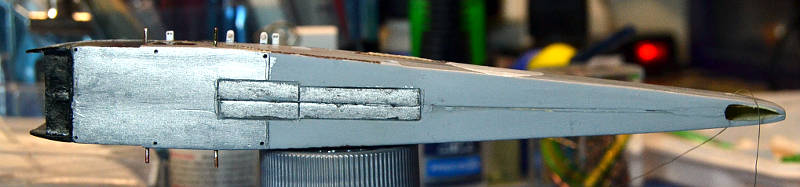
Belly: it will be left in bare metal, the black area beneath the "chin" will host a PE panel with louvres ...
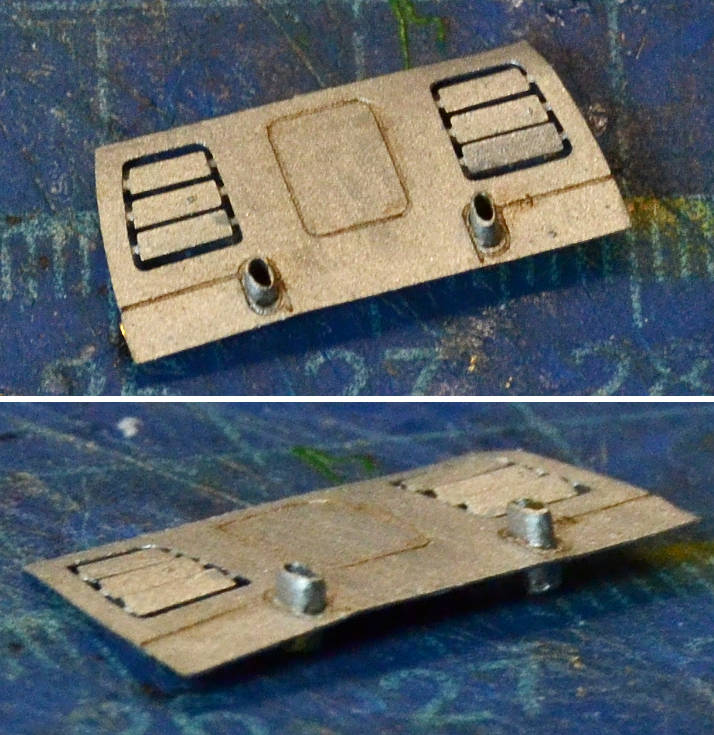
... here it is. I used Tamiya brown Panel line Accent to enhance the lines, the carburators air intakes were just two holes, I used a 1,5 mm diamater brass tube, hit on a very small anvil I have to get that oblong shape.
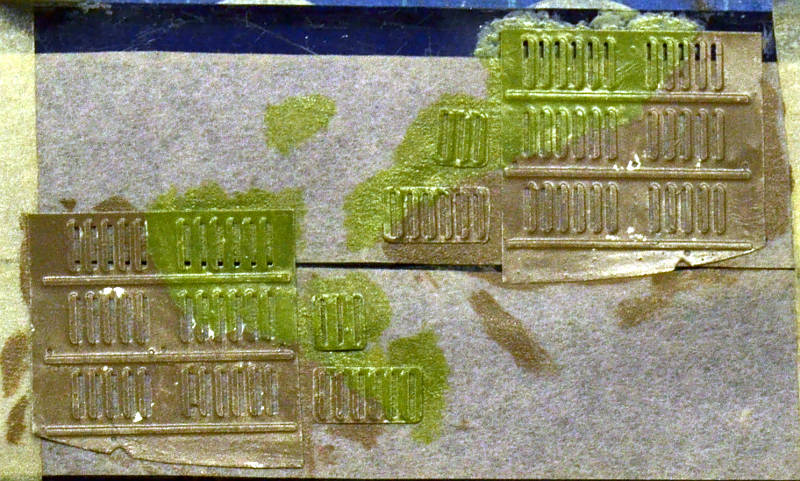
These are the panels that will go oneach cheek, first painted in flat aluminium and then painted with their final colors.
The metallic color will hopefully come out when I'll make some scratch, some are already there but are difficult to see due to the flash of my camera. THe colours are also too much "acid", they look better in natural light.
That's all for tonight
Ciao
AnDonio

