Hi all,
For many moons now, Roden has promised us a BE12a version of their BE series of British early war bombers.
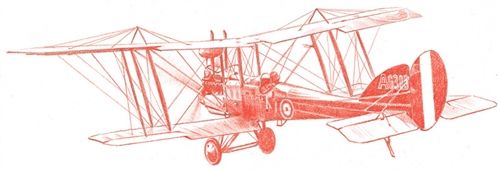
This aircraft was a variant of the BE12, which was itself a variant of the BE2. The BE12a had BE2e wings, and was used as a single seat fighter. It was not effective in this role, but it did see some successes in the middle east, where it was flown by 1 Squadron Australian Flying Corps (hence my interest in the aircraft).
Alas, this kit has never materialised. Back around 7 or 8 years ago I went about converting the rough Aeroclub BE12 to a BE12b, and Roden promptly released a kit of the BE12b, so I figured the only way to get them to release one would be to scratch build one myself!

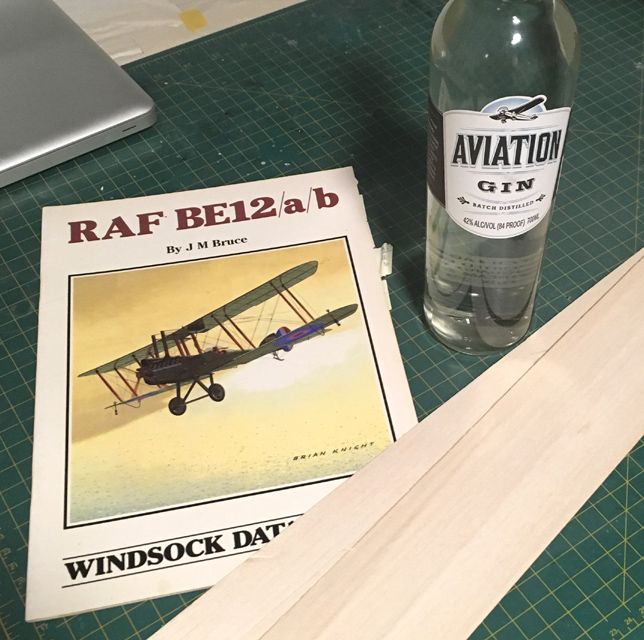
I thought about converting their BE12b or BE2c but there are enough differences (and errors) in the Roden kits to make this harder than one would initially think. I have the ancient Aeroclub BE12a and it is very rough and chunky, lacking the refined detail that I prefer. Plus it's made of very hard plastic which has a tendency to chip and flake. Hence I thought I would try my first ever full scratch build. Wish me luck!
My first thought (and dread) was scratch building wings. I figured that if I couldn’t get a set of wings then the whole project would be pointless. I considered using the strip styrene over a styrene core approach, but this has never looked convincing to me, and is allot of sanding and smoothing to get the wing to look half decent. I had heard of the Harry Woodman approach to skinning wings over a balsa core, described here:
http://web.archive.org/web/20080327095940/http://www.wwimodeler.com/harry/chapter3/09-wings.htm…so thought I would give that a try. I went out and bought some balsa wood and sheet plastic, plus something suitable to roll the balsa core on to get the required camber (it might also come in handy later…).
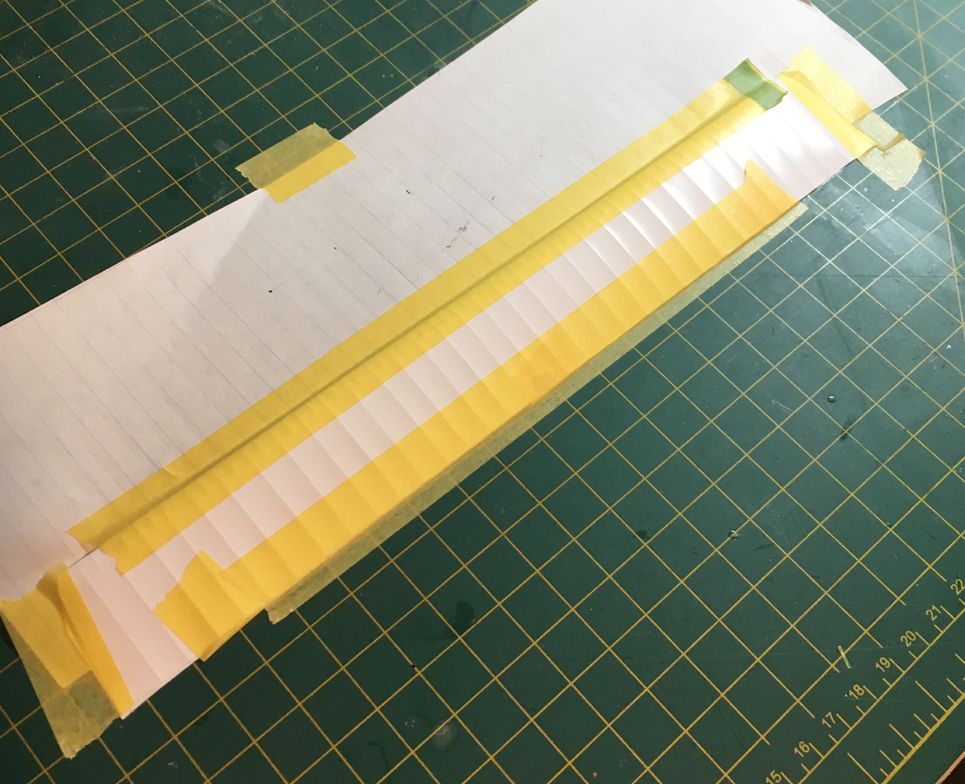
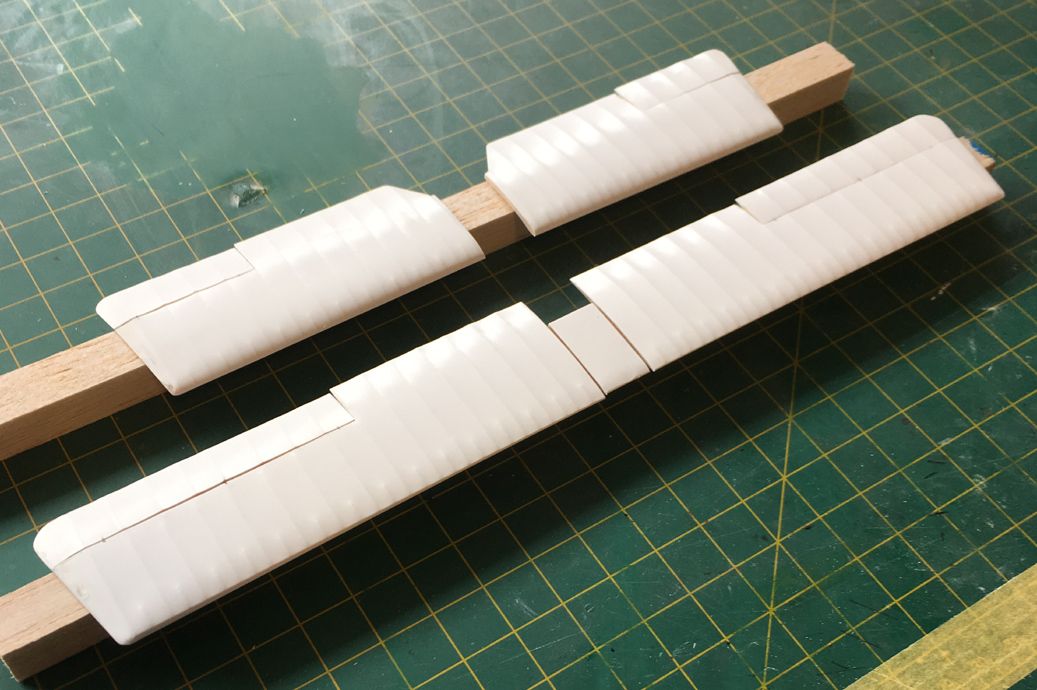
So following the method, and using the data file plans for reference, I made the cores:

I decided to make the wings in single pieces then cut each piece out later, in order to ensure I had straight leading edges and constant chord across all of the wing panels. I then embossed the skin, using the recommended 0.10’’ plastic card. I found this way too thick, and very difficult to bend. It also didn’t have a very thin trailing edge. So I tried again with 0.05” card. This was much better, and produced a surface reminiscent of the Eduard Albatros D.II, though not quite as pronounced (this may be too much for some, but I found this more pleasing for me than the less pronounced ribs that the 0.10”card produced). This was then bent and secured over the balsa core as per Harry’s method by heating and flattening the leading edge, and using double sided tape and Tamiya thin cement.
The trailing edges and wing tips were then refined, until I had this:
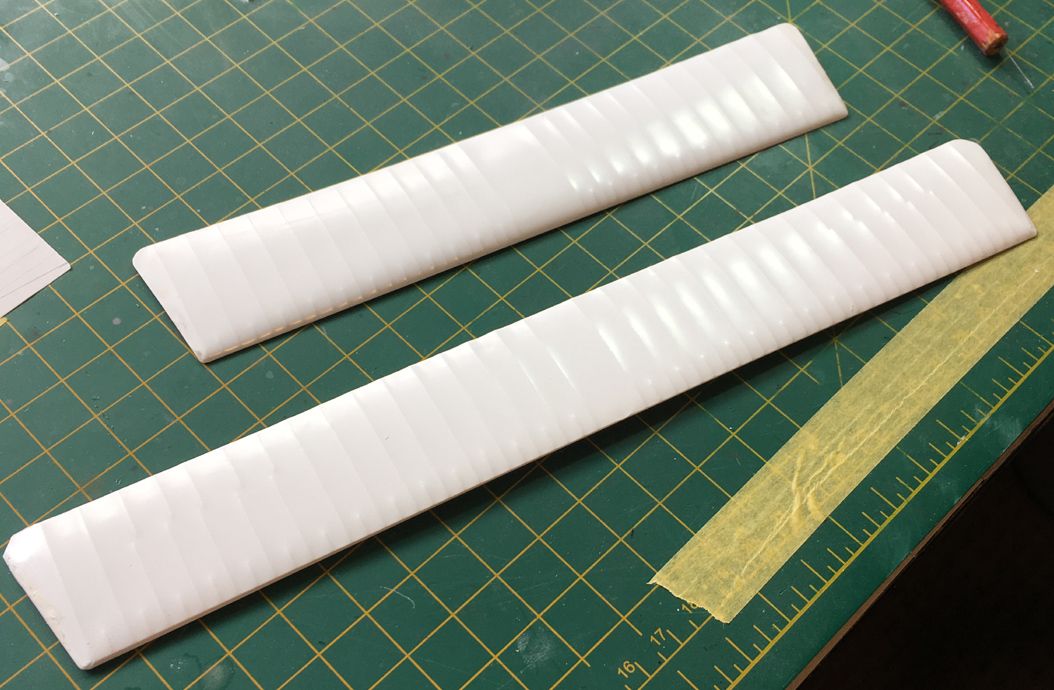
The panels were then appropriately separated, as were the ailerons. These were then re-secured using wire for hinges. They are still a bit fragile.
All in all it took me about 4 hours to get to this point, through a bit of trial and error. These wings are VERY FAR from perfect but it was a good experiment and I learned allot. They seem to be reasonably robust – the grain in the balsa helps prevent too much span-wise flex, which will come in handy when it comes to struts and rigging (which seems like a VERY, VERY long way away…!)
Learning points –
1. Don’t try this without a good double sided tape. Just…. don’t.
2. Getting constant camber and a dead straight wing for a long wing panel is very difficult – I didn’t get it right, as there’s a bit of anhedral and some twist in that long upper wing, but it’s good enough for a first try and some I can straighten up now that I have the panels separated.
3. The thickness and camber seems to differ from the bottom wings to the top wings, simply because I approached the sticking of the upper wing skin on the double sided tape in a slightly different way for each set. I'ts a little noticeable but i'm not going to throw a whole set of wings away.
4. The wing tips are a pain, and require quite a bit of clean up, incluiding filling and sanding due to the thinness of the 0.05" card.
5. 0.05’” card is really thin! It is susceptible to dents and dings, or use of too much glue (which results in what looks like ripples). Seams also pop if I twist the wings too much. There is also very little margin for sanding before you sand through the card, requiring more filler and sanding.
In any case, these are not so bad that I’ll scrap them and good enough to carry on with, given it's my first go. Next I’ll build the tail feathers then onto thinking about the fuselage.
As this is my first full scratch build, I welcome any tips from here!
Cheers
BC

