I'm way overdue for an update on this build and have made some progress recently. I'll break the update into two "installments"; here's the first.
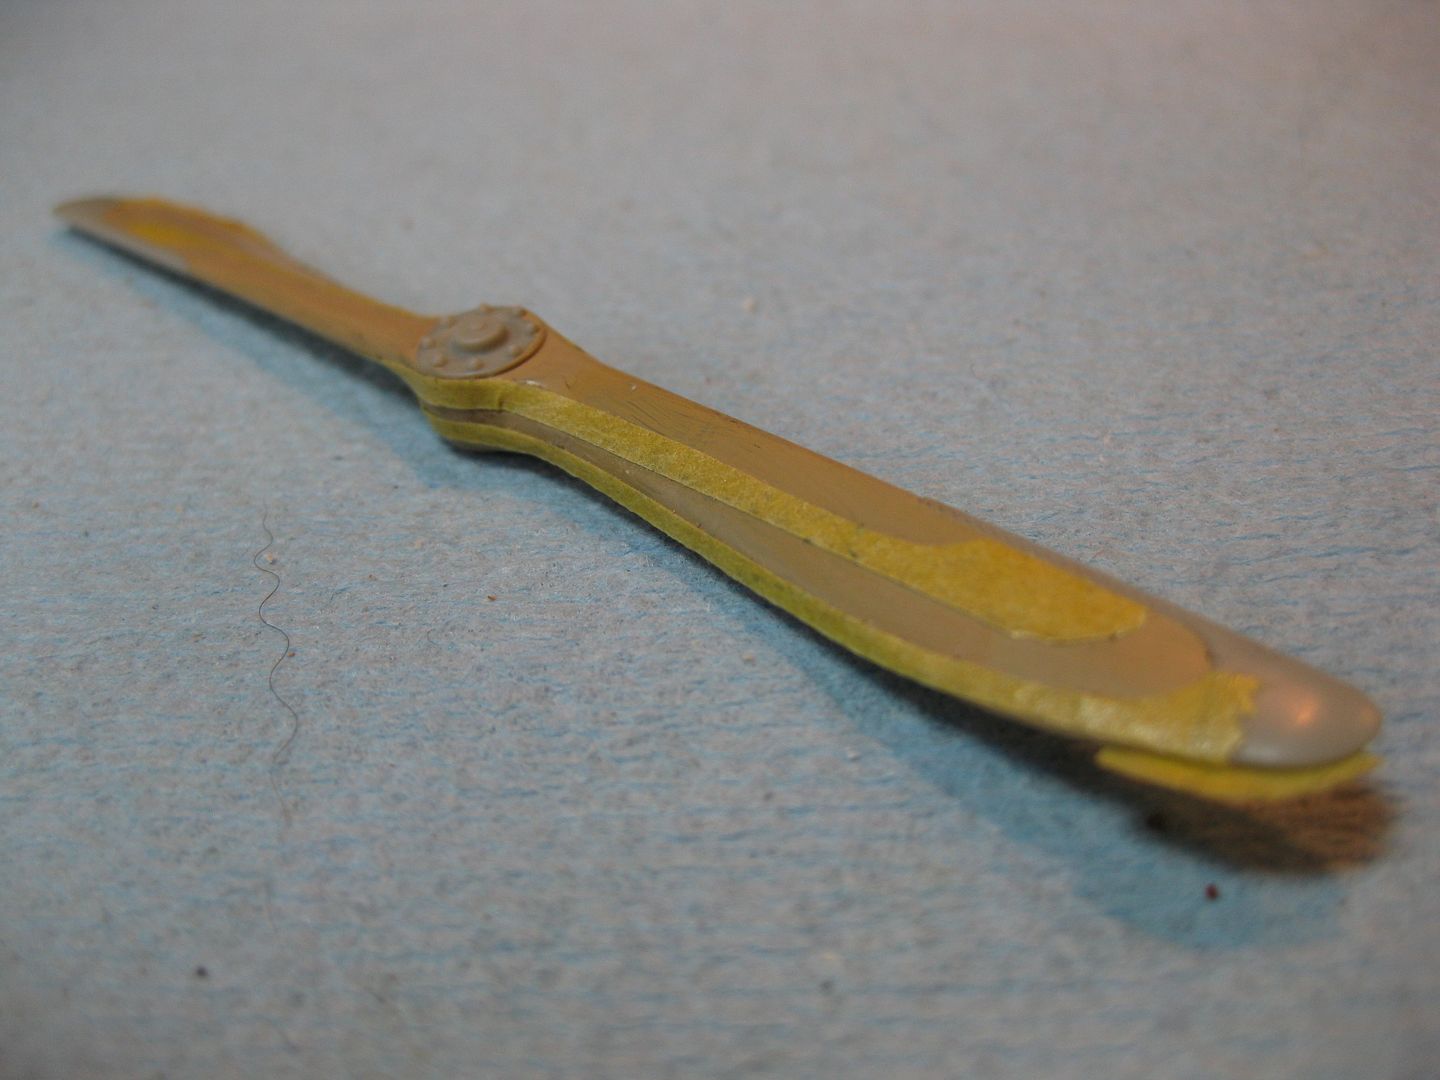
I'm trying to paint the laminated prop to take advantage of the nicely molded brass end caps on the Kit version. If I don't like the results I'll fall back to my normal hand carved version and paint the brass tips on that. Here's the first step masked and ready to be wood grained with Winsor Newton Oils, pretty rough at this stage!
The fuselage was closed up and the seams, after careful removal of excess paint, proved a minor challenge, requiring only a bit of CA as a filler and a single coat of Tamiya Primer before sanding.

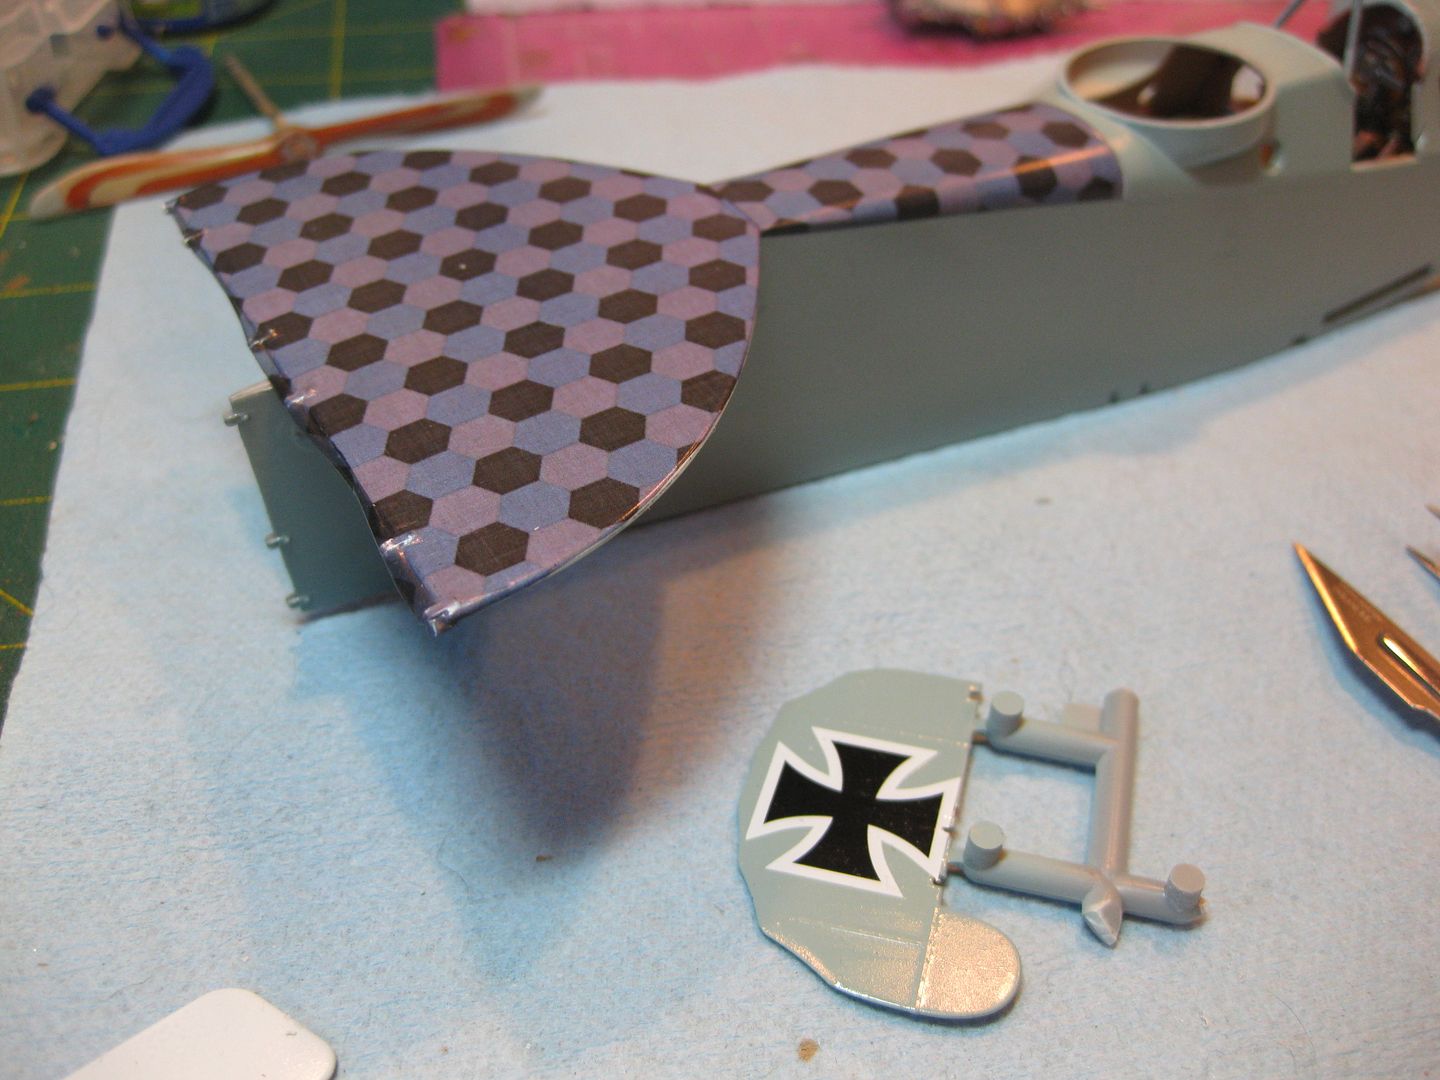
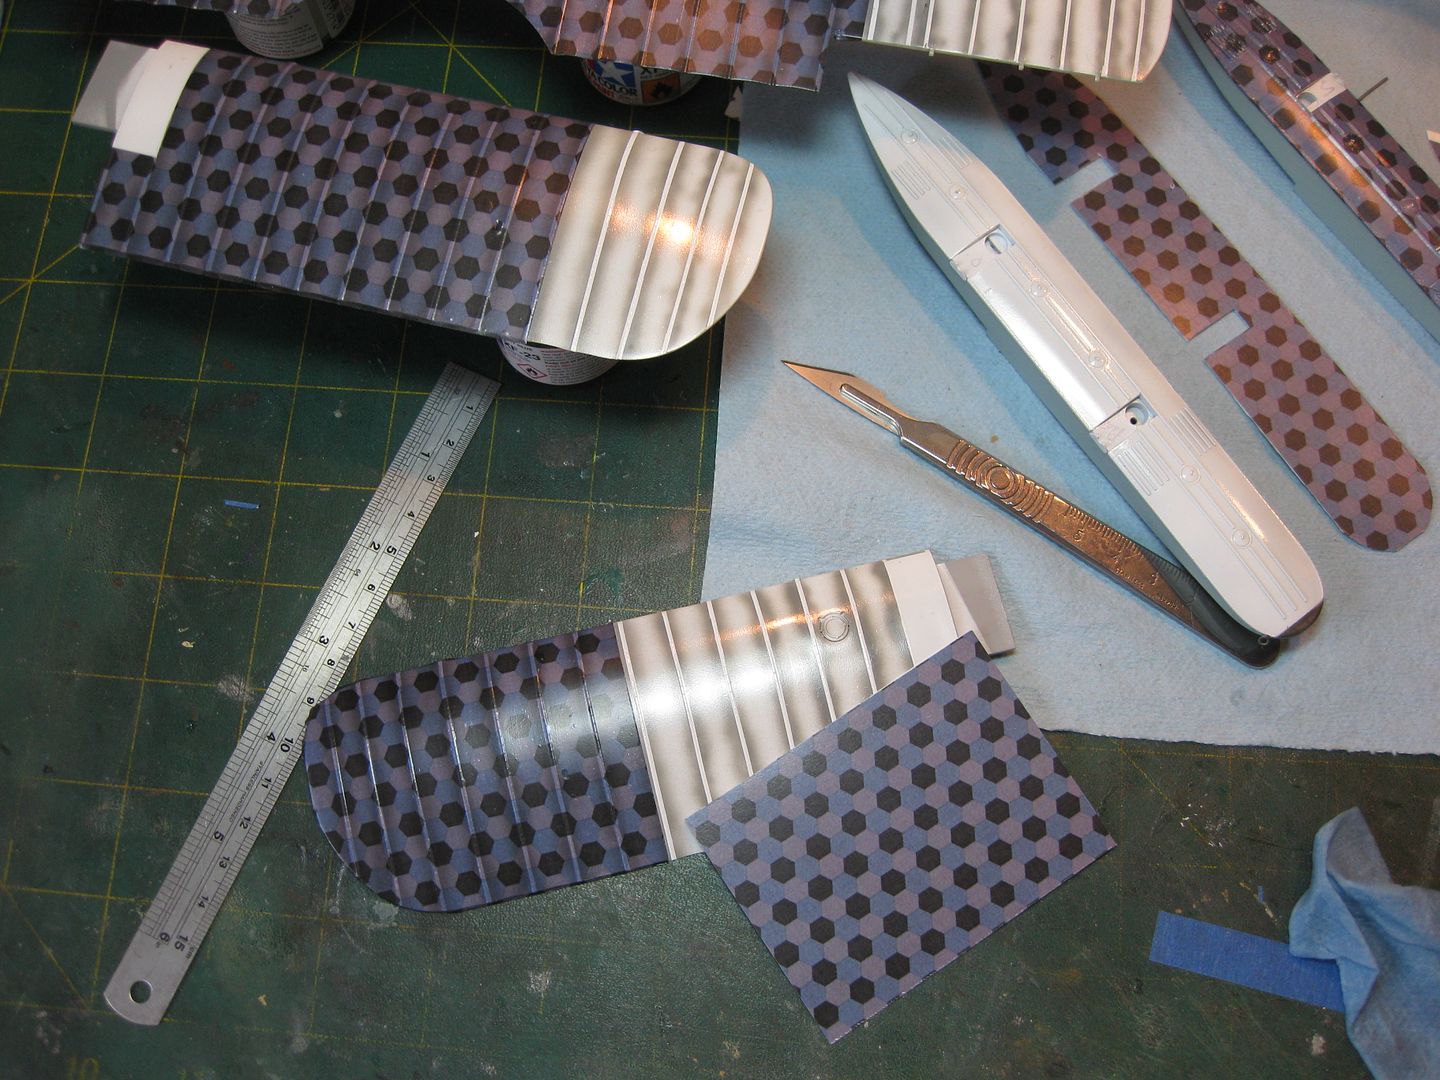
All lozenge covered areas were given a good coat of Tamiya X2 Gloss white per Aviattic's instructions and the fuselage dorsal spine area and solid tailplane were decaled with the Aviattic "Naval Hex" Lozenge which behaved very well.
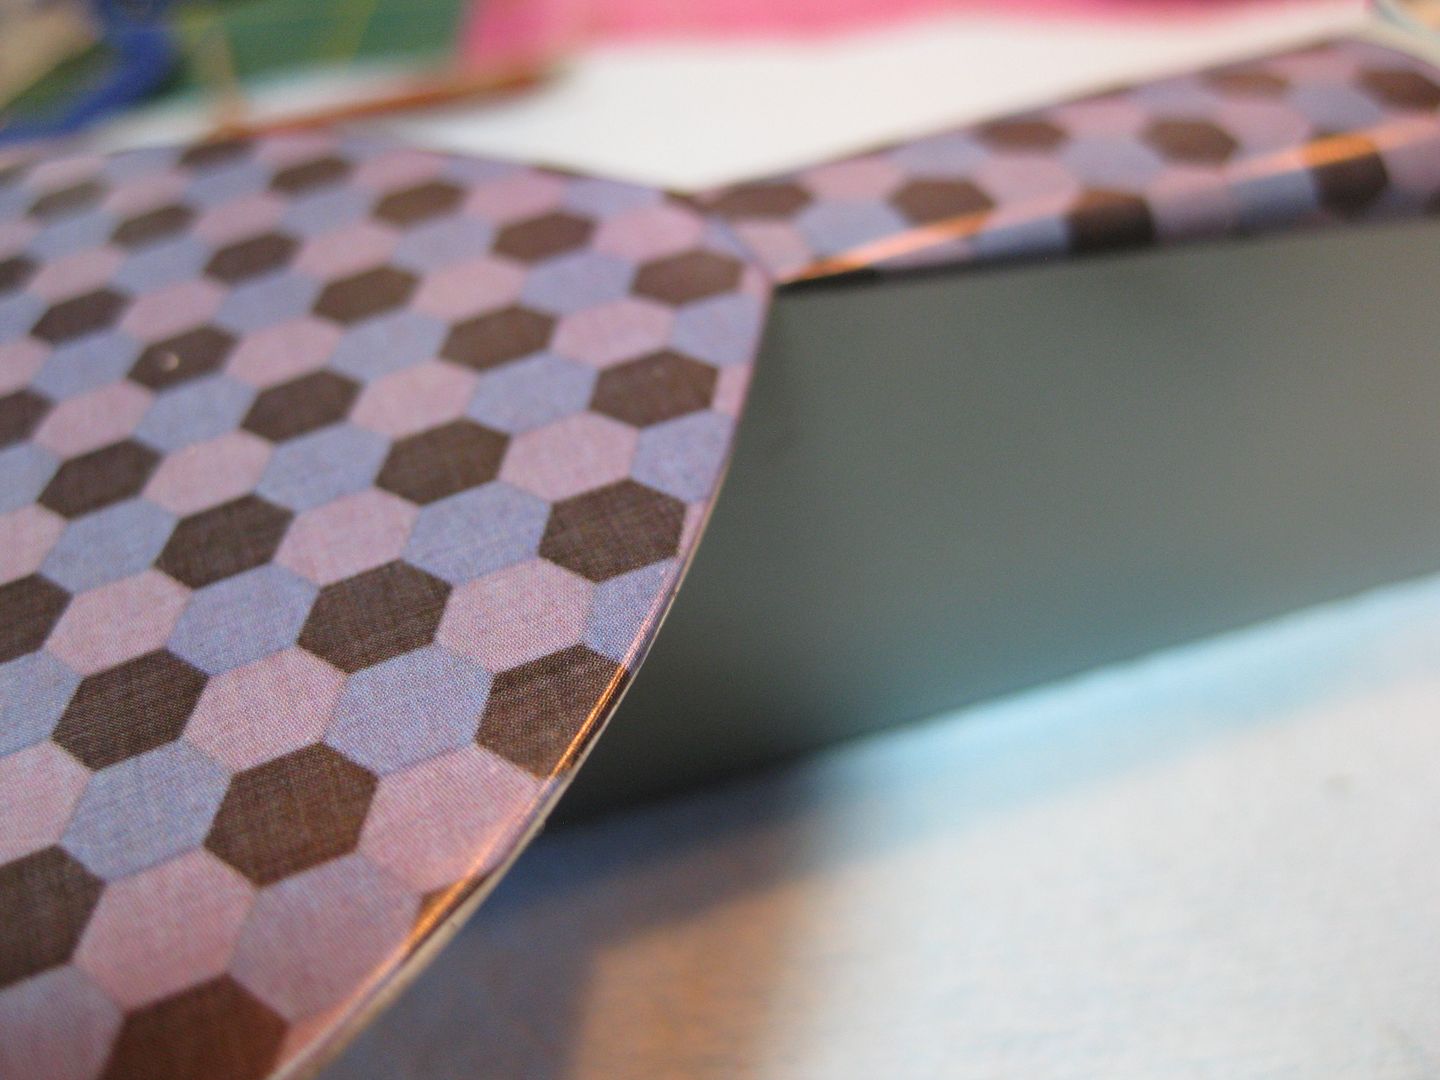
I'm really pleased with the Lozenge; the fabric effect as seen here is very pleasing to the eye!
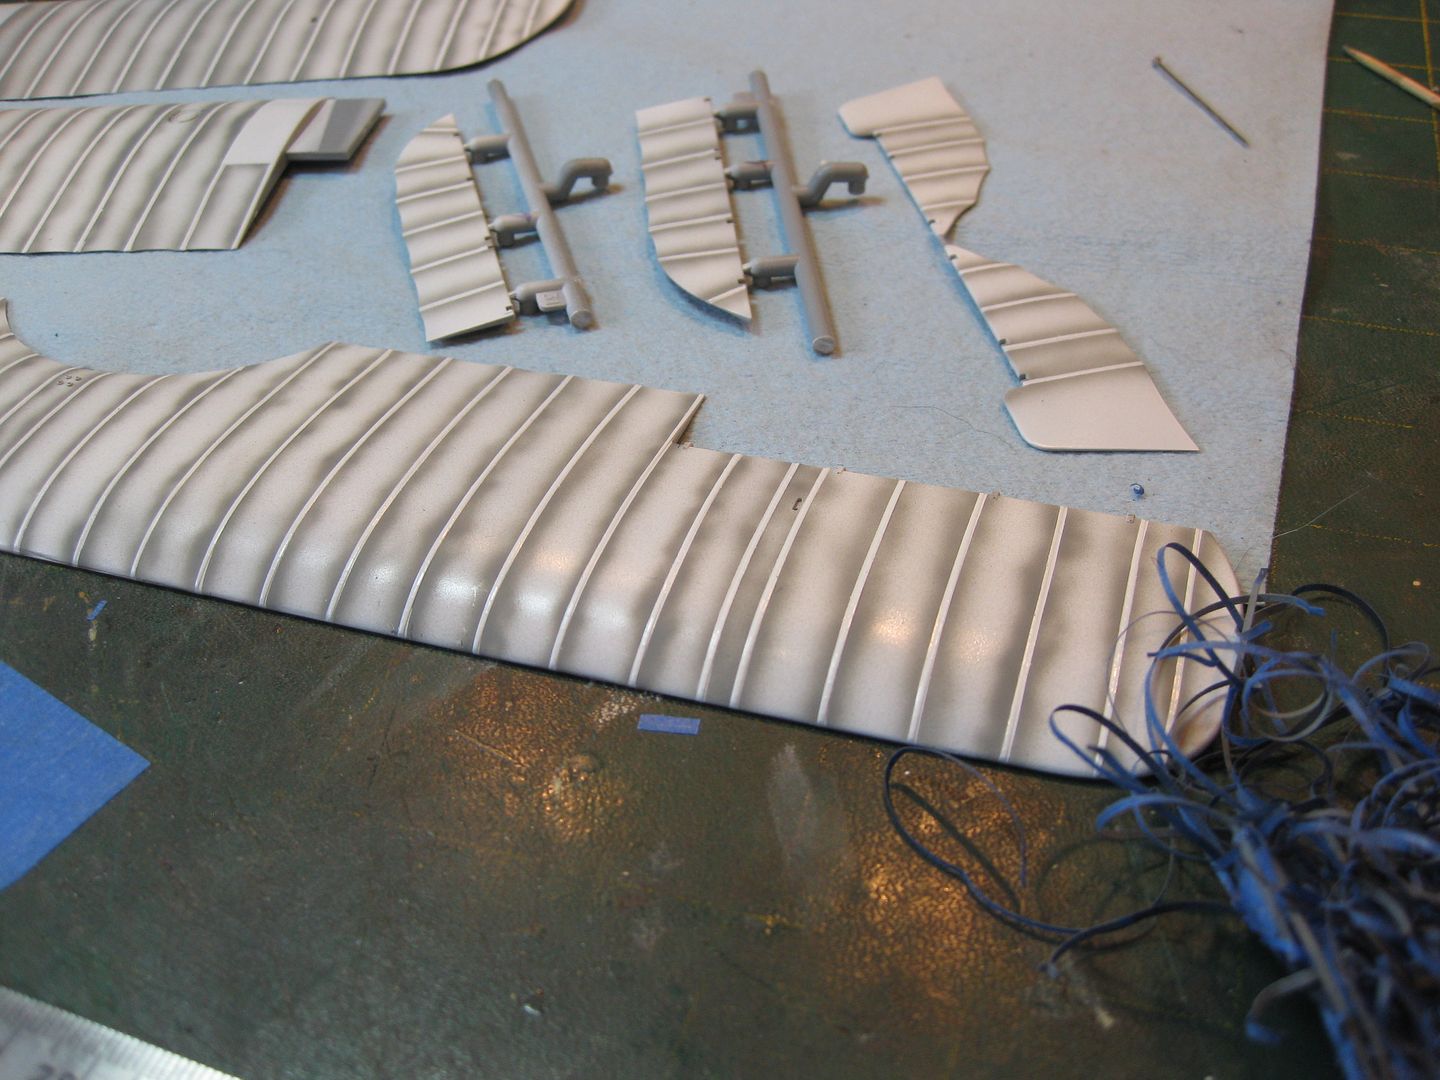
The upper portions of the flying surfaces were done in white and the lowers left in grey for addition of the pre-shading in dark grey and flat black respectively.
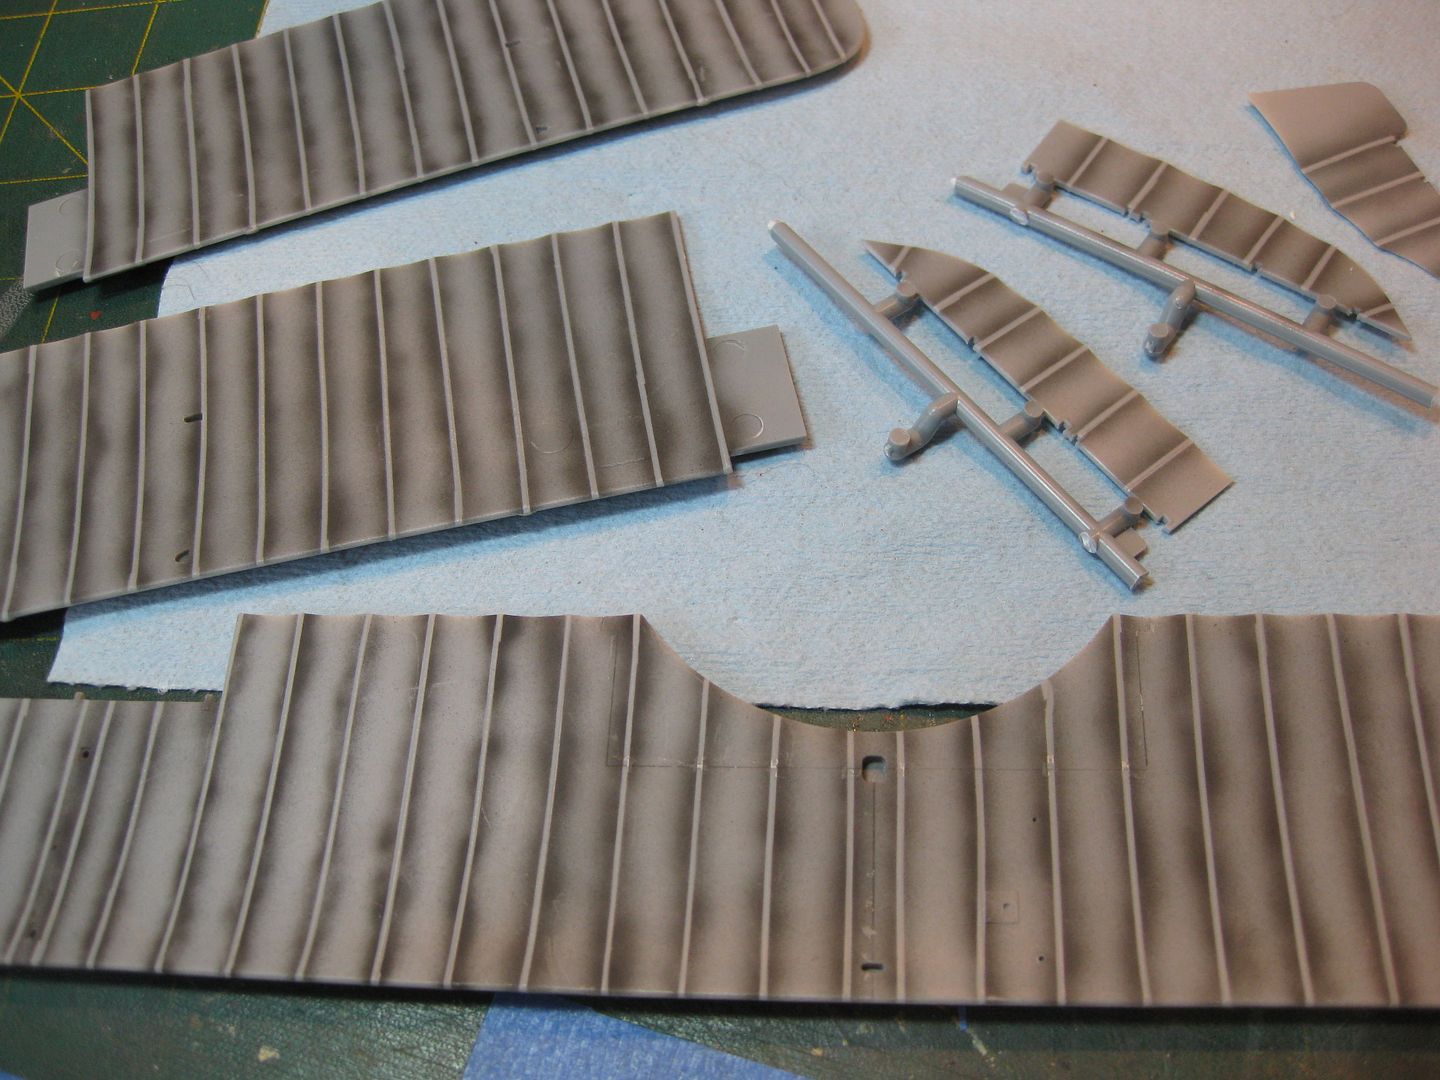
The lozenge was applied in sections as I find it easier to manage that way. Care had to be taken to keep the "chord wise/ Span Wise orientation of the pattern correct.
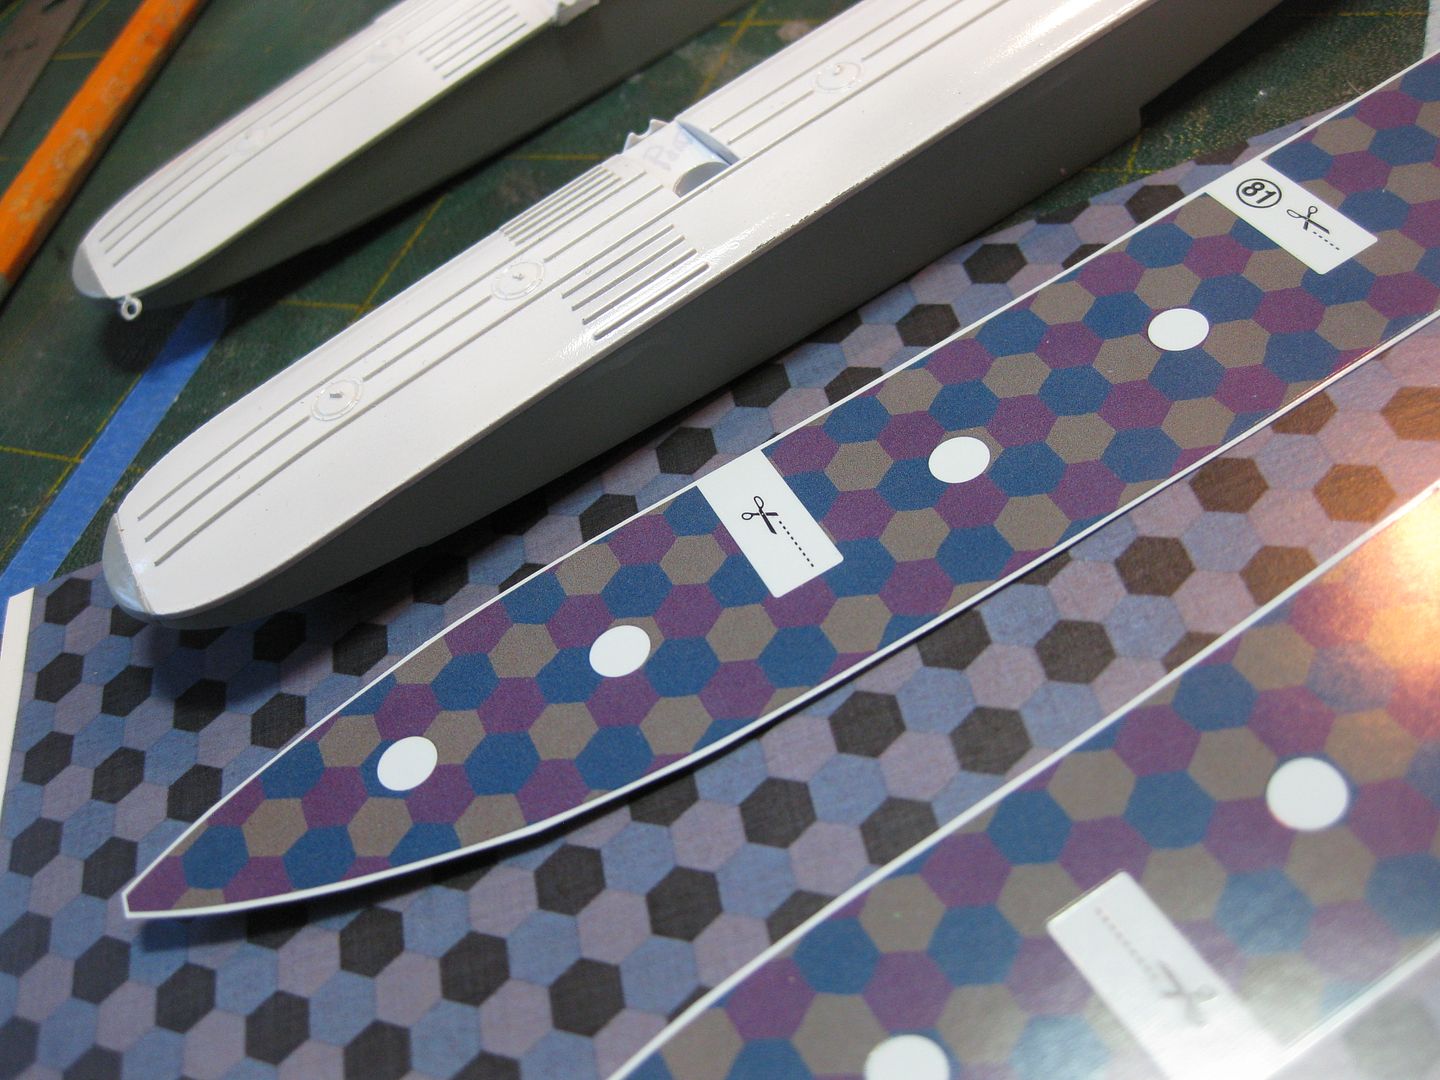
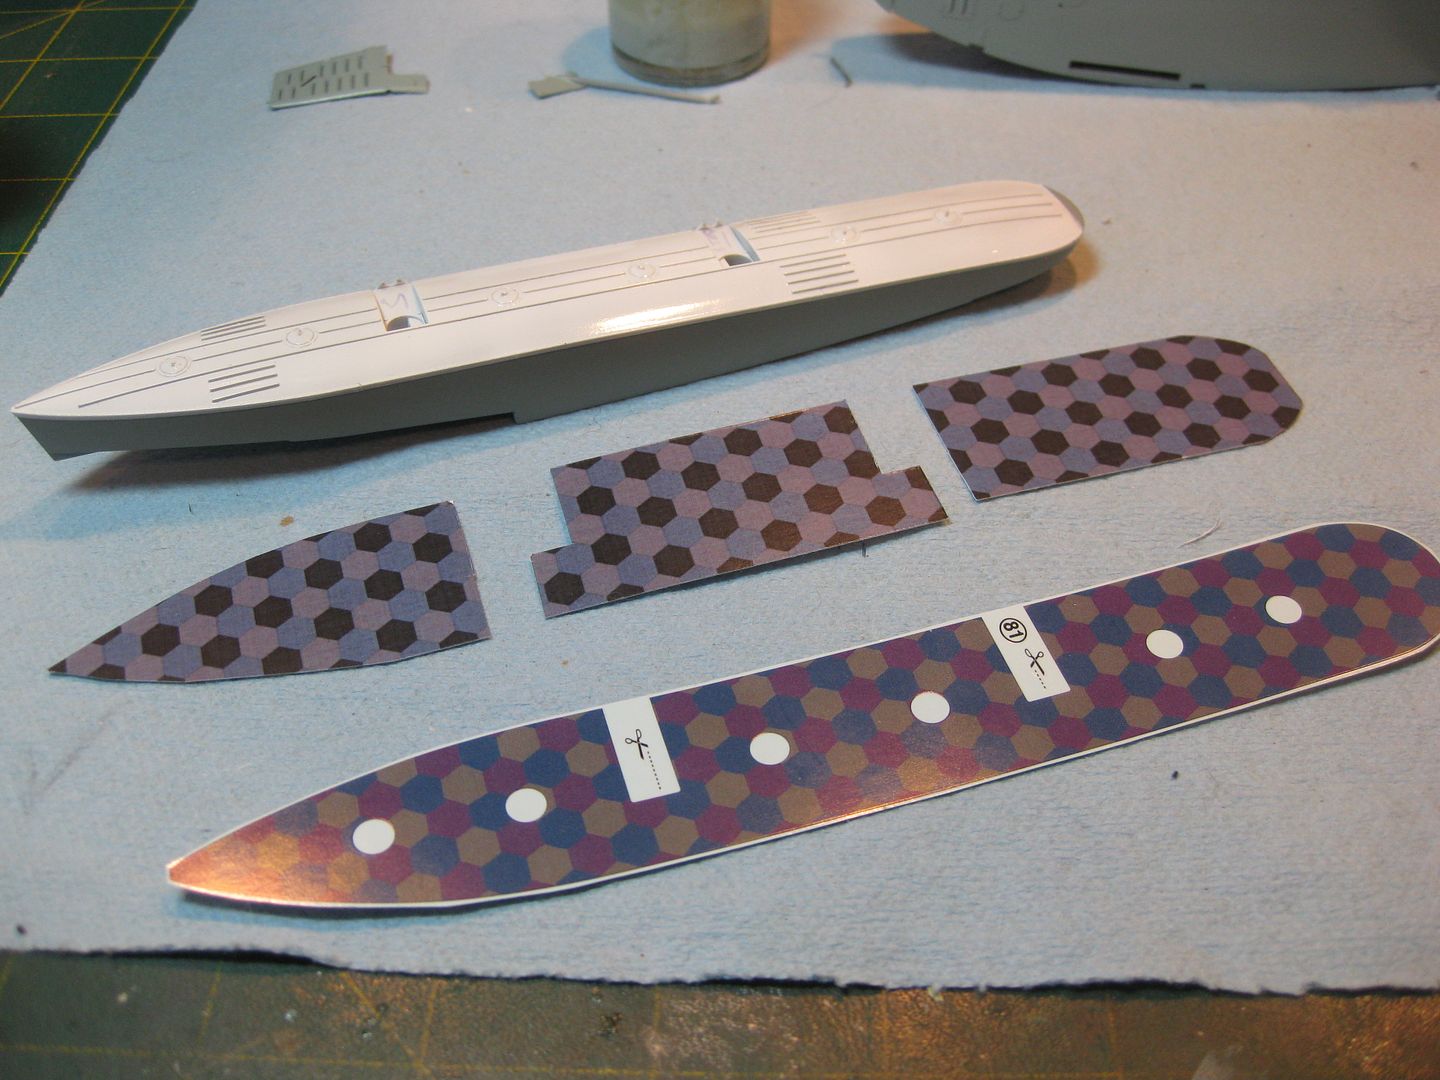
As I anticipated the floats proved a real challenge for decaling. The Kit Decals were used as templates, the Aviattic lozenge cut, and then the new decals were cut into three parts for application to the floats.
Now I'll try for a few more photos and bring this Thread up to date before it gets away on me again!
Cheers,
Lance

