Evening All,
Thank you Juan and Xan for the kind remarks - they are much appreciated.
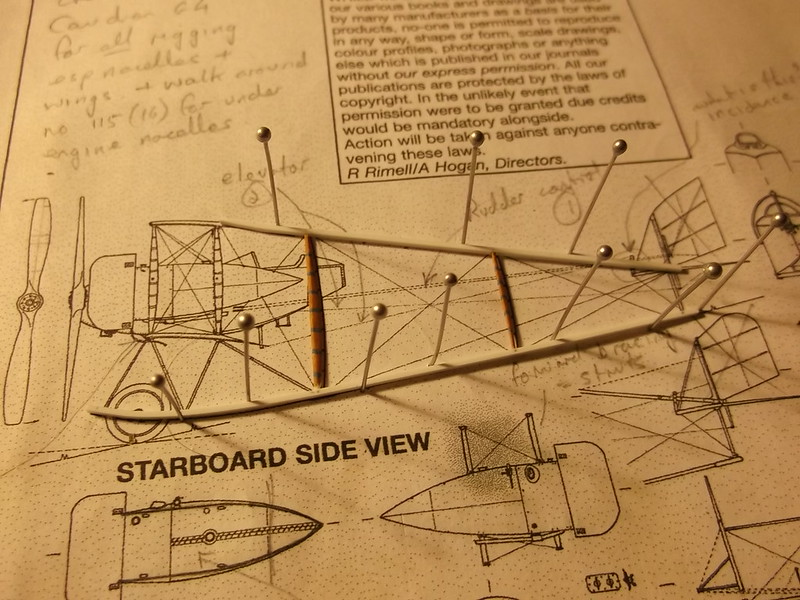
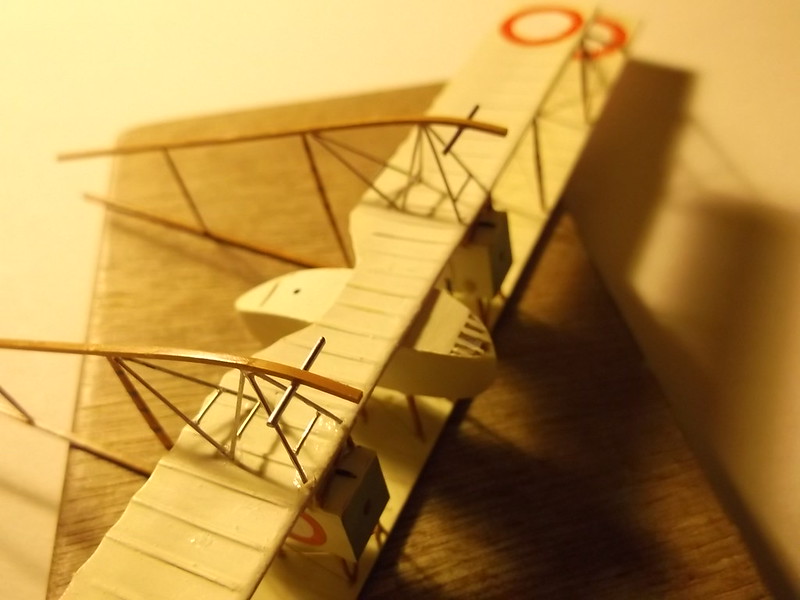
Xan: the roundels under the upper wings are based on photos: I know that later in the war roundels were not normally put under the top wing on British aircraft, but in the earlier years they were on some, and in the case of Caudron IV's they were on some machines at least. I have also had a query about British machines having the upper wing extensions: the photos in the DataFile show both RFC and RNAS machines with upper wing extensions. It seems, (but I cannot prove), that British built machines lacked the upper wing extensions, those supplied by the French did have them. However if anyone knows any better please let us all know.
The next stage of this build was the booms. I just cannot resist an aircraft which has odd bits sticking out - hence my extreme interest in pushers and any other WW1 type that has unusual rear arrangements. The double booms of the Caudron were what appealed to me because they represent a modelling challenge - getting them properly aligned would be an interesting exercise. So this is how I did it without the aid of complicated jigs - just a pair of my late mother's hair grips.
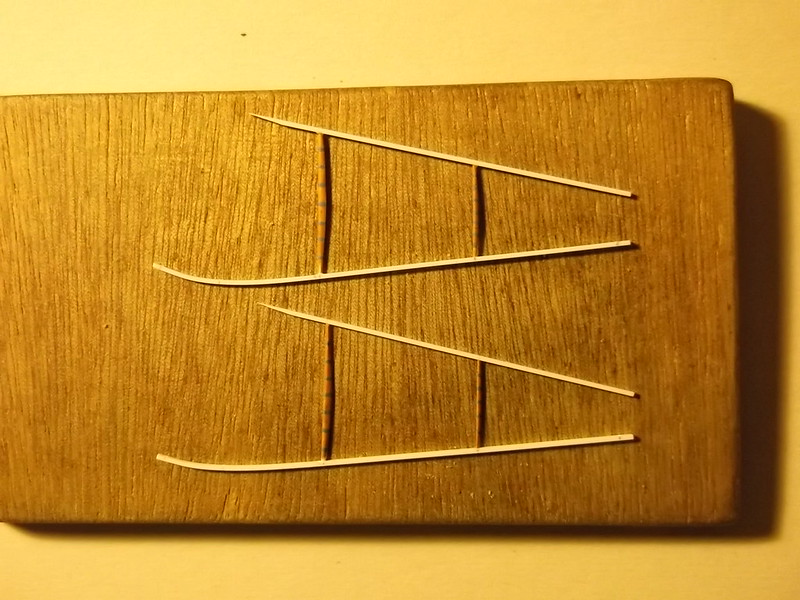
To start I placed two strips of 30 x 40 strip on to the plans and held them in place with pins: the top strips were cut from the lengths provided and the underside of the front end filed so that it will sit on the top of the upper wing. The lower ones had the ends curved around by drawing out the profile as a line on a small block of wood, holding the strip in place over the line with pins and immersing the strip and wood in very hot water for 15 seconds. Then the plastic was plunged into cold water for 10 seconds and the runners were ready. The struts were glued and the sub-assemblies allowed to dry out thoroughly.
The booms were then painted before I placed an end of an upper boom on the top of the top wing and held it in place with a hair grip. I repeated the operation for the other side and supported the model on blocks so that the glue could set properly.
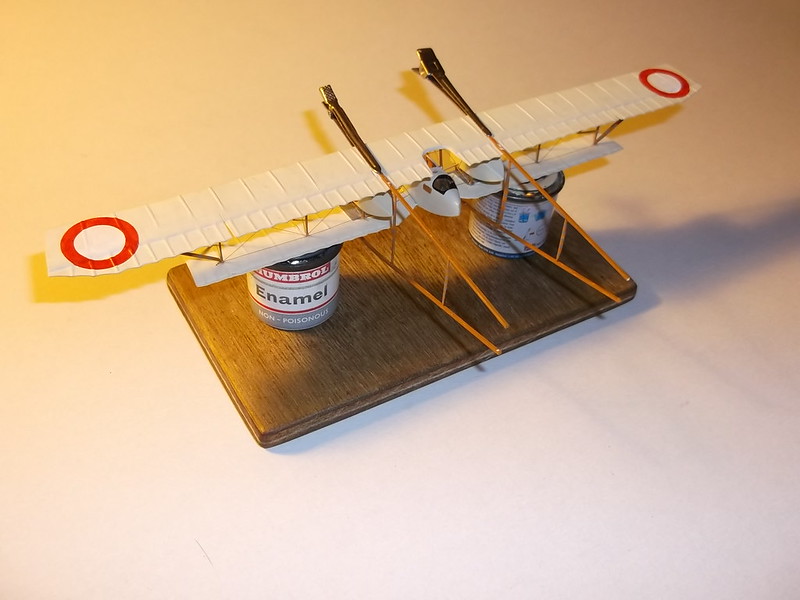
With the hair grips still in place because the booms were very fragile at this stage, I inverted the model so that I could add the struts which attach the booms to the underside of the lower wing. Each strut was individually measured with a pair of dividers and cut from rod. Only when all of the struts were in place and the glue dry did I take the hair grips away.
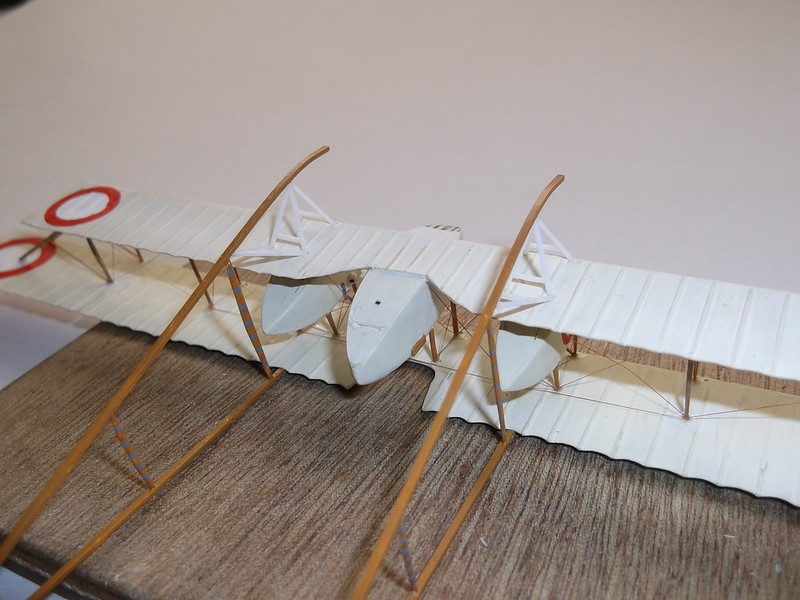
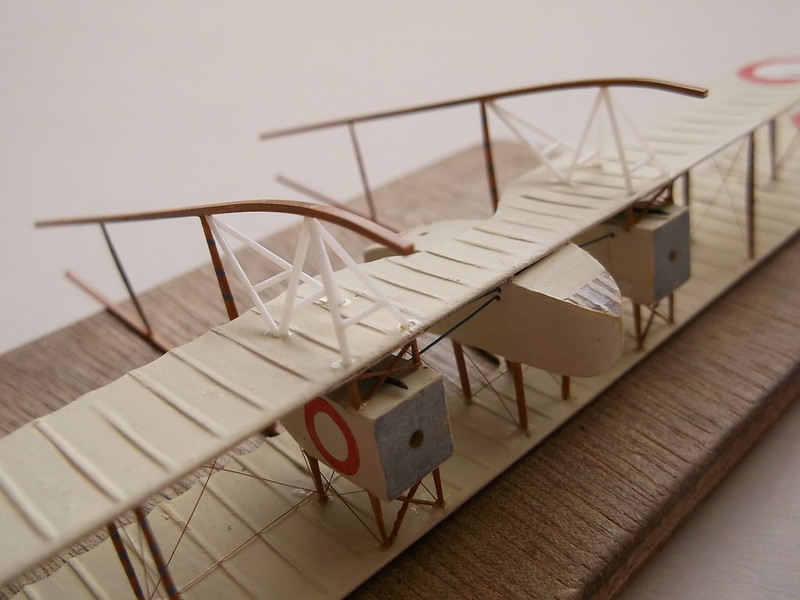
To complete the undercarriage and booms I added the axles from small pieces of paper clip.
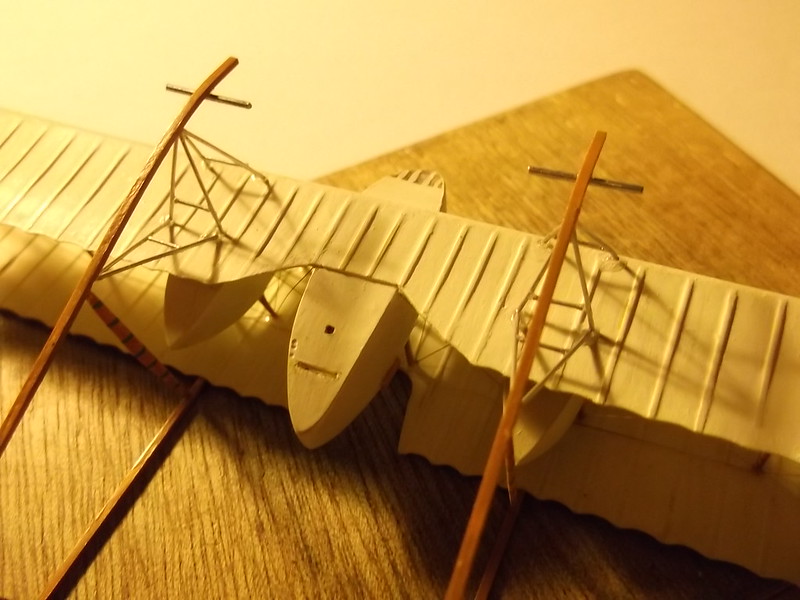
When I set the model on the desk top both of the lower booms were resting properly!
Thanks for looking.
Stephen.

