Evening All,
Thank you Ed, Rick and Des for the kind remarks, they are as always much appreciated.
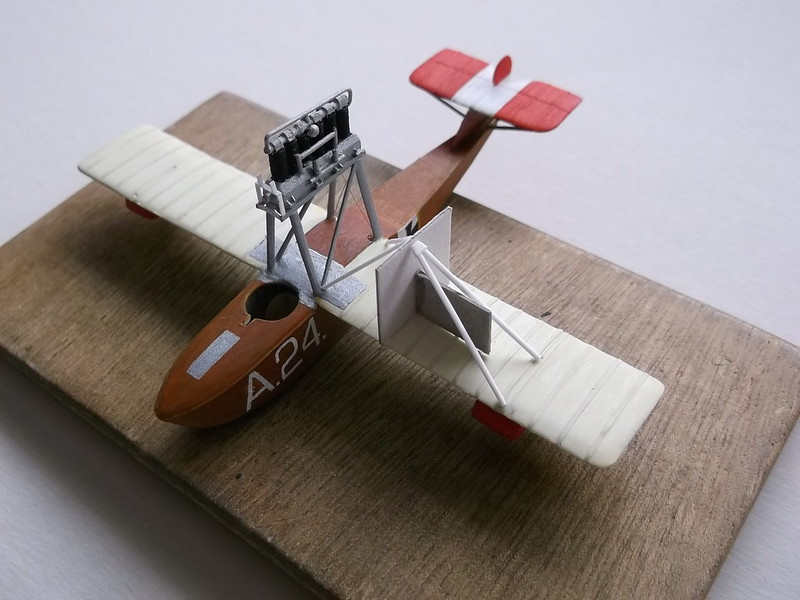
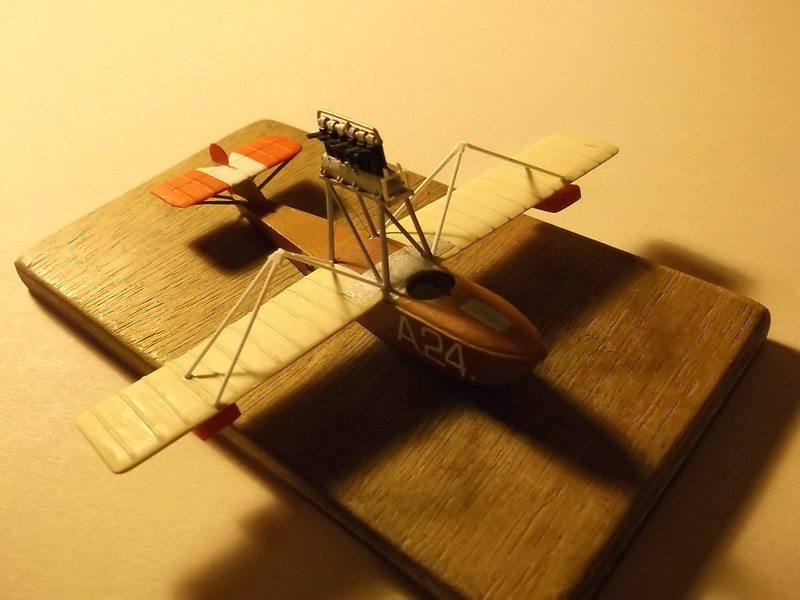
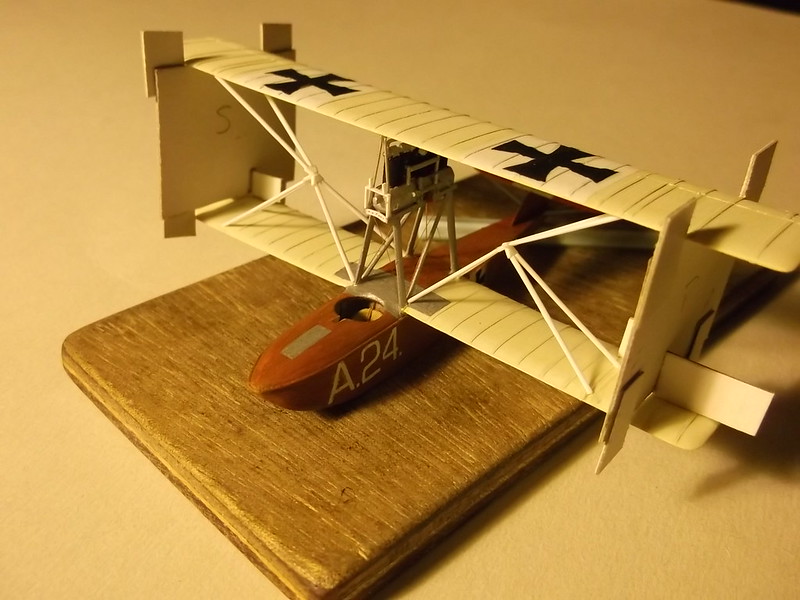
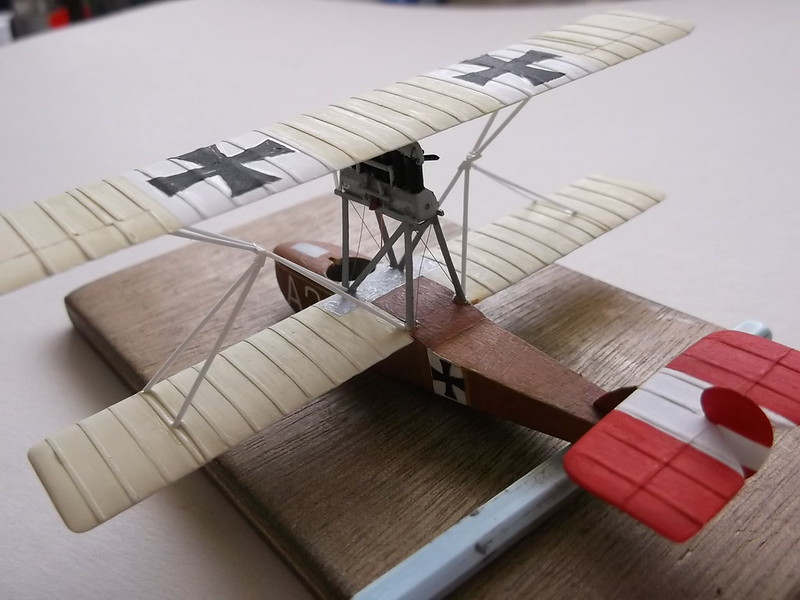
I fixed the engine to the mounting and added the frame which will hold the radiator at the front of the engine support. I also fixed a small piece of wire to represent the fuel pipe from the top of the hull to the engine, and rigged the engine supports with copper wire.
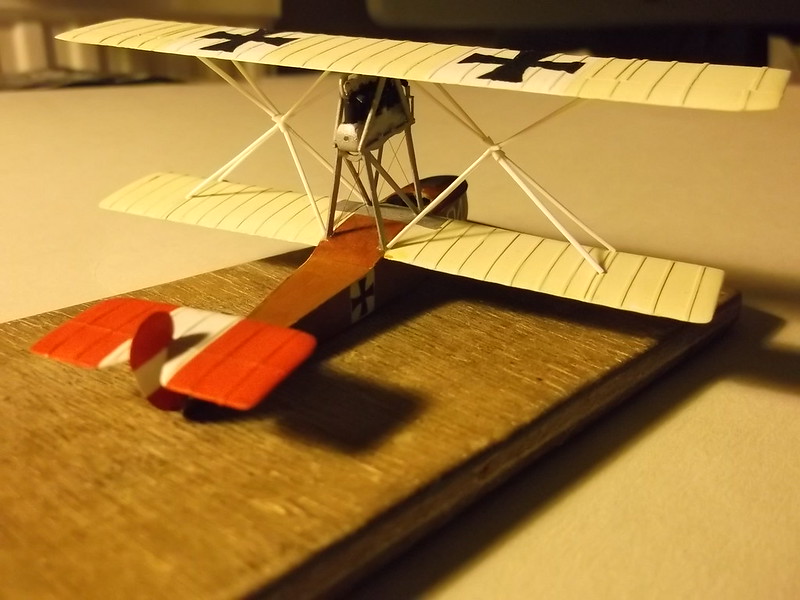
Now the fun began: I had got to put on the struts. I started by making the centre pieces of the struts from 30 x 40 thou strip - the corners were cut off and the rest filed to shape.
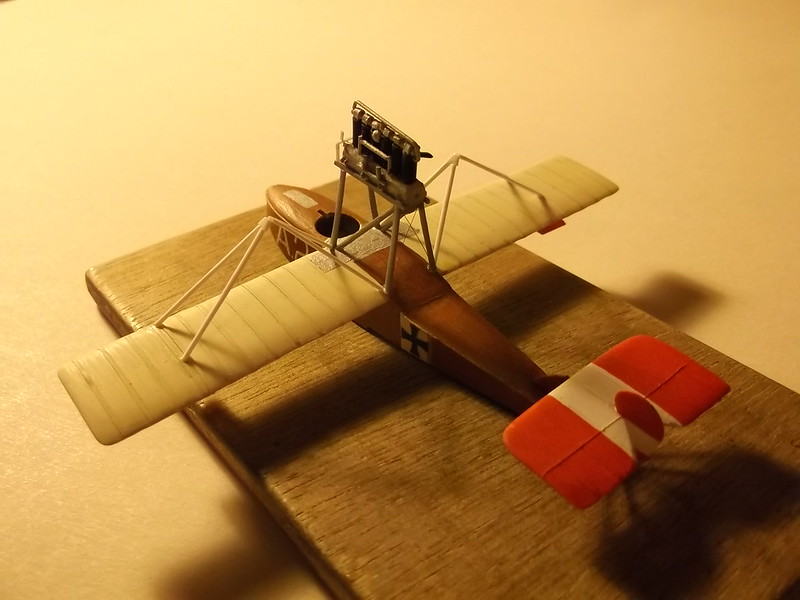
8 of these were made. Struts were made from 20 x 30 thou strip which were filed to aerofoil section. The distance between the ends of the struts where they were to be attached to the wings had been measured using a pair of dividers and the distances marked on a piece of paper. Then one end of the struts could be placed on the points which I had marked on the paper and the other ends attached to the centre pieces. I started with the lower struts. I made a simple jig from card and glued one of the lower struts to the location holes on the lower wing and rested the top end against the card jig which had been placed at the half-way point. While the strut was still flexible I glued the other strut and allowed this to rest against the card jig.
Then I gently withdrew the jig and allowed the two struts to come together, adjusting them so that they were correctly placed. A drop of liquid glue fixed them in place and they were allowed to dry.
The other pair were glued and set into place in the same way.
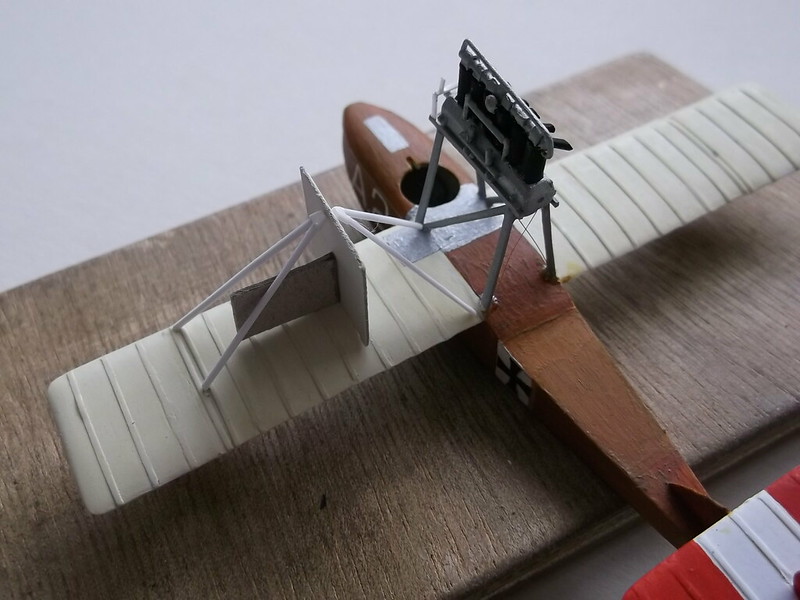
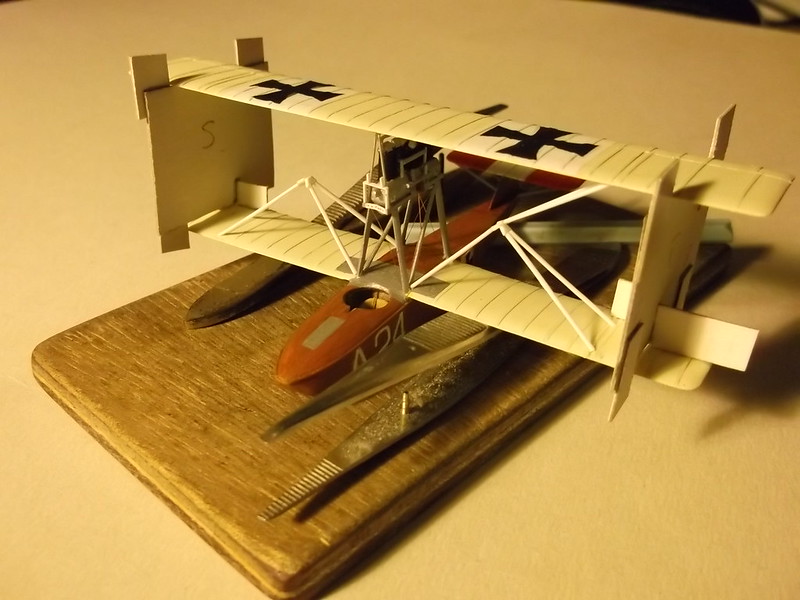
To put on the upper struts the top wing had to be held in place, also with jigs. I have seen these made from pieces of card with a photocopy of the side elevation glued on to them and then slits cut so that the wings could be inserted and held. This seemed too complex for me - I am not very good at cutting thin slits and getting the two sides exactly aligned, and I thought that there must be another way. I made two jigs from card: the height of the uprights were the exact distance between the top and bottom wings. Then I glued two pieces of card to extend above and below the wing leading and trailing edges - this would lock the wings in the correct position while I was placing the upper struts.
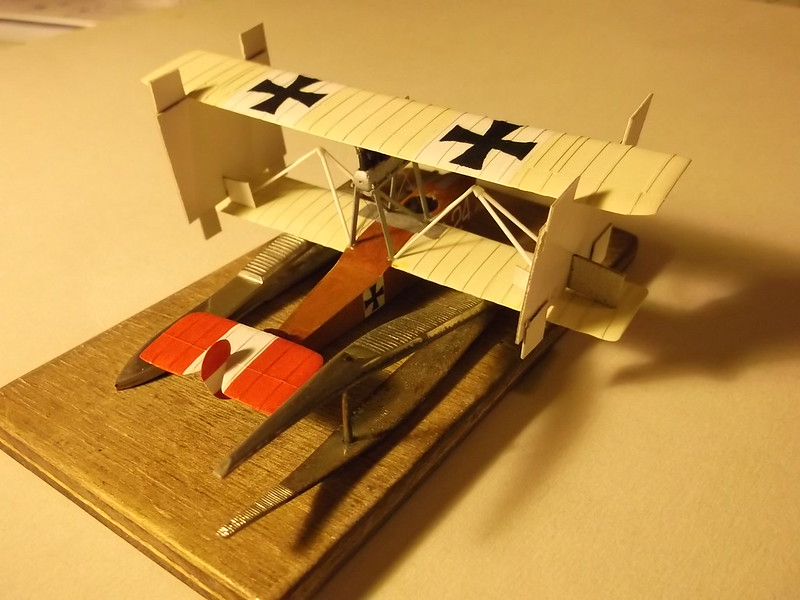
The pairs of tweezers (Bo please note: not the jewel encrusted ones), were used to hold the model steady while I inserted the upper struts. I made the two centre section struts from wire and glued these on to the front of the engine supports and the underside of the top wing. This helped to hold the top wing in place while I fixed the outer upper pairs of struts. One pair was fitted to the port wing first.
The starboard side was added.
These were allowed to dry completely and then the jigs could be carefully taken away.
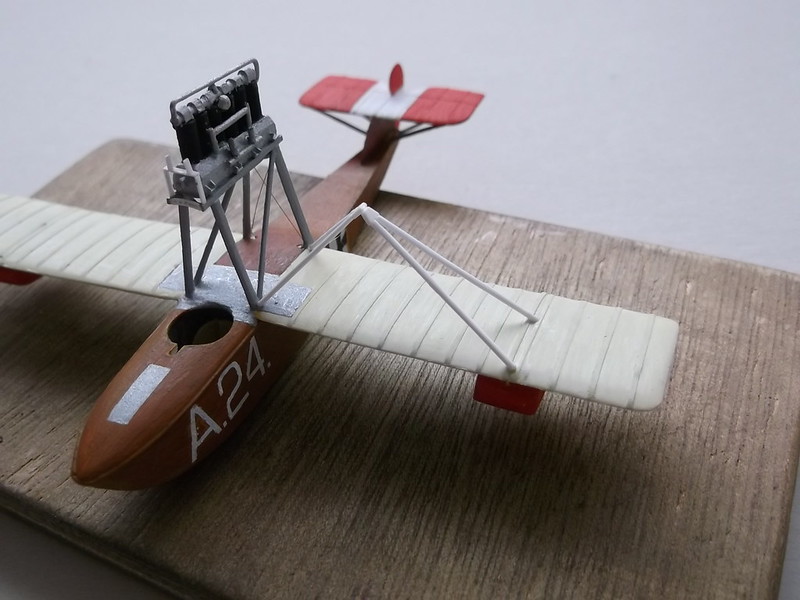
Finally I now had the space to place the last pairs of upper struts and the top wing was complete (and I was able to breathe freely for the first time for two days).
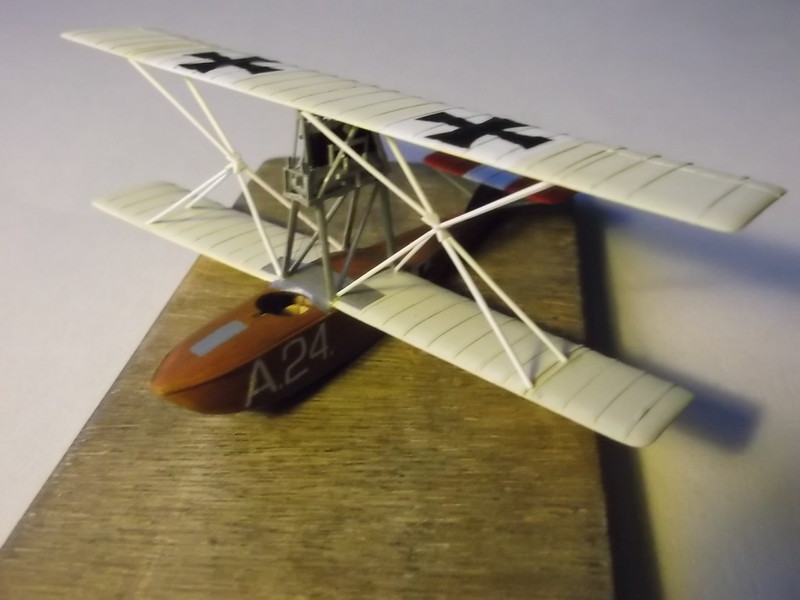
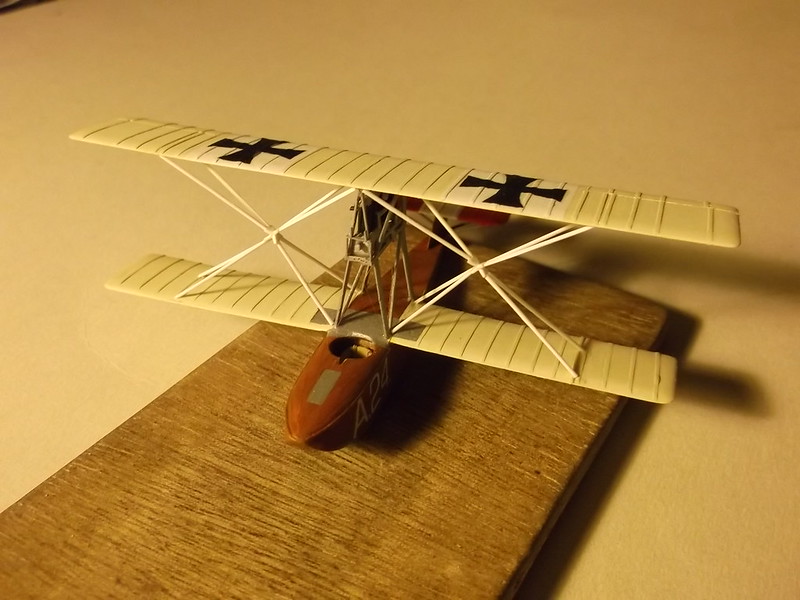
The "n" struts between the engine mounting frame and the top wing finished the strut work.
Now I have to paint the struts and make and add the gravity tank on the top wing - that will be the topic of the next post.
Thanks for looking.
Stephen.

