Well, the first step is more or less complete; the cockpit module is completed and now the engine can be tackled. There's still a bit to go on this step, most important the seat belts need to be added.
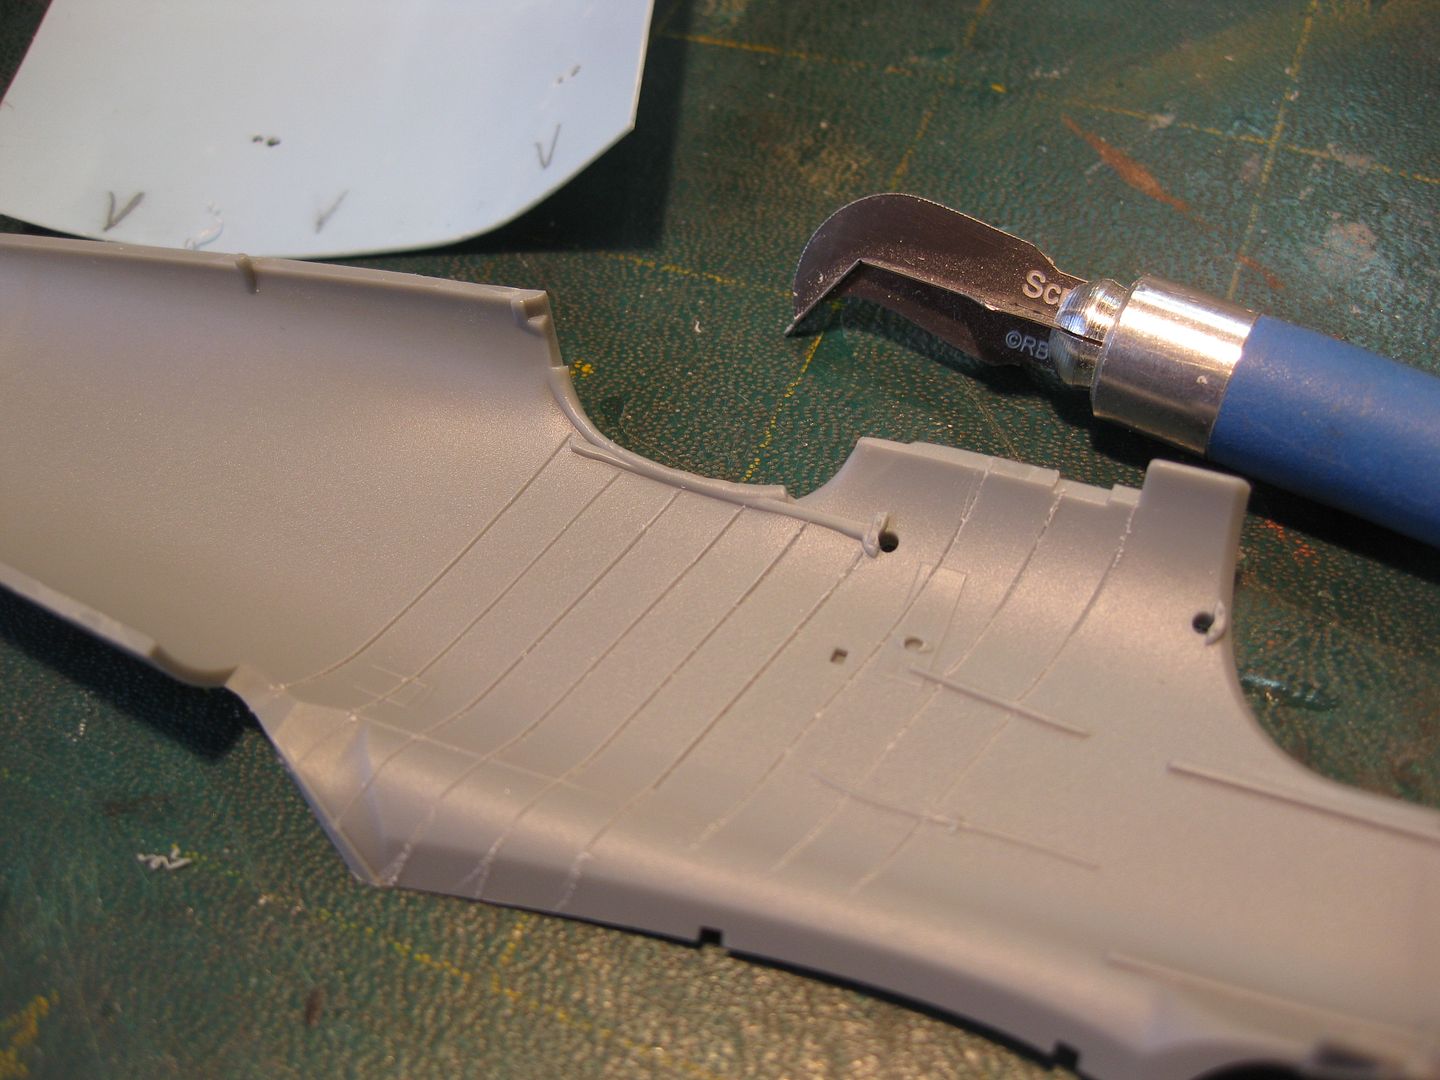
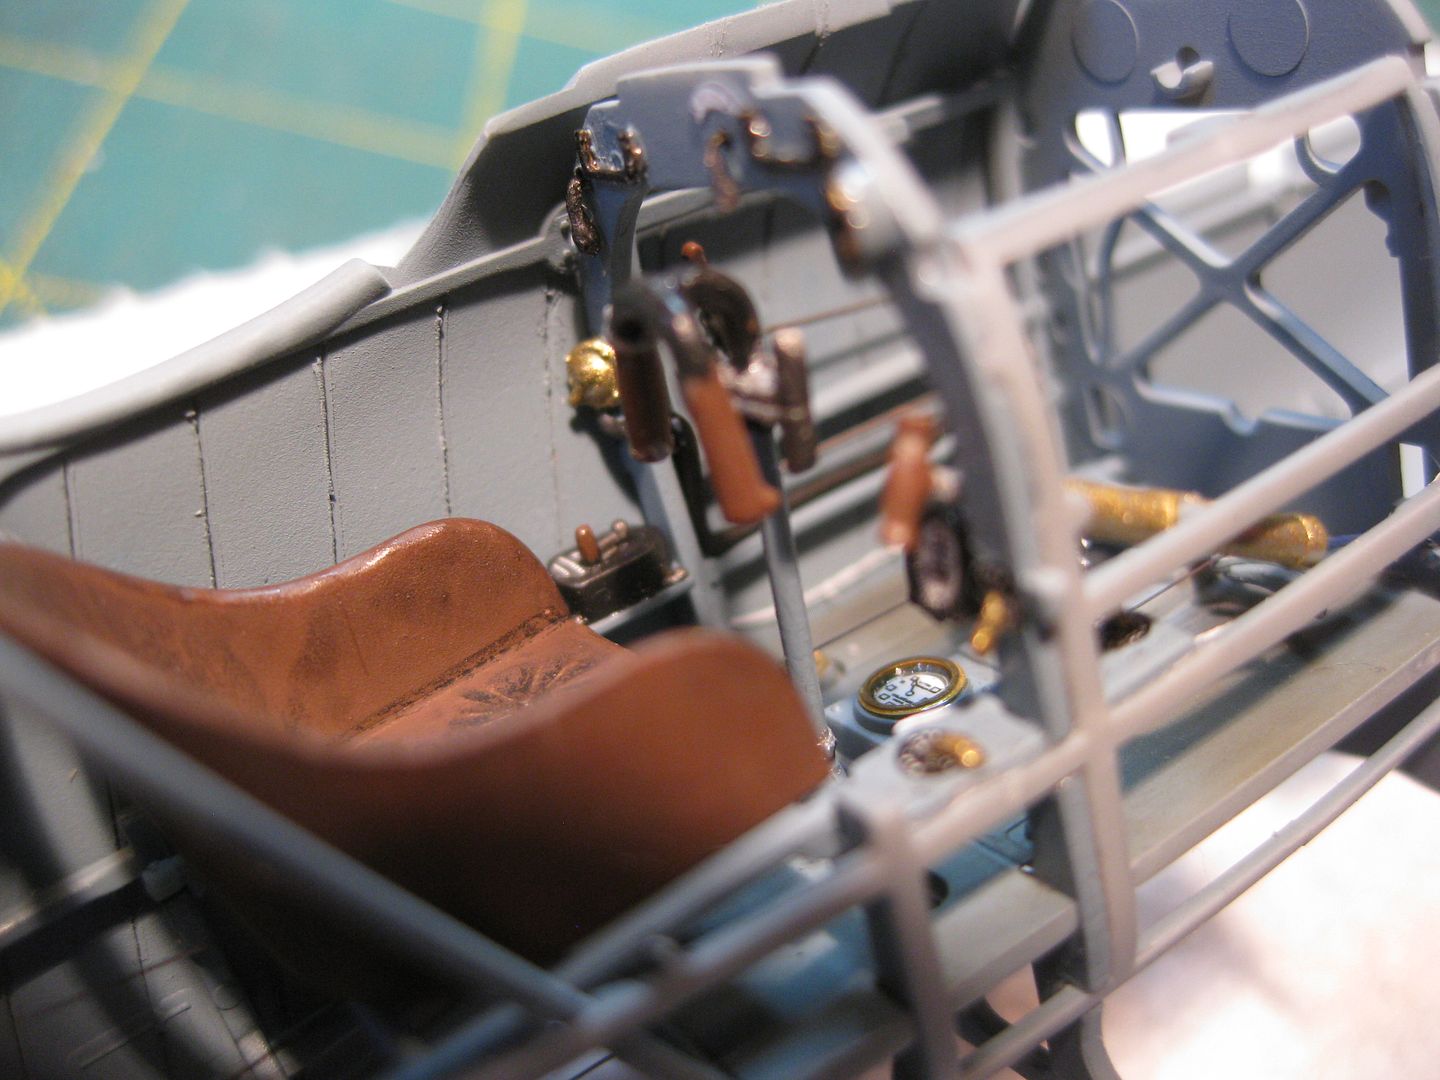
I elected to go with the "Grey-Blue" interior colour as opposed to the "Grey Green" as the references stated a good case for the former, based on the initial assessment of the Australian war Memorial's 2600/18. I started by scribing the veneered strips on the interior walls of the fuselage, a detail WNW included in their excellent Pfalz D.IIIa Kit but not this one.
The rigging lines were added using EZ Line after drilling the flight control components.

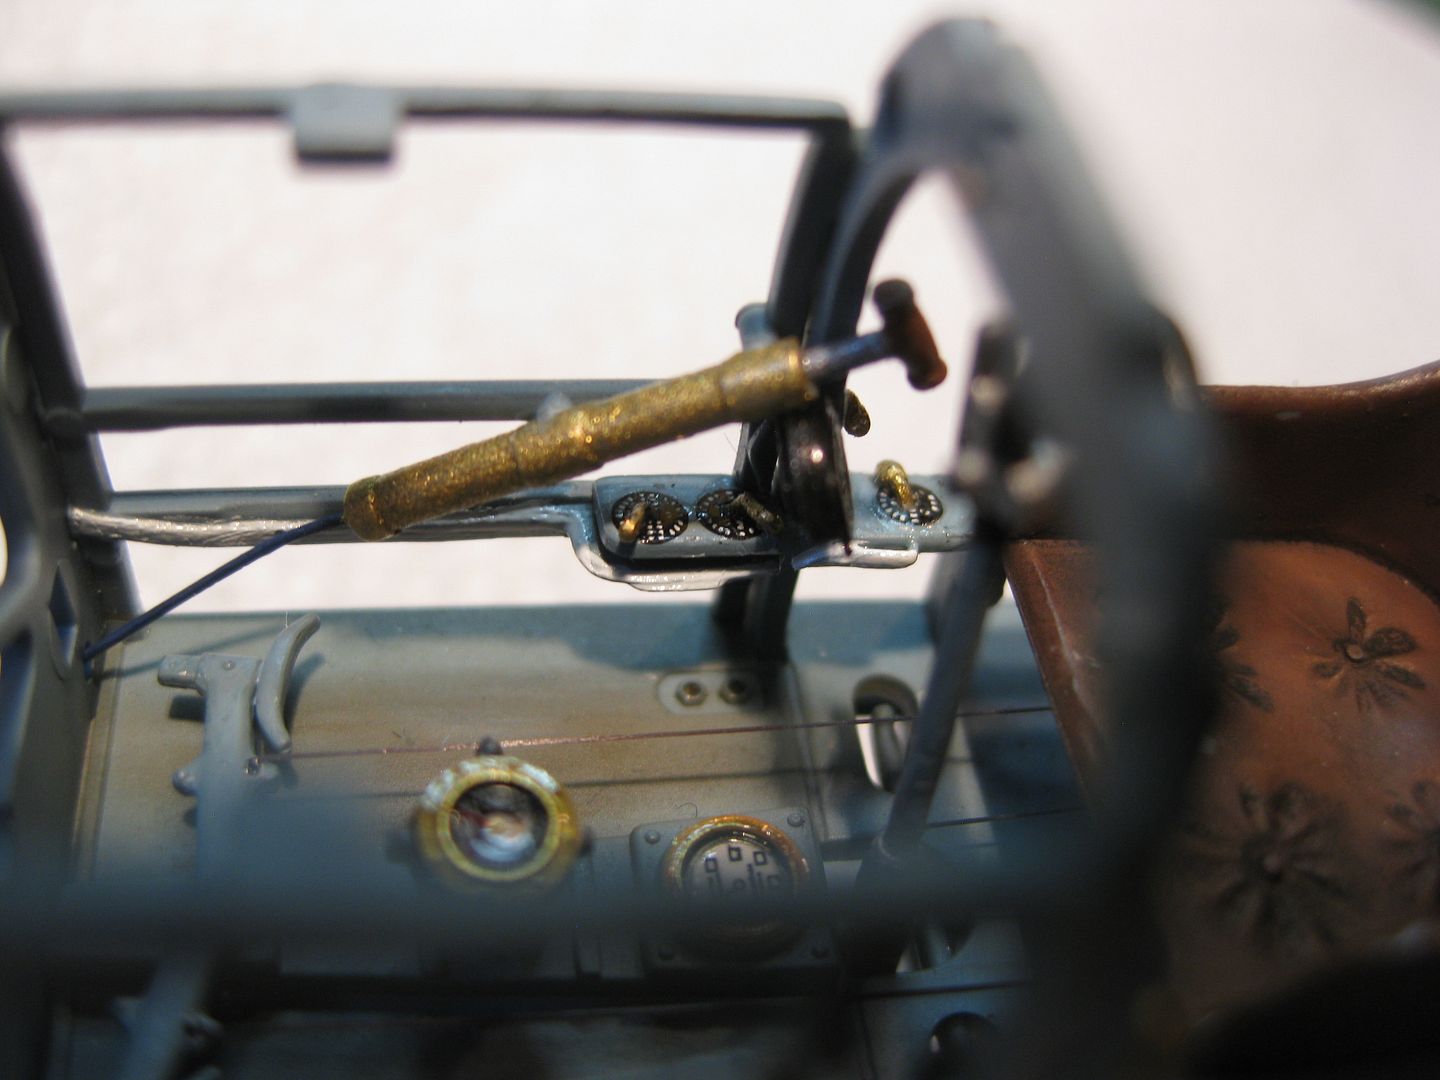
The seat was done with a mix of Tamiya browns to achieve a reddish brown and then "washed" with a thinned Winsor Newton "Lamp Black" mixture. The compass and fuel gauge are kit decals, Aeroclub Bezels, and Future was used for lenses.
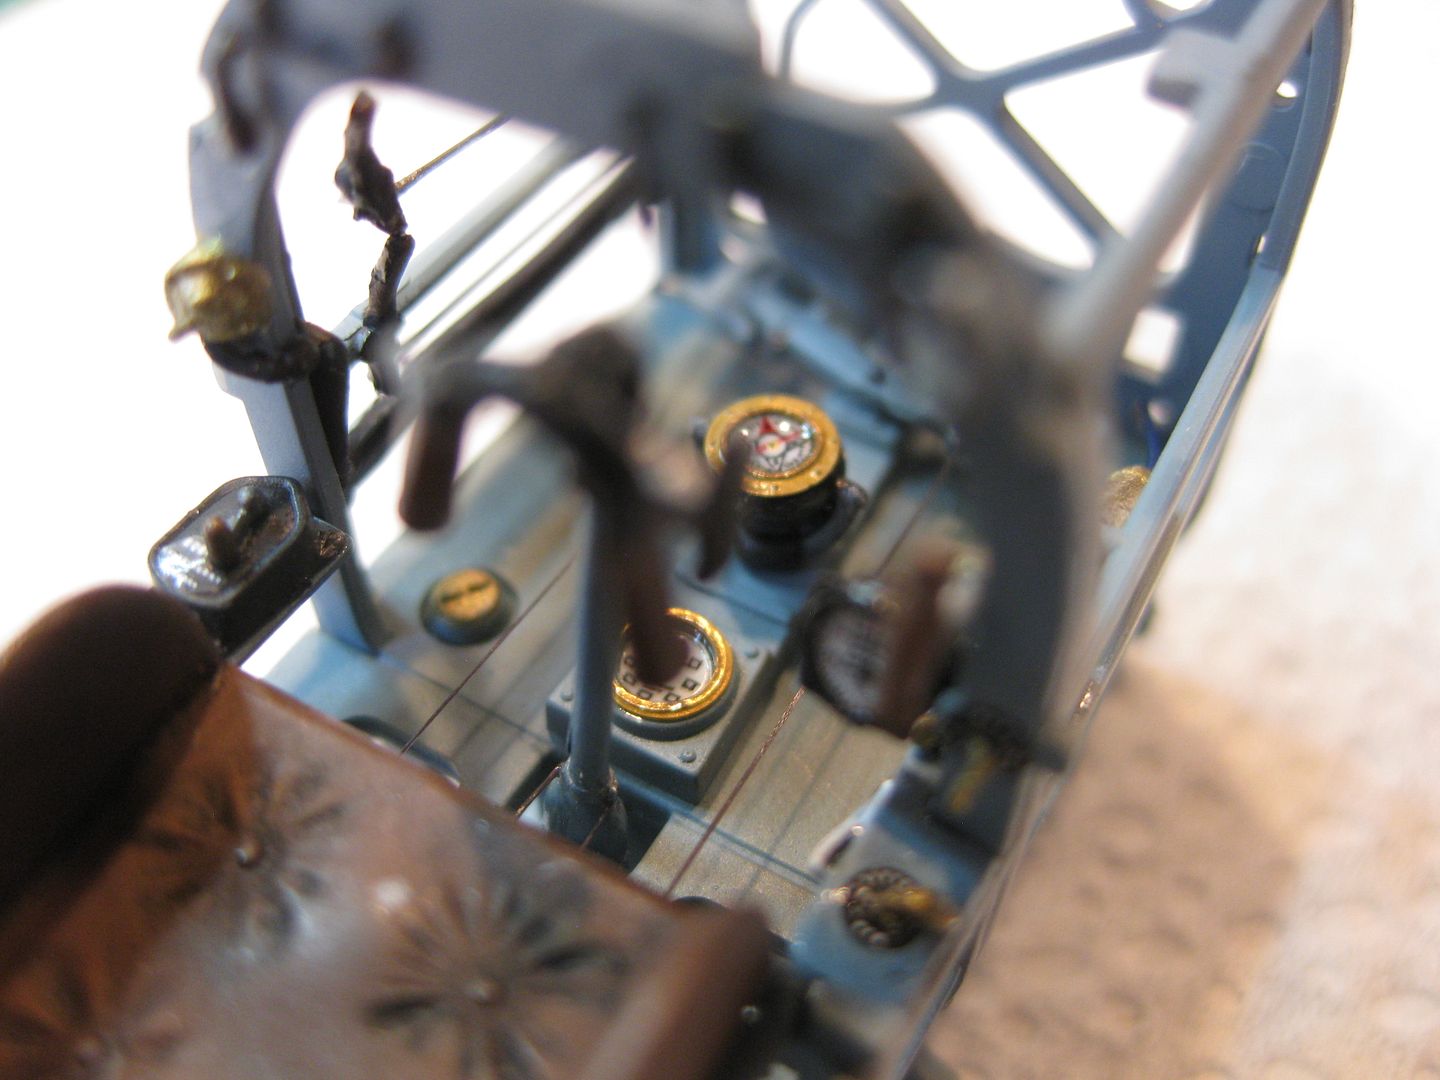
The "horse shoe Brackets, levers on the bulk head, and the brass selectors for the fuel control panels were done with scrap Photo Etch enhanced with a coat of Medium CA. Unfortunately a lot of this detail will be "buried" when the fuselage is closed up.
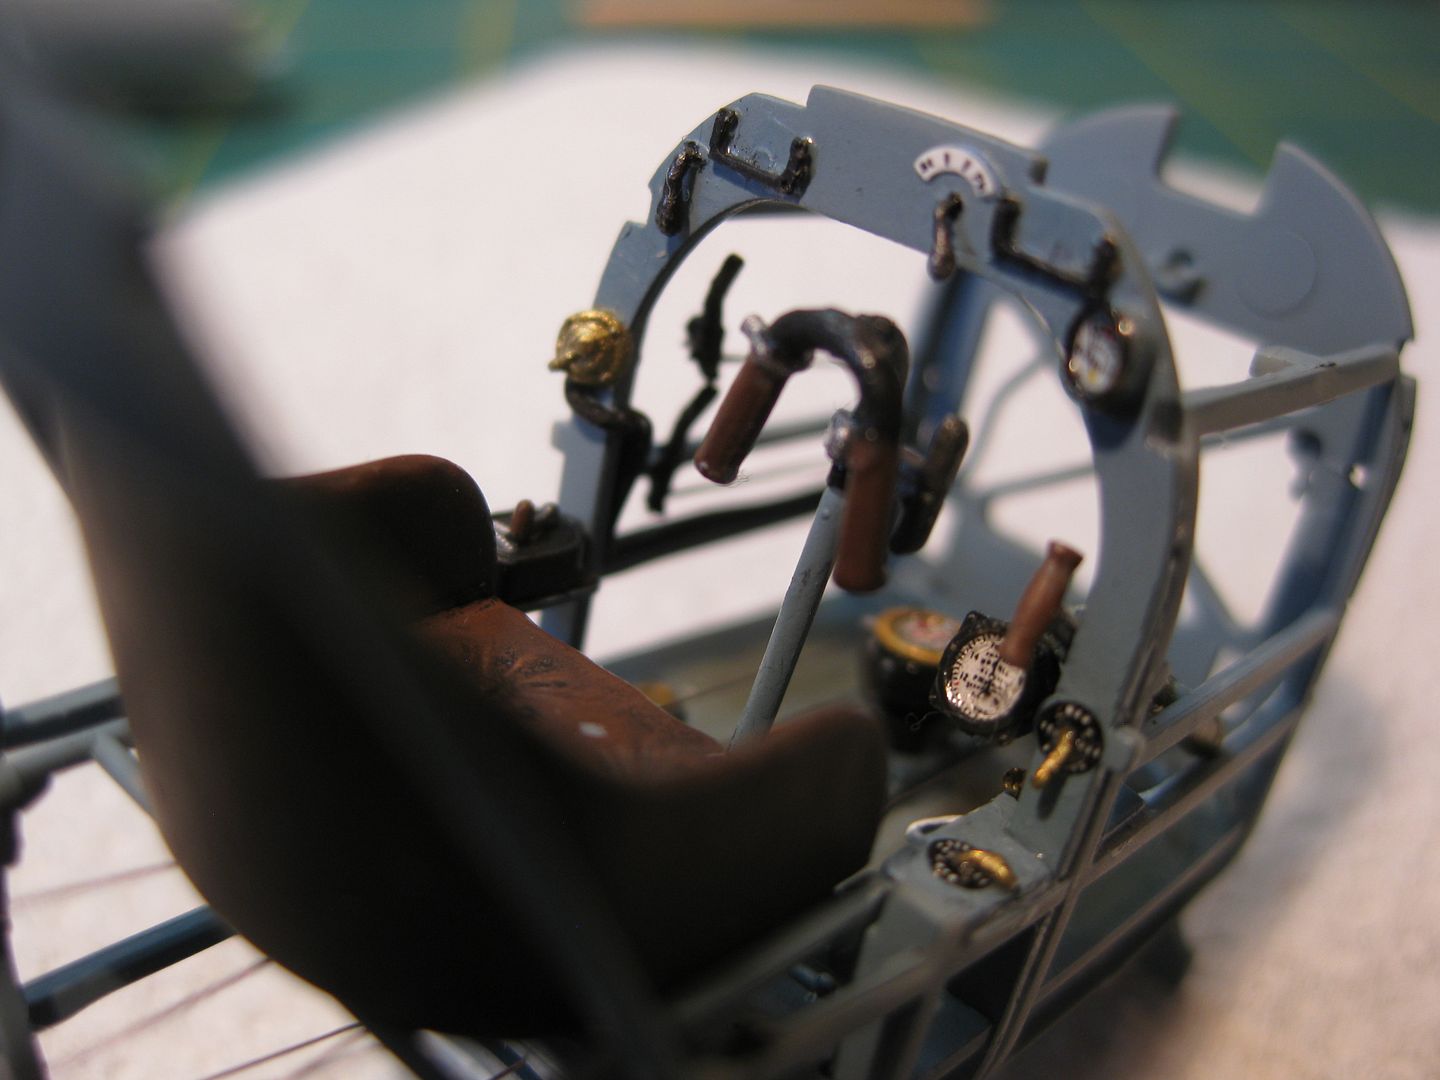
The Machro Mode has shown here that a bit of touch up is needed on the control column grips, and the spot on the seat can be covered by the belts when installed. The three cables from the control column will be added when the fuel tank and magazine are installed later. The instrument below the fuel pressurization hand pump was an add-on as well, scratch built.
The Spark Advance/Retard Lever is "free -floating here, it needs to be attached to the fuselage wall when the module is permanently installed.
The tiny Fuel Control Panel was a "B*&*&H" to fit in. a genuine three handed affair!
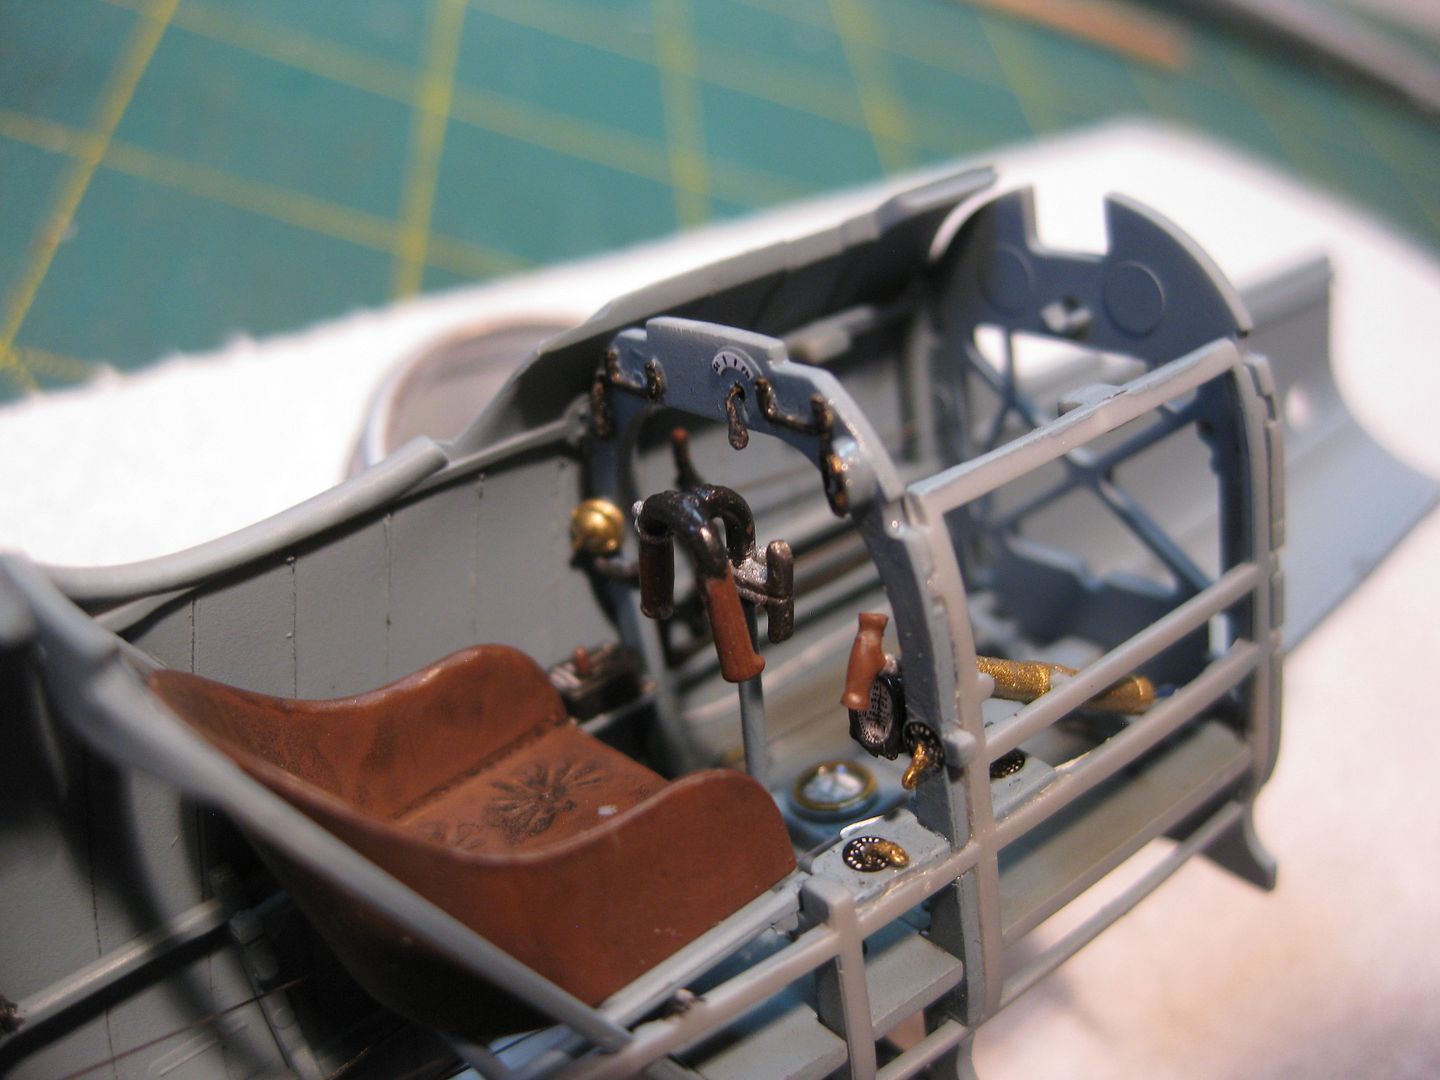
Last, the module, with the Firewall dry fitted was tested in the left fuselage half, and appears to be a good clean fit.
So, now it's on to the engine; I'll only be detailing the top end on this one as the model will be completely "cowled" when complete.

Cheers,
Lance

