Hello all,
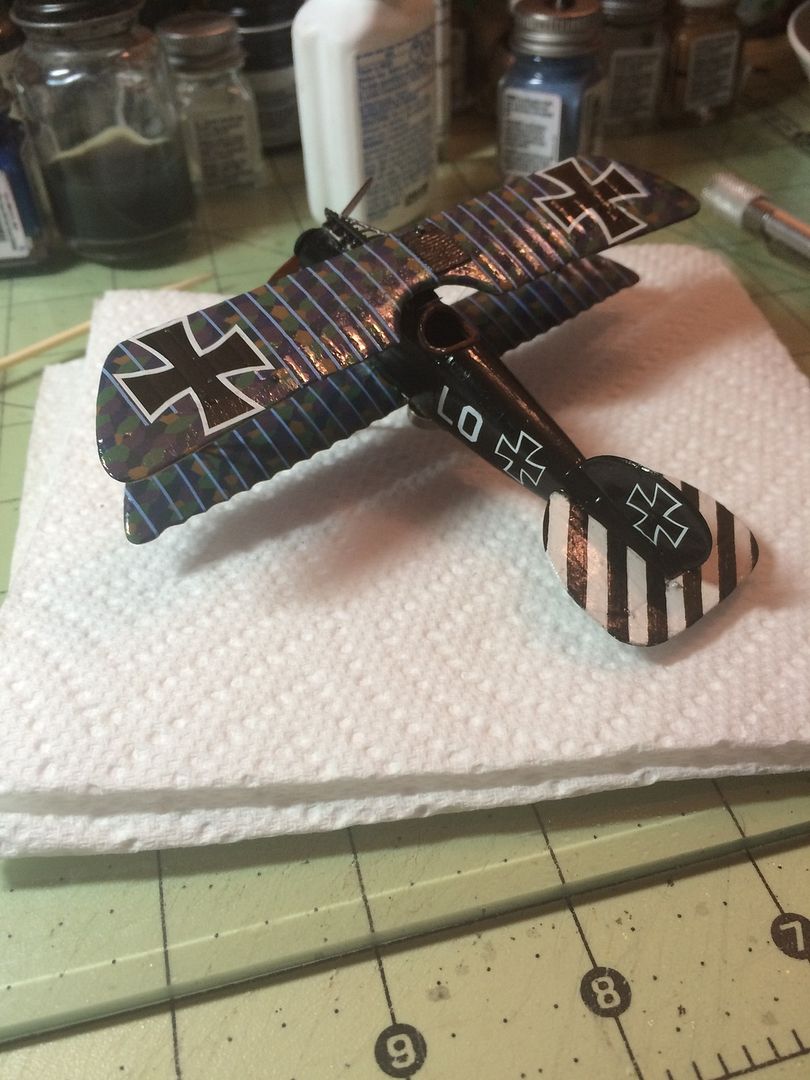
I started this one on the 10th of this month not intending to actually build it, but just to test applying the lozenge decals I came across in my stash. I found I had a complete set of upper and lower decals from Pegasus.
After spraying a sealer on them lightly, I went to work. Mind you, I have built over 60 planes and never done any of them with lozenge decals before, so this was new to me. Also new to me, is using Future. I used it quite extensively on this build with all the layers of decals involved.
For now, I only have a few pictures since I'm pressed for time getting ready for a convention this weekend.
I started with one of those kits in my stash that I managed to acquire when someone gave me a group of kits as trade for building a plane for use as a game piece. This particular kit was missing the engine and the tail plane and had one of the prop blades broke off of the spinner and one of the landing gear struts was missing part of one strut. I scrounged through my box of spare parts and found all I needed to make the plane whole except the landing gear parts. I had to scratch those.
The crosses are all from extra decal sheets and the LO is dry transfer lettering. The marking on the nose is hand painted, but I found a profile picture on the internet and scaled it down to 1/72 scale and printed it. Trimmed out the marking and used it as a stencil to ensure the correct angle and size as I dry brushed through the stencil to mark it on the plane. Once that was done, I hand painted over the marking.
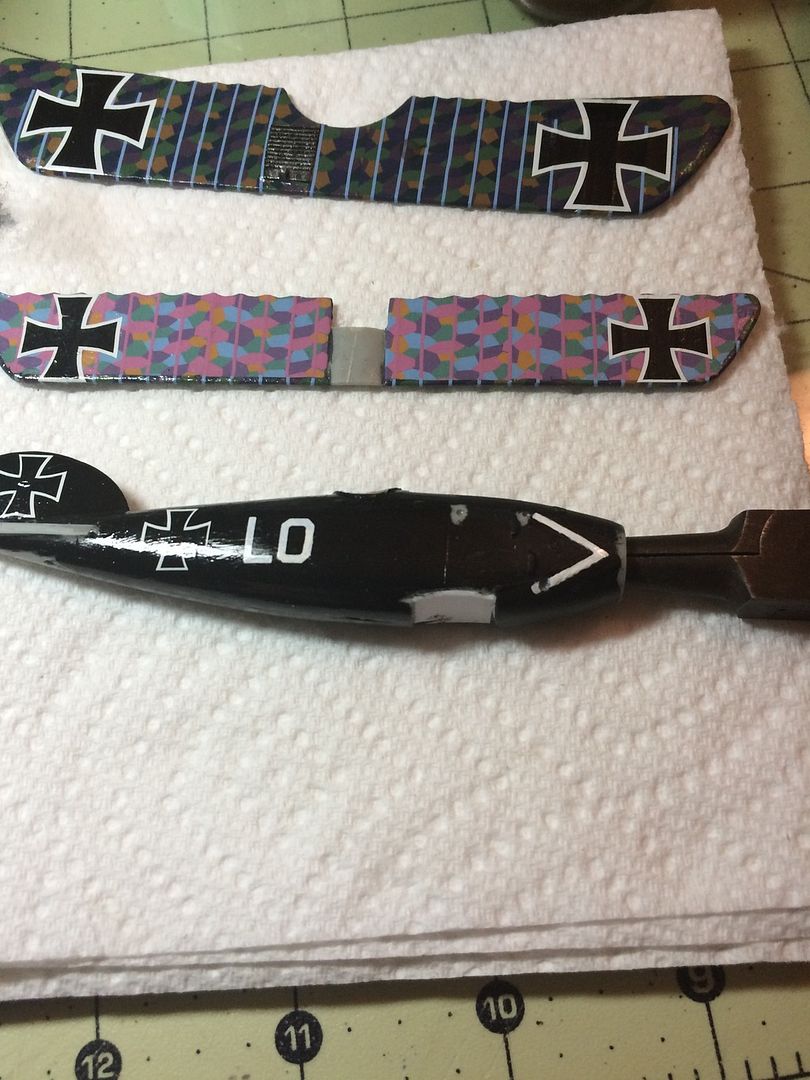
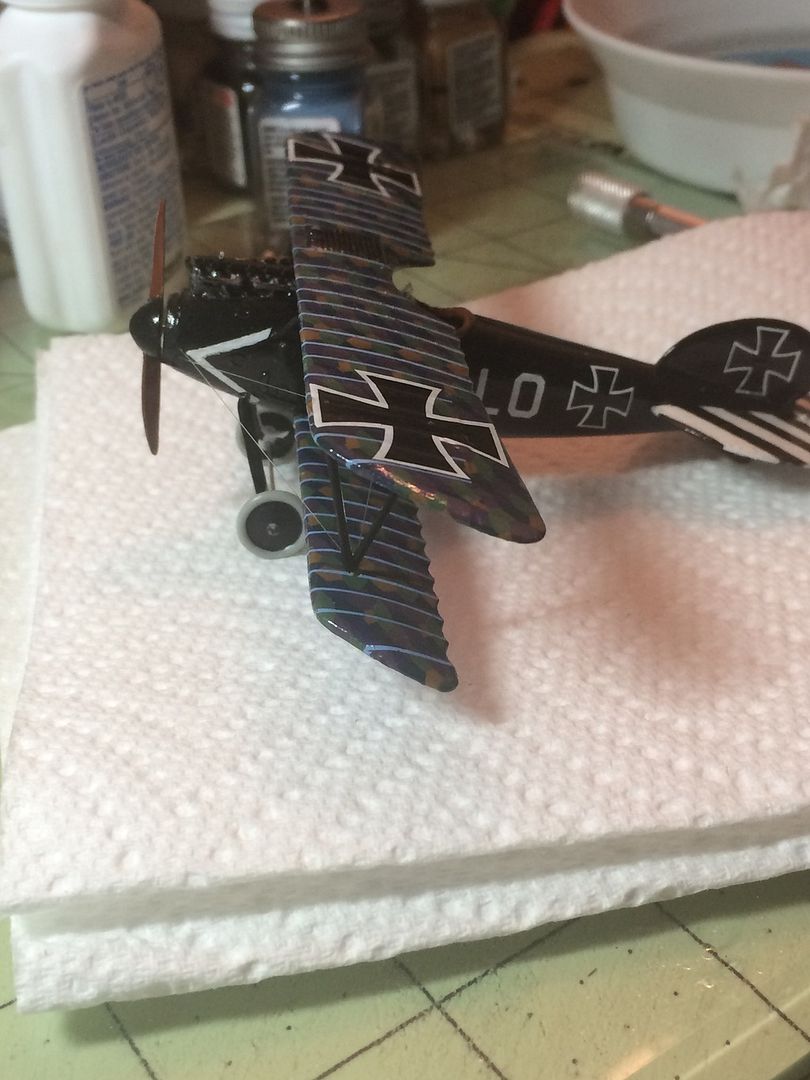
Rigging is all 2 lb test fishing line 0.004" in diameter. The tail plane is hand painted. The axle is from a straight pin with the head and point snipped off. Paints are Floquil and Testors enamels and Future clear coating.
Thanks for looking!
John

