Evening All,
Many thanks again to all of you who have dropped by and left such complimentary remarks - they really are appreciated. This is as far as I have managed to get in the past few days, but there may be a delay before the next one as once again life is taking over! The next stage also requires a lot of painting and photos of paint drying are not the most exciting.
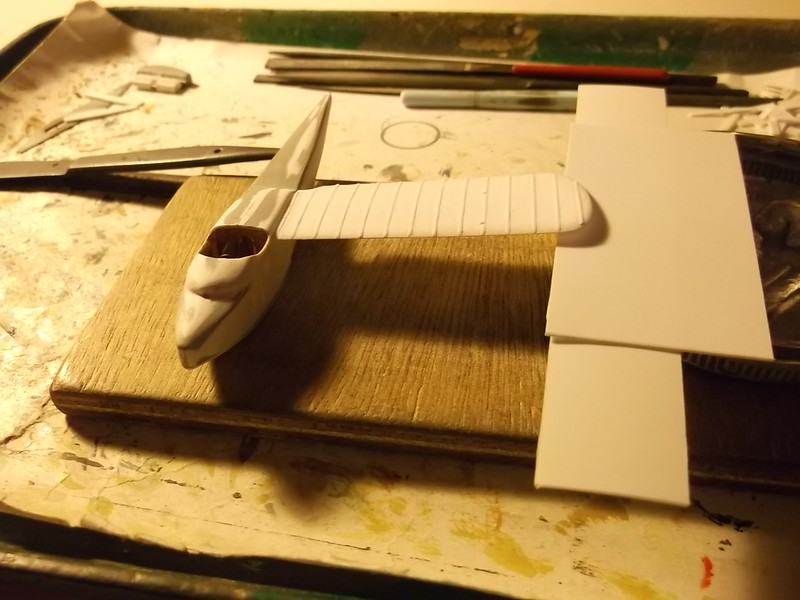
First I attached the wings - one at a time using my (non-patented) jig: some pieces of plastic card and an old tin lid which I use to mix paints in.
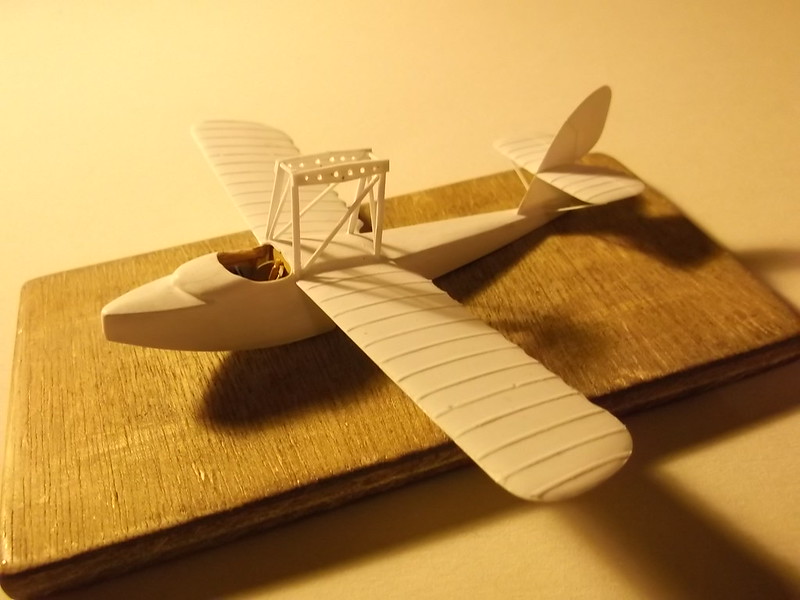
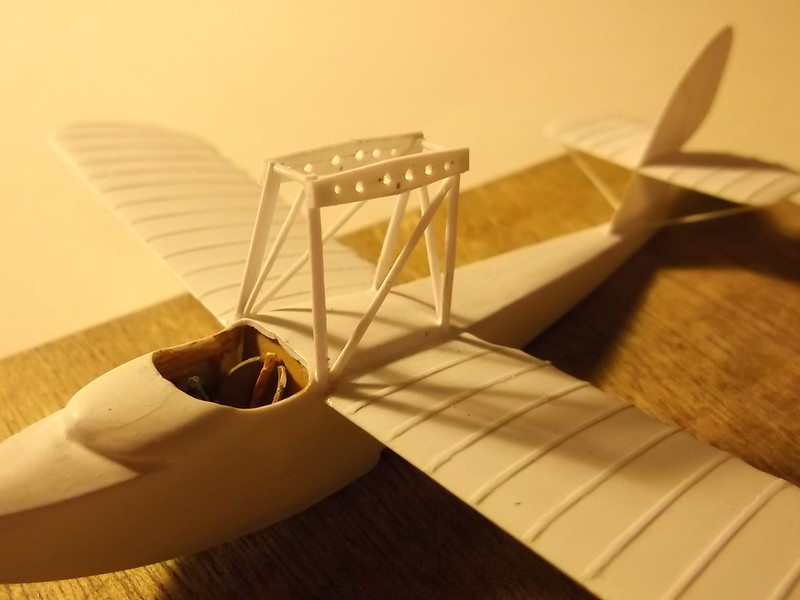
You can also get an idea of how much filler I had to use on the top of the fuselage. After there wings were dry I primed all of the filled areas and fixed the tail unit. The struts were shaped from 10 x 20 thou Evergreen strip. The engine mount was also made from Evergreen strip: the holes in the horizontal brackets were drilled out using different bits. Getting the 4 uprights the correct length and angles was easier than I thought it would be - just mark the angle from the drawing with a line on a piece of thin card and align each strut with the line on the card. It worked!
Incidentally the rest of the background in the first image is my modelling space - no special room or shed for me - just an old tray which my mother gave me when I started making kits about 5 1/2 decades ago. The paper is replaced at intervals when it gets torn or too dirty. It is just large enough to make a mess on and hold what I am doing, and is easy to put to one side on my desk when I am doing other things - like all aspects of my modelling, it is pretty minimal. Paints, glues, card, etc are stored in a drawer and kept out of the way.
Thanks for looking.

