I've been "away" building WW2 birds for a while, but I was eager to taste wood and wire again.
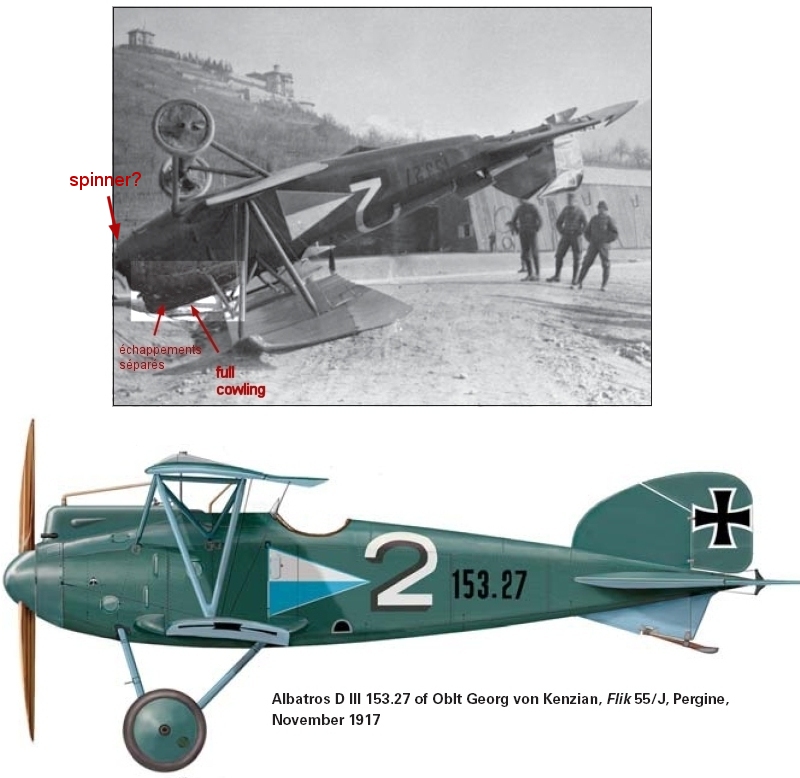
I love the streamlined engine fairings of the austro-hungarian Albatroses, which give them a kind of "Steampunk" look. Those machines could well have been foreseen by Jules Verne.
In Austria, rather than shifting licence-production of Albatroses from D-III to D-V, Oeffag made the choice to strengthen the D-III airframe and upgrade engine-power. It resulted in three production batches named 53,153 and 253, featuring various changes from the original design, including buried Schwarloze guns, fully enclosed Austro-Daimler engine, and strengthened wing structures to prevent the failures occuring on german-built D-III's and D-V's.
This very bird is an early-built 153, which still had a prop spinner that was deleted on later aircraft. It was austrian ace Georg von Kenzian's mount, on the southern front (Südtyrol) in late 1917. A document of the time, from squadron leader Jozsef von Maier, states that these machines were painted dark blue-green upper and light blue on the underside, and that Kenzian's pennant (which I guess was his family's coat of arms) was light blue and white. The s/n 153-27 confirms an early-built 153.
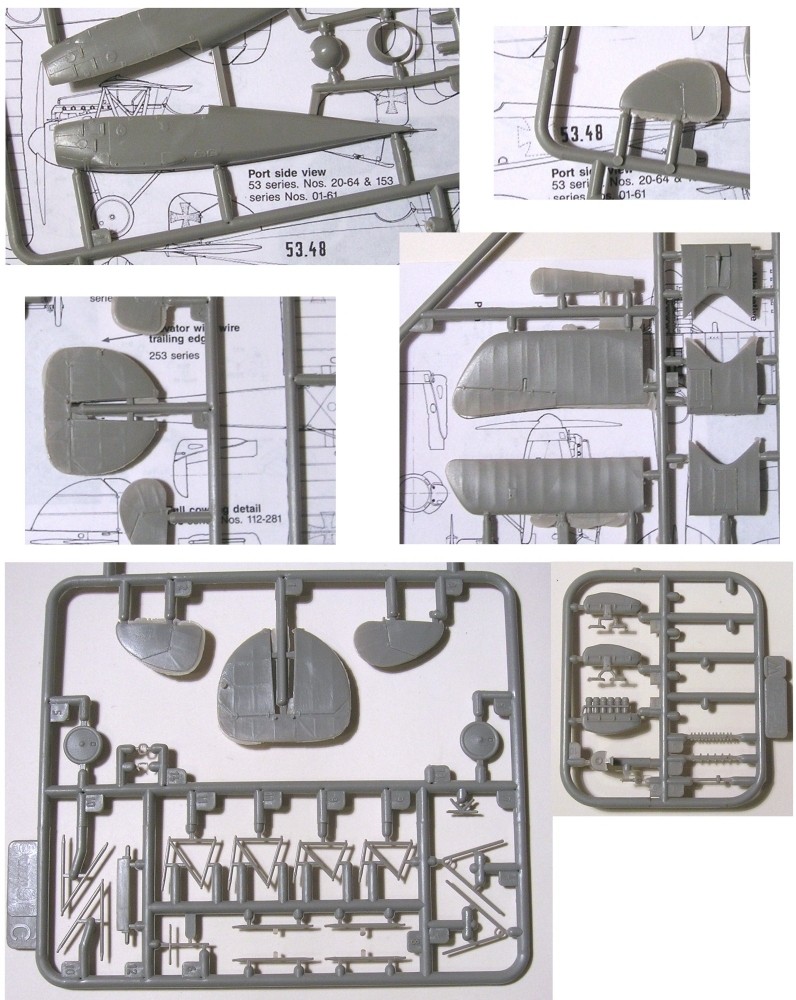
Once again I will start from a Roden kit, their range of Albatroses at 1/72 featuring accurate and crisp molding. Several sprues are common to all Roden Albies, but the Mercedes engine is replaced with a detailed Austro-Daimler.
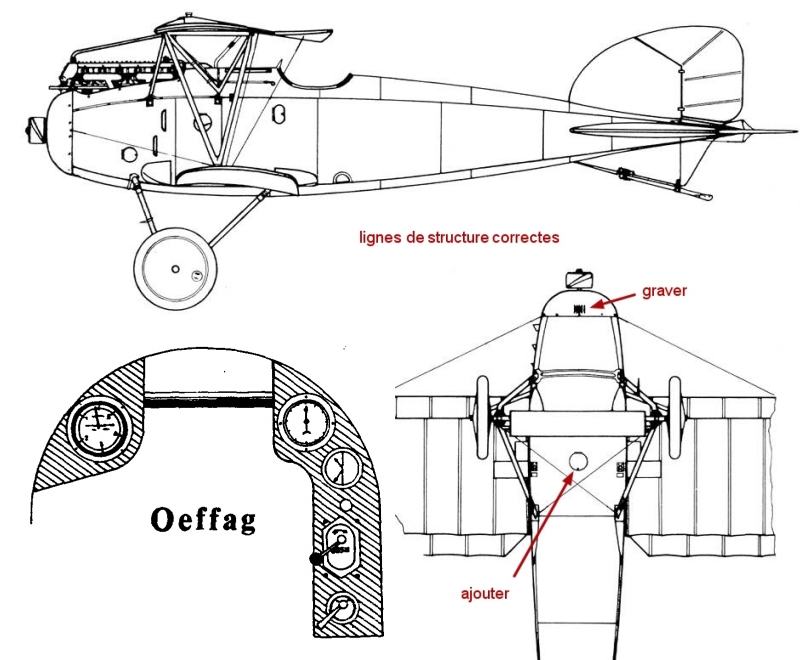
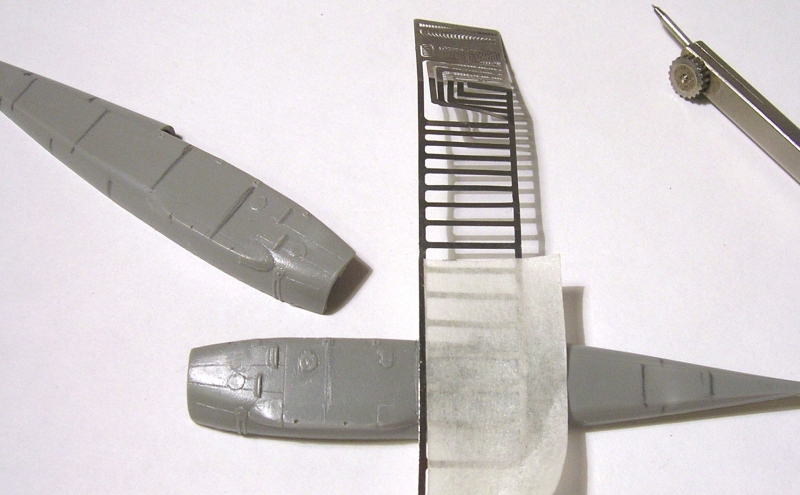
First thing to do: scribe the fuselage panel lines. The available plans do not seem to agree on their location, so I had to look for close-ups of real machines and found out that rivet lines and panel lines are apparently often mistaken.
This drawing shows the actual revetment panel lines:
Lines are scribed after being drawn with a pen:
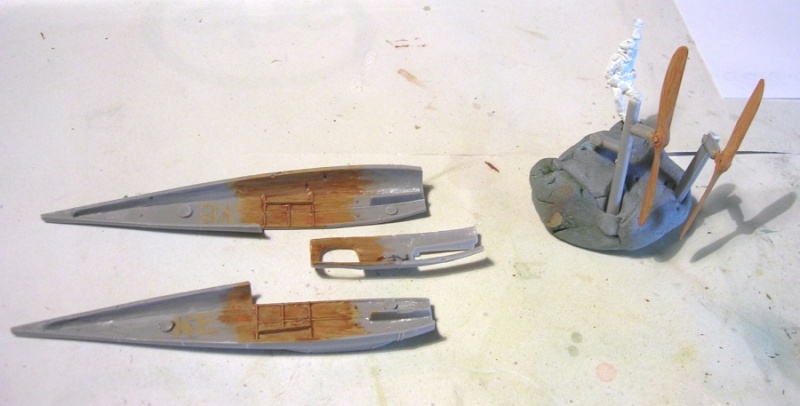
Next step: wood effect inside. A Tamiya XF59 undercoat is covered with slightly brushed "Sienna earth" oil to create veins. Same thing on the prop:
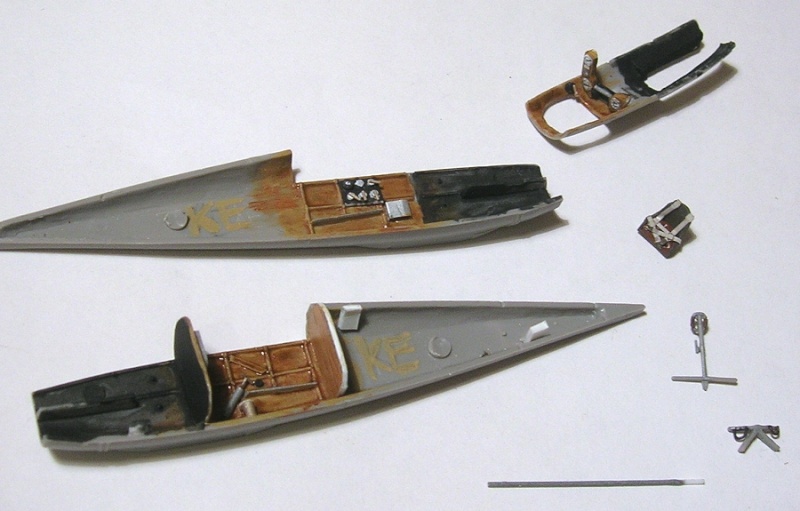
While this was drying up, I printed a small decal sheet, because Kenzian's insignia was printed in red and white by Roden, the digits were not correctly shaped, and I needed a few Oeffag and prop logos, and dashboard gauges:

Painting details: burnt metal and a wash of Humbrol 70 for the exhaust pipes, Humbrol 98 on the seat which has received Eduard belts and a cushion made from Milliput. The stick and rudder pedals still had to be painted:
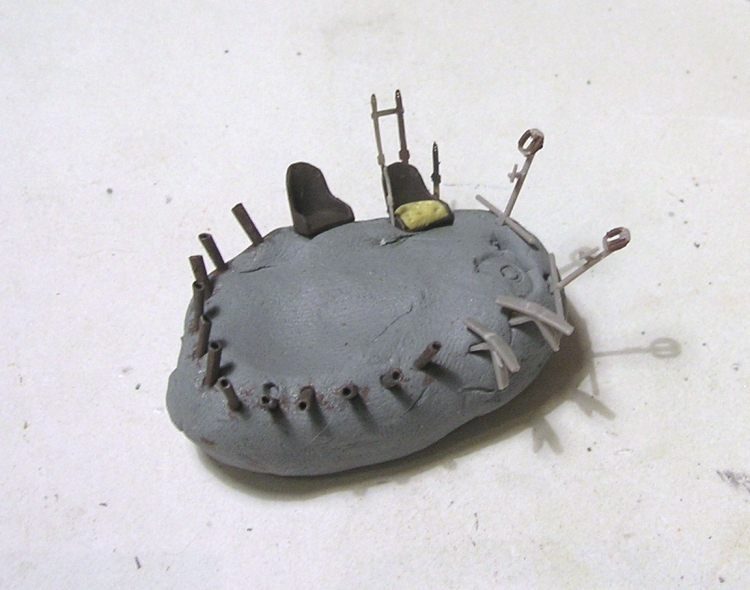
Walls are added in front and behind the cockpit, the front one with the ammo boxes. A few details are scratchbuilt on the cockpit sidewalls, and the typical Oeffag dashboard is attached to the upper cowling.
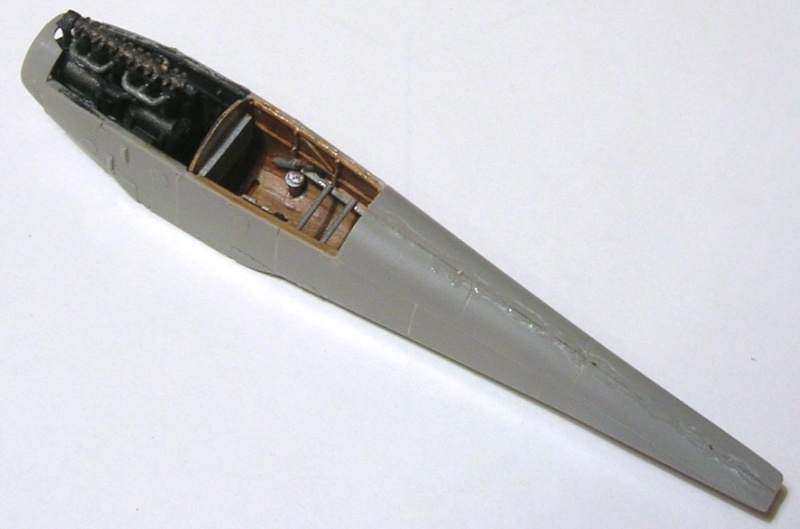
Although it won't be visible, you need to build the engine as it will be required for fitting the prop and exhaust pipes. I just built it from the box and painted the top details which might be seen through the exhaust troughs.
Once the fuselage is assembled, the engine and front ring are added, then metal rods for the seat are glued:
to be continued...

