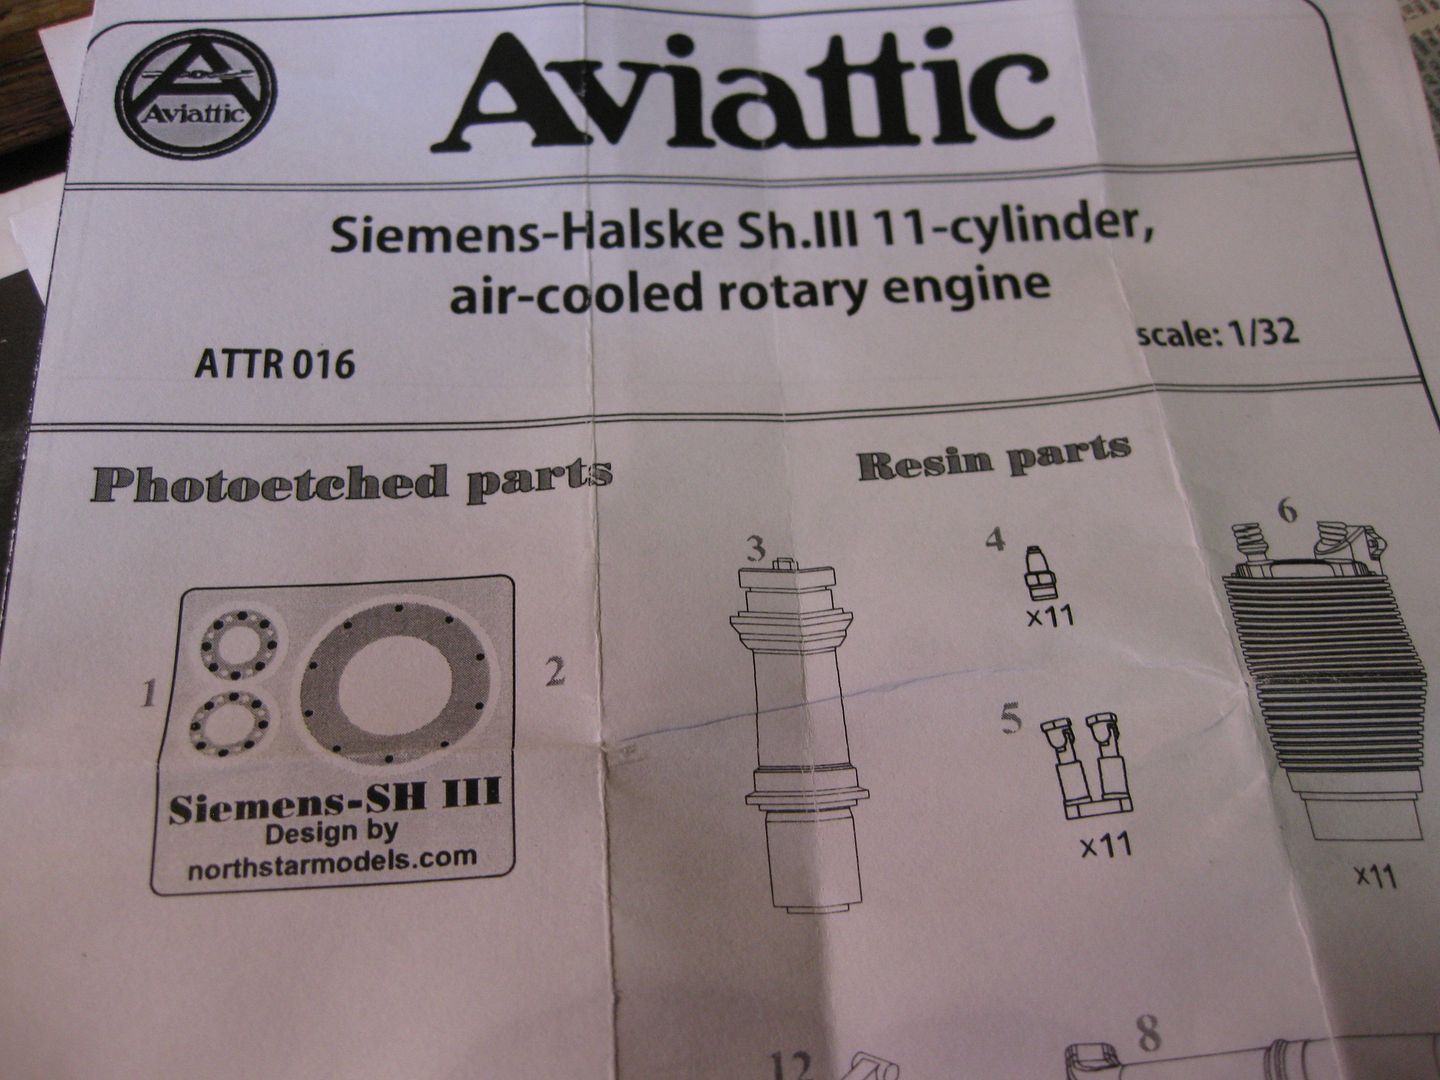
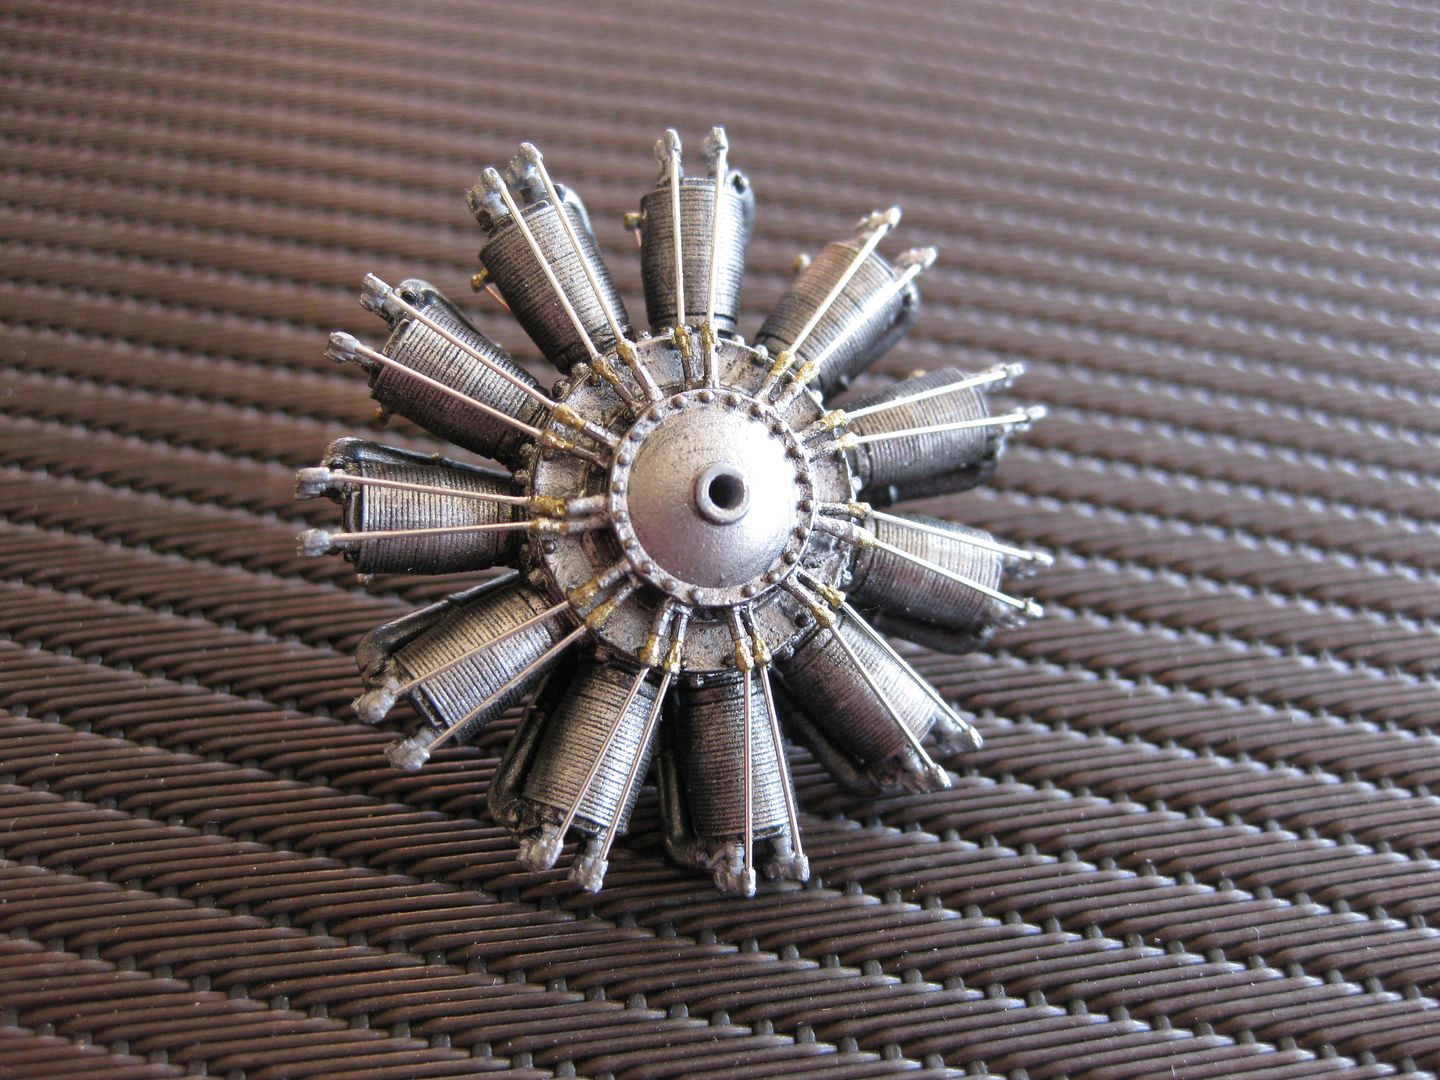
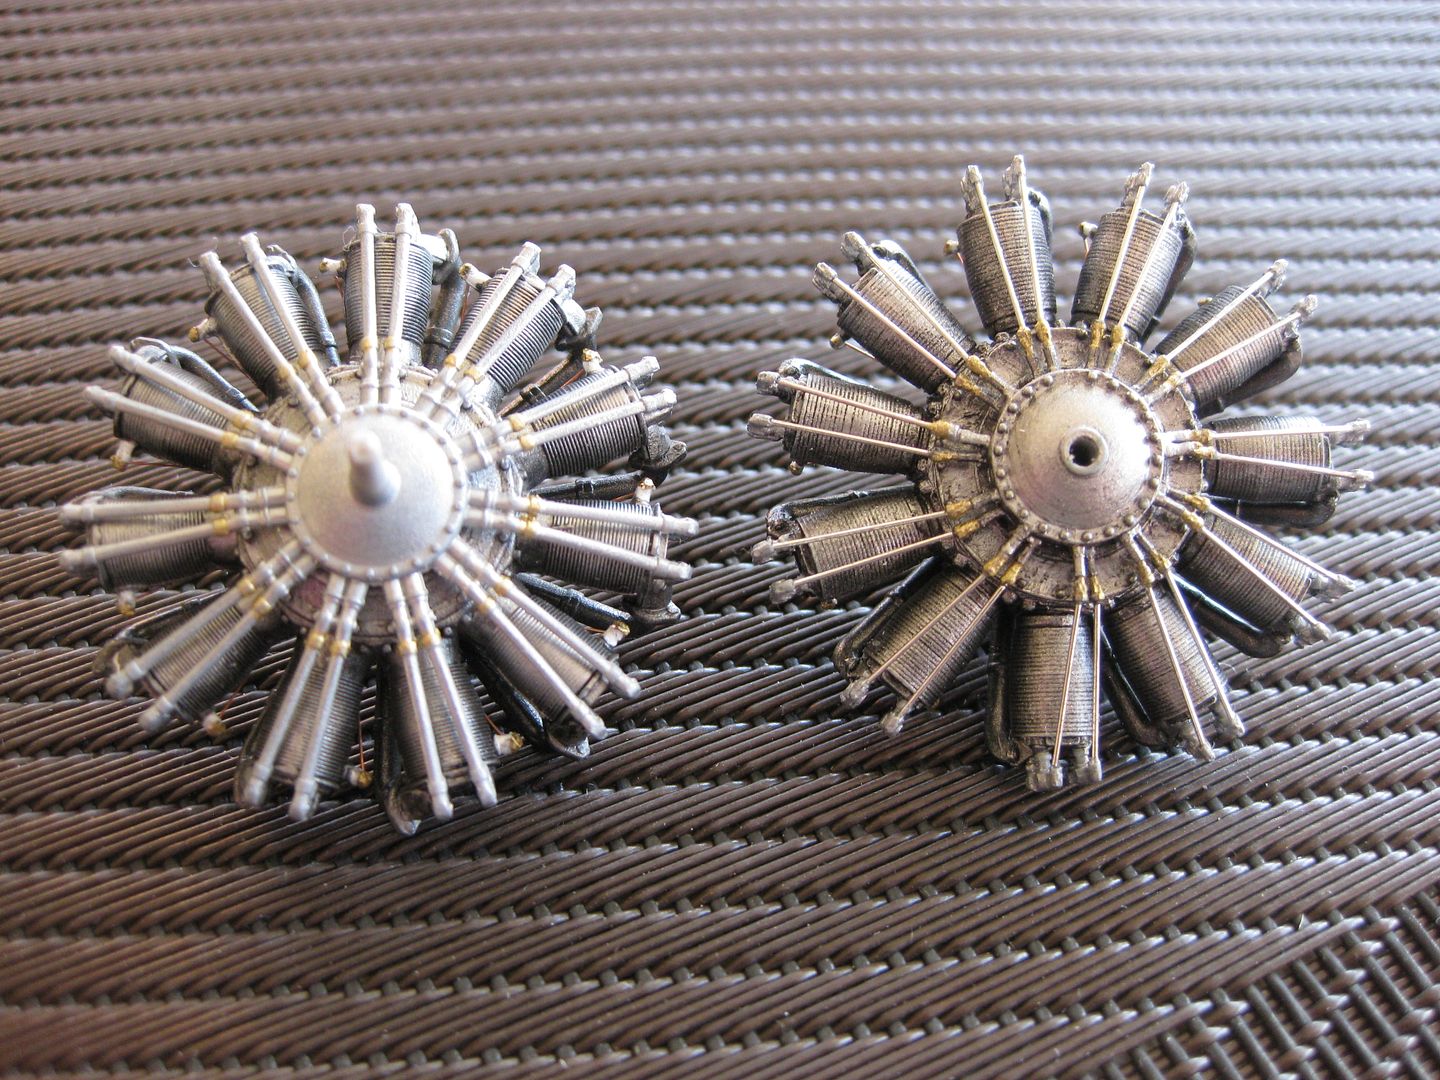
Finally, another update. I've completed the engines except for a little more weathering which will get added when the airframe is done. I elected to complete both the Aviattic Siemens-Halske DIII and the Roden Kit version, one will be mounted in the aircraft, the other displayed in a "cradle" beside the model.
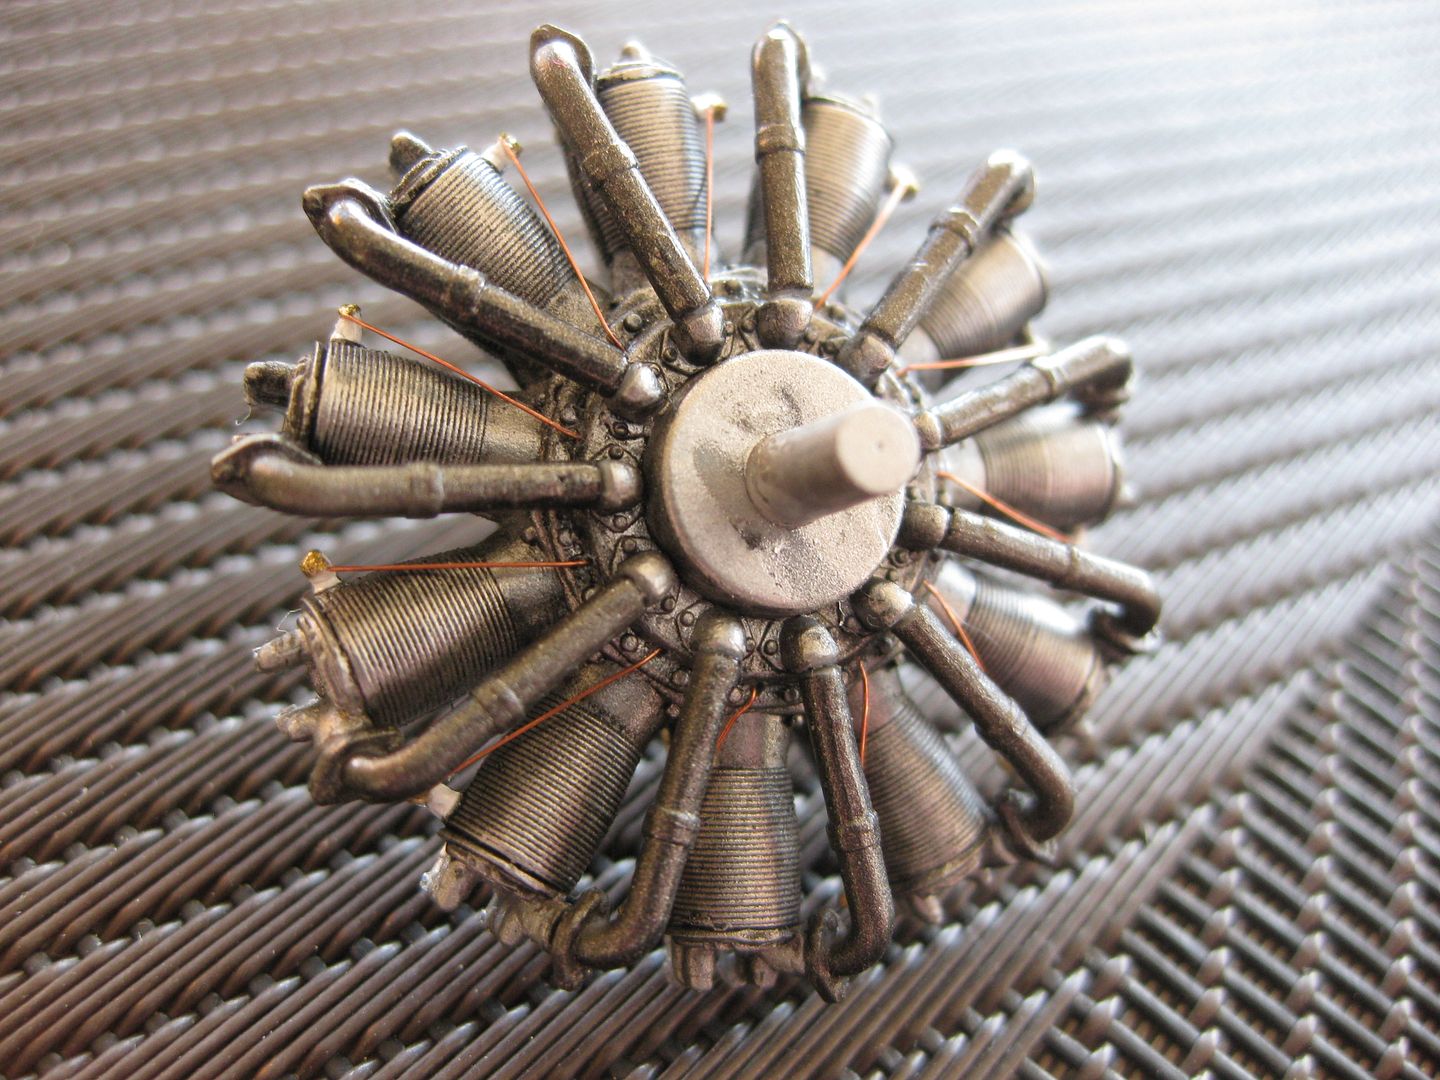
The Roden version builds up quite nicely, the only serious shortfall being the pushrods all molded on a single part and too thick for scale.
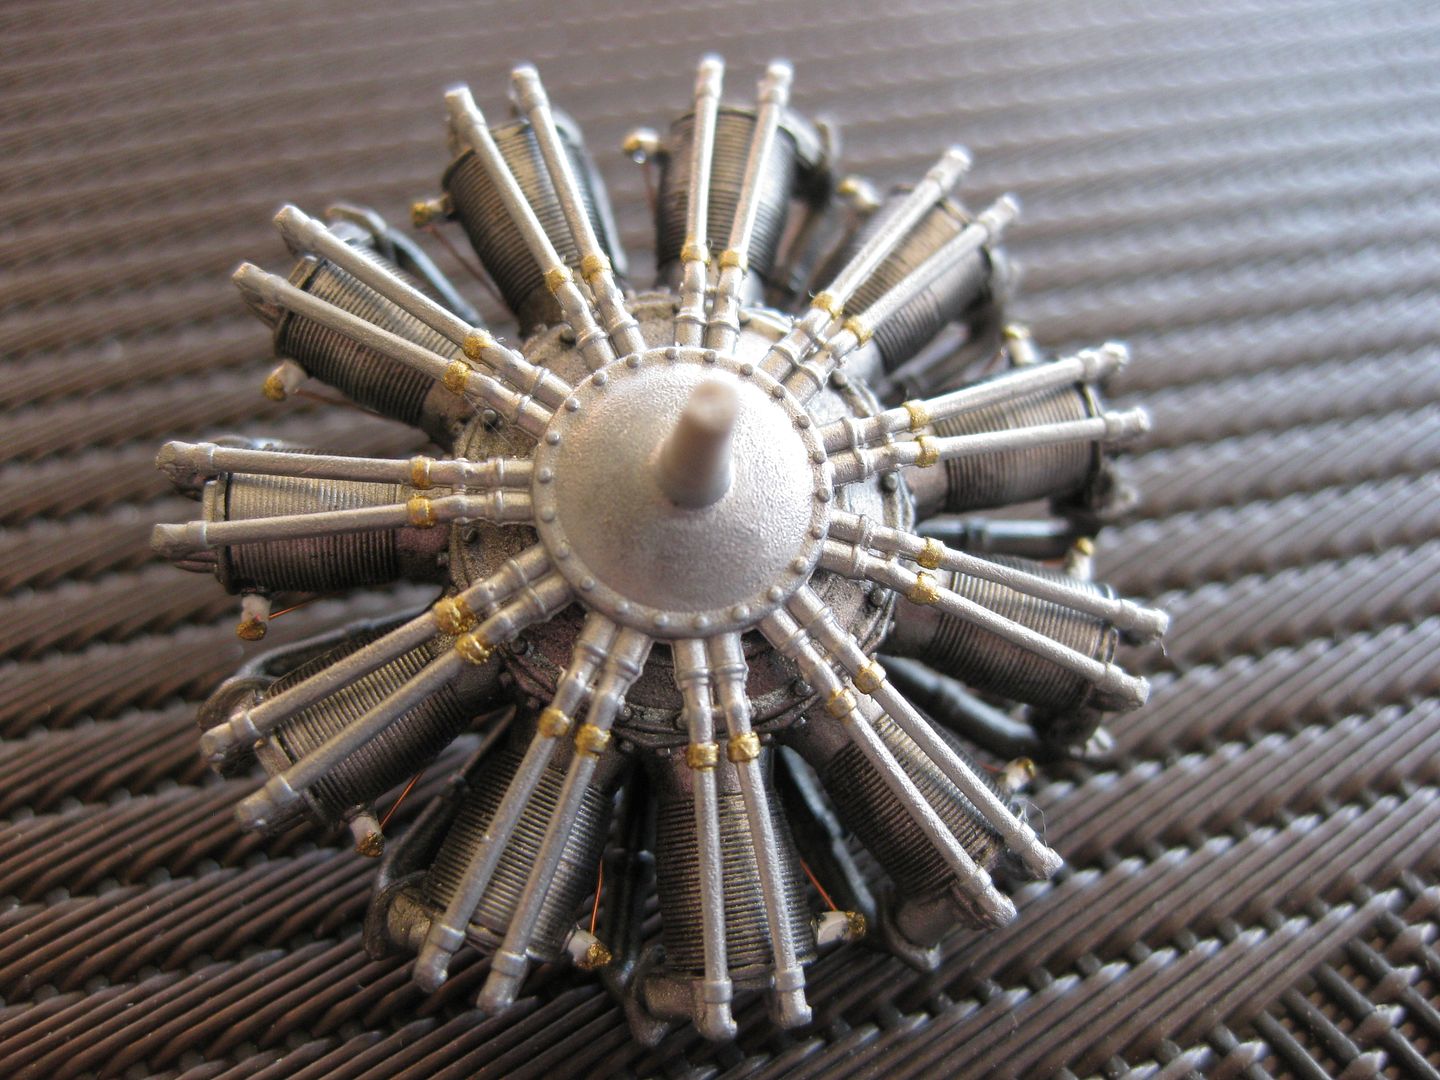
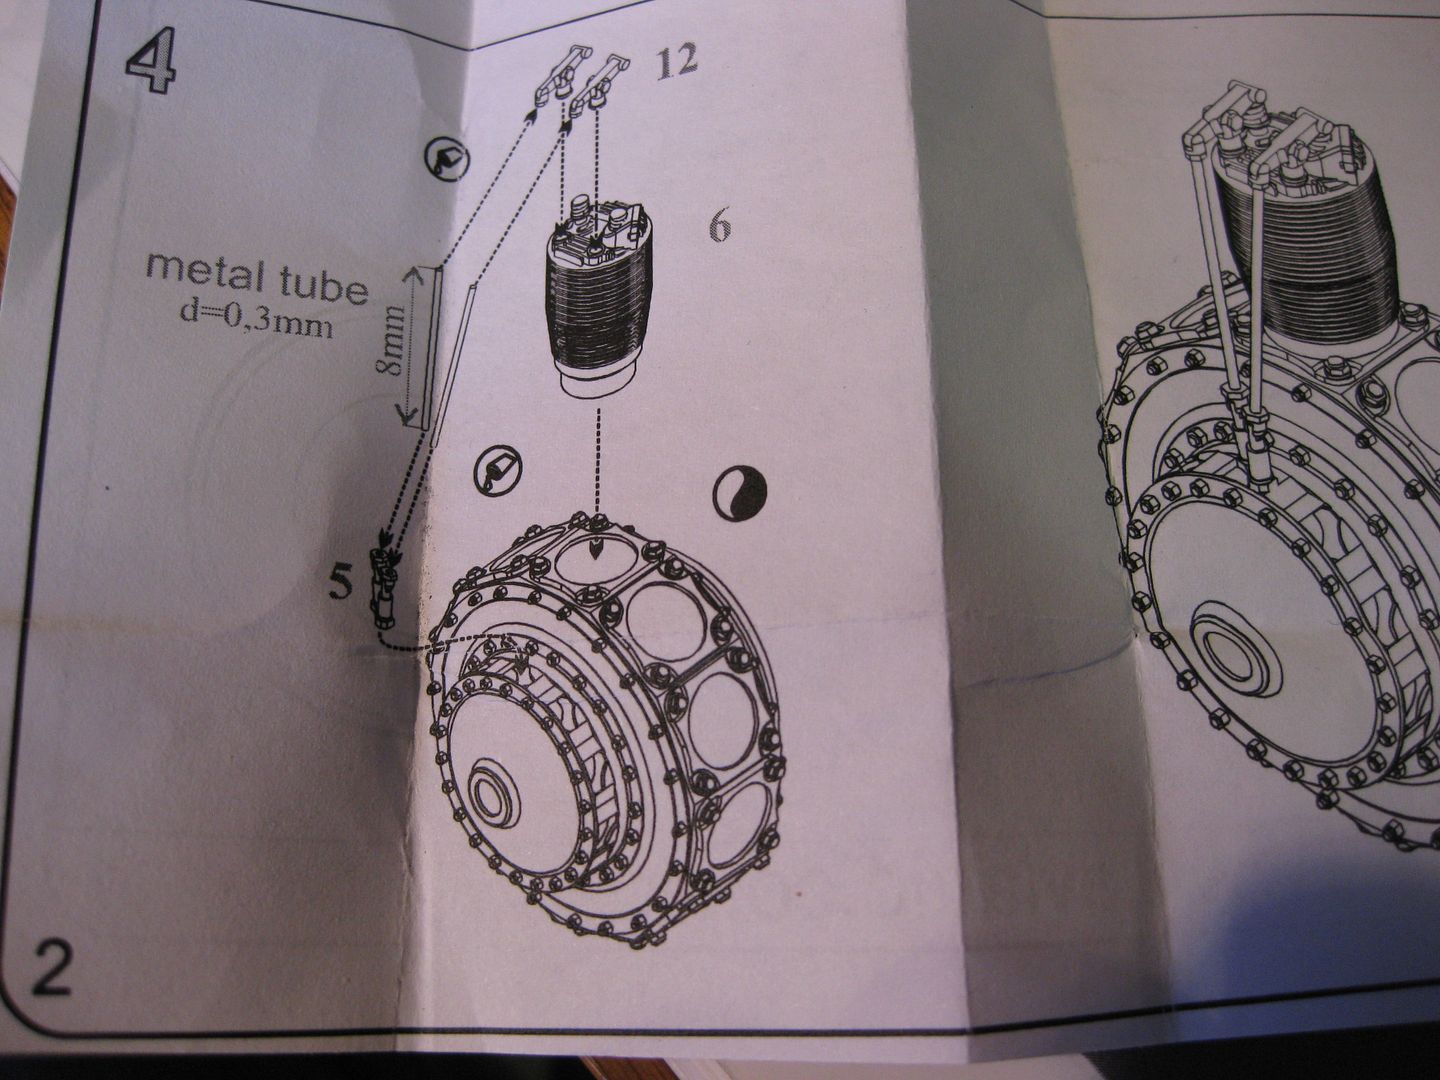
Both engines were done in various shades of Alclad II. I found the instruction sheet for the After Market one a little vague on how much of a "base" to leave on the individual cylinders, after mounting four of the eleven and finding the engine's diameter too big for the cowling I had to backtrack, reduce their length/height significantly, and then all was well.
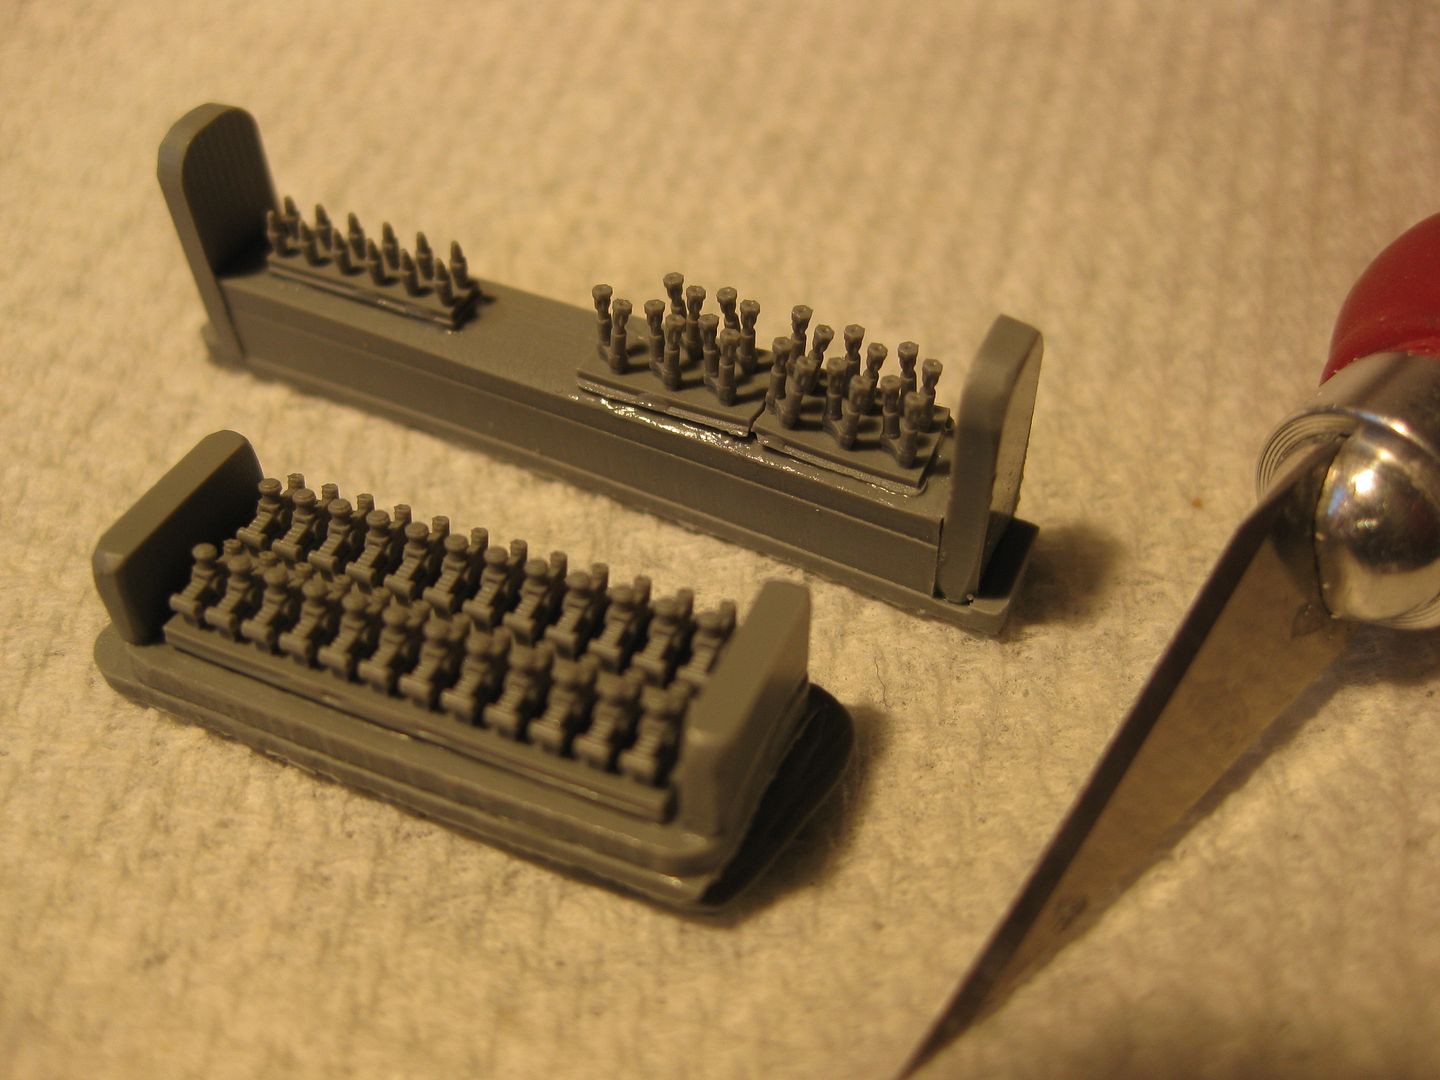
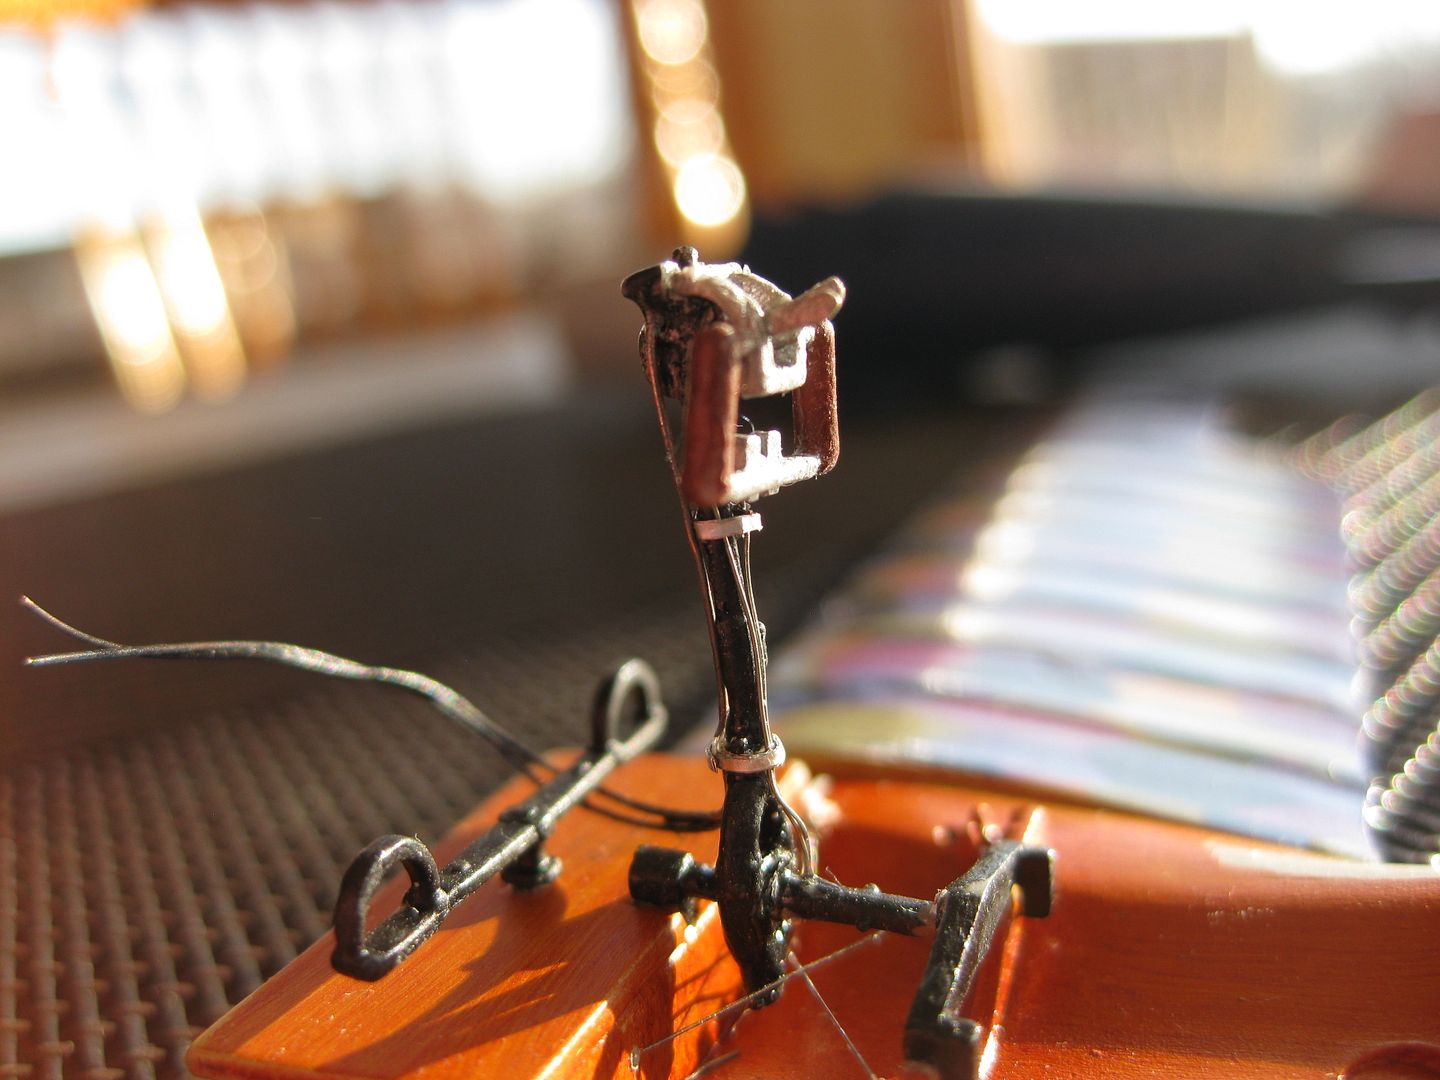
The pushrods call for .3mm brass tubing, I elected to use the same size stainless guitar wire.
Although I struggled with parts of the assembly the end result is quite a nice component, and will probably be the one displayed beside the model. The pushrod couplings at the crankcase end gave me particular grief as my fat arthritic fingers and even smallest tweezers proved a bit of a liability!
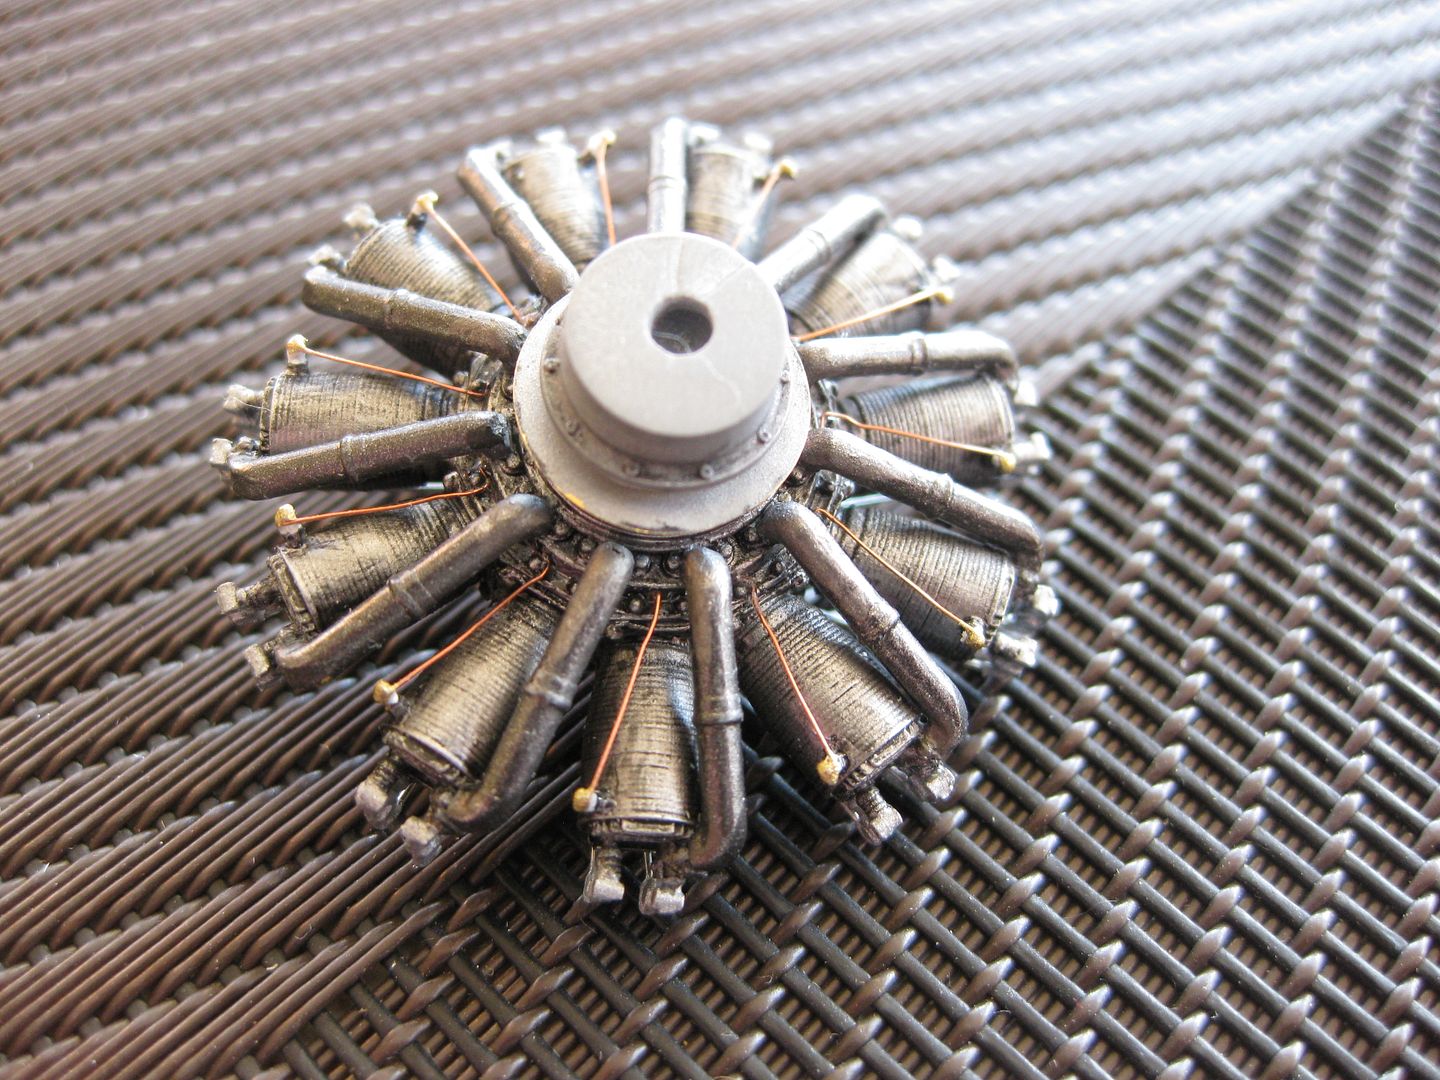
.....and for comparison, the Aviattic Engine on the right........
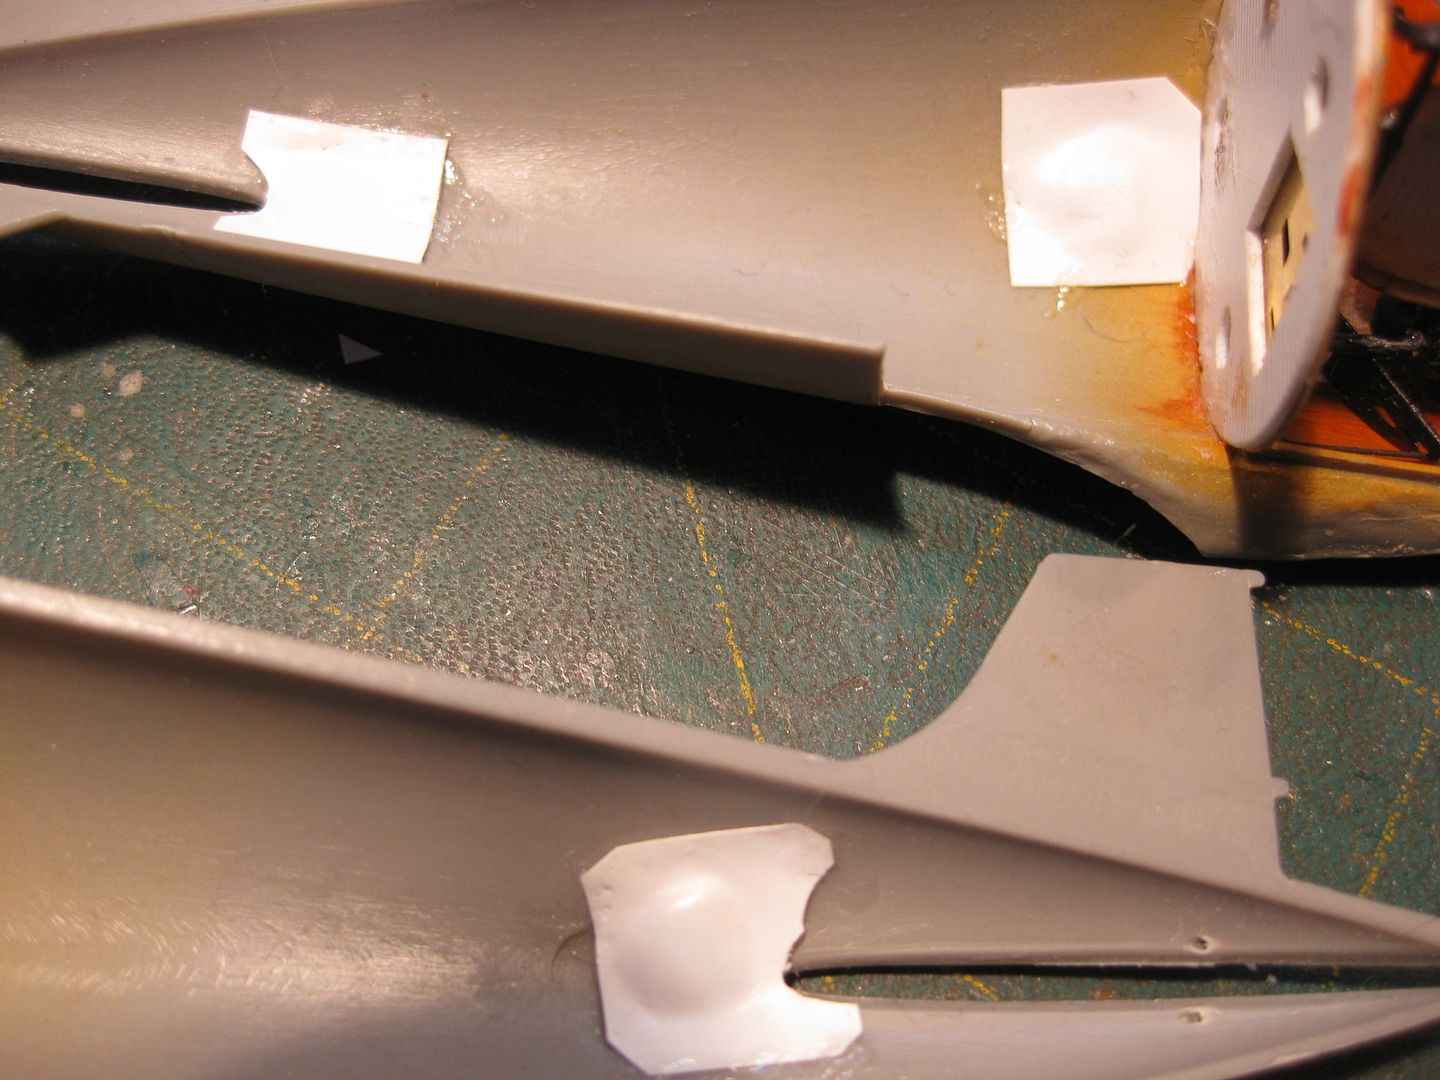
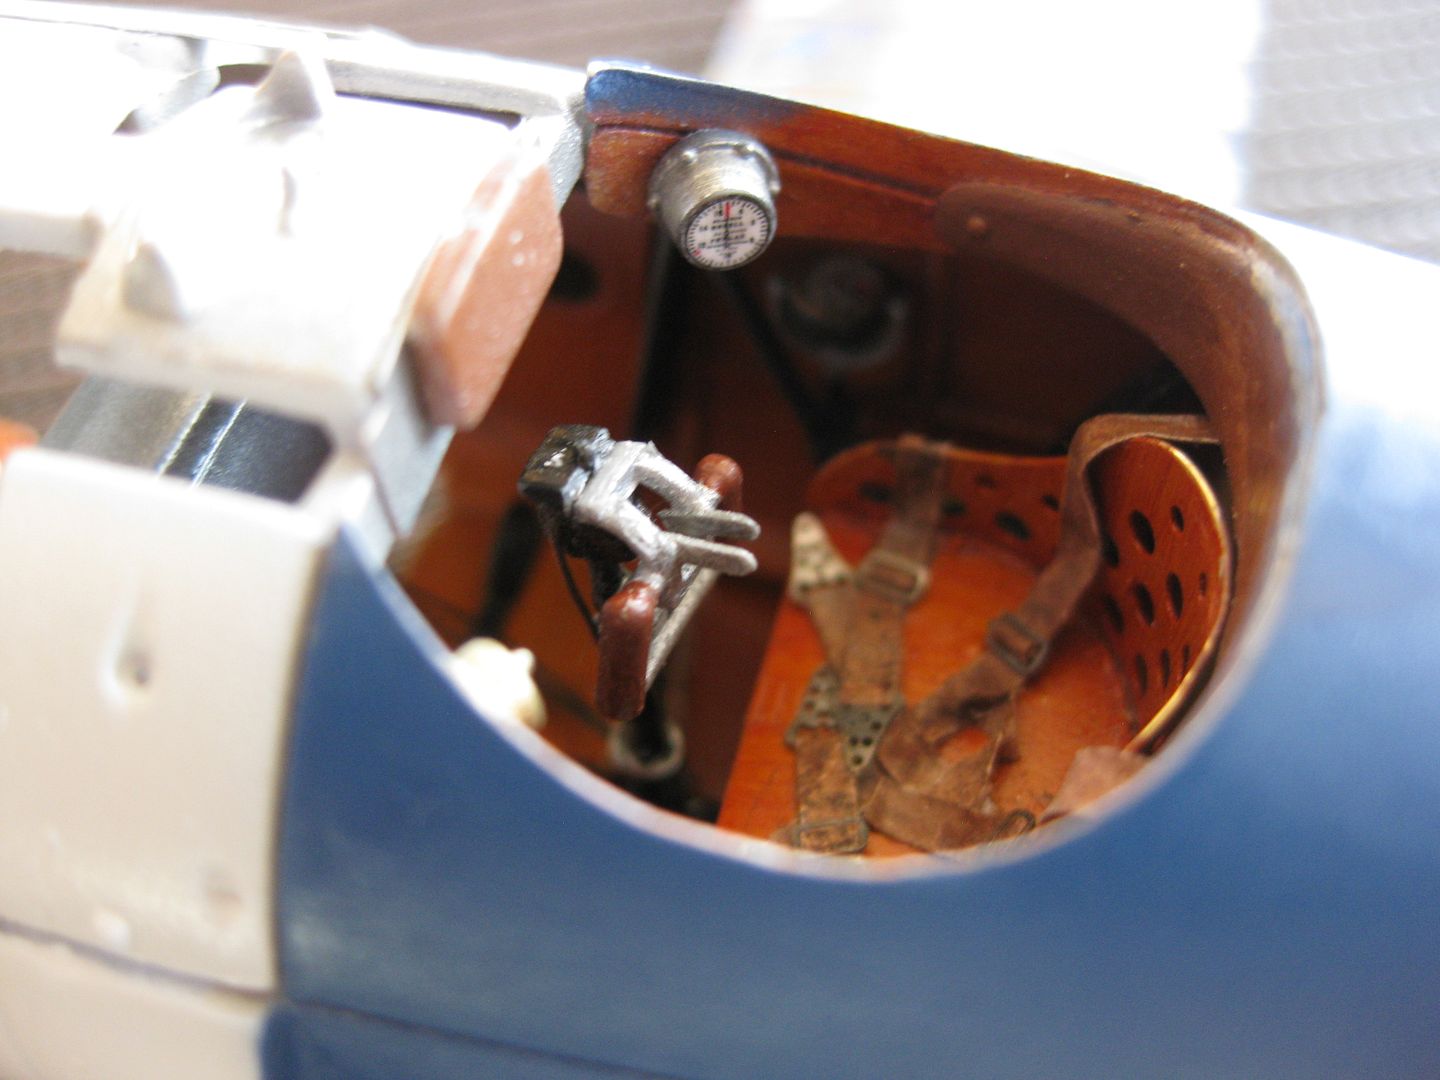
In between engine building sessions I completed the cockpit basics and closed the fuselage. I still have a bit of paint touchup to complete around the coaming. Before closing I enclosed the three handgrip wells with paper thin evergreen styrene burnished to provide some depth.
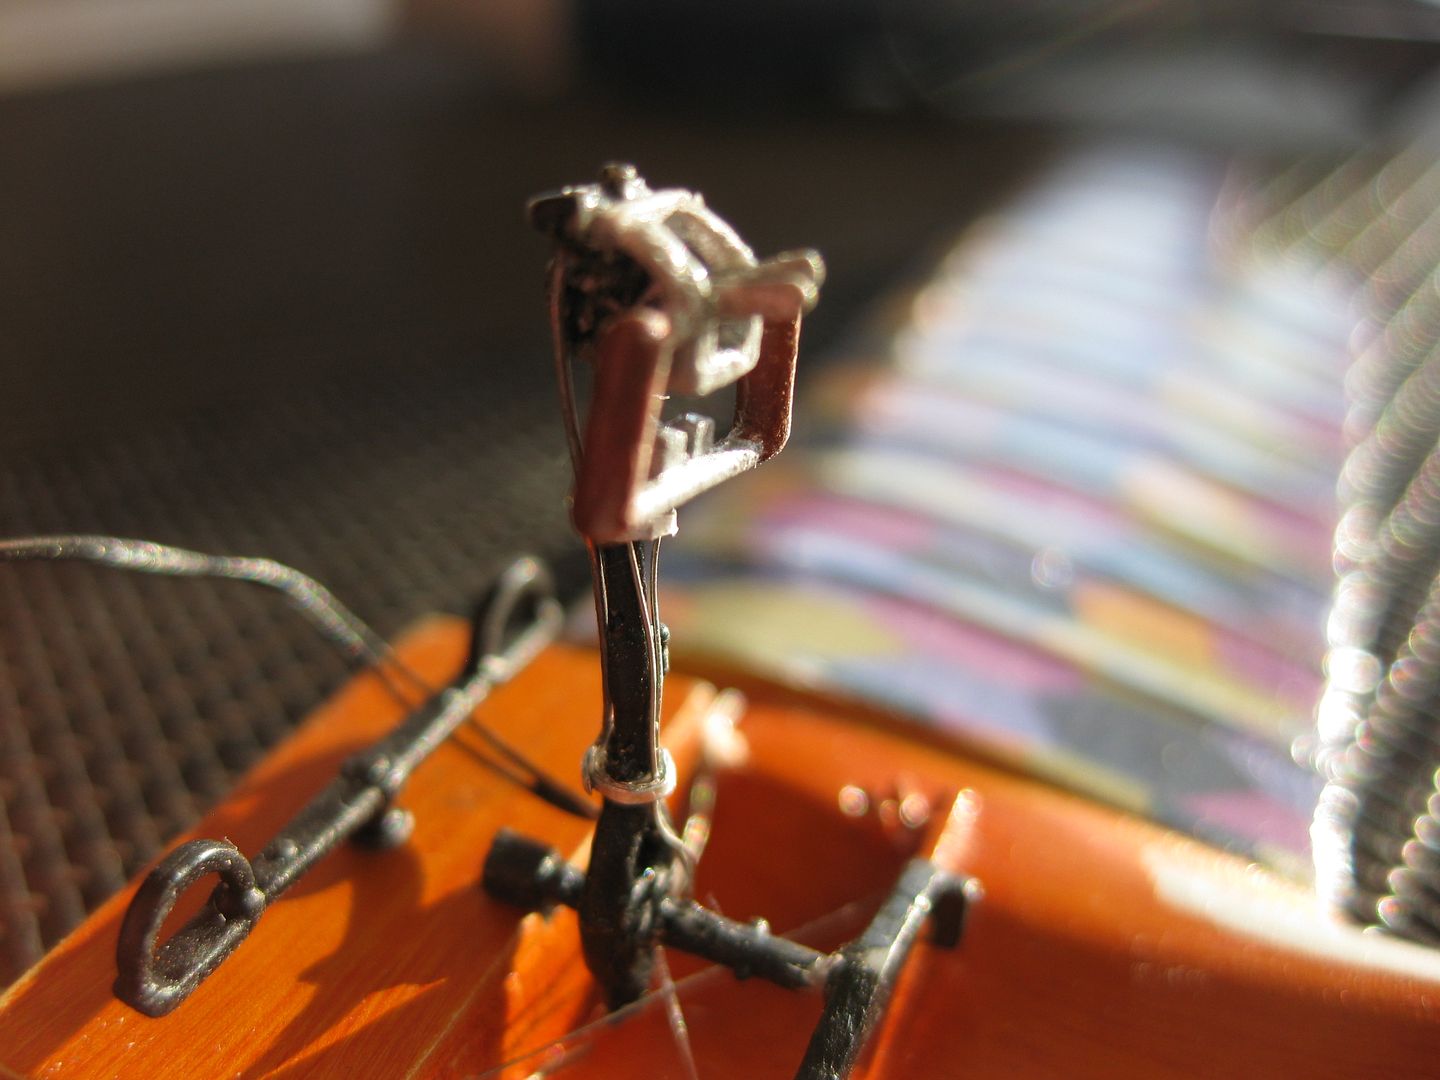
The control column gun trigger cables, throttles and cables were added, tie downs done with lead shrink seal material from my favorite Scotch bottle. I still have to add the gun synchronisation cables to the upper cowling assembly. The aileron push rods have been added since the photo was taken.
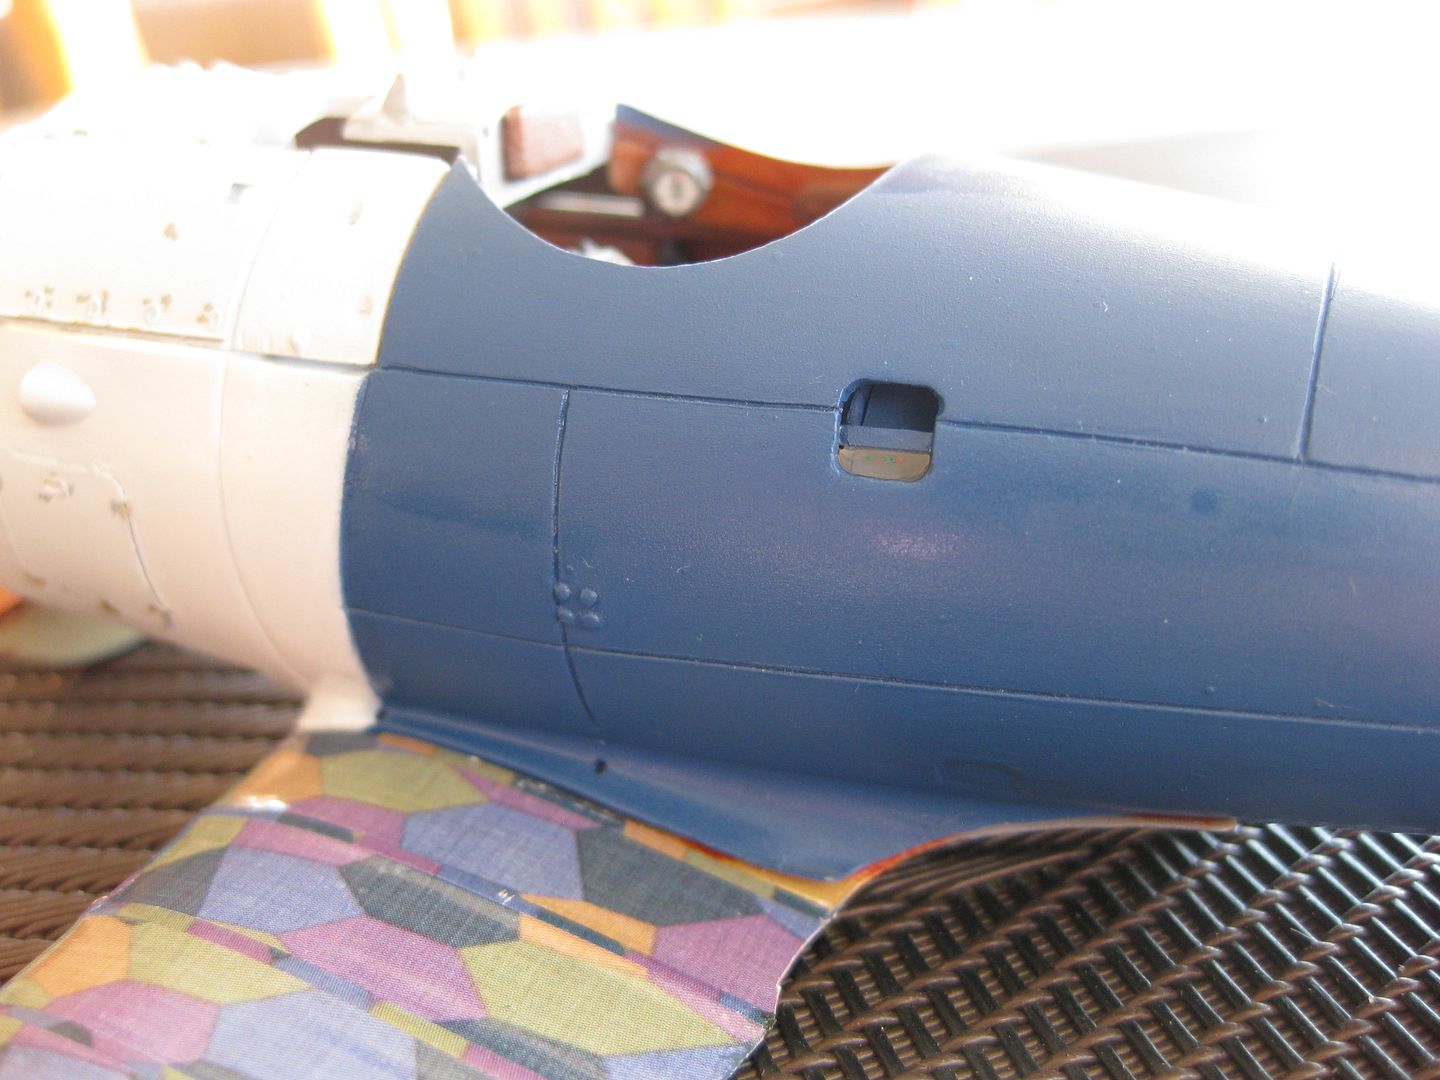
The fuselage closed reasonably well, the joins were filled and sanded, and the basic colours applied. (Tamiya thinned 50/50 and airbrushed) The blue is my own mix of several Tamiya Blues.
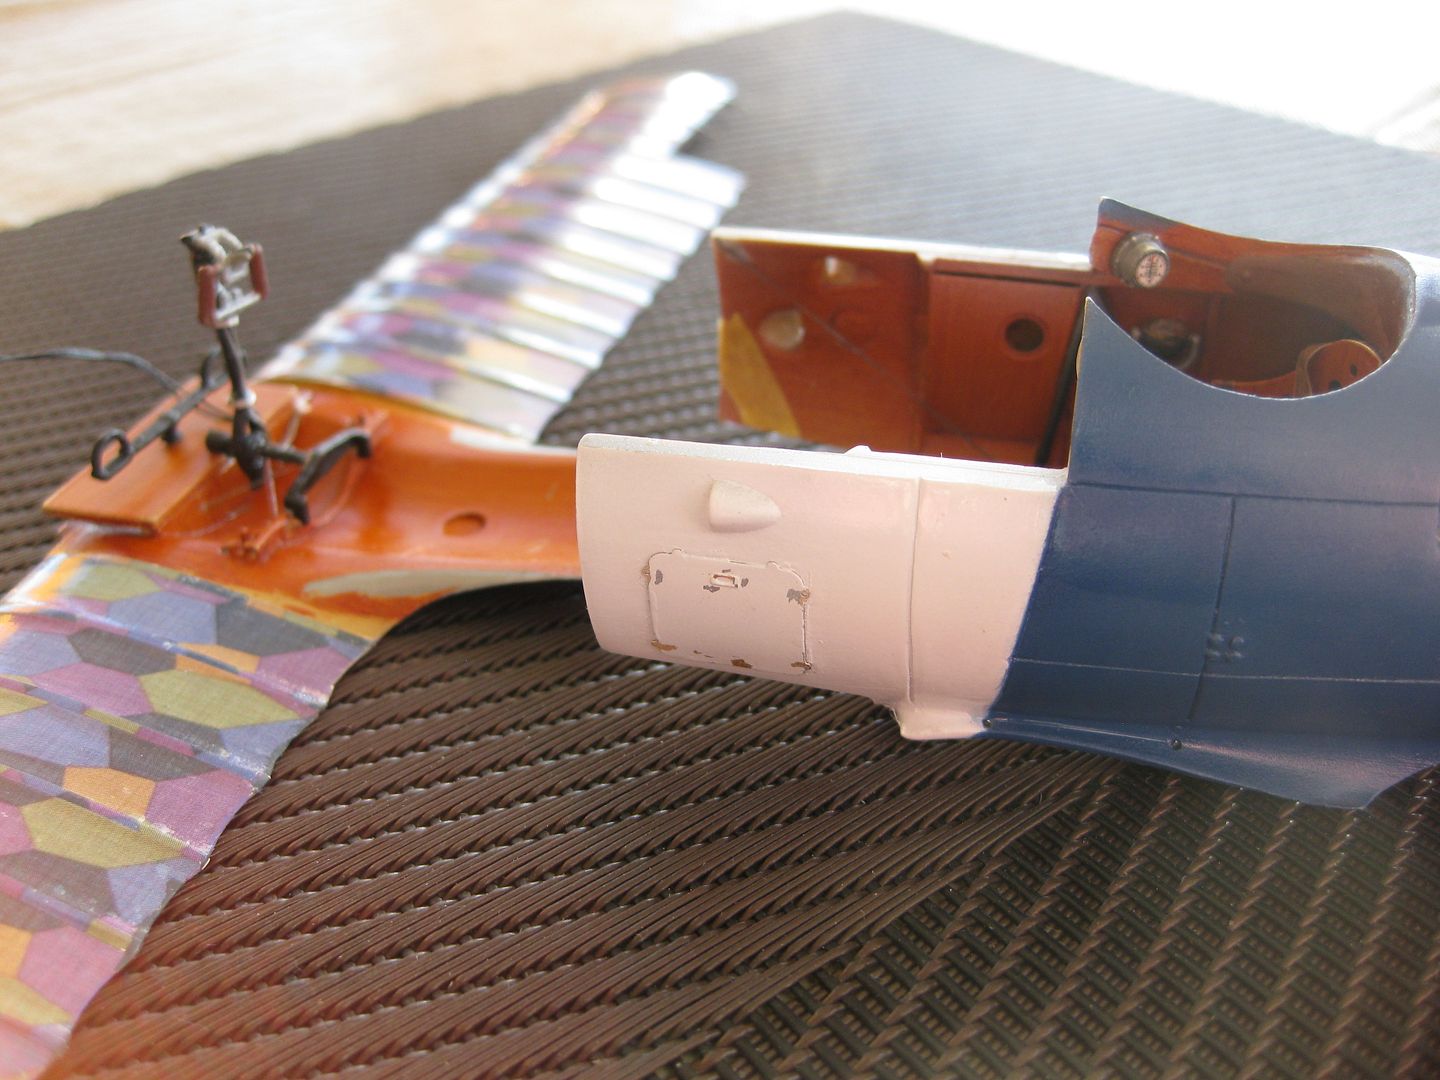
The upper cowling piece is "posed" for the photo.
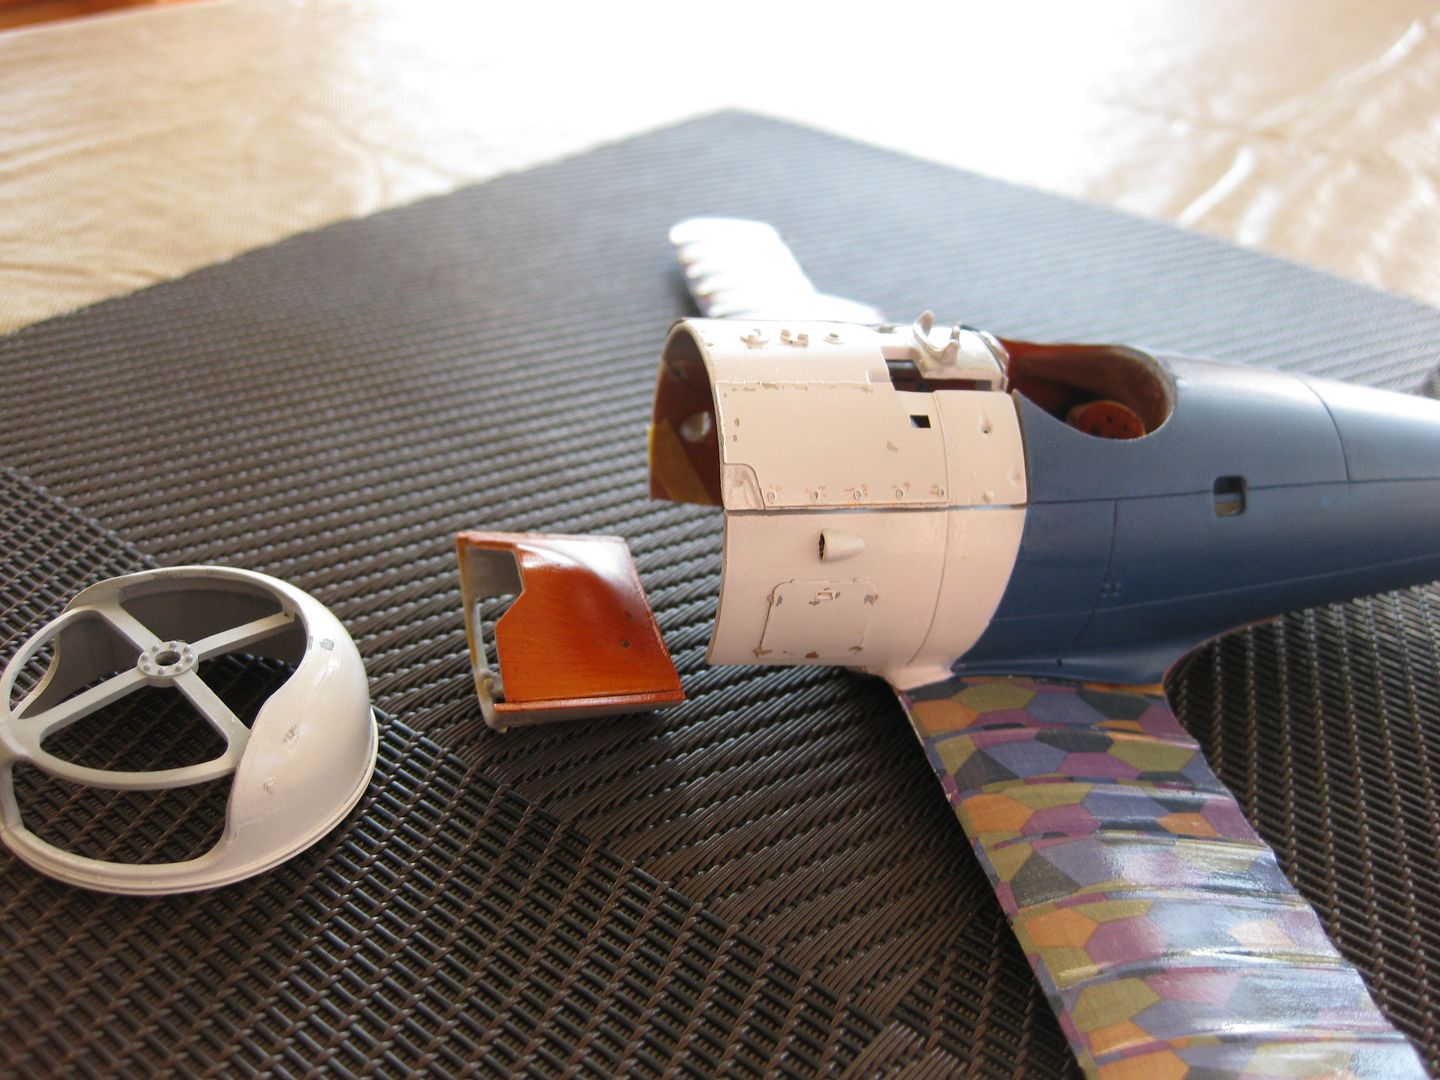
The inadvertent "lens" on the handhold (Future sealant coat) has been trimmed off!
The lower wing is also posed in these photos. The fitting of the lower wing assembly to the fuselage is the greatest challenge to this point, I'll detail that in the next update. Given the fit issues to this point I wouldn't recommend this Kit as a Beginner's project however the subject is impossible to resist. She was probably a joy to fly while the engine stayed together!
That's the progress as of today. More to follow sooner rather then later I hope!
Cheers,
Lance

