Author Topic: Roden 1:32 Siemens Schuckert D.III  (Read 54822 times)

Offline lcarroll

  • Administrator
  • Hero Member
  • ******
  • Posts: 8656
Re: Roden 1:32 Siemens Schuckert D.III
« Reply #105 on: November 17, 2015, 01:31:23 AM »
Greg, Nigel and James,
   Many Thanks for the endorsements!
   James, I haven't seen any comments regarding the "why" of the 45 Degree application, only a common one that states the upper wing (top and bottom surfaces) was done that way at the factory, the rest being done in the conventional span-wise fashion.
Cheers,
Lance

Offline Pgtaylorart

  • Hero Member
  • *****
  • Posts: 1480
Re: Roden 1:32 Siemens Schuckert D.III
« Reply #106 on: November 17, 2015, 03:43:09 AM »
Man that looks good Lance. I wonder why they offset the lozenges?
James

Correct me if I'm wrong, but from what I understand, the diagonal application of the lozenge linen was done for strength. It works the same as diagonal cross bracing.

George

Offline vincentm

  • Sr. Member
  • ****
  • Posts: 411
Re: Roden 1:32 Siemens Schuckert D.III
« Reply #107 on: November 17, 2015, 11:26:56 AM »
Beautiful work on the lozenges. It's going to be an eye-candy model.

Offline lcarroll

  • Administrator
  • Hero Member
  • ******
  • Posts: 8656
Re: Roden 1:32 Siemens Schuckert D.III
« Reply #108 on: November 17, 2015, 12:11:20 PM »
Man that looks good Lance. I wonder why they offset the lozenges?
James

Correct me if I'm wrong, but from what I understand, the diagonal application of the lozenge linen was done for strength. It works the same as diagonal cross bracing.

George

    I hadn't thought of that, George, but it could very well be. I was wondering about the width of the Lozenge fabric bolts being less then the chord until I looked at the Albies, Pfalz, and D.VII's in my display case; they have larger chords and are not offset.
Cheers,
Lance

Offline lcarroll

  • Administrator
  • Hero Member
  • ******
  • Posts: 8656
Re: Roden 1:32 Siemens Schuckert D.III
« Reply #109 on: November 17, 2015, 12:16:18 PM »
Michael and Vincent,
   Thanks for the encouraging comments, they are much appreciated!  :) :)
Cheers,
Lance

Offline RAGIII

  • Hero Member
  • *****
  • Posts: 19688
Re: Roden 1:32 Siemens Schuckert D.III
« Reply #110 on: November 18, 2015, 12:28:23 AM »
This continues to be an impressive build ! Your lozenge has turned out beautifully! I am looking forward to seeing that Engine!
RAGIII
"A man has to know his limitations": Harry Callahan

"Don't slop it on" Lynda Geisler

Offline Alexis

  • Hero Member
  • *****
  • Posts: 8029
  • Love the self
Re: Roden 1:32 Siemens Schuckert D.III
« Reply #111 on: November 19, 2015, 07:49:55 AM »
Lance , must say that your build is moving forward nicely . The wings turned out great with the lozenge  :)


Terri
Hurra ! , Ich Leben Noch
Body and life is a vessel we use to travel the planet . Femininity is the gift , The miracle comes from what we do with it .

Offline lcarroll

  • Administrator
  • Hero Member
  • ******
  • Posts: 8656
Re: Roden 1:32 Siemens Schuckert D.III
« Reply #112 on: November 19, 2015, 09:23:02 AM »
Thank you both, Rick and Terri. The engine continues to progress but slowly, there's some mighty small parts in that snazzy little plastic box it arrived in! I'm also pecking away at other parts of the Kit to provide a break from the eye test challenge of working with tiny parts! Hopefully I can complete it in the next few days and get an update with some photos posted here.
Cheers,
Lance

Offline Des

  • Administrator
  • Hero Member
  • ******
  • Posts: 9325
    • ww1aircraftmodels.com
Re: Roden 1:32 Siemens Schuckert D.III
« Reply #113 on: November 19, 2015, 10:03:51 AM »
Looking forward to seeing what you do with the engine Lance.

Des.
Late Founder of ww1aircraftmodels.com and forum.ww1aircraftmodels.com

Offline lcarroll

  • Administrator
  • Hero Member
  • ******
  • Posts: 8656
Re: Roden 1:32 Siemens Schuckert D.III
« Reply #114 on: November 27, 2015, 07:19:14 AM »
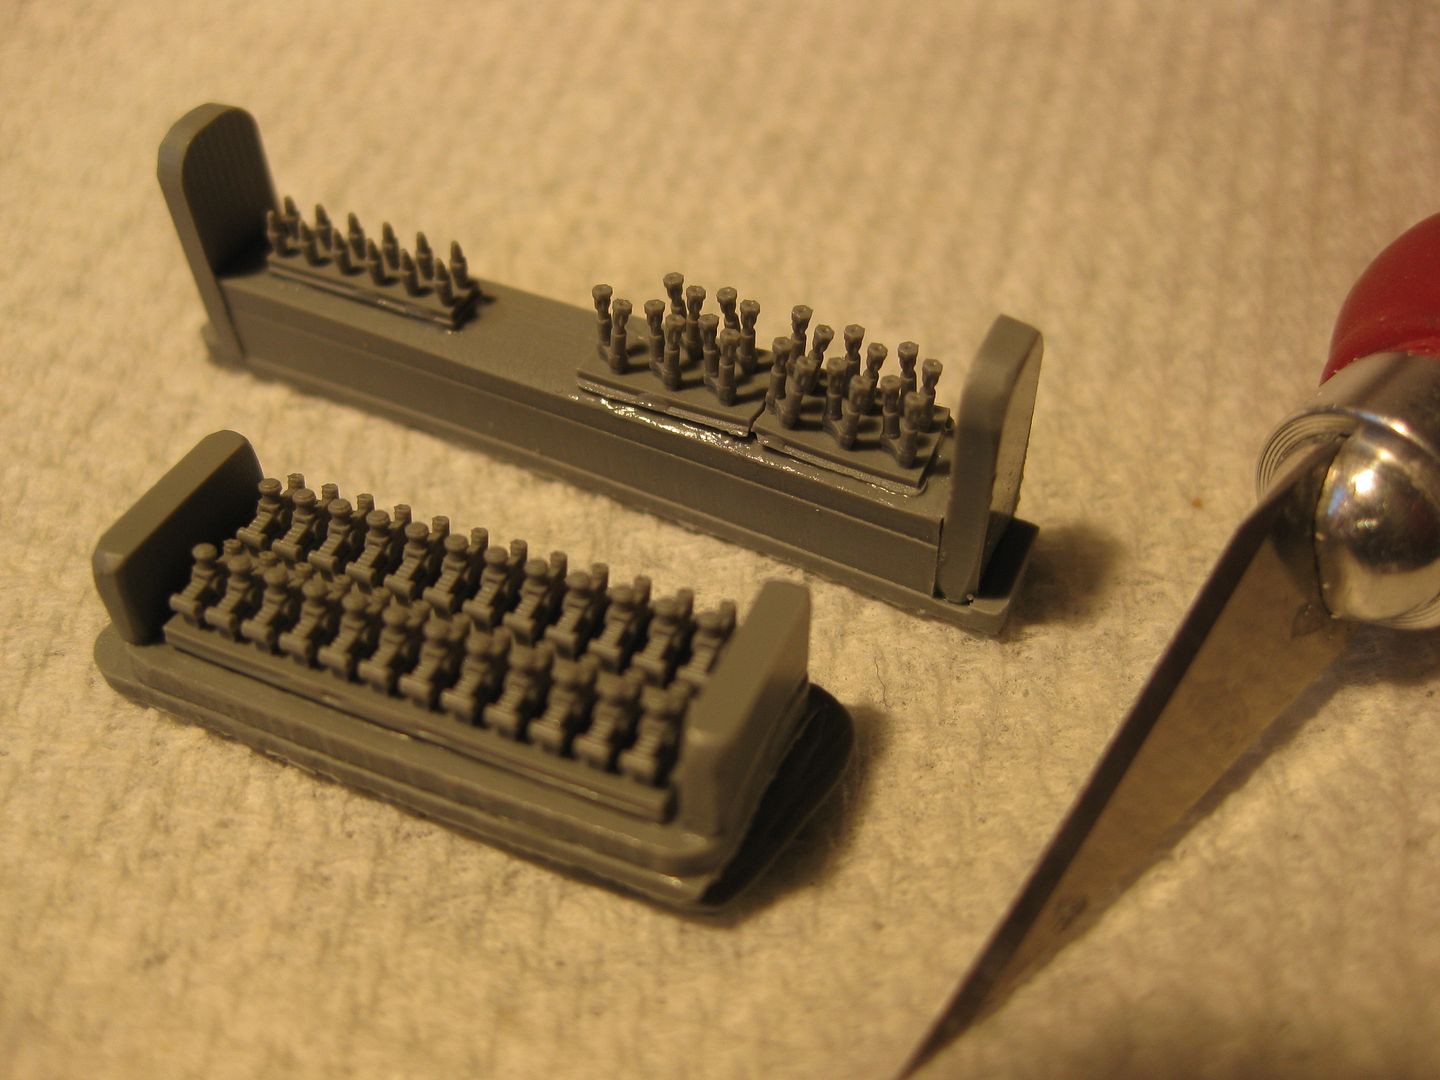
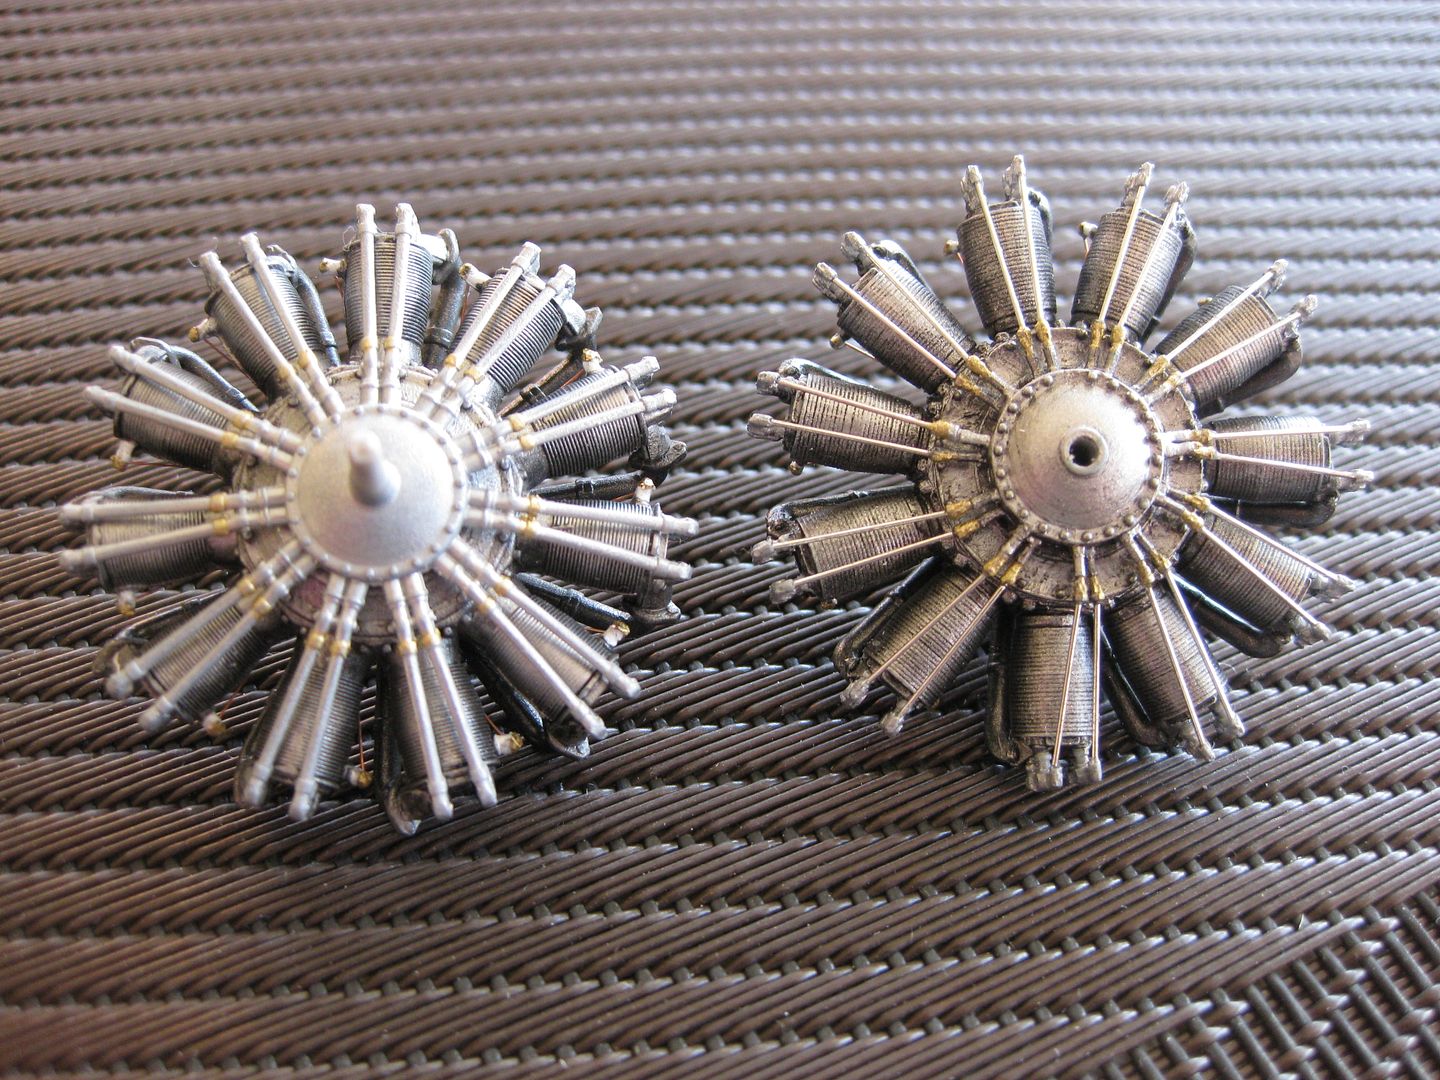
Finally, another update. I've completed the engines except for a little more weathering which will get added when the airframe is done. I elected to complete both the Aviattic Siemens-Halske DIII and the Roden Kit version, one will be mounted in the aircraft, the other displayed in a "cradle" beside the model.
The Roden version builds up quite nicely, the only serious shortfall being the pushrods all molded on a single part and too thick for scale.
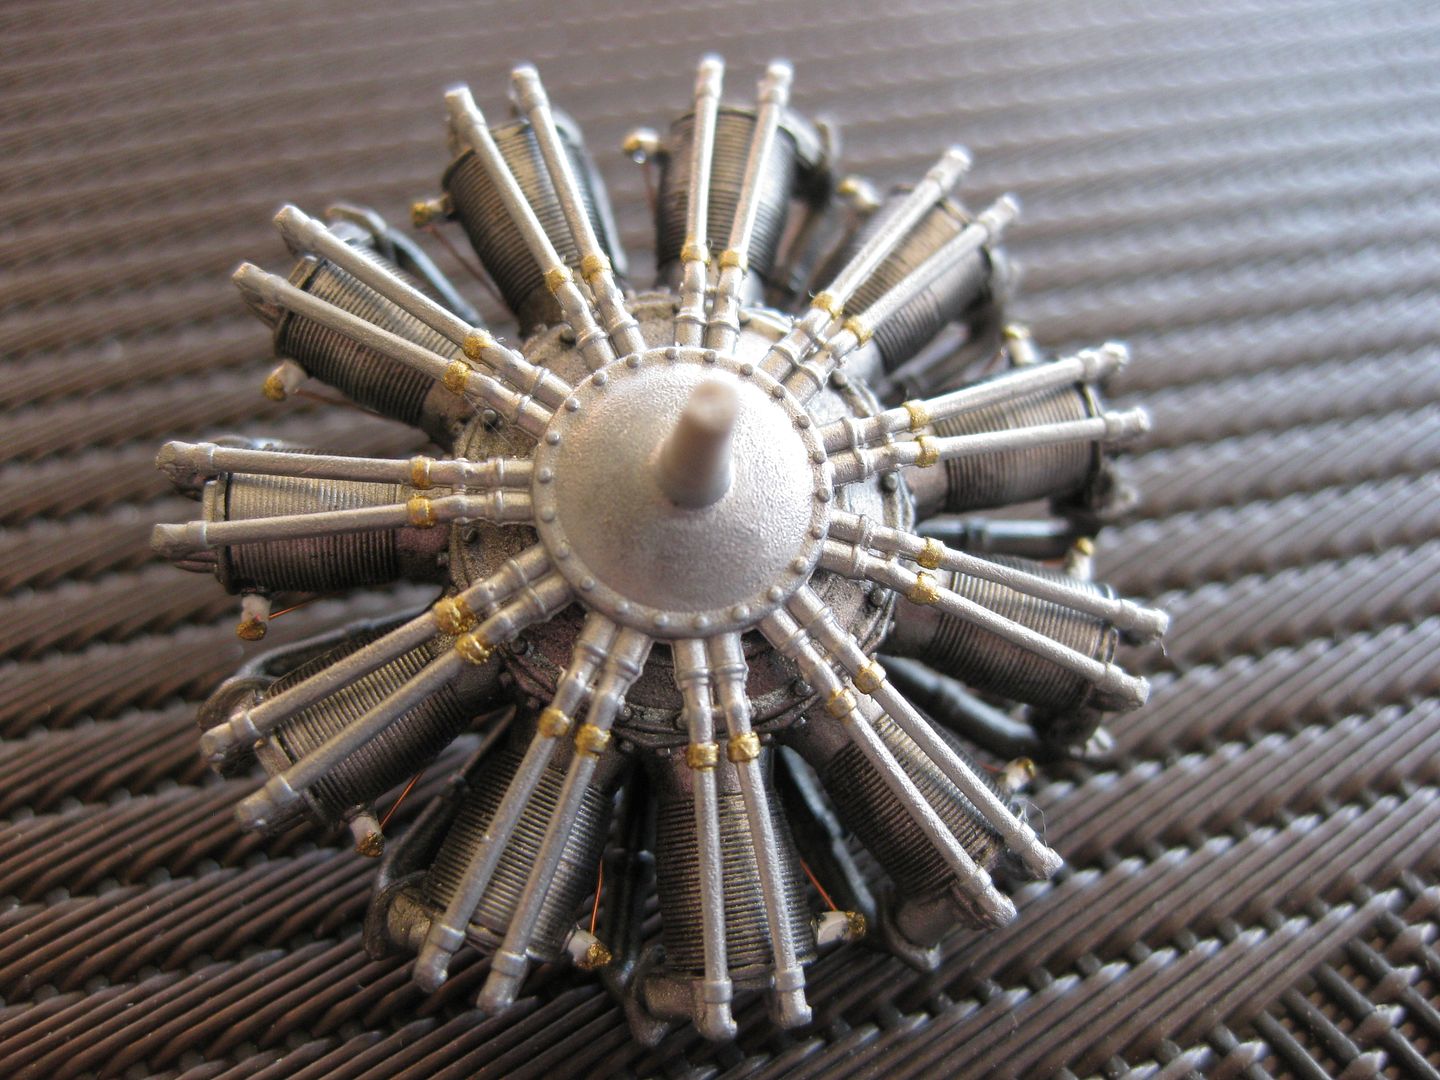
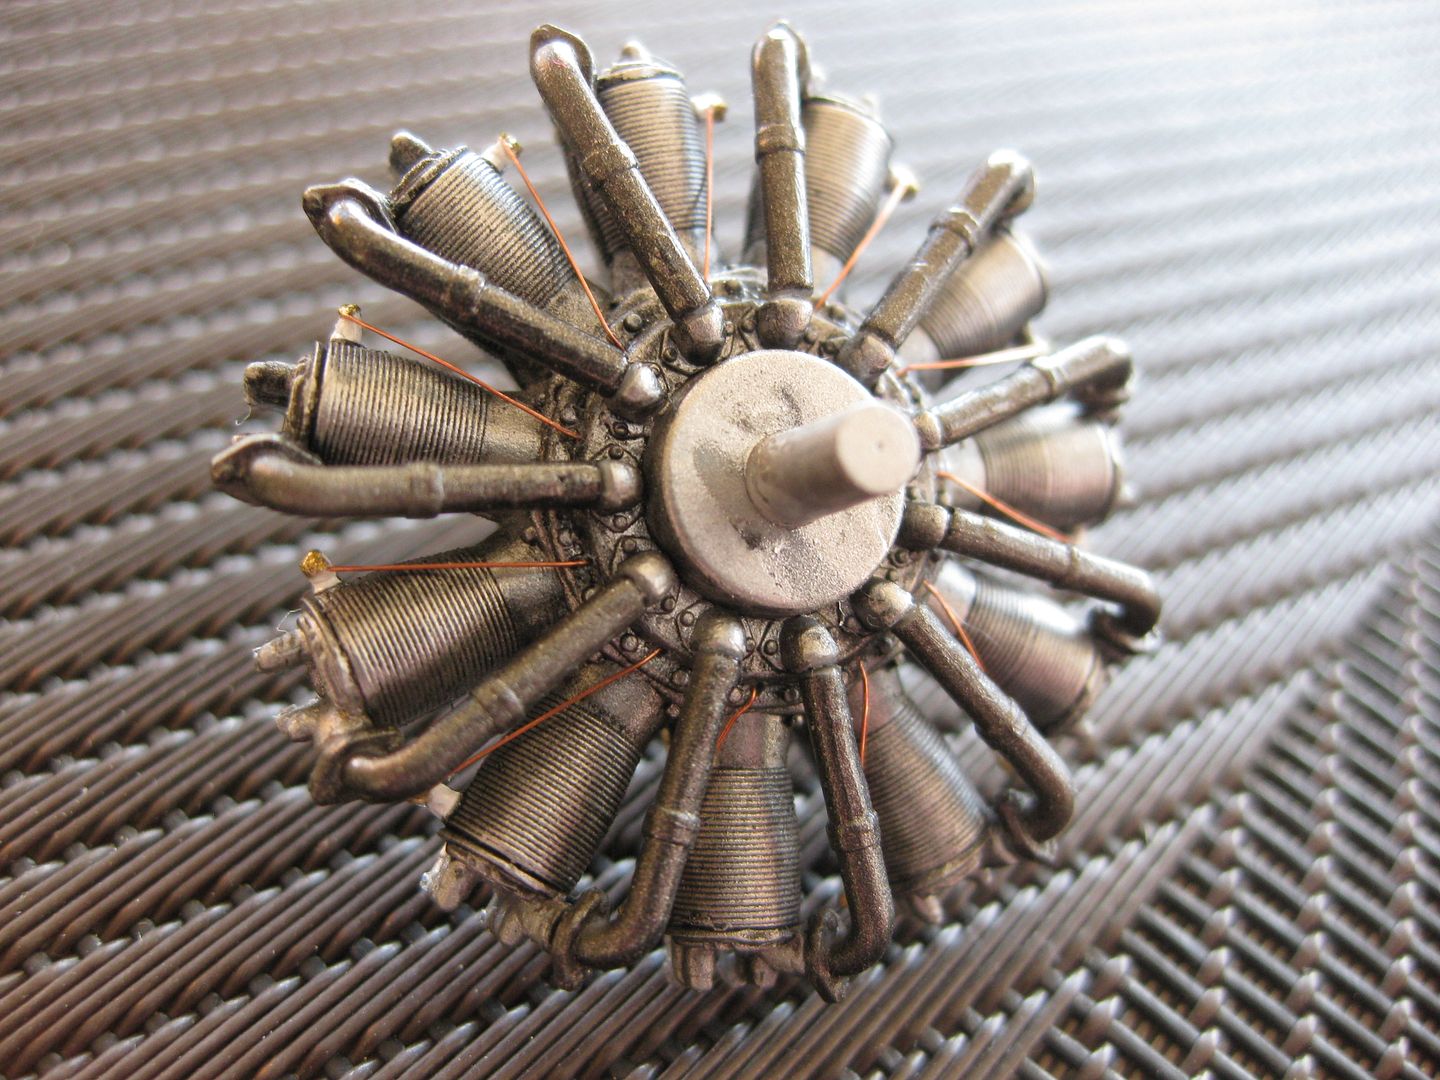


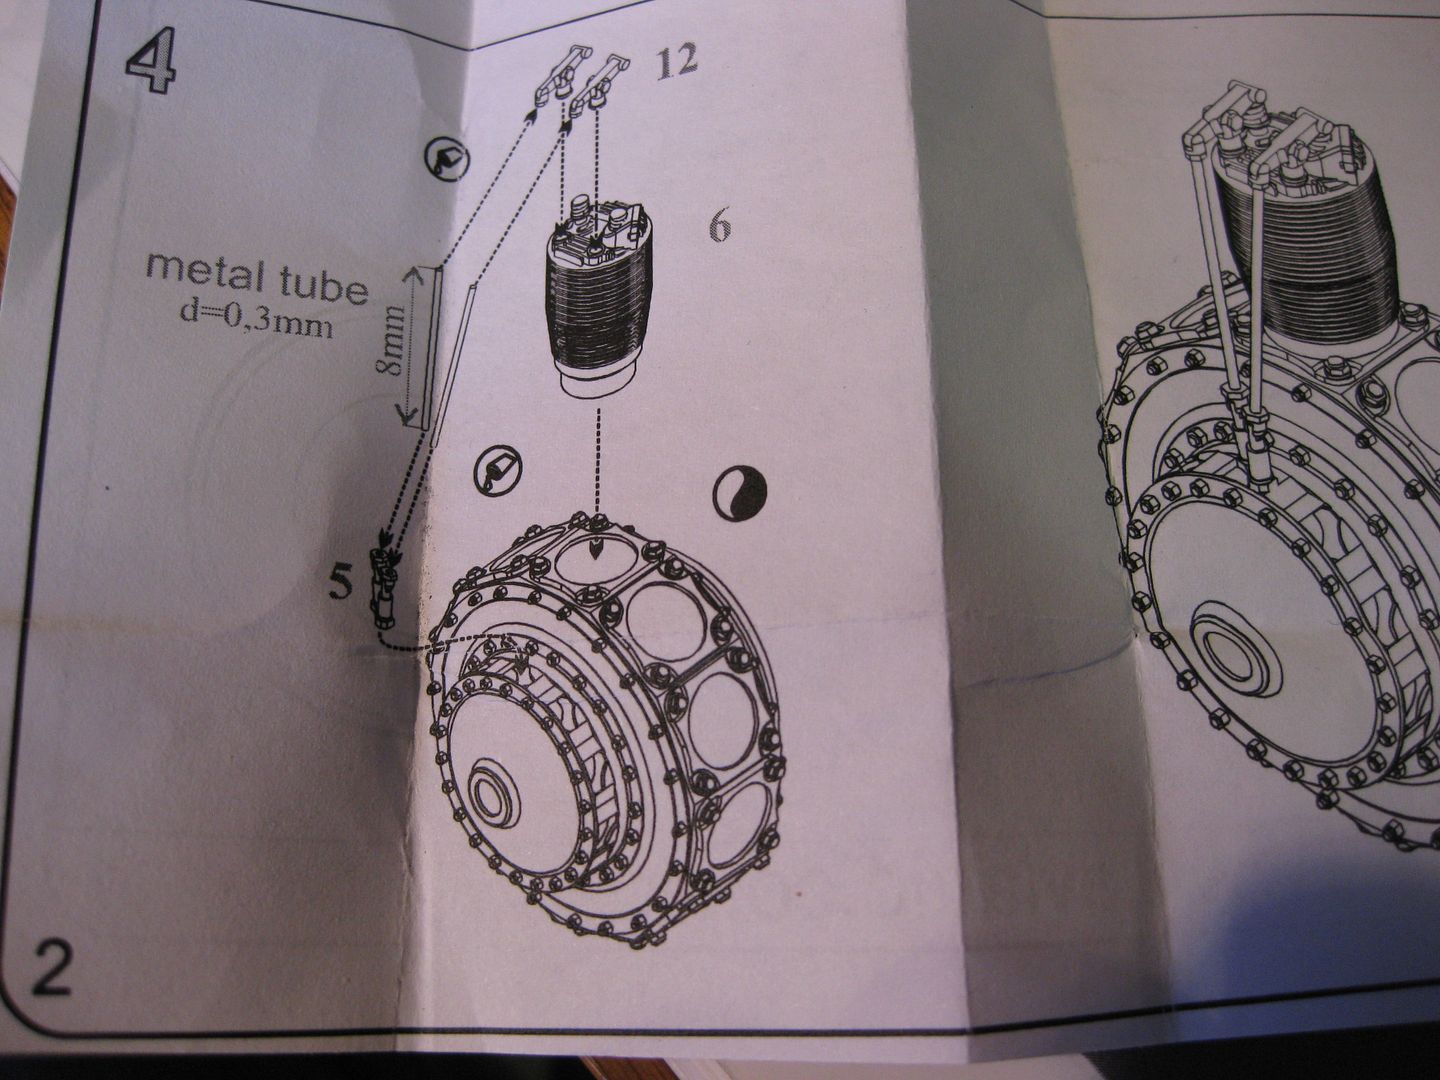
   Both engines were done in various shades of Alclad II. I found the instruction sheet for the After Market one a little vague on how much of a "base" to leave on the individual cylinders, after mounting four of the eleven and finding the engine's diameter too big for the cowling I had to backtrack, reduce their length/height significantly, and then all was well.
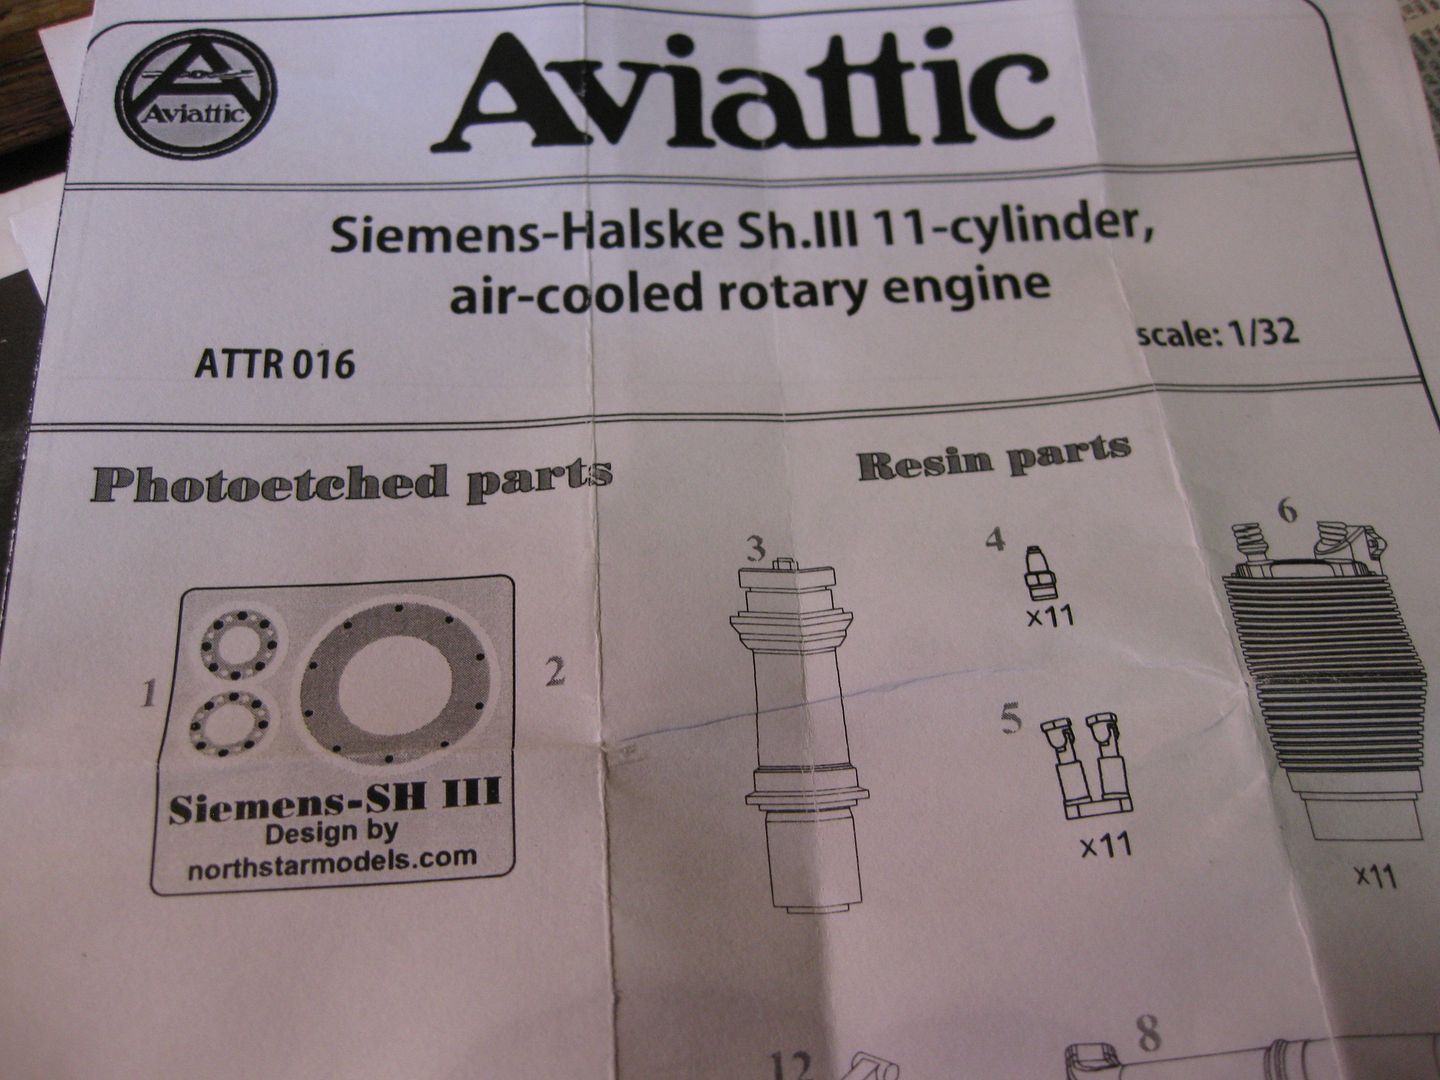
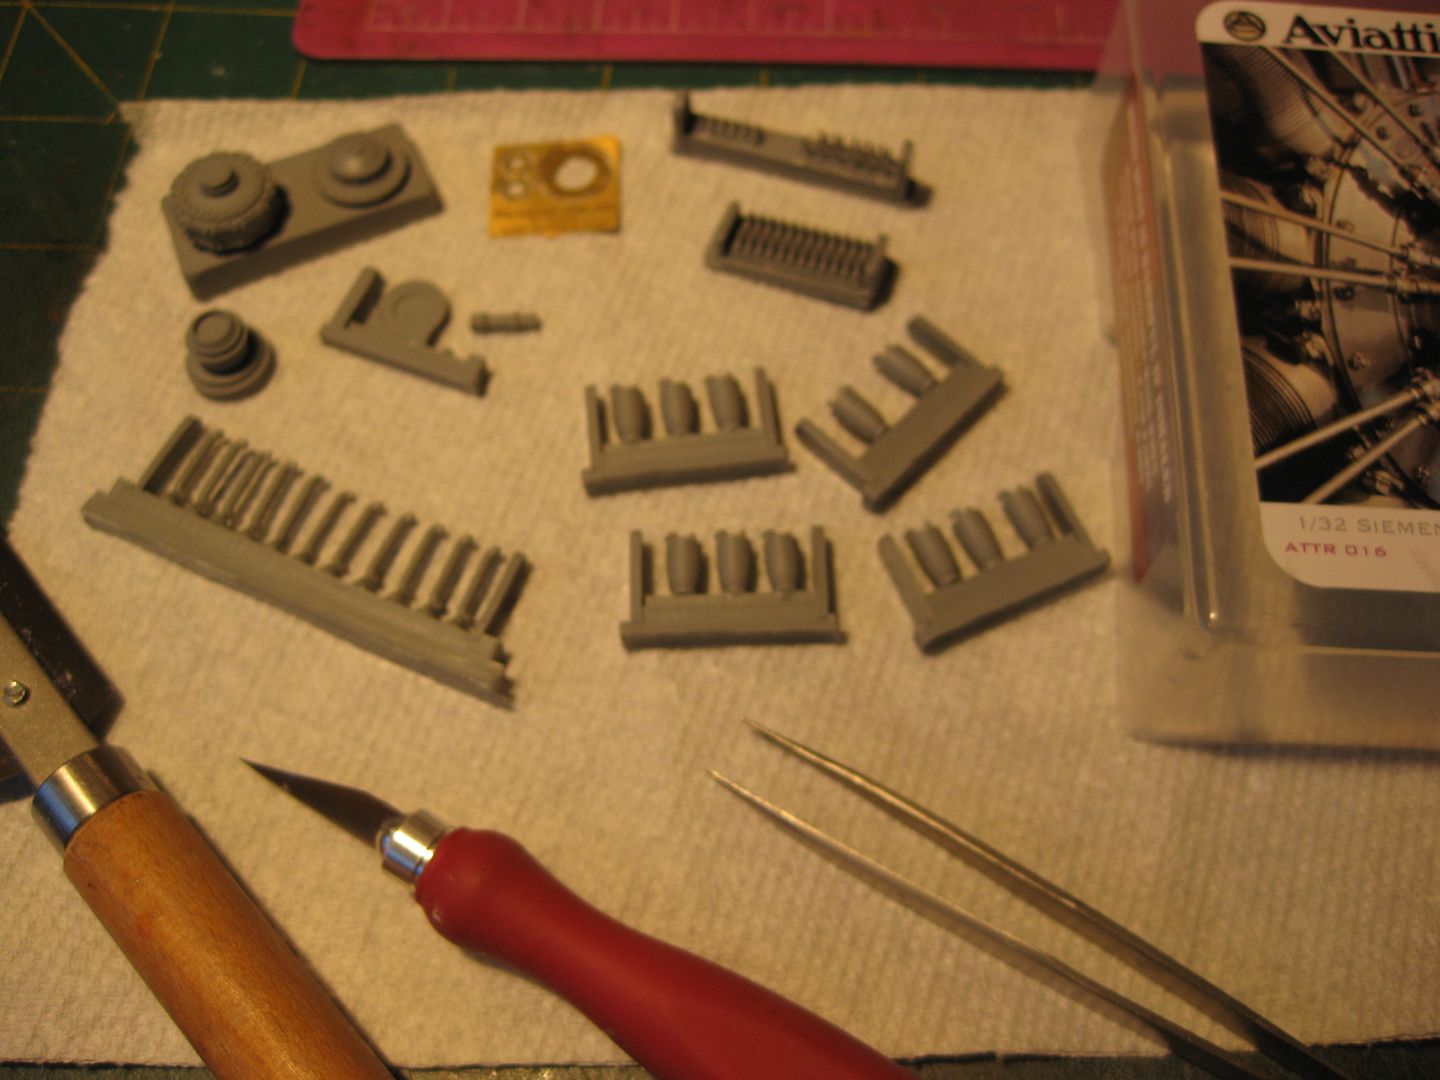


   The pushrods call for .3mm brass tubing, I elected to use the same size stainless guitar wire.


   Although I struggled with parts of the assembly the end result is quite a nice component, and will probably be the one displayed beside the model. The pushrod couplings at the crankcase end gave me particular grief as my fat arthritic fingers and even smallest tweezers proved a bit of a liability!
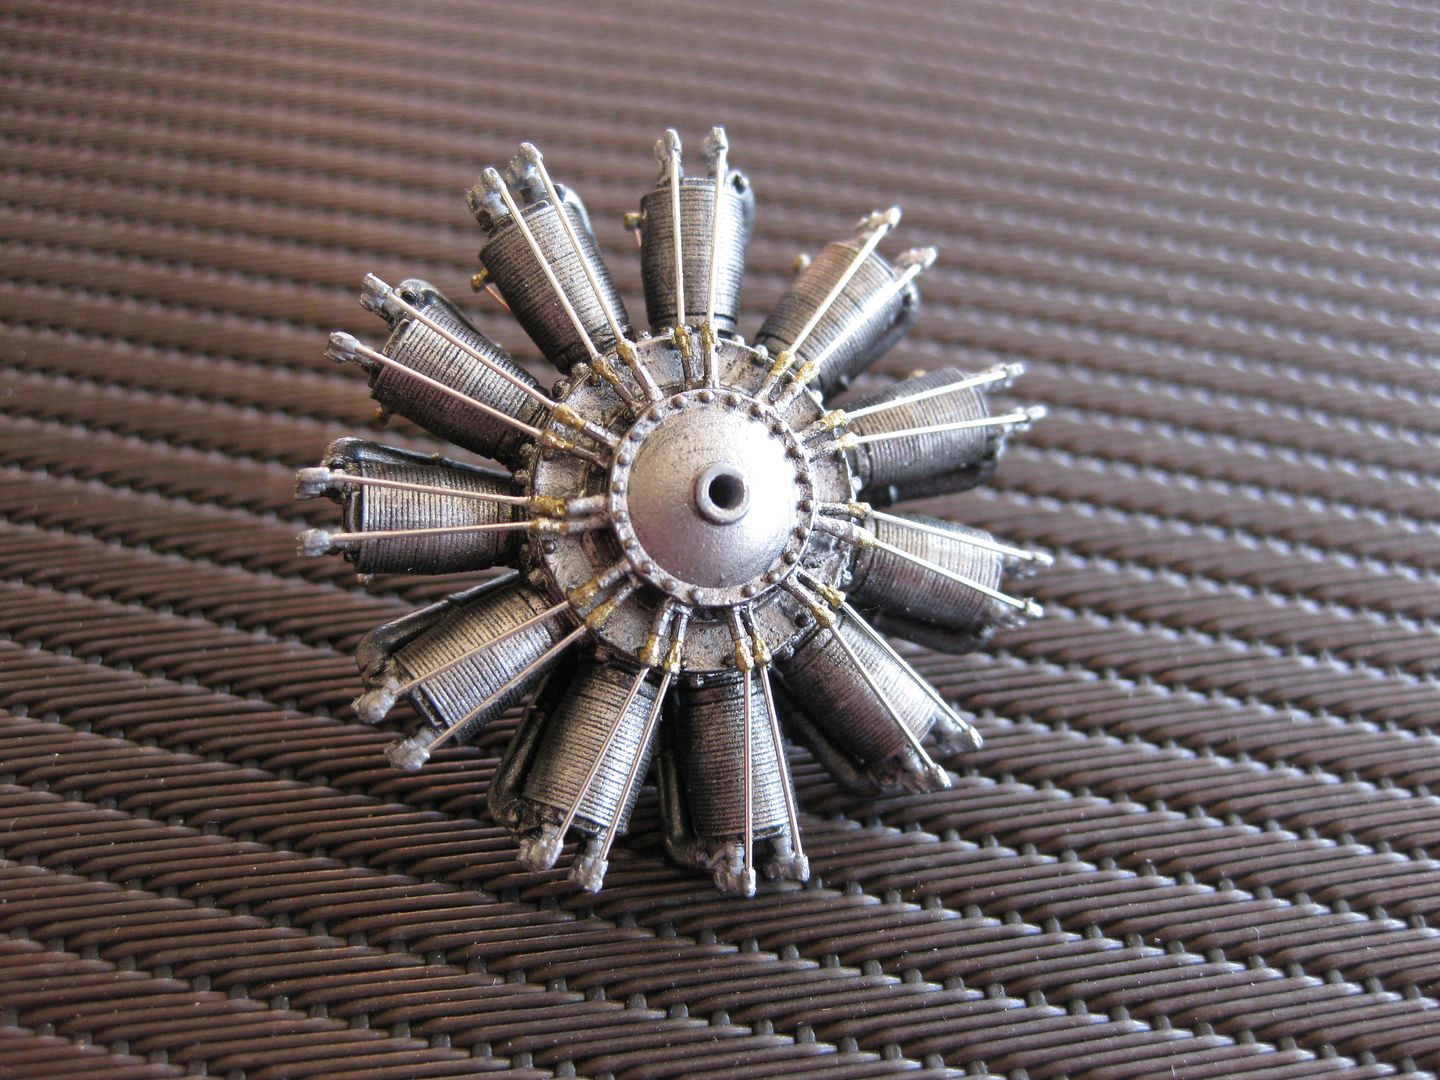
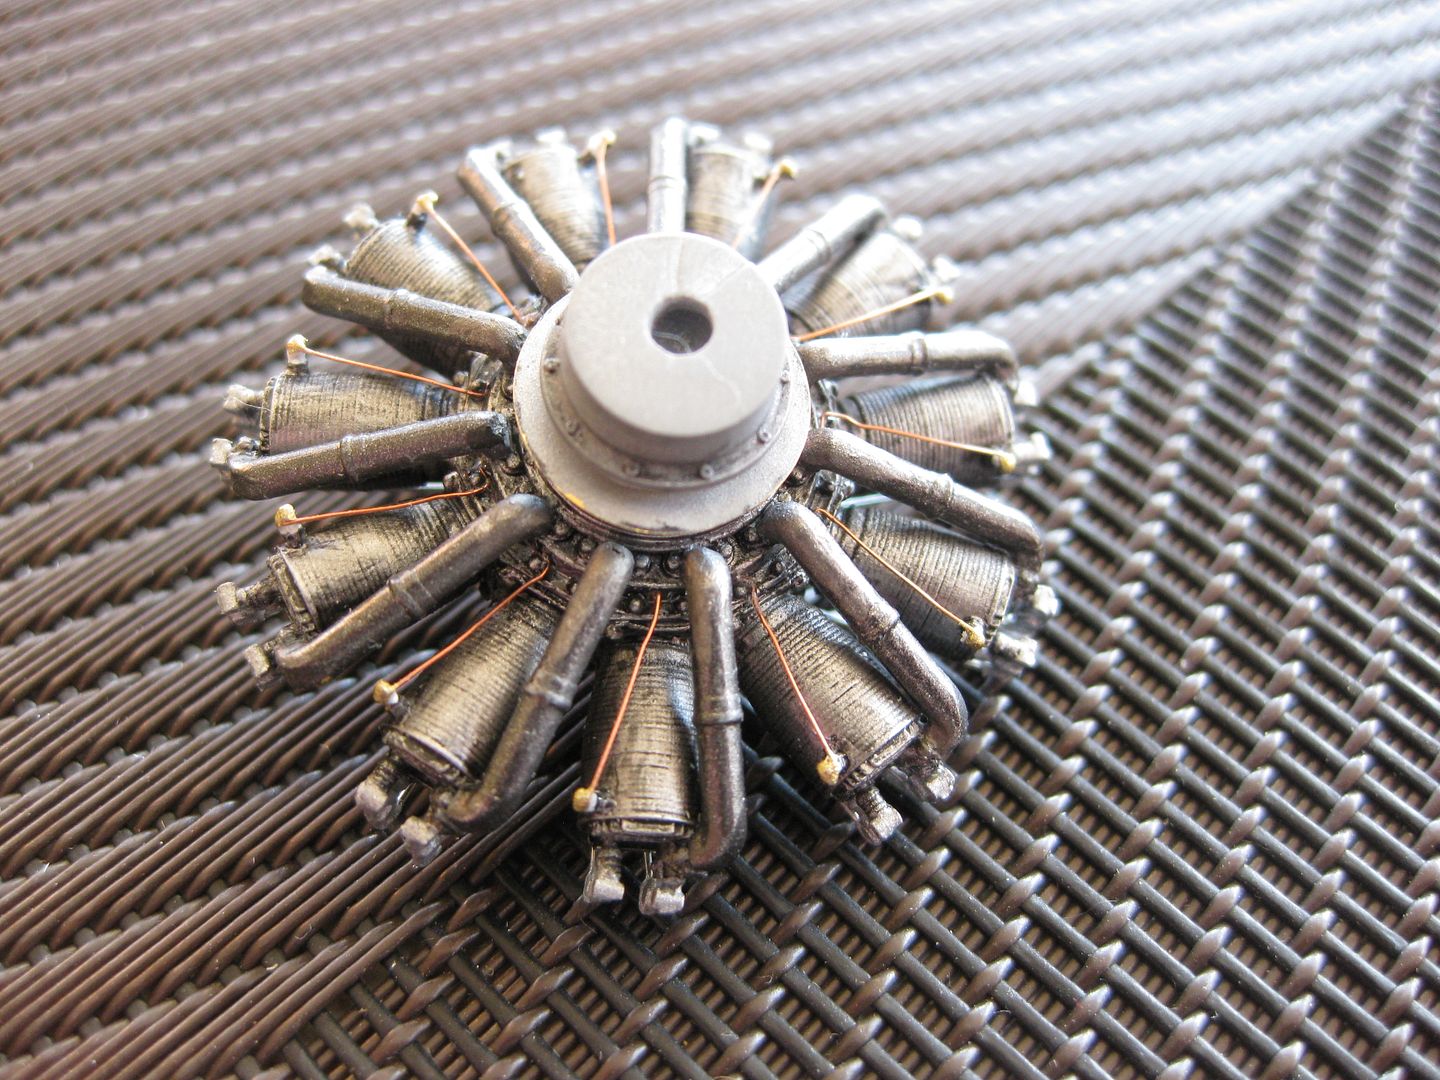


.....and for comparison, the Aviattic Engine on the right........


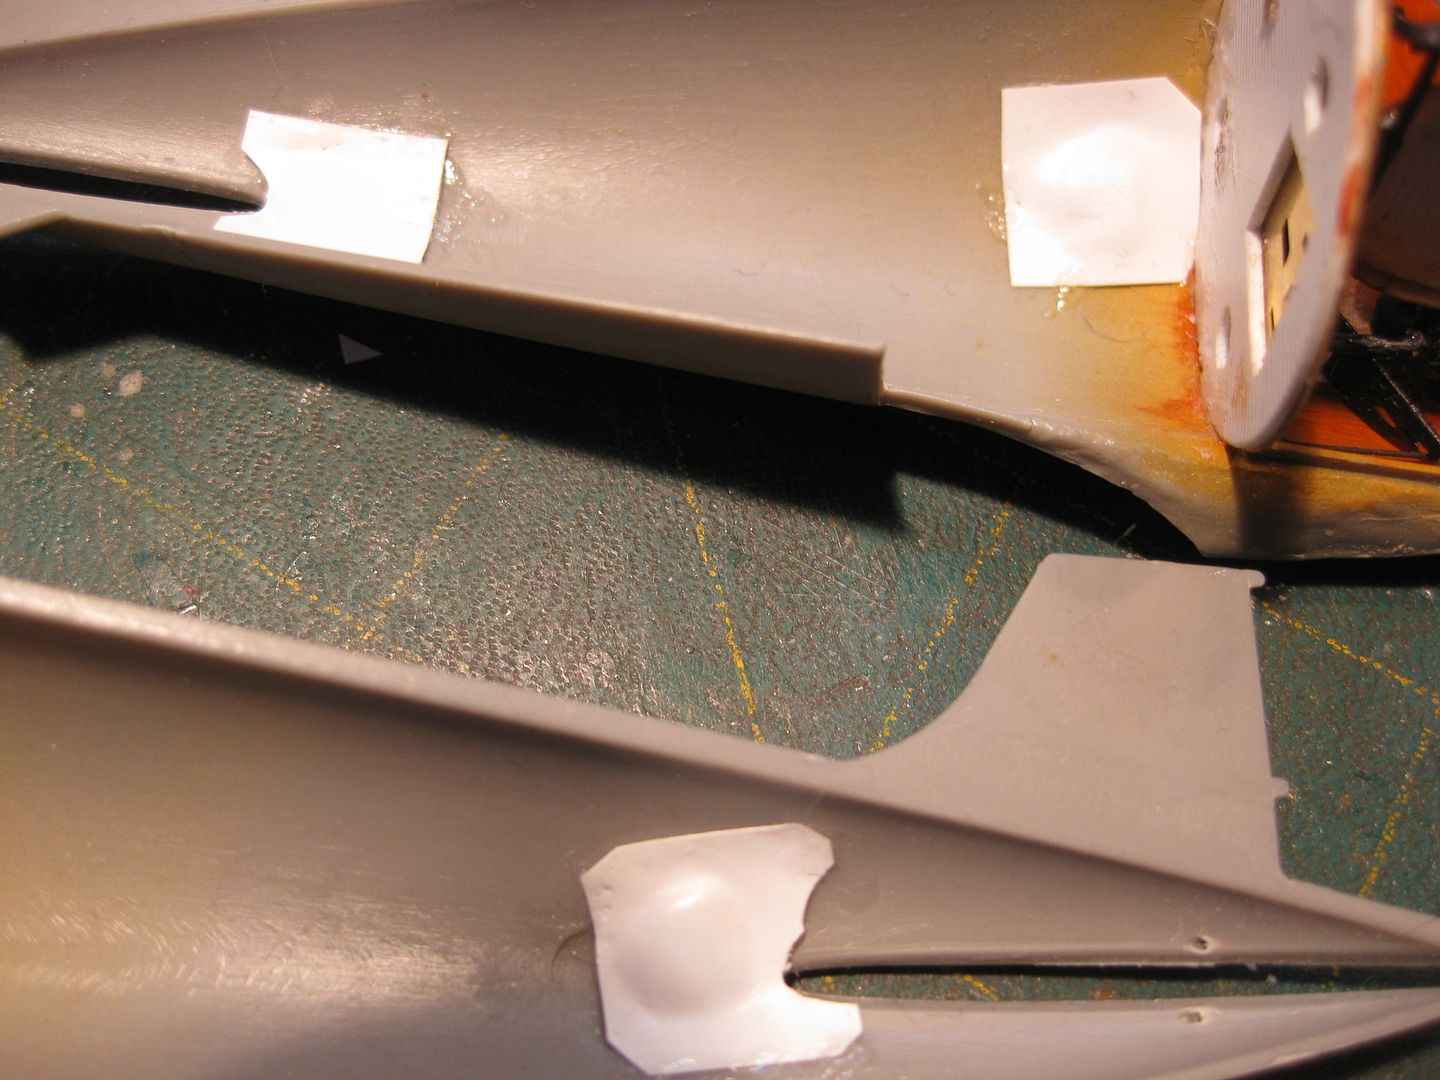
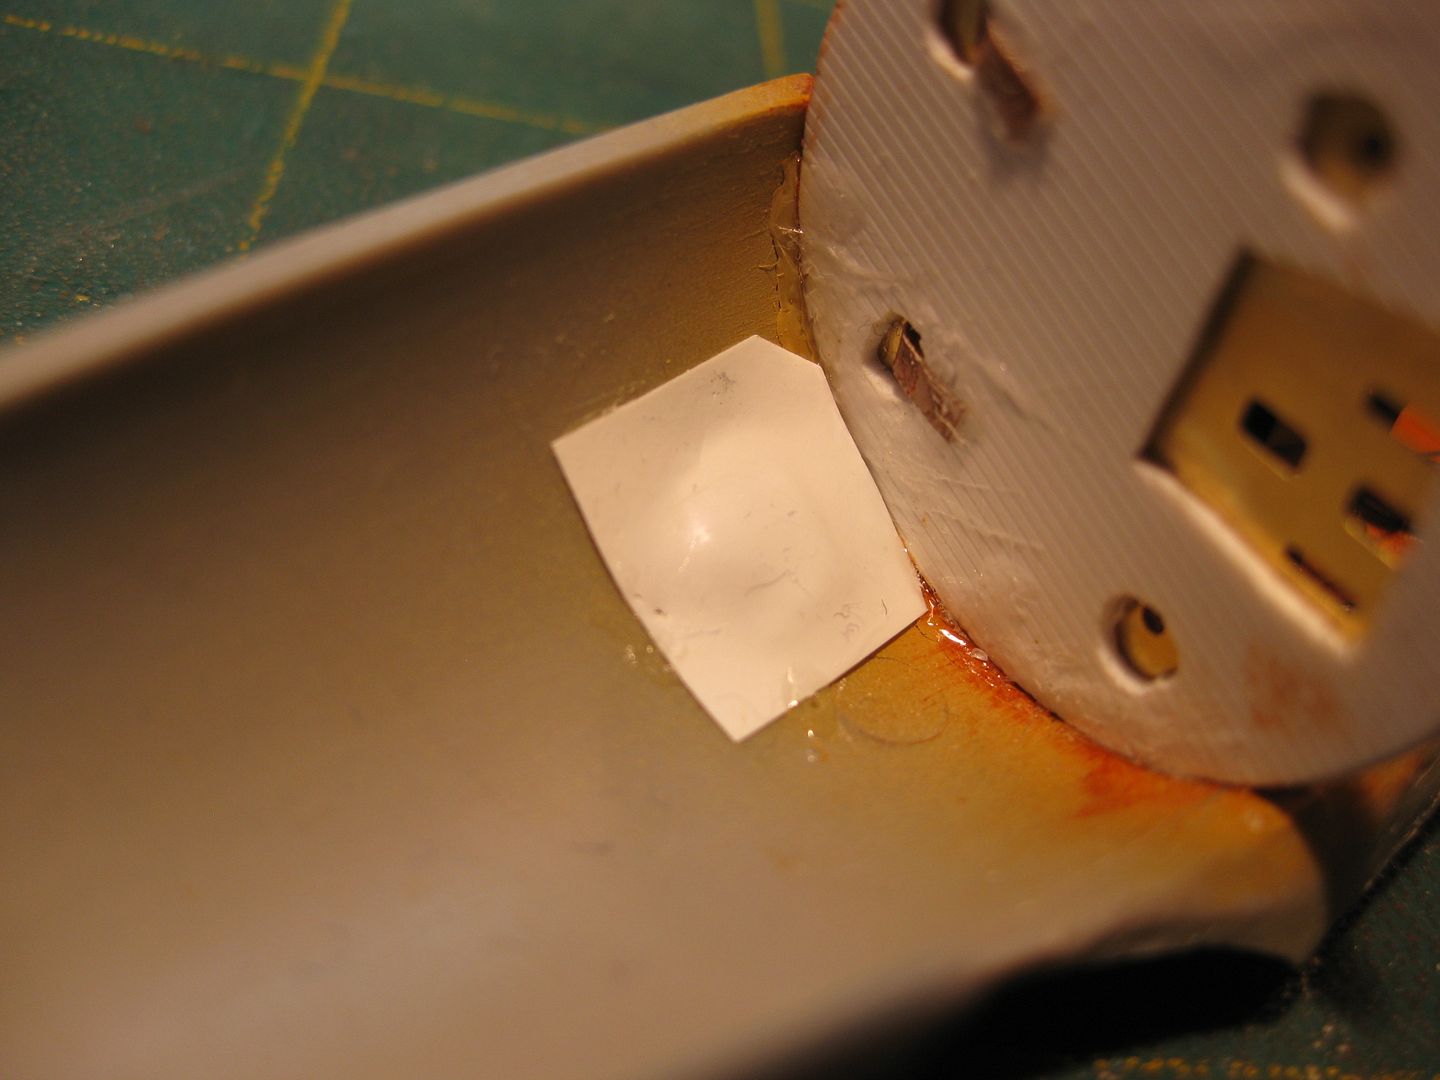
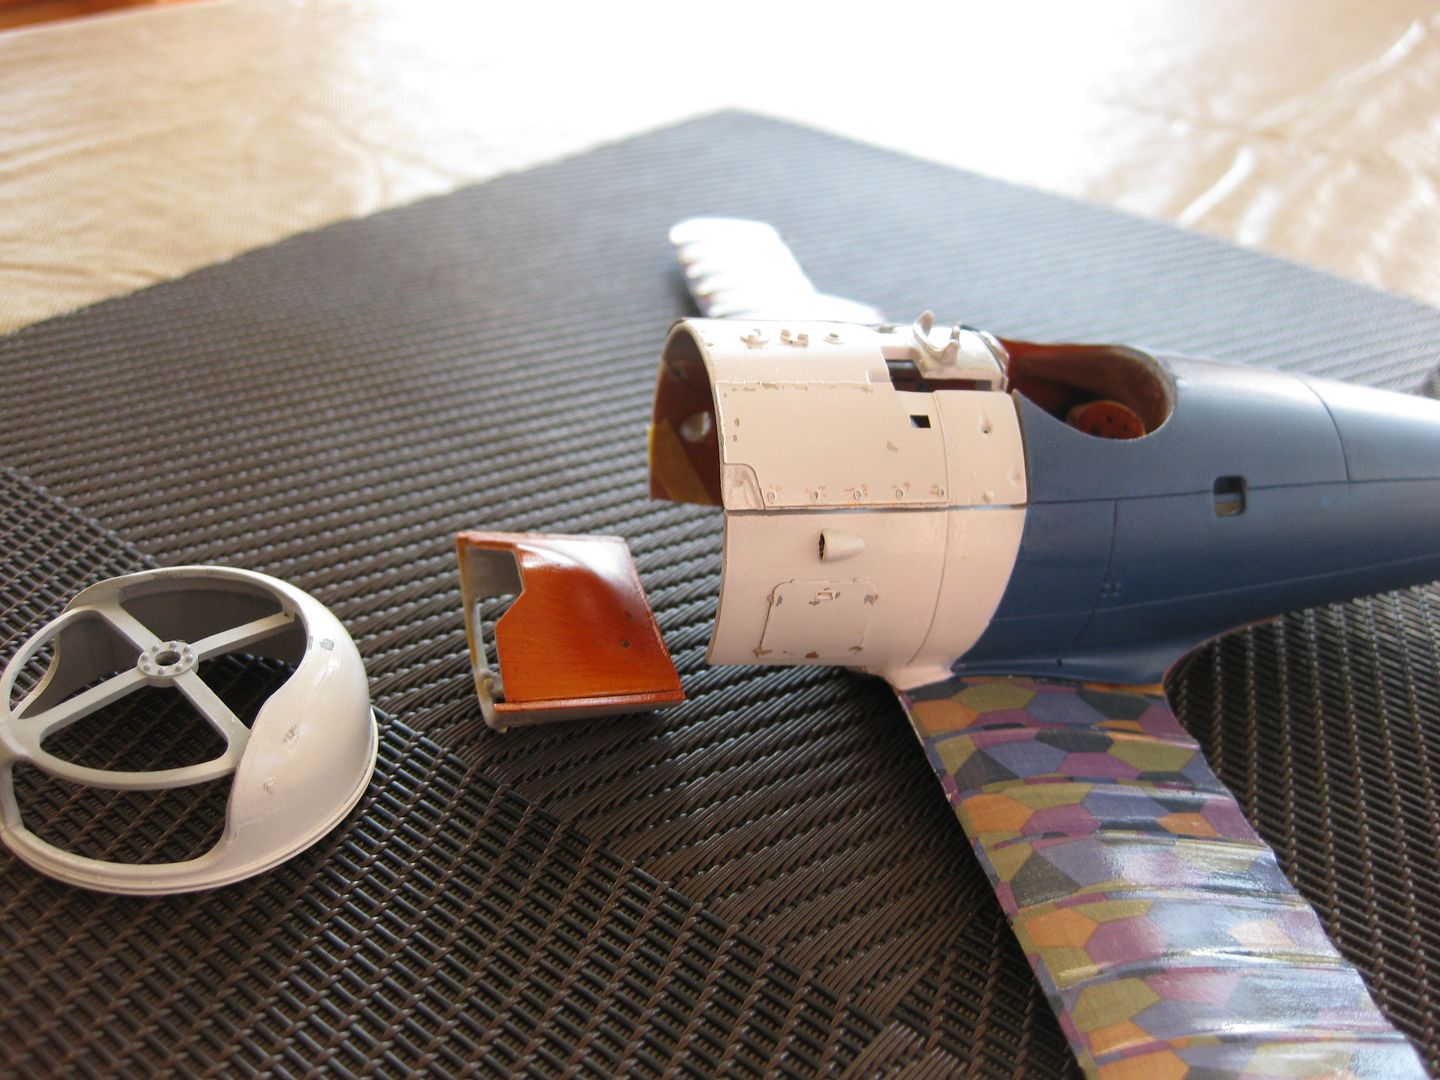
    In between engine building sessions I completed the cockpit basics and closed the fuselage. I still have a bit of paint touchup to complete around the coaming. Before closing I enclosed the three handgrip wells with paper thin evergreen styrene burnished to provide some depth.


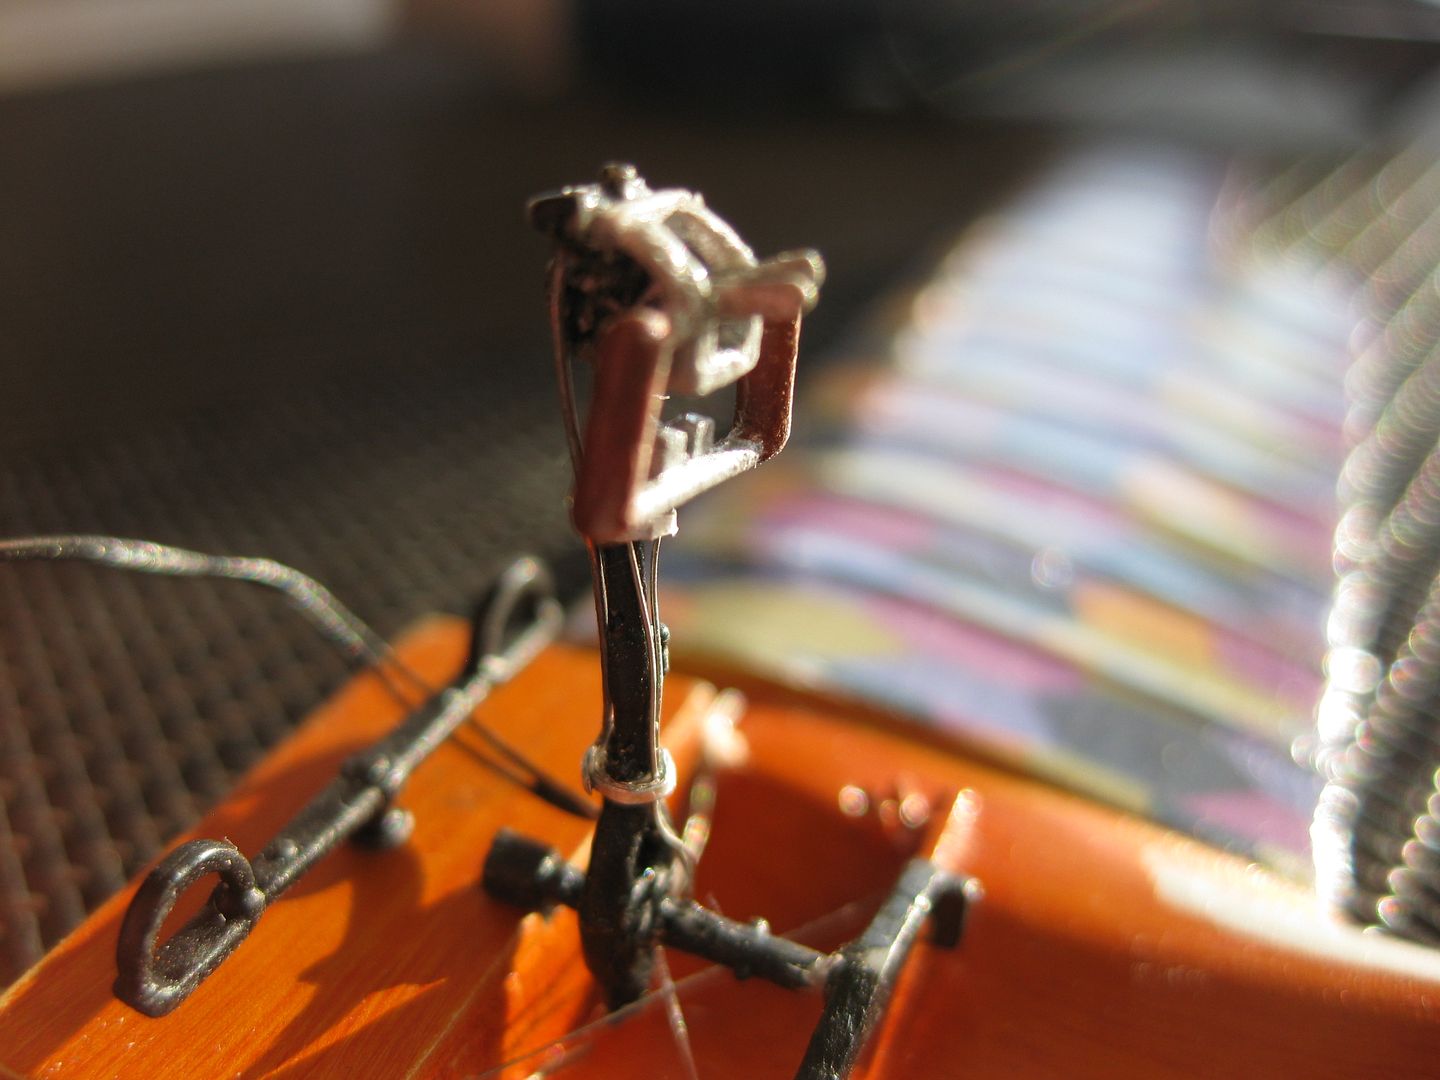
   The control column gun trigger cables, throttles and cables were added, tie downs done with lead shrink seal material from my favorite Scotch bottle. I still have to add the gun synchronisation cables to the upper cowling assembly. The aileron push rods have been added since the photo was taken.



   The fuselage closed reasonably well, the joins were filled and sanded, and the basic colours applied. (Tamiya thinned 50/50 and airbrushed) The blue is my own mix of several Tamiya Blues.


   The upper cowling piece is "posed" for the photo.


   The inadvertent "lens" on the handhold (Future sealant coat) has been trimmed off!
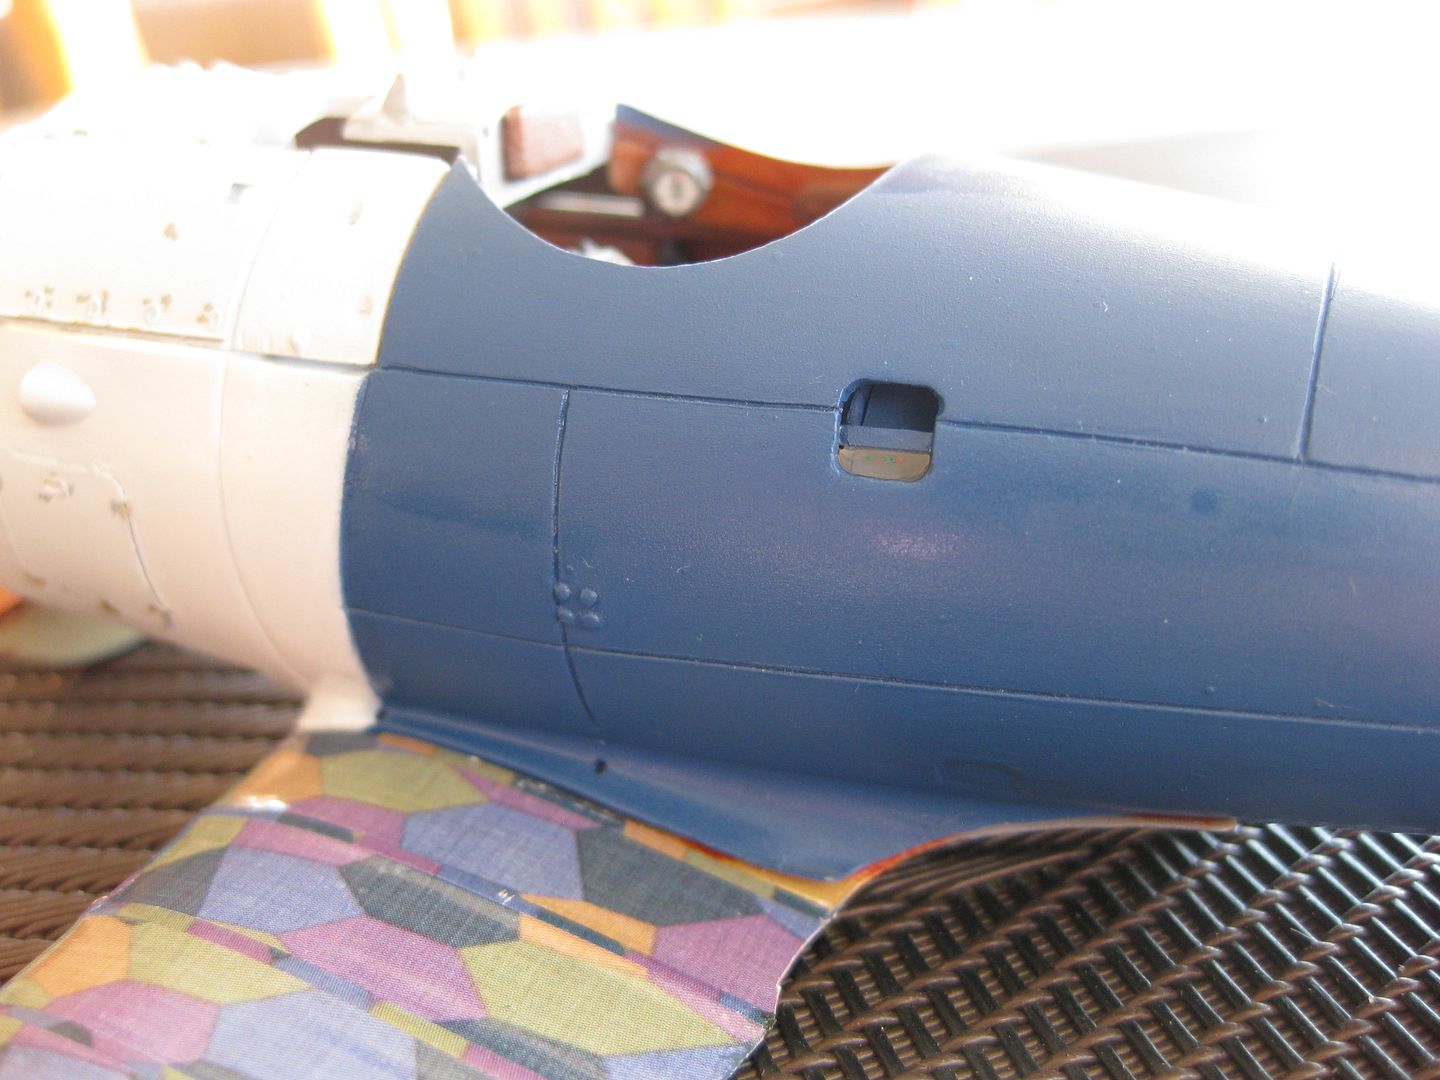


The lower wing is also posed in these photos. The fitting of the lower wing assembly to the fuselage is the greatest challenge to this point, I'll detail that in the next update. Given the fit issues to this point I wouldn't recommend this Kit as a Beginner's project however the subject is impossible to resist. She was probably a joy to fly while the engine stayed together!
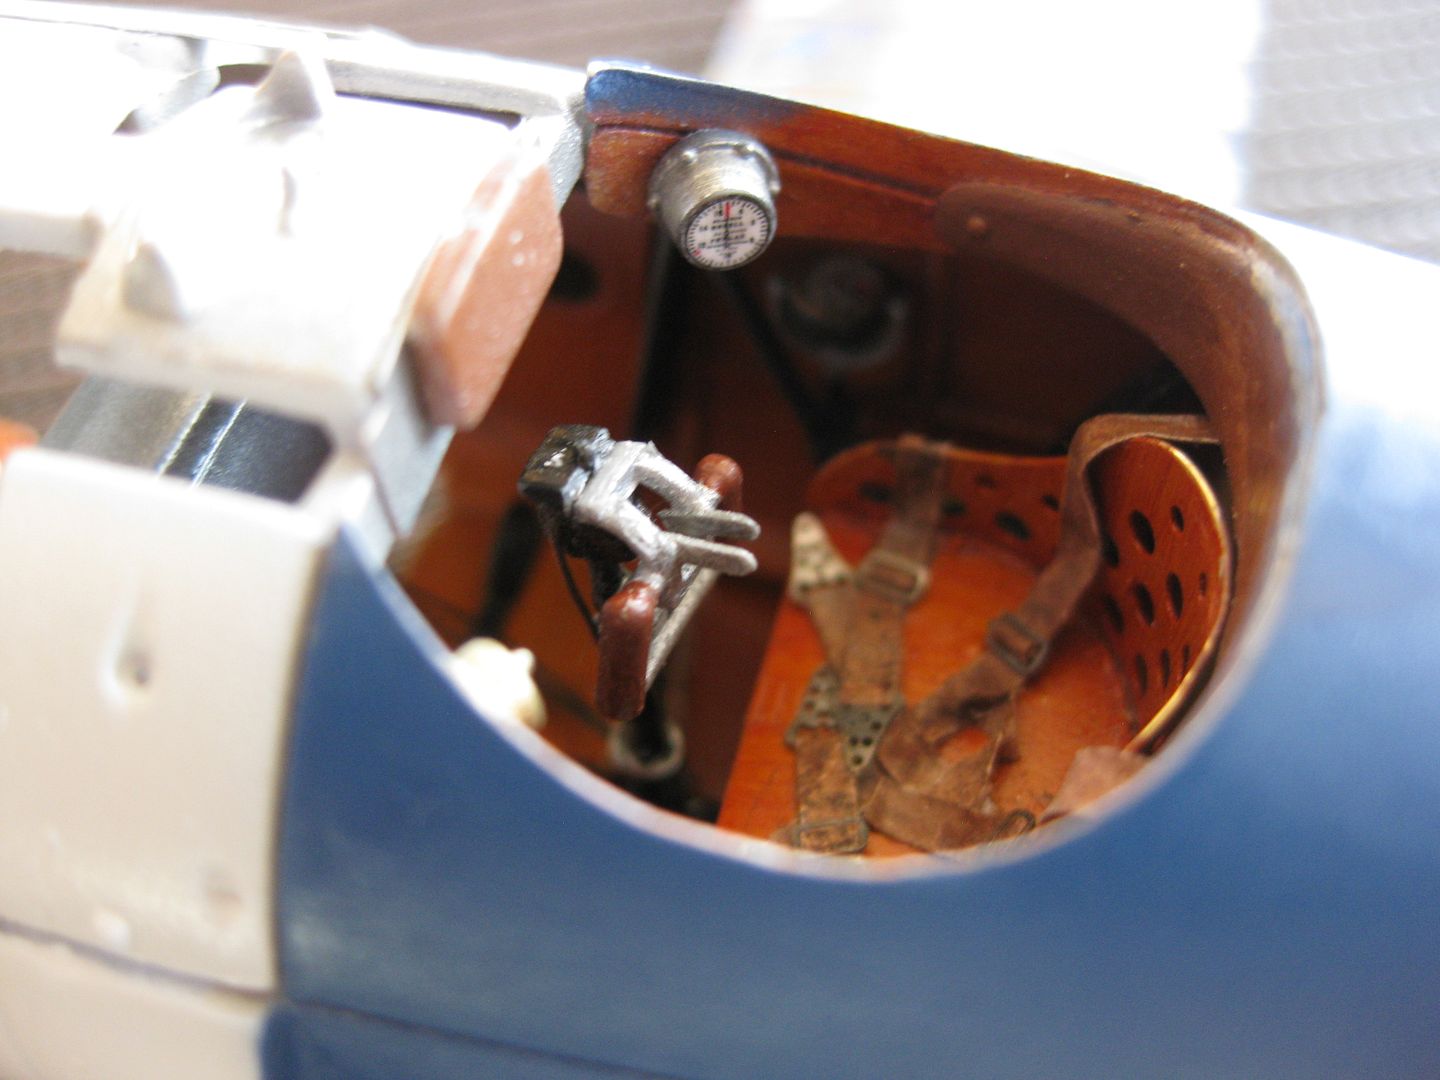


    That's the progress as of today. More to follow sooner rather then later I hope!
Cheers,
Lance


« Last Edit: November 27, 2015, 07:25:20 AM by lcarroll »

Offline Oeli

  • Full Member
  • ***
  • Posts: 203
Re: Roden 1:32 Siemens Schuckert D.III
« Reply #115 on: November 27, 2015, 07:22:10 AM »
Hi,

very nice work, it´s so great!
The engine, the Cockpit. Can´t wait to see the finish.

Kindly regards

Jörg


Normality is a beautiful paved road, but it grow no flowers on her.

Offline lcarroll

  • Administrator
  • Hero Member
  • ******
  • Posts: 8656
Re: Roden 1:32 Siemens Schuckert D.III
« Reply #116 on: November 27, 2015, 07:28:04 AM »
Thank you so much, Jorg. Coming from someone of your skills that means a lot!
Cheers,
Lance

Offline iwik

  • Full Member
  • ***
  • Posts: 164
Re: Roden 1:32 Siemens Schuckert D.III
« Reply #117 on: November 27, 2015, 07:33:05 AM »
Hi!
Hehe! Moving on quite nicely!
Keep it up!
Ciao
Iwik

Offline Pgtaylorart

  • Hero Member
  • *****
  • Posts: 1480
Re: Roden 1:32 Siemens Schuckert D.III
« Reply #118 on: November 27, 2015, 07:34:05 AM »
Beautiful update, Lance! Nice work on the engines. The Aviattic engine is a bit finer than the Roden, but you've done a great job on both! The main difference I see in the two engines is the thickness of the pushrods.

George

Offline Des

  • Administrator
  • Hero Member
  • ******
  • Posts: 9325
    • ww1aircraftmodels.com
Re: Roden 1:32 Siemens Schuckert D.III
« Reply #119 on: November 27, 2015, 07:41:27 AM »
An excellent update Lance. You have done a super job with the cockpit interior and the work you did on the control column is excellent, the method you used to cover the inside of the hand holds is very simple but clever, looking forward to seeing more updates.

Des.
Late Founder of ww1aircraftmodels.com and forum.ww1aircraftmodels.com