Update:


I painted the leather bits using Tamiya Red-Brown (XF-64). The tires were first painted with Tamiya Neutral Gray (XF-53), but I didn't like the color. The picture of 105/15 in the Wingnuts instruction book shows what appears to be darker rubber, so I took a page from Des' book, and colored the tires with graphite pencil shavings. Hat tip to Des. (As an aside, I finally noticed that the pictures show a fellow left hander at work...)
After some deliberation, I added the oil stains along the bottom of the fuselage using a combination of MIG Black & Russian Earth pigments and AK Interactive Fuel Stains. The Fuel Stains paint has a nice greasy look, but is a bit too brown for what I wanted, so I first laid out the basic shape of the stain with the pigments, and then brushed a thinned coat of the AK enamel over them. The side views are representative, but the underside view understates the stains. You can make out the shine where they are, but the flash knocked much of the color out of them. The top view is also a bit washed out looking due to the flash, and both are a bit too green. Need to do a better job with my color balance.
Next, I removed the masking tape from the turned metal areas, and assembled the front end of the aircraft. I was a bit nervous that I'd lose some of the finish with the masking tape, but fortunately had no issues there. I added the Spandau trigger cable using EZ Line and a small piece of nickel tube:

I have also made a small start on the rigging by preparing the landing gear with mount points, and taking care of the small control lines coming out of the underside of the cockpit:

I had drilled a hole through the bottom end of the control stick prior to assembly. After gluing the ends of two pieces of fine mono into the fuselage opening (to represent the elevator control lines running aft), I looped them through the hole and closed them off using small sleeves of polyimide tubing. The first one went without a hitch, but the second broke through the control stick leaving me in a bit of trouble. With Bertl's original solution in mind, I took a piece of wire and ran it through the remnants of the original drilled hole making a small cross bar. I was then able to loop the control lines around the protruding wire, glue them, and trim the wire. The wing warping control lines from the cockpit now run to 1/48 Gaspatch turnbuckles (held there using the polyimide tubing.) The turnbuckles will eventually run to the multi-armed device that connects to the various underside wing attachment points (A45).
The undercarriage awaits assembly, as does the tail skid, then rigging will begin in earnest. I am still undecided if I want to try to do it with EZ Line, mono, or a combination of both. I feel reasonably certain I want to use mono for at least the upper wing support, but not sure about the rest.
I did run into a bit of trouble that has me a bit down. At some point over the weekend, I noticed that the seam along the upper fuselage join mysteriously re-appeared. It started out as a small line, but has now extended from the fuel tank cap into the Iron Cross:
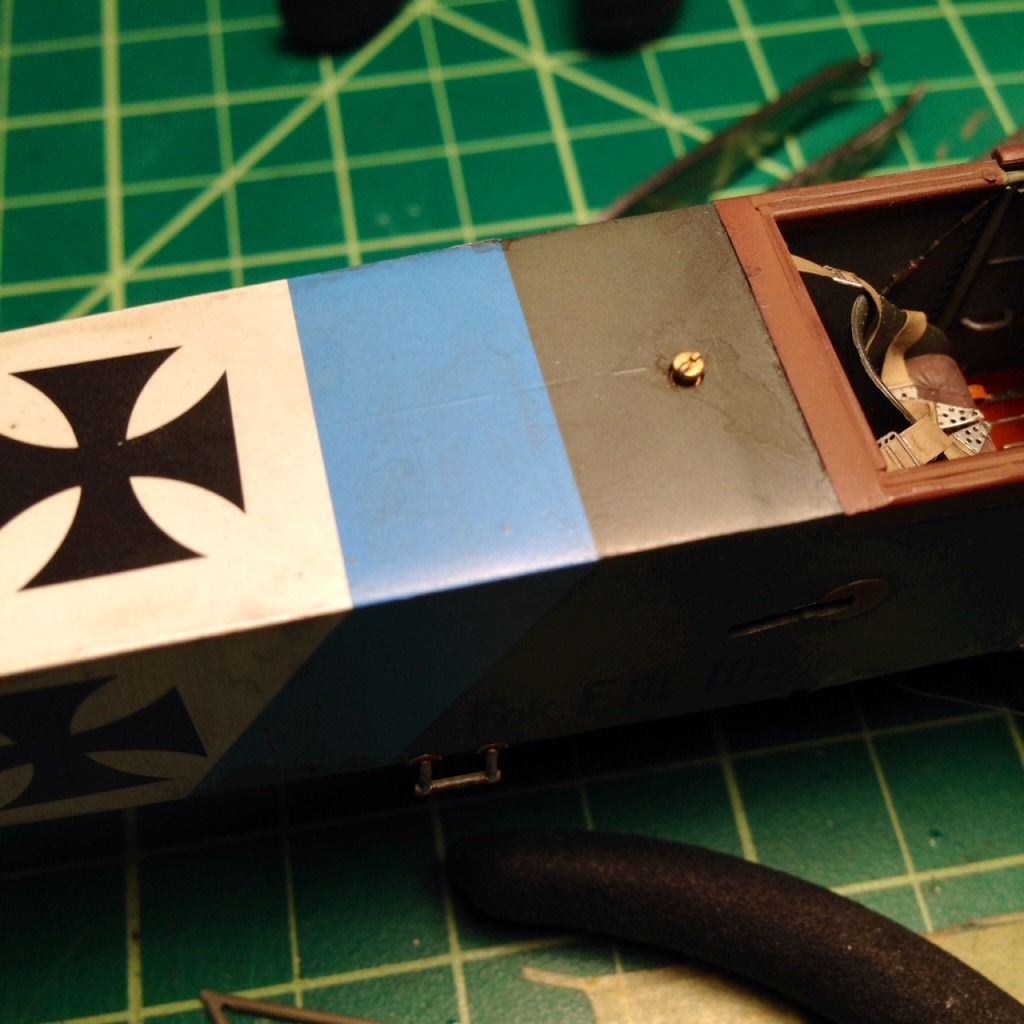
After all that filling and sanding, to have the seam re-appear at this point in the build knocked a bit of the wind out of my sails. The only explanation that I have is that I noticed it after I had been dry fitting the wings in the fuselage. It is a very tight fight, and perhaps in my pulling and pushing to get them in, I upset the join somehow. Either way, it is a bummer.

That's all for now. Comments, questions and advice are all welcome.
Thanks for checking in and reading all this,
Chris
p.s. The Alclad Matte coat, which I had thought had dried without issue, is in fact up to its old tricks. I really need to find a substitute. Another small

