Thanks for the support everyone! You keep me going when it seems challenging.
For the combing , have you tried using the covering from striped wire ? Works well in 48 scale .
Thanks for the tip Terri! I will give that a try.
There has been progress this week, although it doesn't necessarily show in outward appearance. The wood toned parts are now complete, although I still have to drill and add the rigging points and eyelets to the undercarriage. Much time this week was spent on drilling and attaching the rigging eyelets in the fuselage and wings, a somewhat laborious process that doesn't much change the appearance of the model.
Here is the undercarriage with the fittings painted:
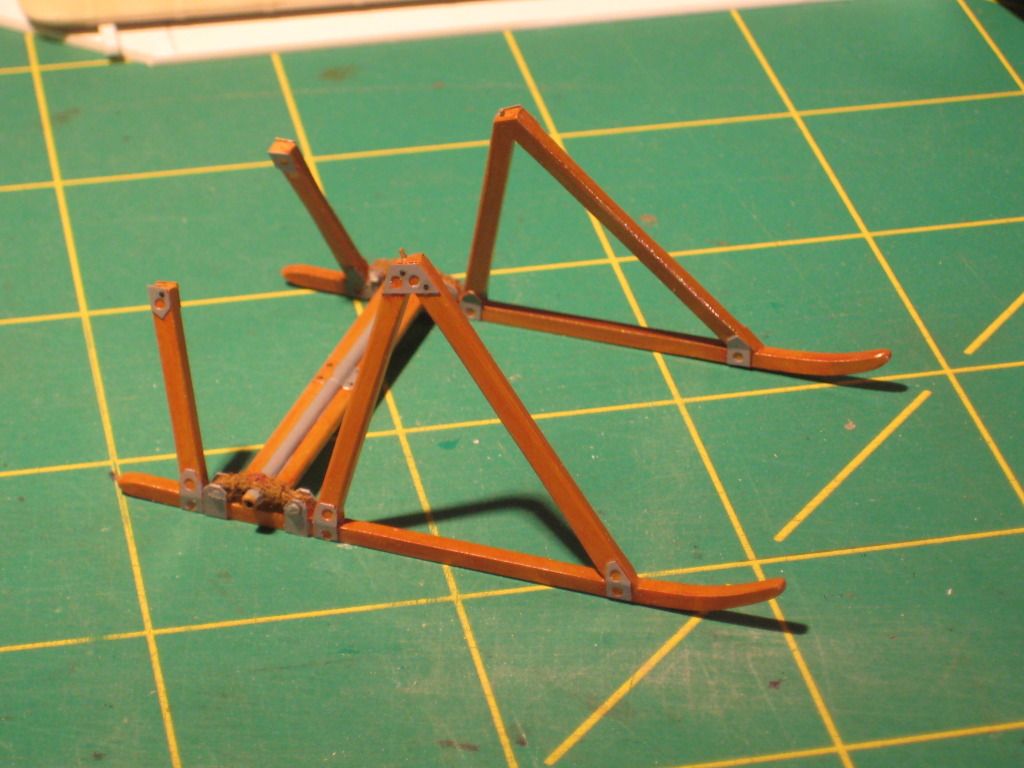
The struts are a bit overscale in thickness, but I needed the extra size for strength and rigidity, and I think it looks the part anyway. Here is a closeup of the axle/bungee area:
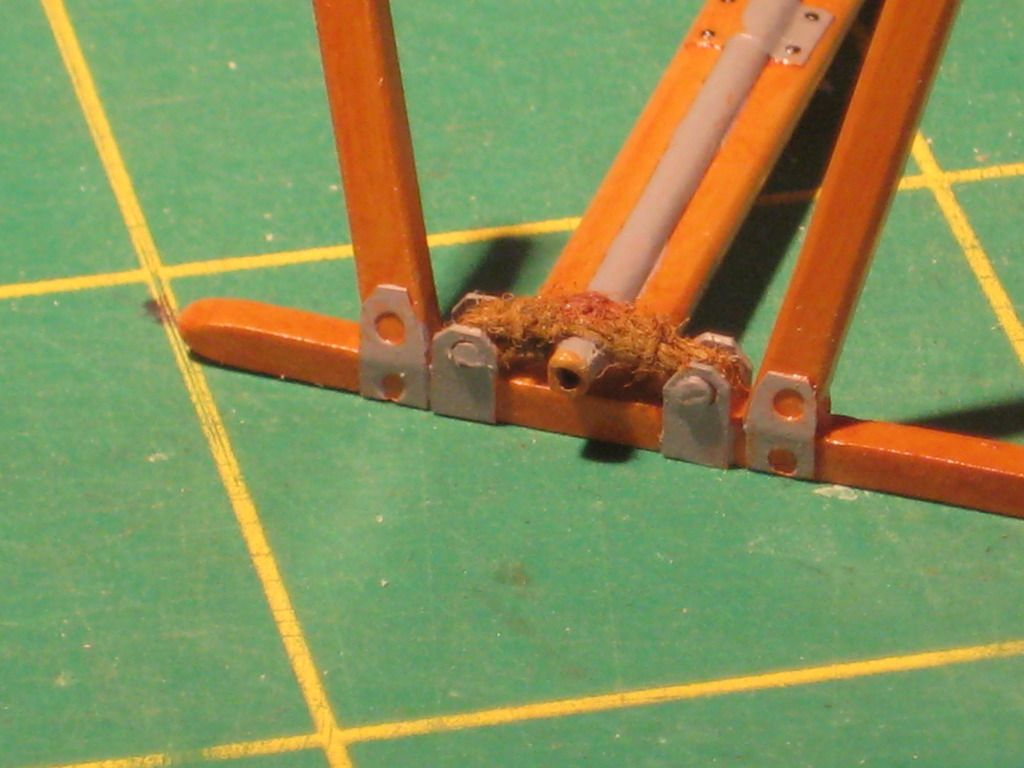
The fittings holding the bungees in place are plastic strip and brass rod. I made the bungees by wrapping thread around two finishing nails appropriately spaced on a scrap piece of basswood, tied up the bungee bundles as shown in period detail drawngs of the axle area, then threaded the brass rod through each end of the bungee bundle and the drilled out fittings.
I always have a difficult time with getting the interplane struts the correct length, since often my models bear only a passing resemblance to the plans!

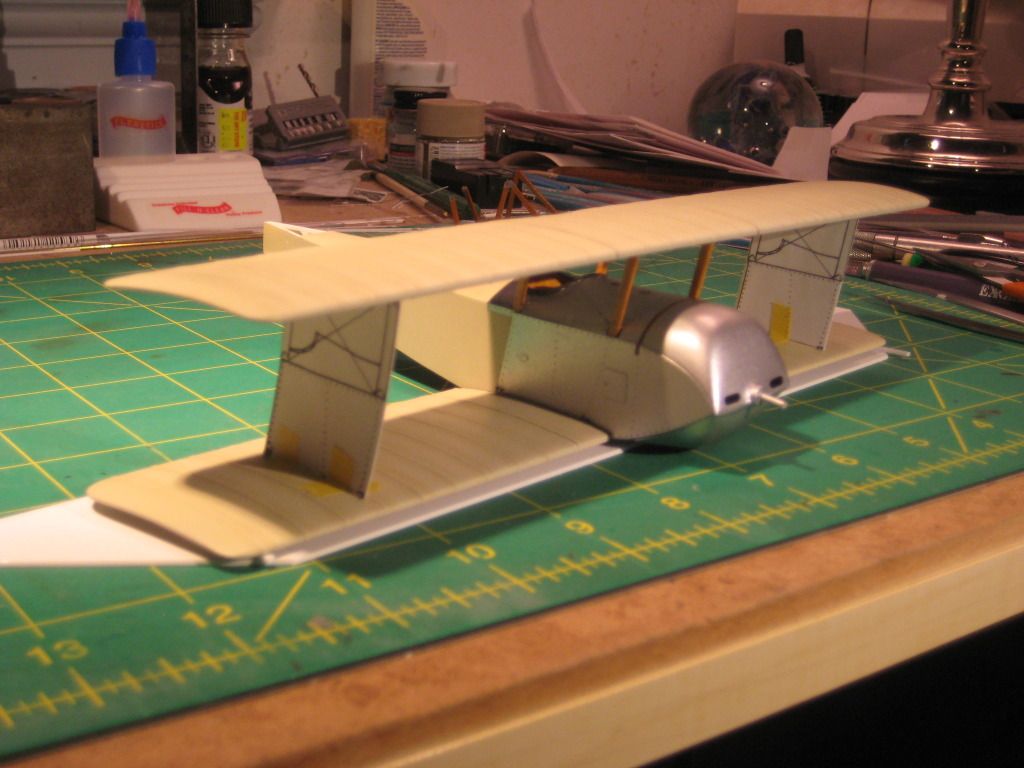
Actually, it's not that bad, but minor dimensional variance does tend to creep in at various points, and getting interplane strut length to match up with the cabanes is always a bit of a struggle for me. This time I was smart and borrowed a trick I saw someone use here: I made a test template for the interplane struts by gluing extra plan copies of the side profile showing the interplane struts to index card stock and cutting out the strut area. This template was then taped to the bottom wing at the correct location and then the top wing was fitted on to the cabane attachment points (brass pins in the cabanes). It looks like this:
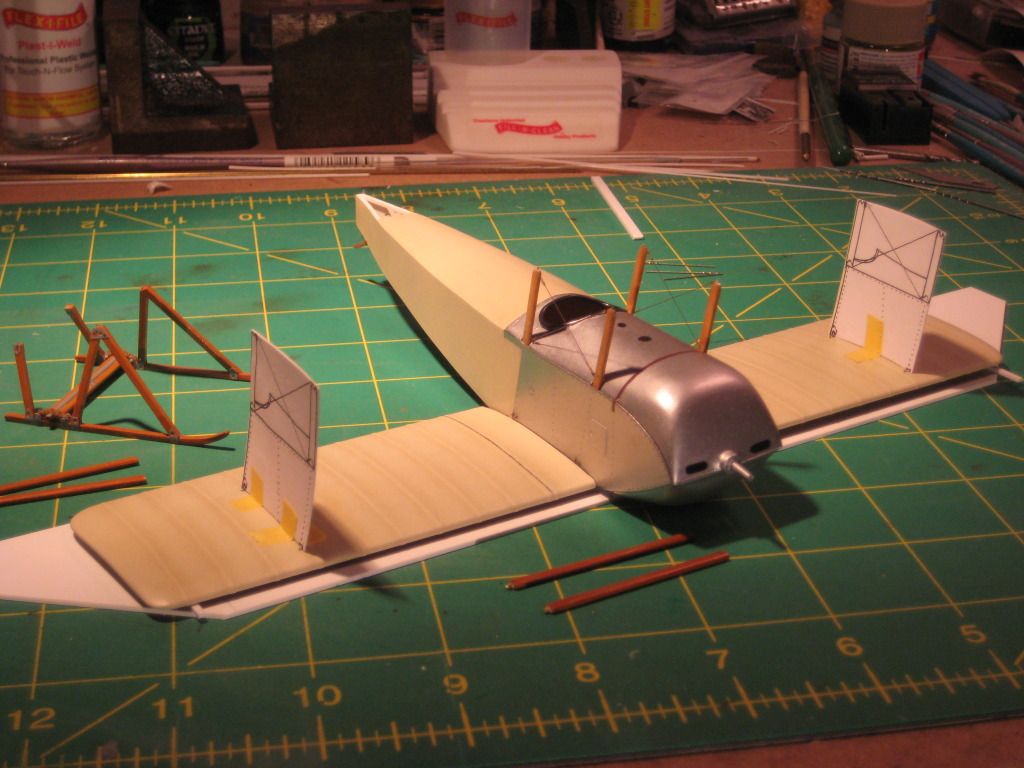
Based on this fitting, I determined that the rear strut on one side was too high, and I trimmed the tremplate to properly match the undersurface curve of the top wing. Once I got everthing to align well, the templates then served as a measure to trim the struts to proper length. At least that's the theory. We'll see if it works as soon as I get the rigging installed in areas where it will be easier to do before the top wing is mounted, by tomorrow I hope.

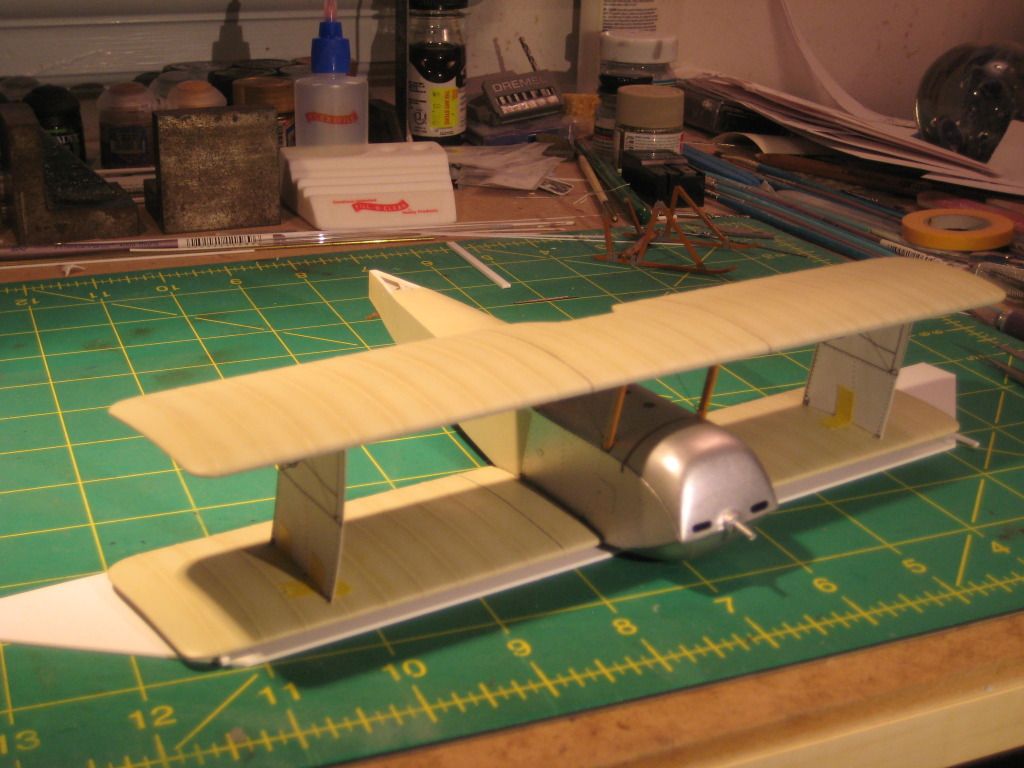
Getting close now!

Maybe I'll actually get this done in time to finish the D.VII Group Build!
Cheers,
Bob

