Hi folks! Thanks for the kind comments. This is a mini-update, primarily to show how resin rivet decals can be easily used to supply rivets where needed. Here is the first forward fuselage side frame with the rivets applied, along with the small access hatch cover I made from .005 sheet styrene:
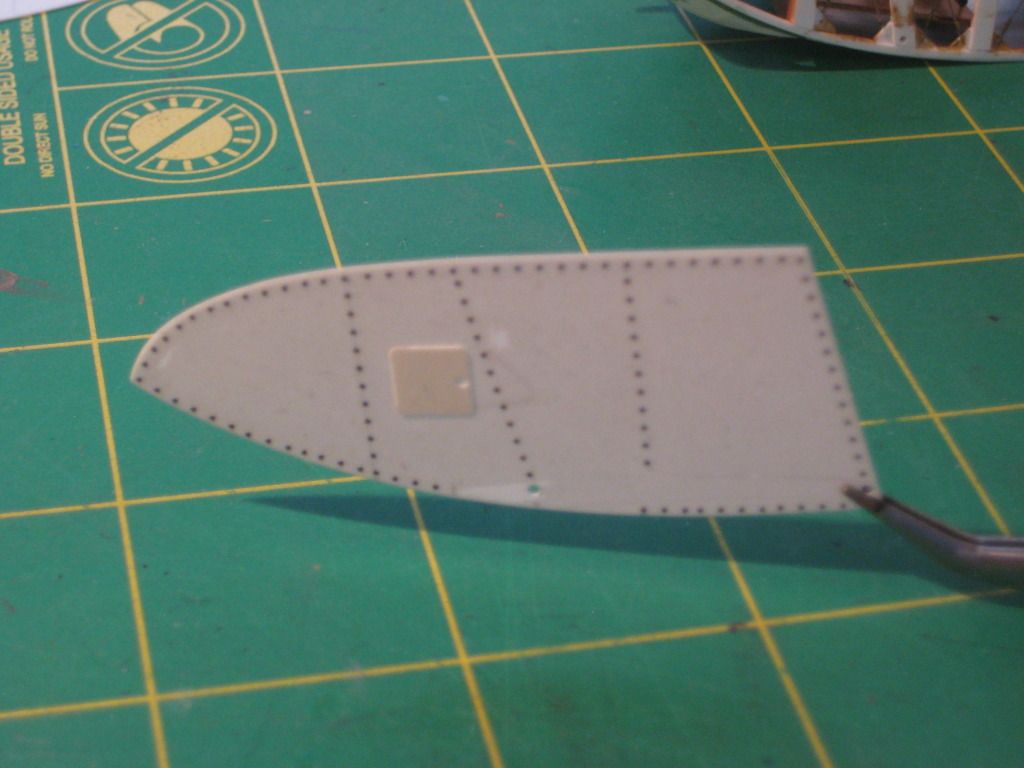
Sorry for the fuzzy photo, but you get the idea. After adding the access hatches I primed the sides with Vallejo gray primer then glossed them with Future for the rivet decals application. I then cut a strip of rivets from the Archer sheet and applied them where indicated in plans and photos. The long straight sections can be carefully applied in one decal strip. Going around the curved front part required groups of two or three rivets at a time, a bit tedious but not too bad. I like the effect, and it's quite easy.
Ian, I considered used real metal for the panels, but opted for sheet styrene because I'm comfortable woring it, it will glue nicely to the fuselage frame, and I know the rivet decals will adhere to it. In addition, I have to paint the vac cowlings a metallic paint anyway. Nice thought though. Also, I will be gluing the plastic wings to these sides, so plastic to plastic might work better. Speaking of which, I forgot to locate and mask off the wing profile on the sides before painting, so I have to scrape off the paint there so the glue will work when the wings are attached (the small holes in the panel are for the wing root locating brass pins, but they are just for positioning, not attachment strength).
That's all for now. Just wanted to pass on the rivet decal option. I'll complete the other side panel and then think about painting the fuselage.

The wings are next, waiting in the, er, . . . wings.

Cheers,
Bob

