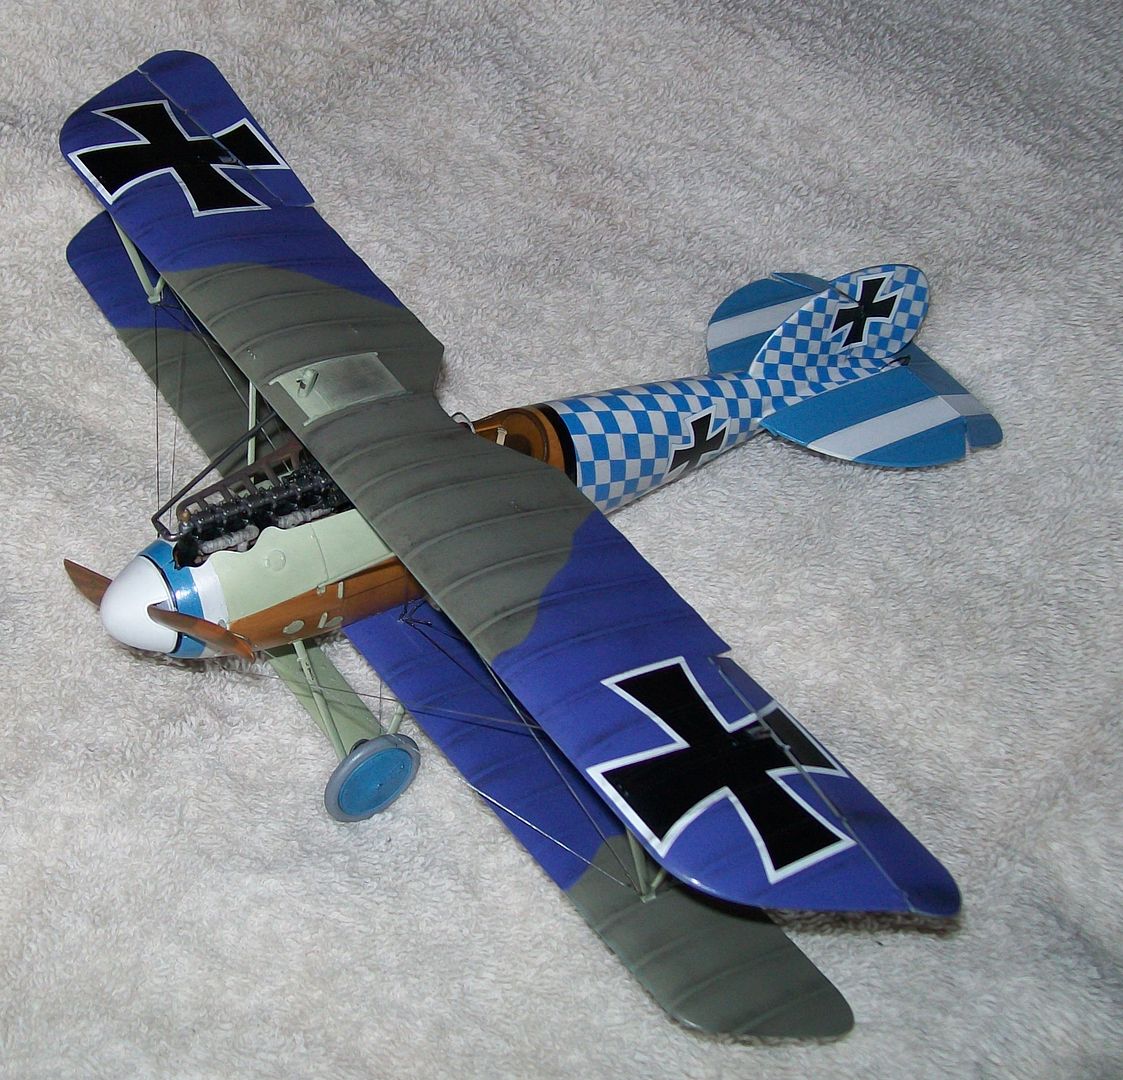
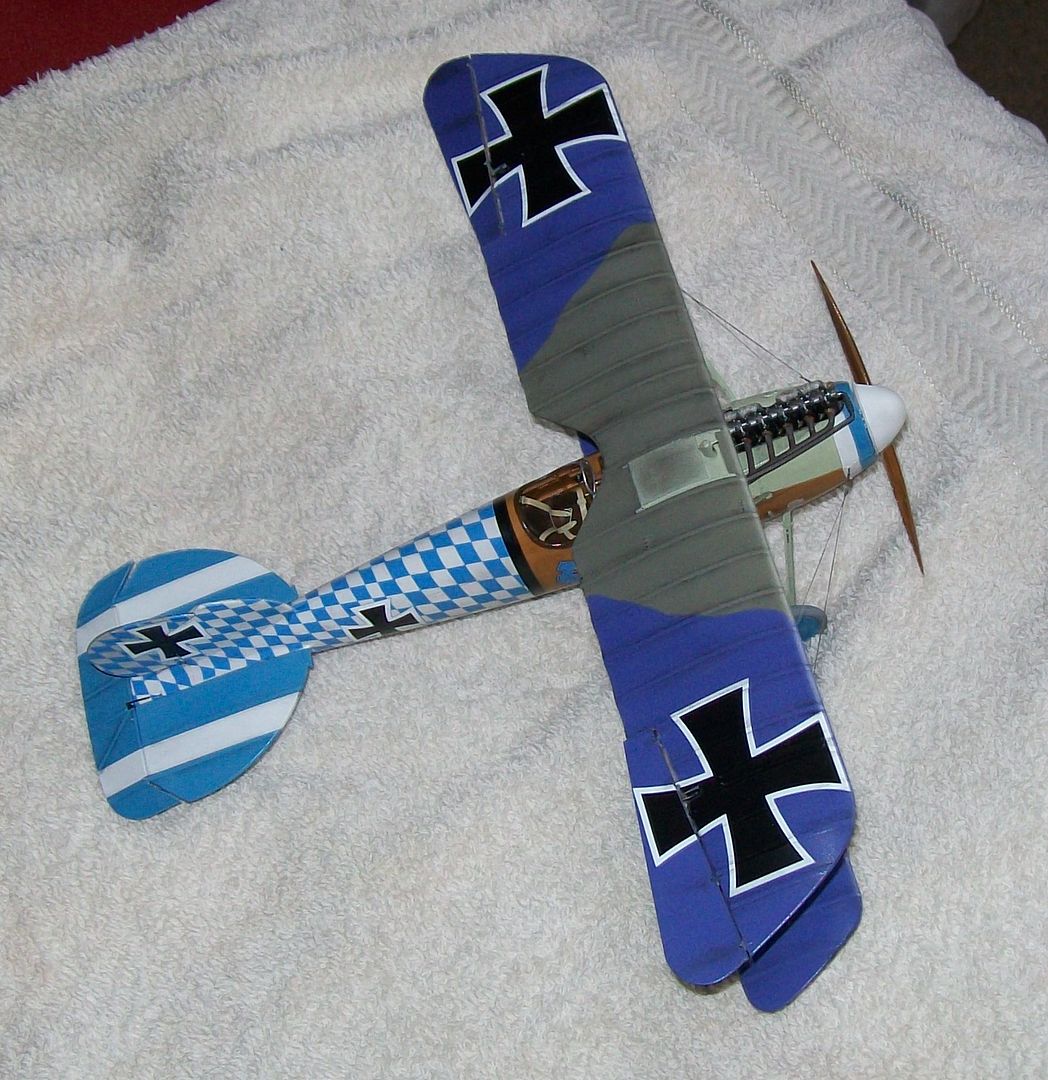
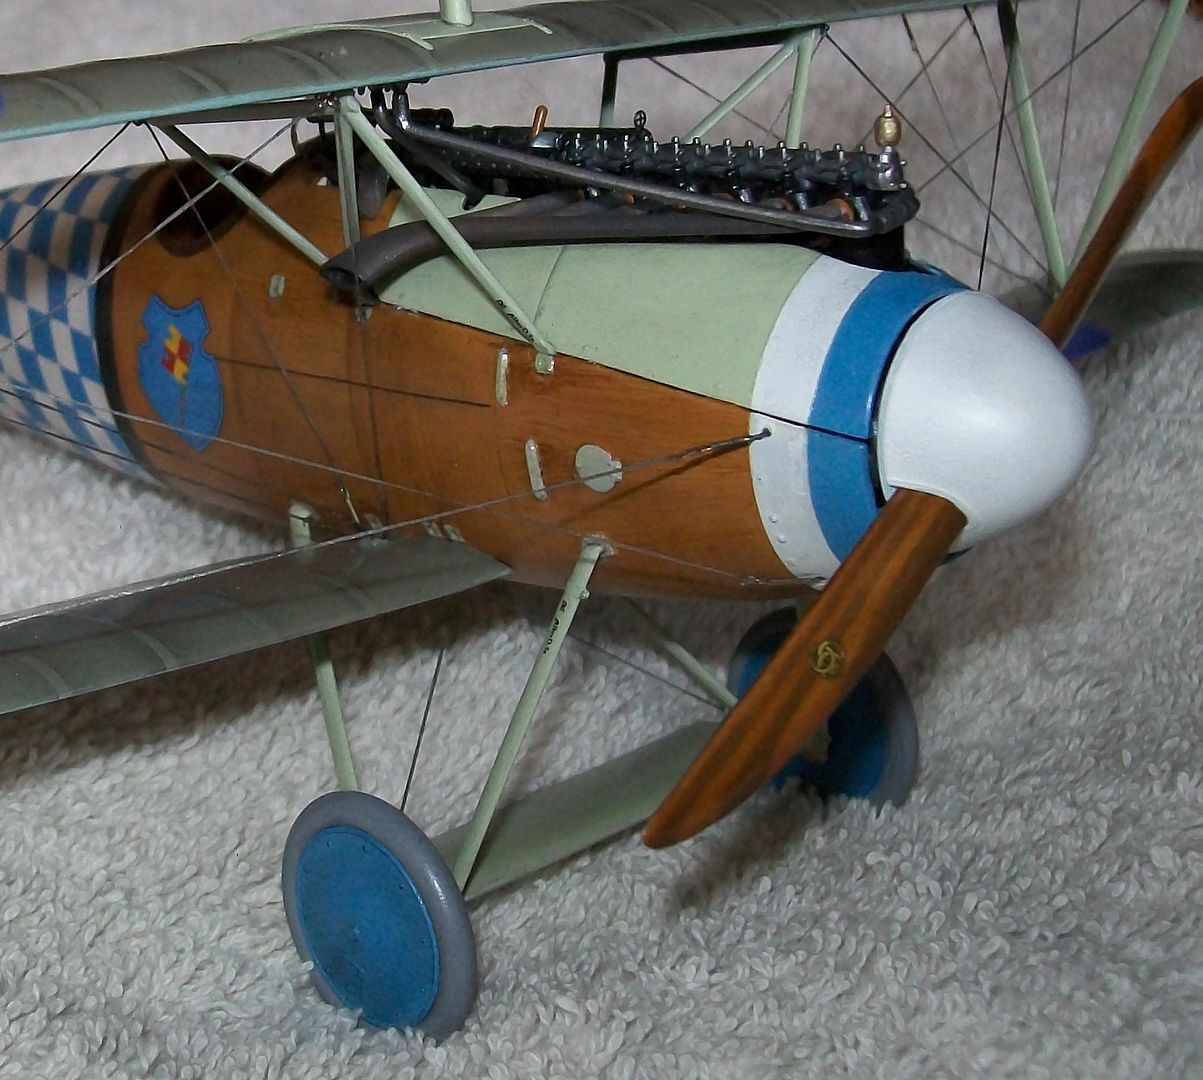
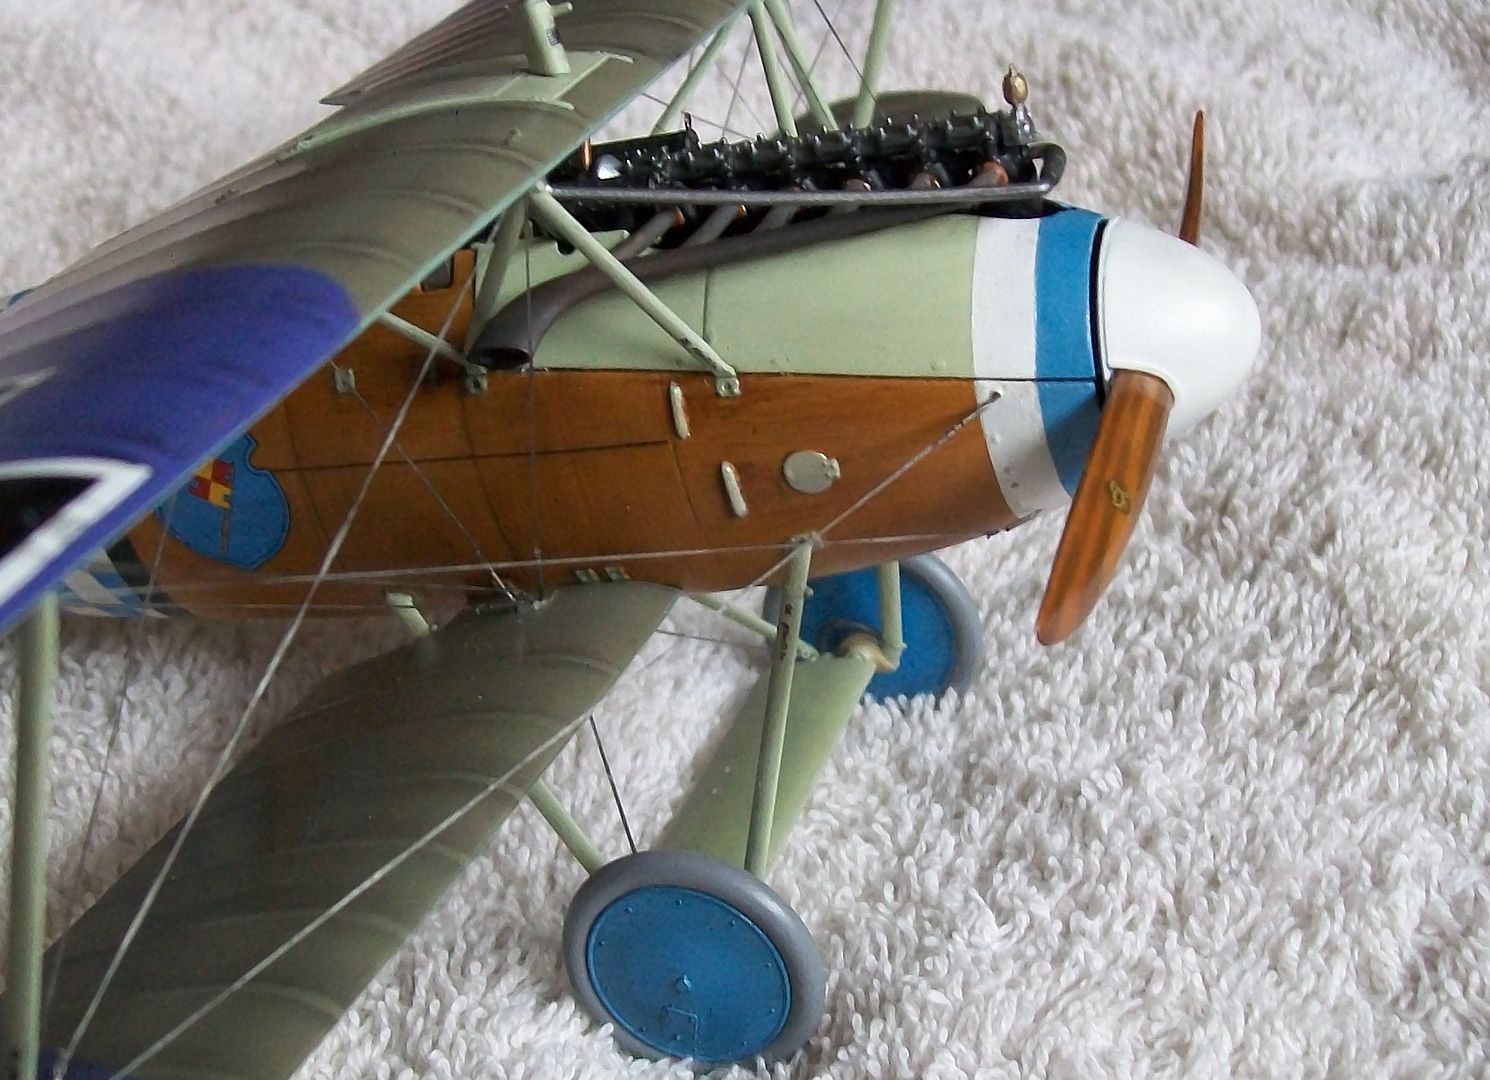
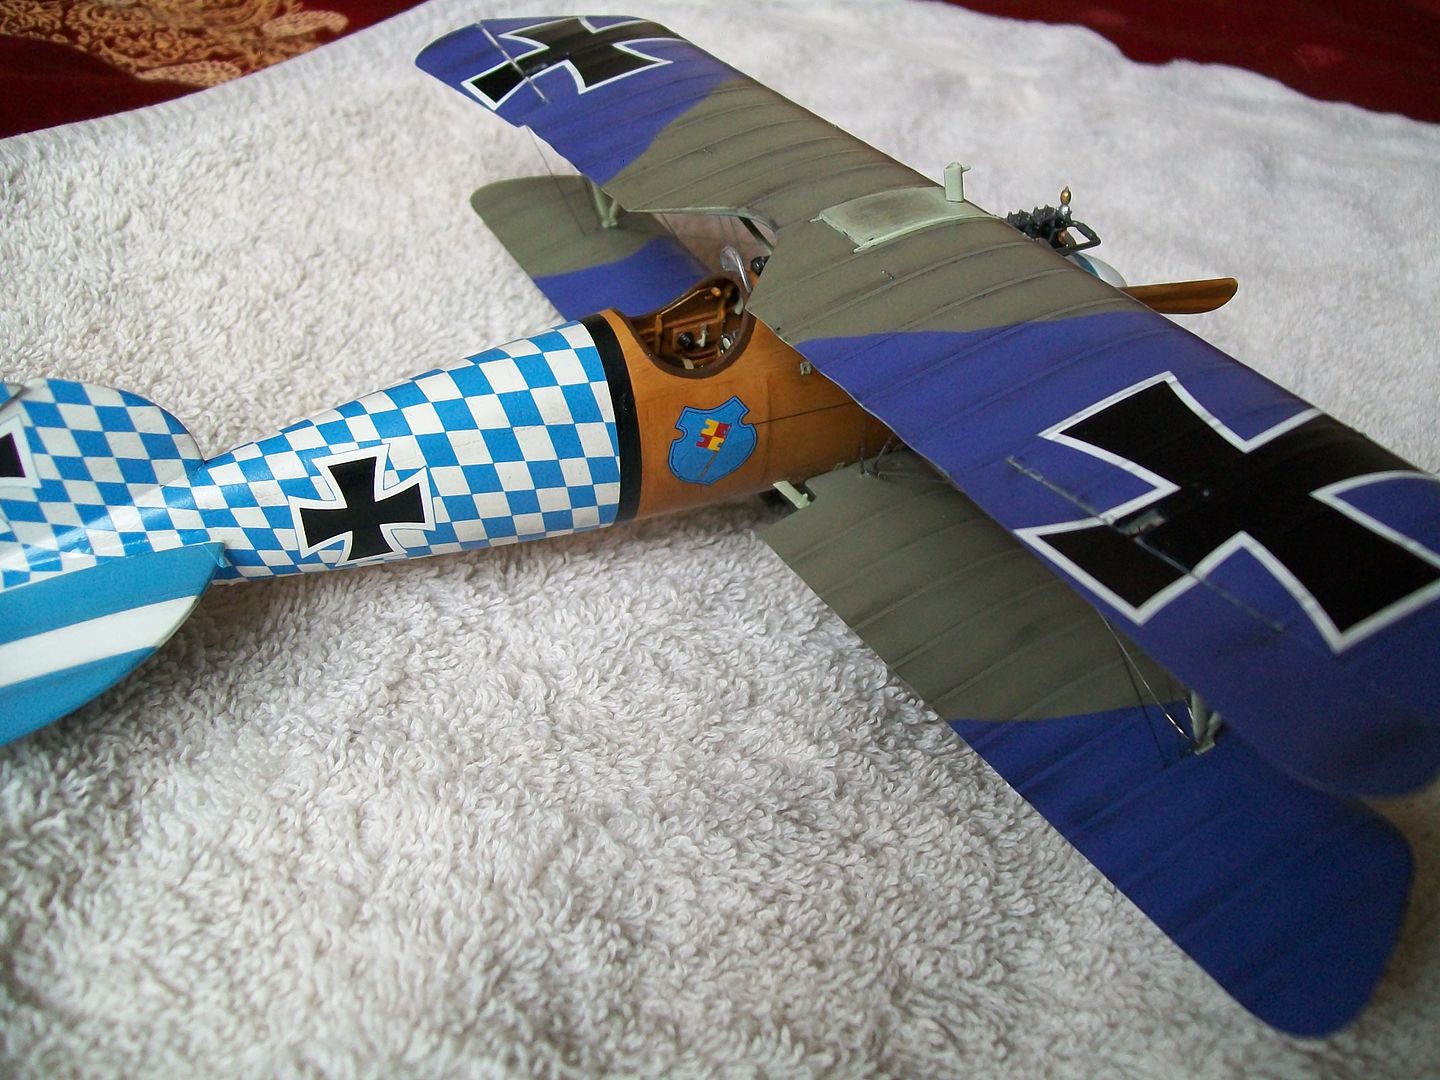
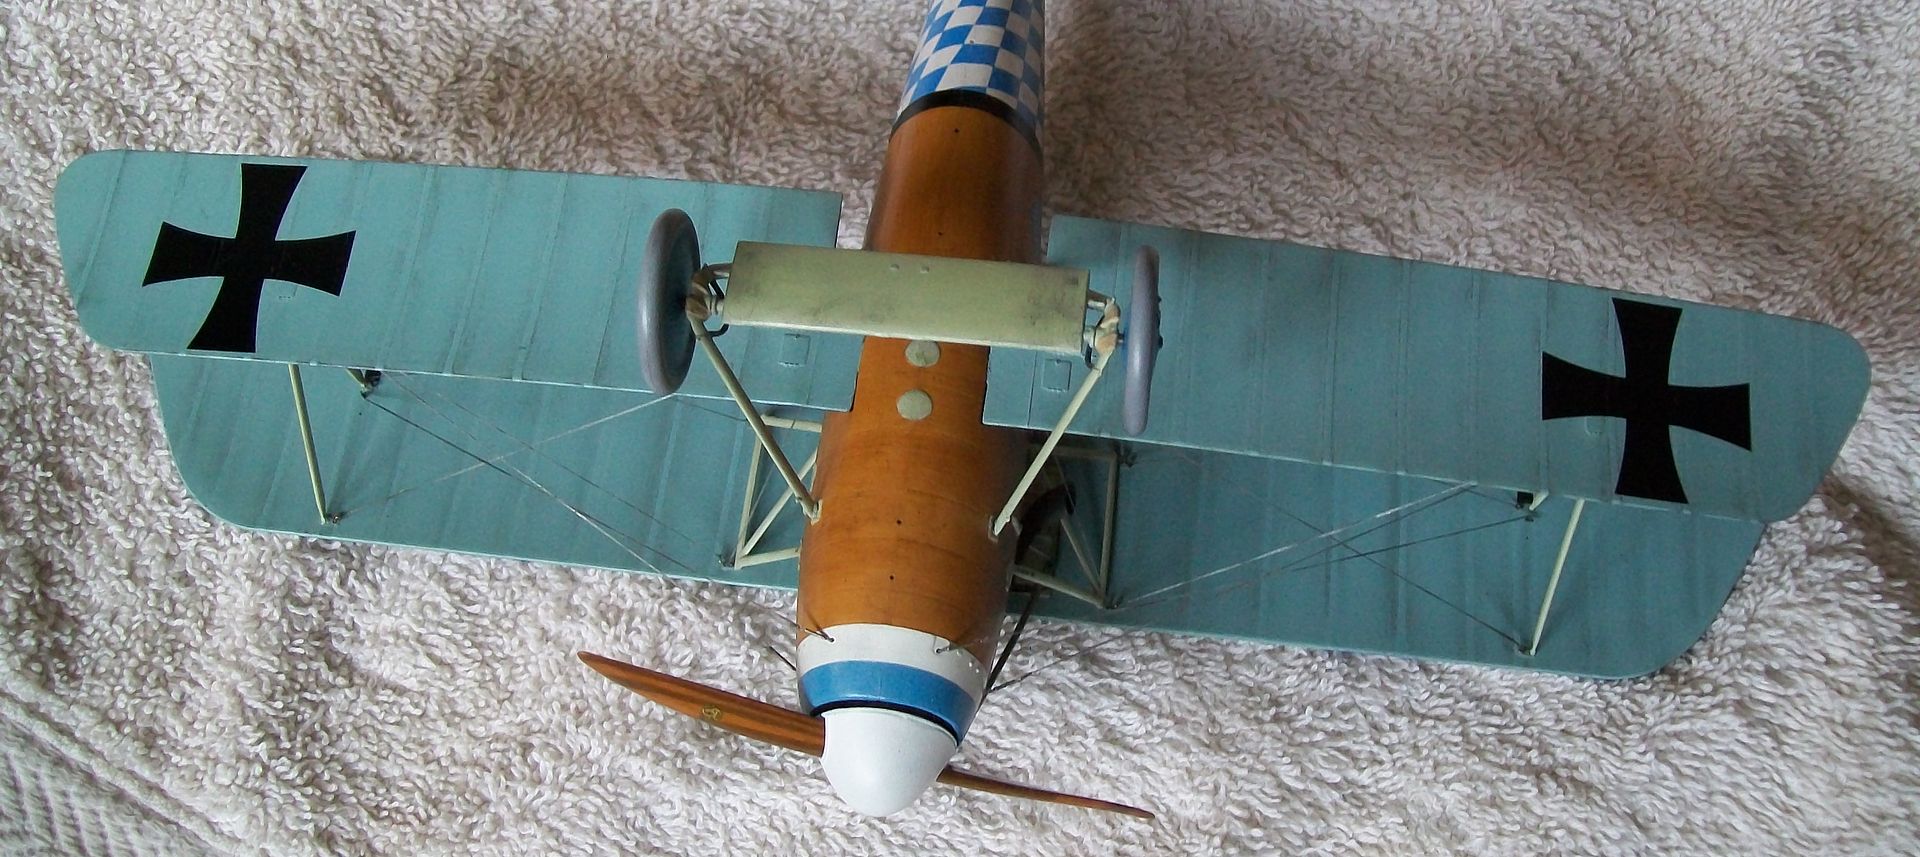
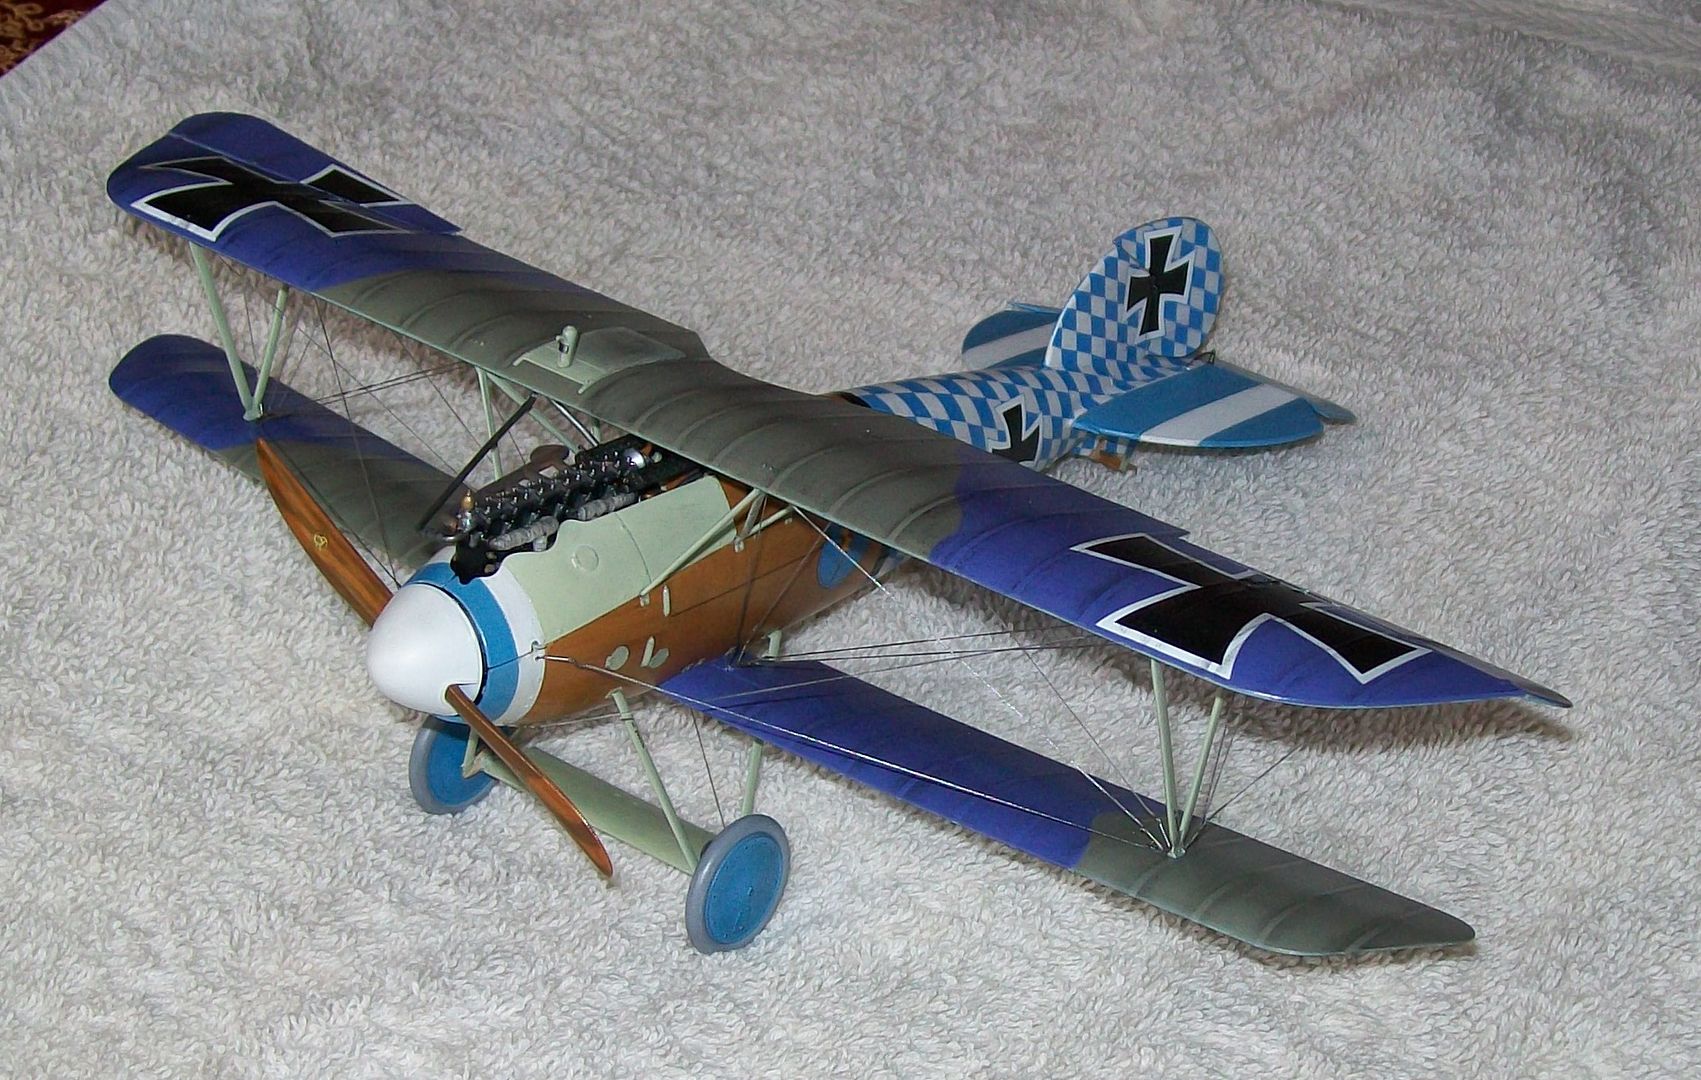
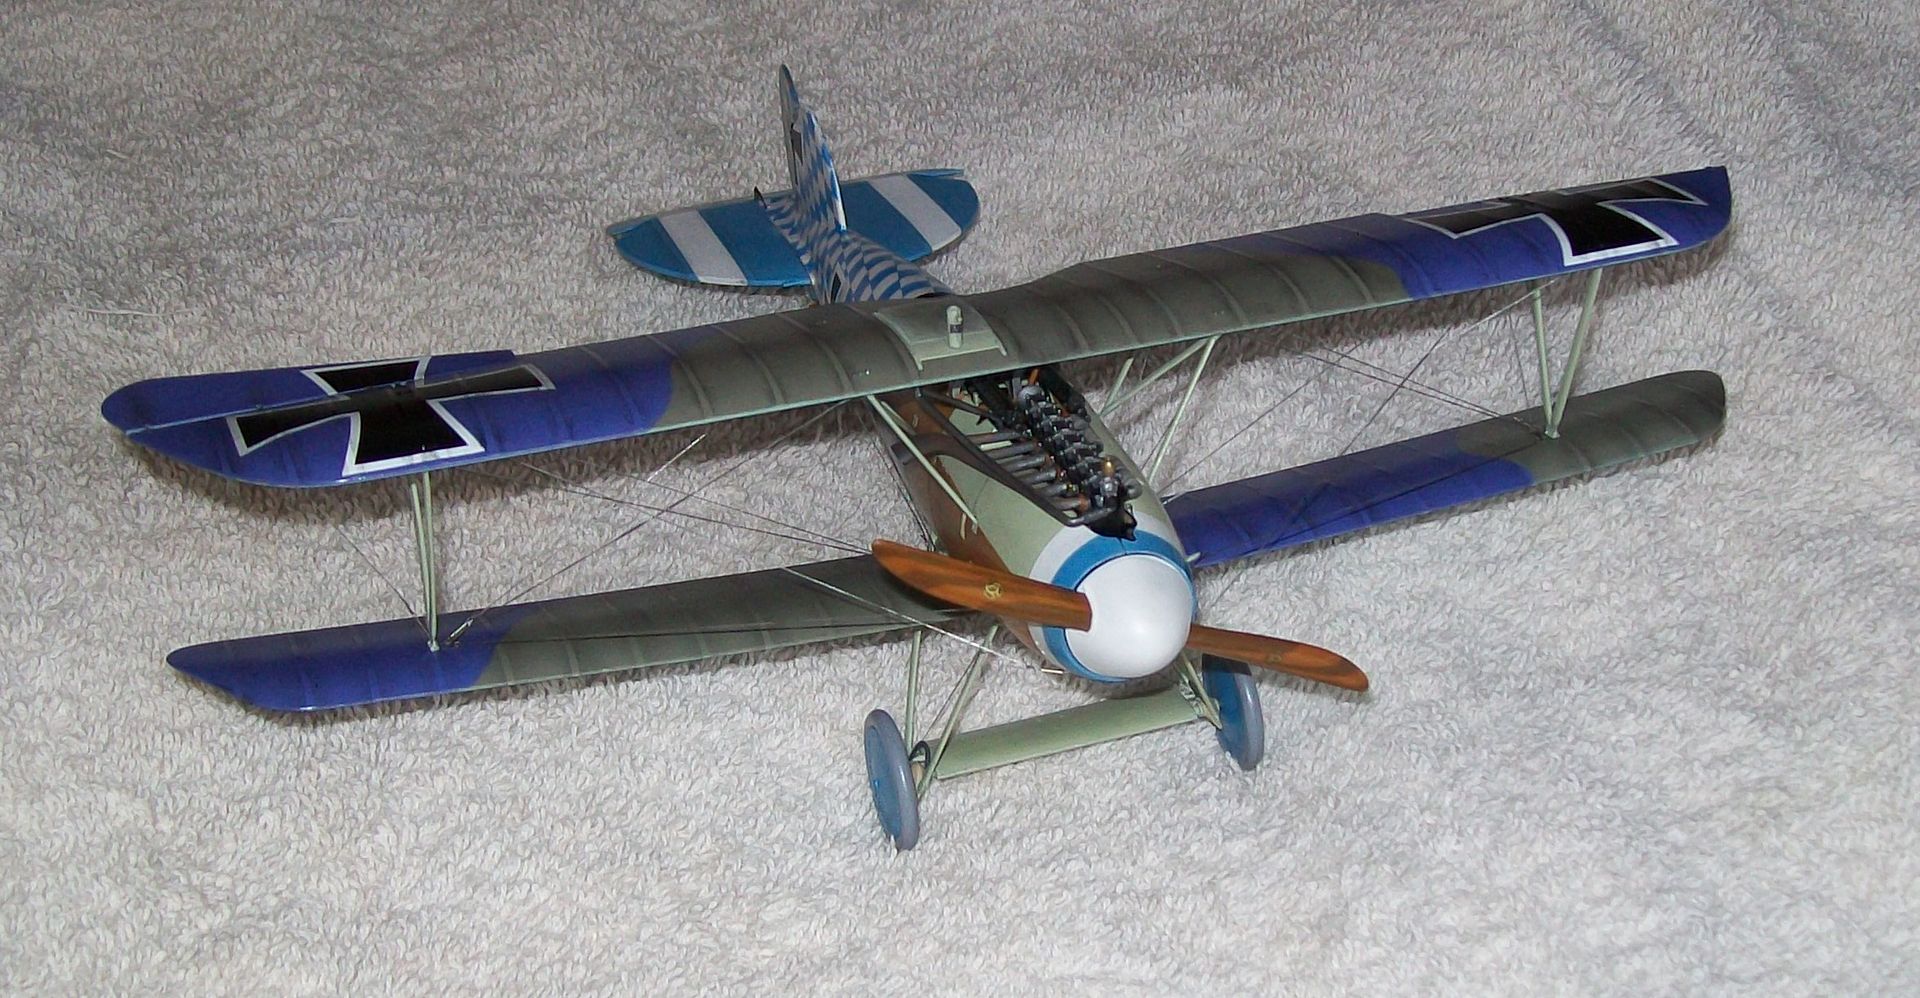
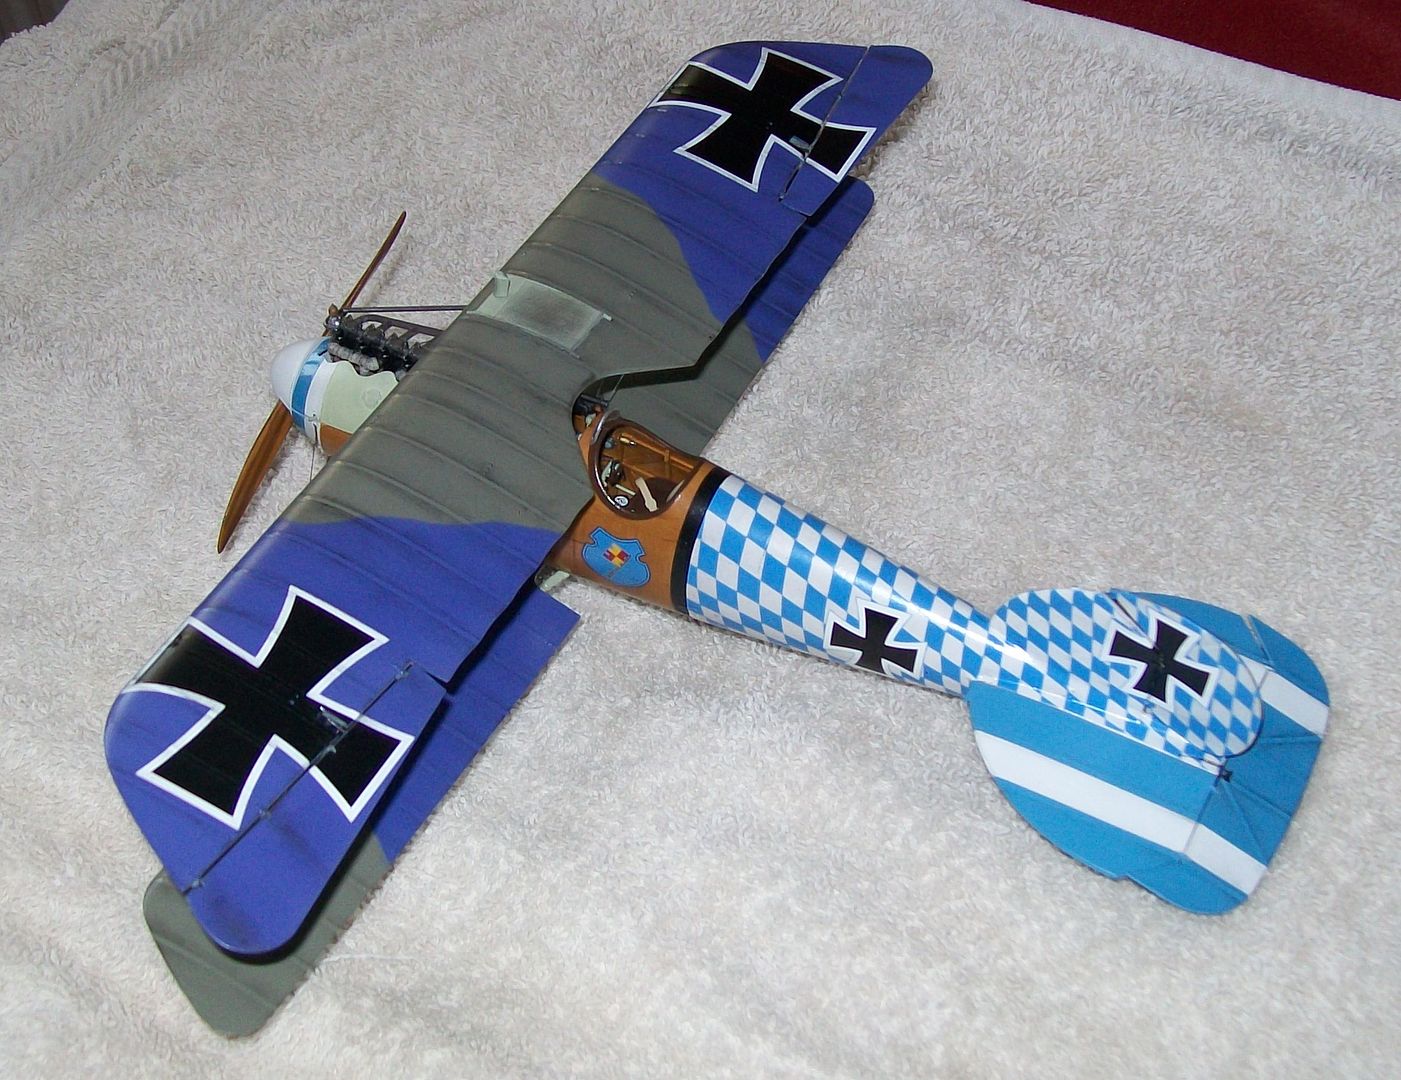
Here is the completed build of the WNW Albatros DVa with the Bavarian decals option, Jasta 76b Karl Hopf.
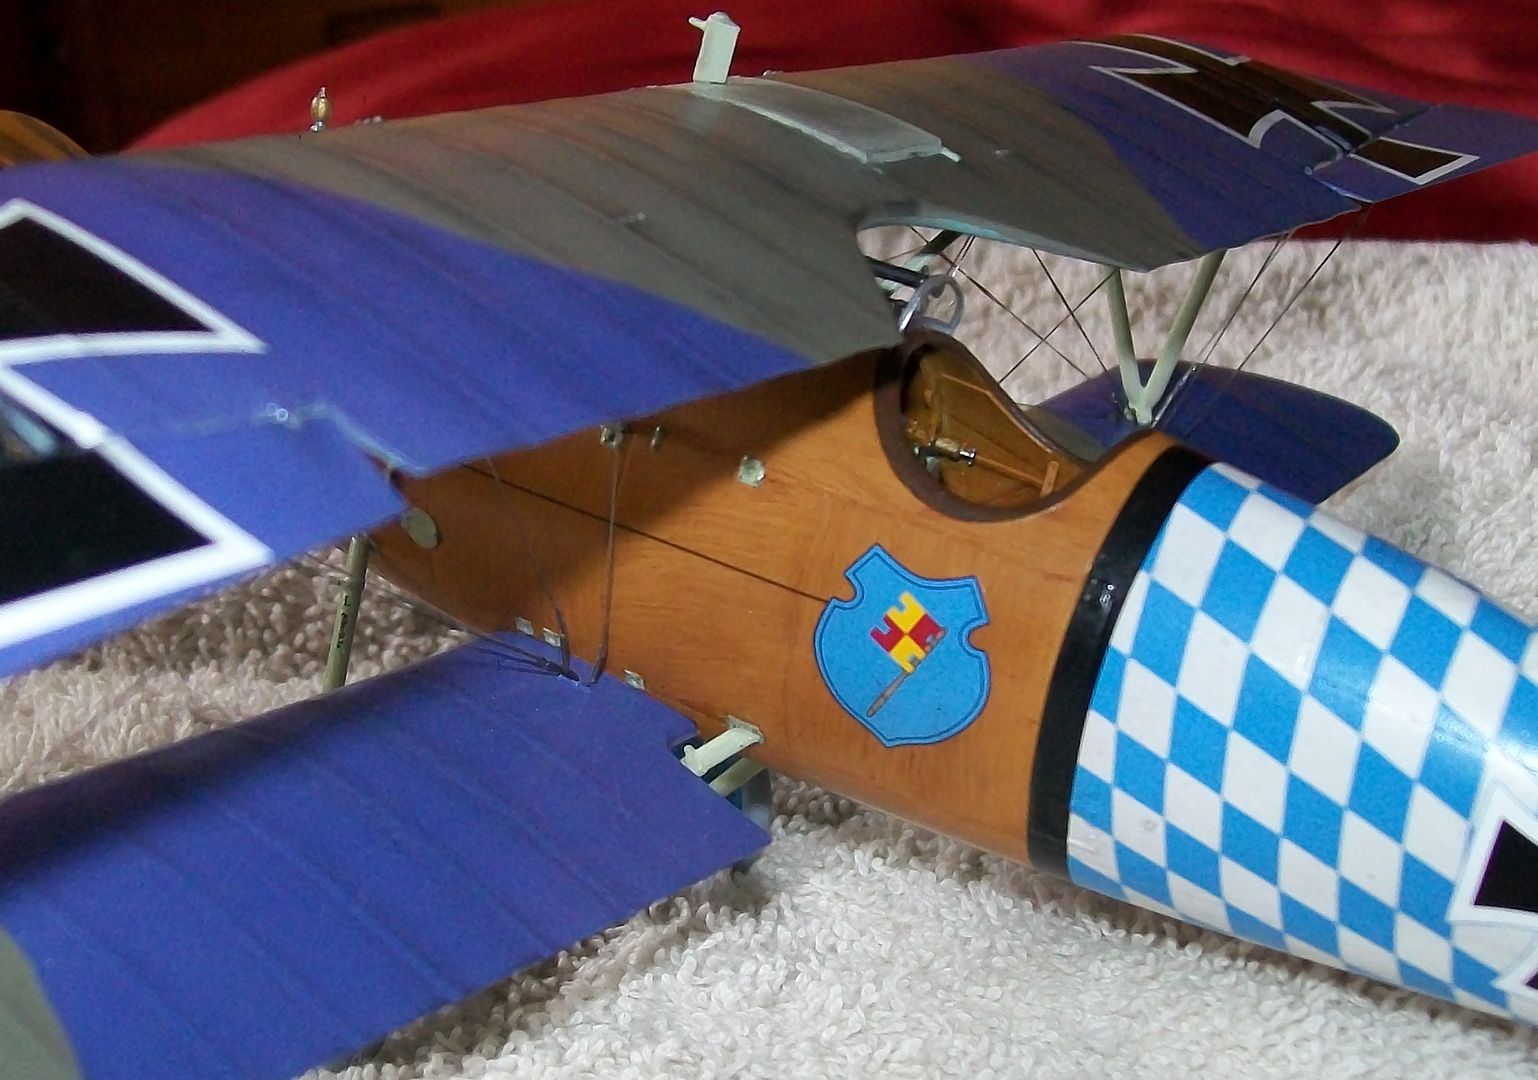
This was in my stash over 2 years, but had been a gift from my partner's father. I bought the extra decals as this particular option features the crest of Wurzburg, the town where she was originally from.
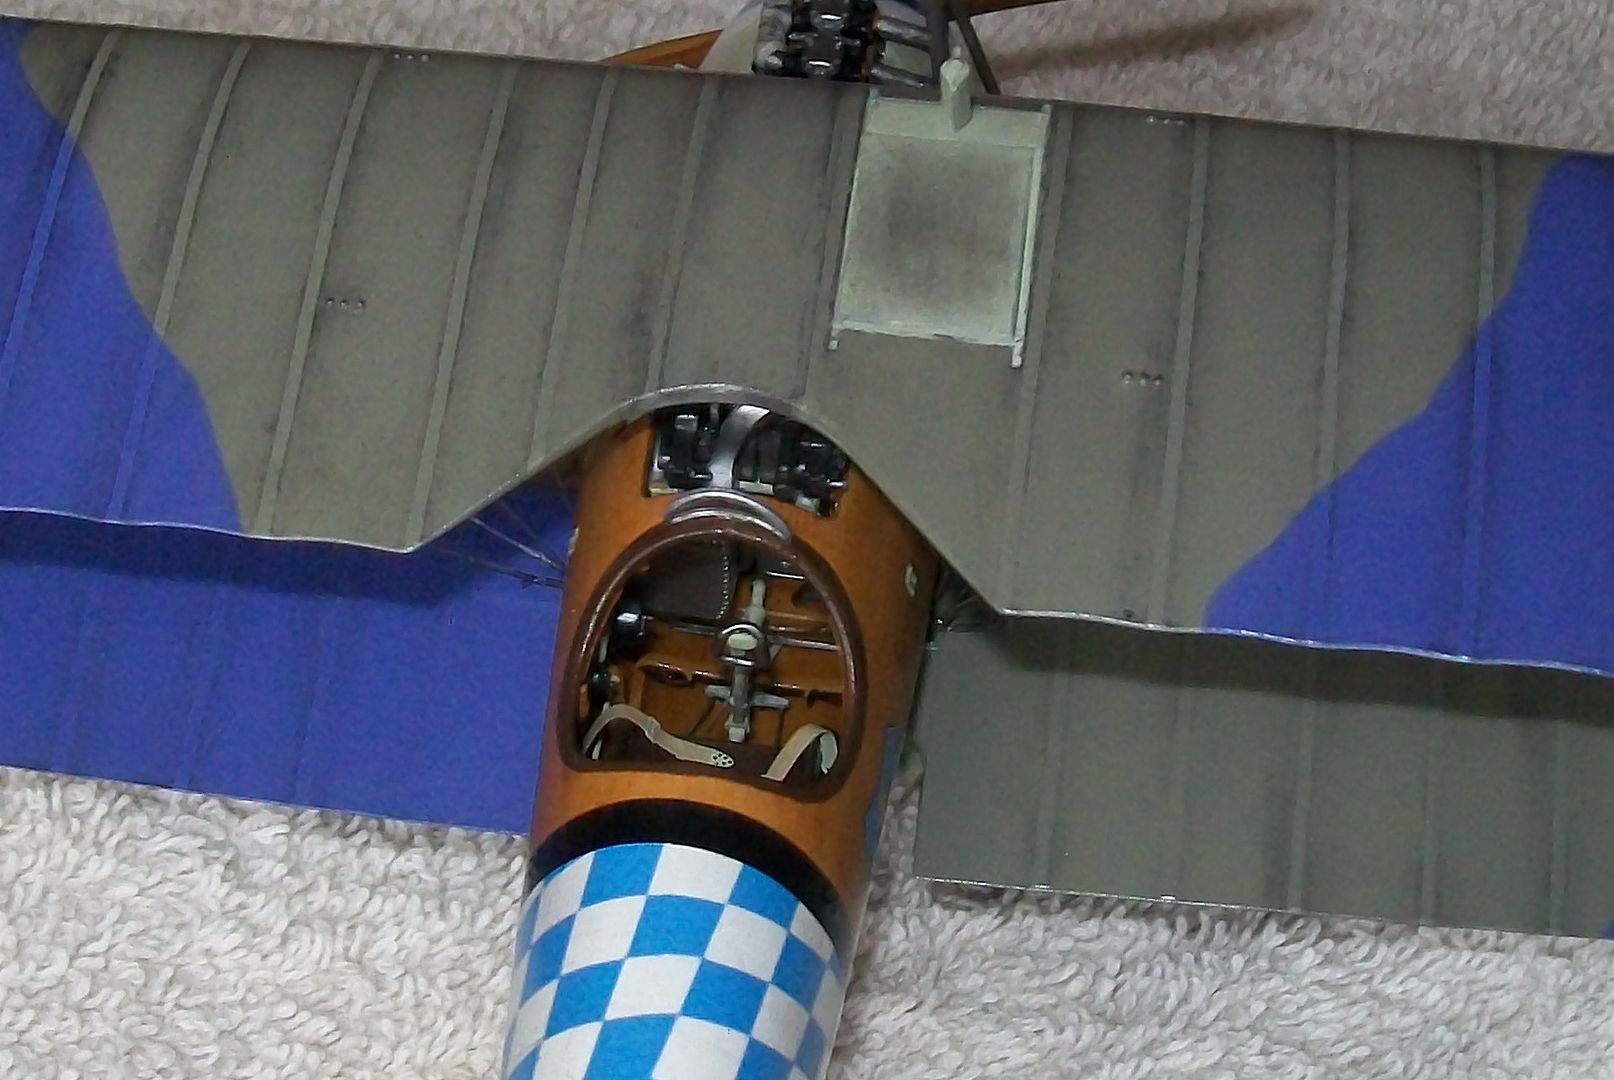
The kit itself was everything you would expect from WNW, superbly engineered and allows a novice like me to produce decent results yet still gives more accomplished modellers the chance to produce superb detailed aircraft. The interior and engine assembled mostly straightforward, with a few usual fragile bits. The way the fuselage halves go together make for a few tricky bits with the aileron control cables and pulleys, and the bar supporting the guns also having to be cantilevered on one fuselage half first. The engine frame and cockpit sub assembly make for a model in their own right.
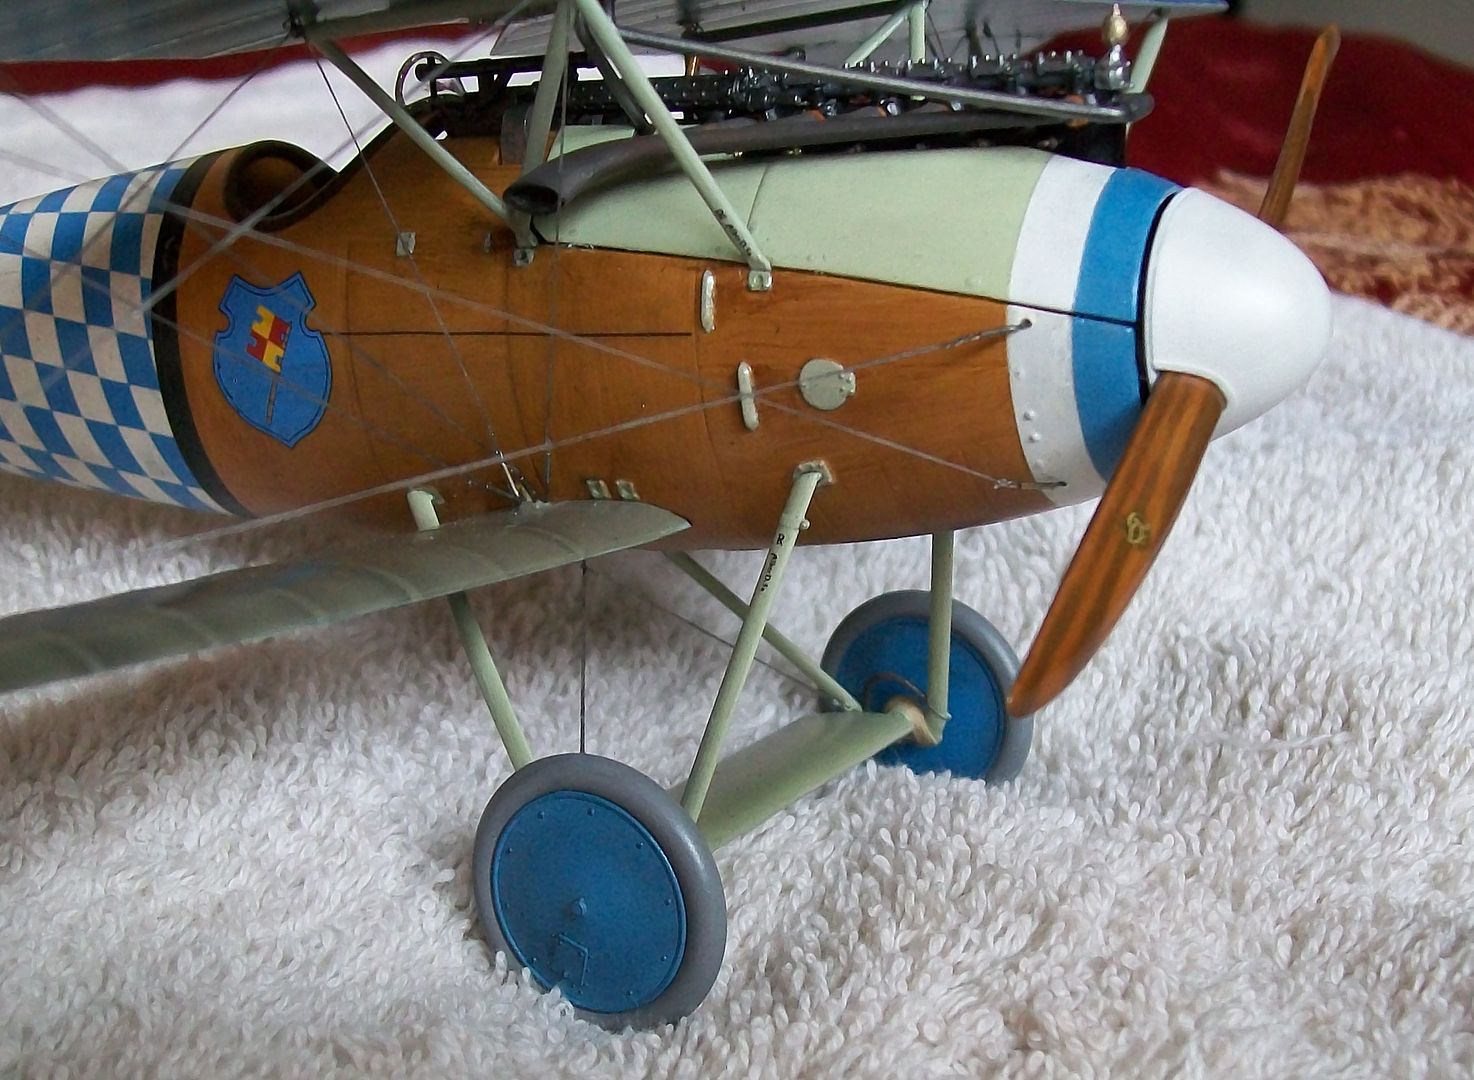
I was quite pleased with the woodgraining. I had the HGW decal set for this kit, but couldn't quite make it work for me - I will certainly use the sheets on other models though. I do like the effect oil paint brings, including on the propeller which was hand painted using Bob's new strippers as masking. The Bavarian decals don't precisely meet so there's a bit of touch up here and there, and a few wrinkles hidden by the photography

Other additions include Taurus sparks, plug cables, and of course rigging. The rigging was not too taxing, the layout of the cables was easy to follow. I made eyelets and turnbuckles, although there isn't as much flexibility in the turnbuckle attachments as I had hoped for.
As with all WNW models, tolerances are very tight. I was careful with the painting of the interior and cockpit frame etc so that there would be no fit issues, but I neglected to be so careful with the wing strut locating holes. This meant that the strut ends themselves needed thinning to fit. I found the struts quite weak, but that was necessary due to scale thickness. I broke some of them whilst fitting, but unlike on previous models my repairs went OK, ie not too many unsightly glue blobs.
I was quite pleased with the wing painting and rib shading. I would possibly have liked to tone down the shading with a thin coat of the base colours, however the effect works. I managed to repair a finger glue mark on the top wing too. I mixed the violet and the Bavarian blue paints, and was satisfied with the results. I have been unable to get decent lighting for the pics (it has been dull here for days!) as the model looks much better under natural light and without camera flash.
Ultimately I know where and how I could have taken more care with the model. However I gave myself a timescale of finishing this kit before my partner's father leaves for home in Germany - he flies tonight - an that included fitting in christmas etc!
Next up for WWI is the WNW Sopwith Tripe, probably "Black Sheep" using Pheon decals and some extra PE. I have a few other non-WWi subjects ongoing so time will tell what happens next.