I've been focusing on some non-WW1 subjects lately, but have still managed to find a little bit of time to tinker on a WW1 subject... I've started playing with the 1/72 Revell Sopwith Triplane.
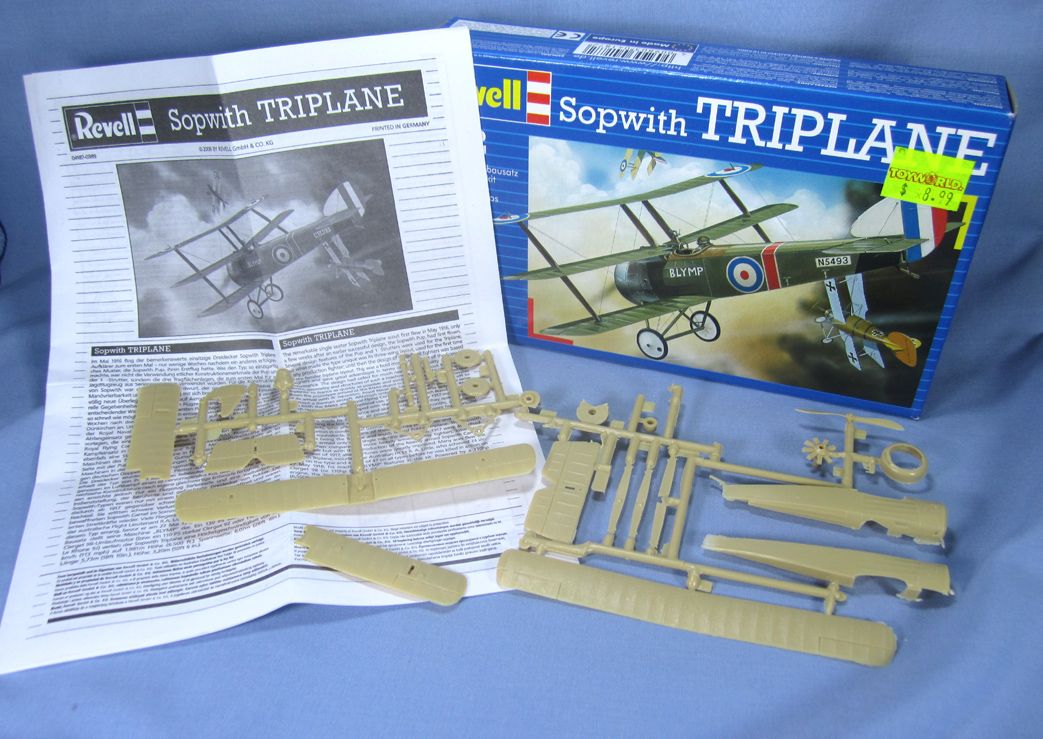
This kit is well over 46 years old, first being released in 1966 (if the Windsock datafile on the 'tripe is to be believed). For a kit that's approaching 50 years old, it's surprisingly accurate against the datafile drawings in a number of key areas, namely the profile / dinemsions of the fuselage (minus kingpost) and wings (though the tips need a small amount of reshaping, which is easy). There are still some areas that leave allot to be desired, such as the shape of the elevators (way too short, though good in span), the cowling (not deep or rounded enough), the "starved cow" look to the fuselage around the cockpit (indeed only the horizontal stringers are moulded, not the vertical), no cockpit, poor guns, wheels, engine and prop. Oh, and every flying surface has a "fabric" texture on it that is way overdone. The moulds have suffered over the years though - there is a bit of flash, and several areas (namely the upper fuselage forward of the cockpit) suffers from some awful blobs and deformities that need smoothing out. All in all though, the kit is a very solid base for a nice representation of the 'tripe.
So I have made some small progress thus far. Probably the biggest thing I decided to do was fill in the holes in the fuselage where the bottom wing slots (the single piece bottom wing was a terrible fit, both in length (too short), width (fuselage section on the wings too wide), and profile ); the plan is to remove the lower wings from the centre section and glue them onto the fuselage. This will save me some awkward filling and sanding later and will help get a clean joint at the wing roots. It also facilitates some re-skinning of the fuselage (more on that below). The basic interior stringers have also been added, as well as some floor structure. It's a small cockpit - these basic elements are all that's really needed to provide a basis for some detailing.
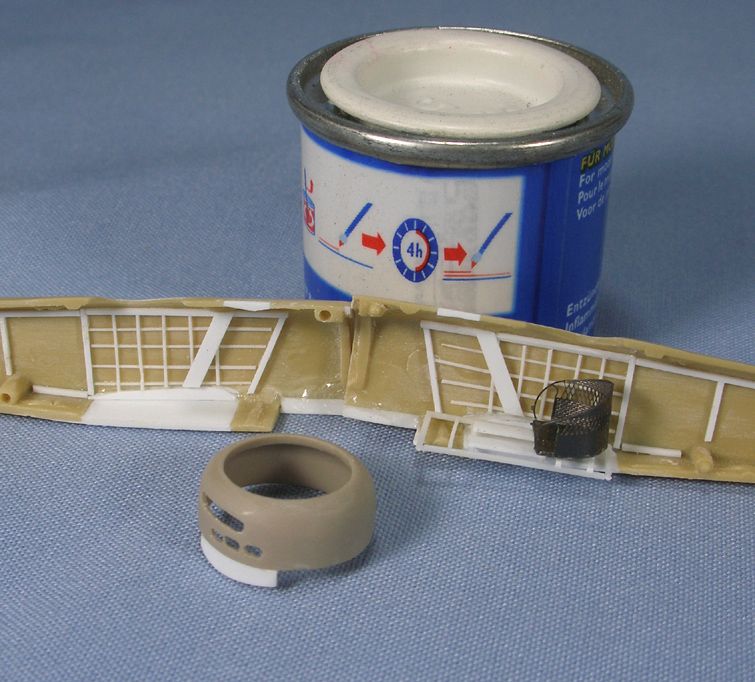
You'll notice I also replaced the kit cowl with one from the spares box - it's a spare from an Eduard Nieuport 17 with the external stiffeners sanded off, some vent holes cut, and a chin-panel added. It's a much nicer shape than the kit cowl and the fit is not too bad.
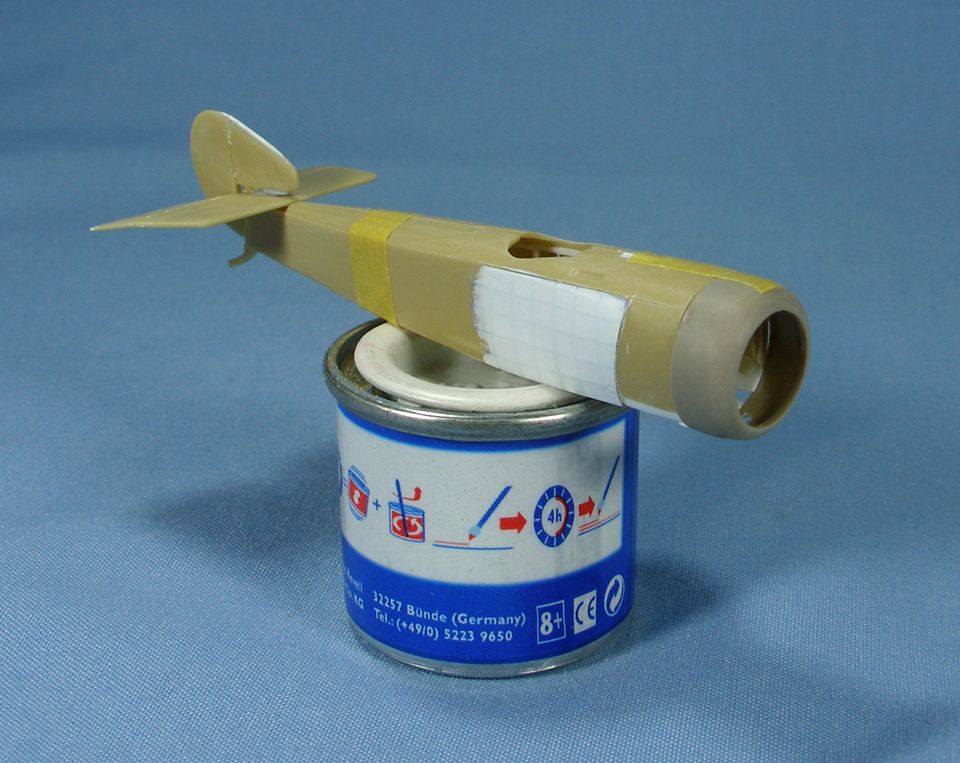
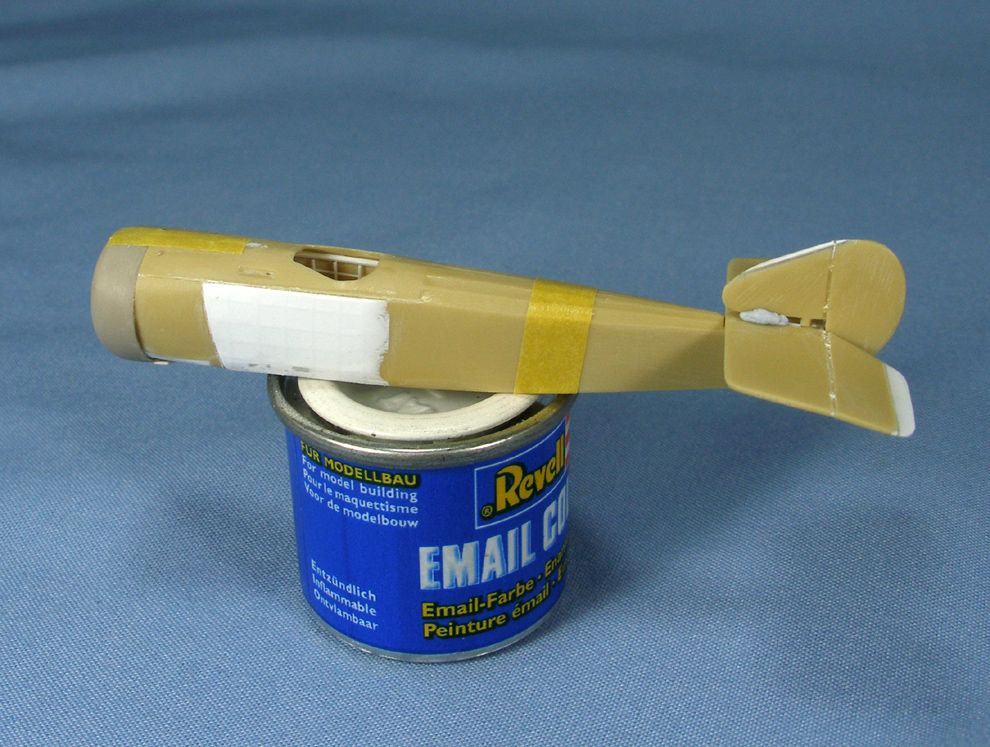
I also decided to do some basic re-skinning of the fuselage sides to better represent the "box" structure that shows through under the fabric in some photos. I embossed some thin plastic, glued it to the fuselage (after sanding off the kit stringers) and sanded / blended it into the remaining fuselage skin. It's basic but I think better than what the kit comes with. You'll also notice in the photos that I removed the blobby kit representations of the access panels on the cheek cowls (i'll replace these with thin card) and extended the depth of the cheek cowls to match the rest of the fuselage. I also extended the elevators and re-profiled the fin / rudder to better match the datafile drawings.
Like I said, not too much progress just yet, but enough for things to be mildly interesting

All comments and feedback welcomed!
BC

