Thank you guys for the much-needed encouragement.
Much needed? well, yes - something happened which put this project in the 'at risk' category. 'At risk' because a stupid eye-off-the-ball miscalculation put the whole thing in jeopardy - fear not though, all is well now.
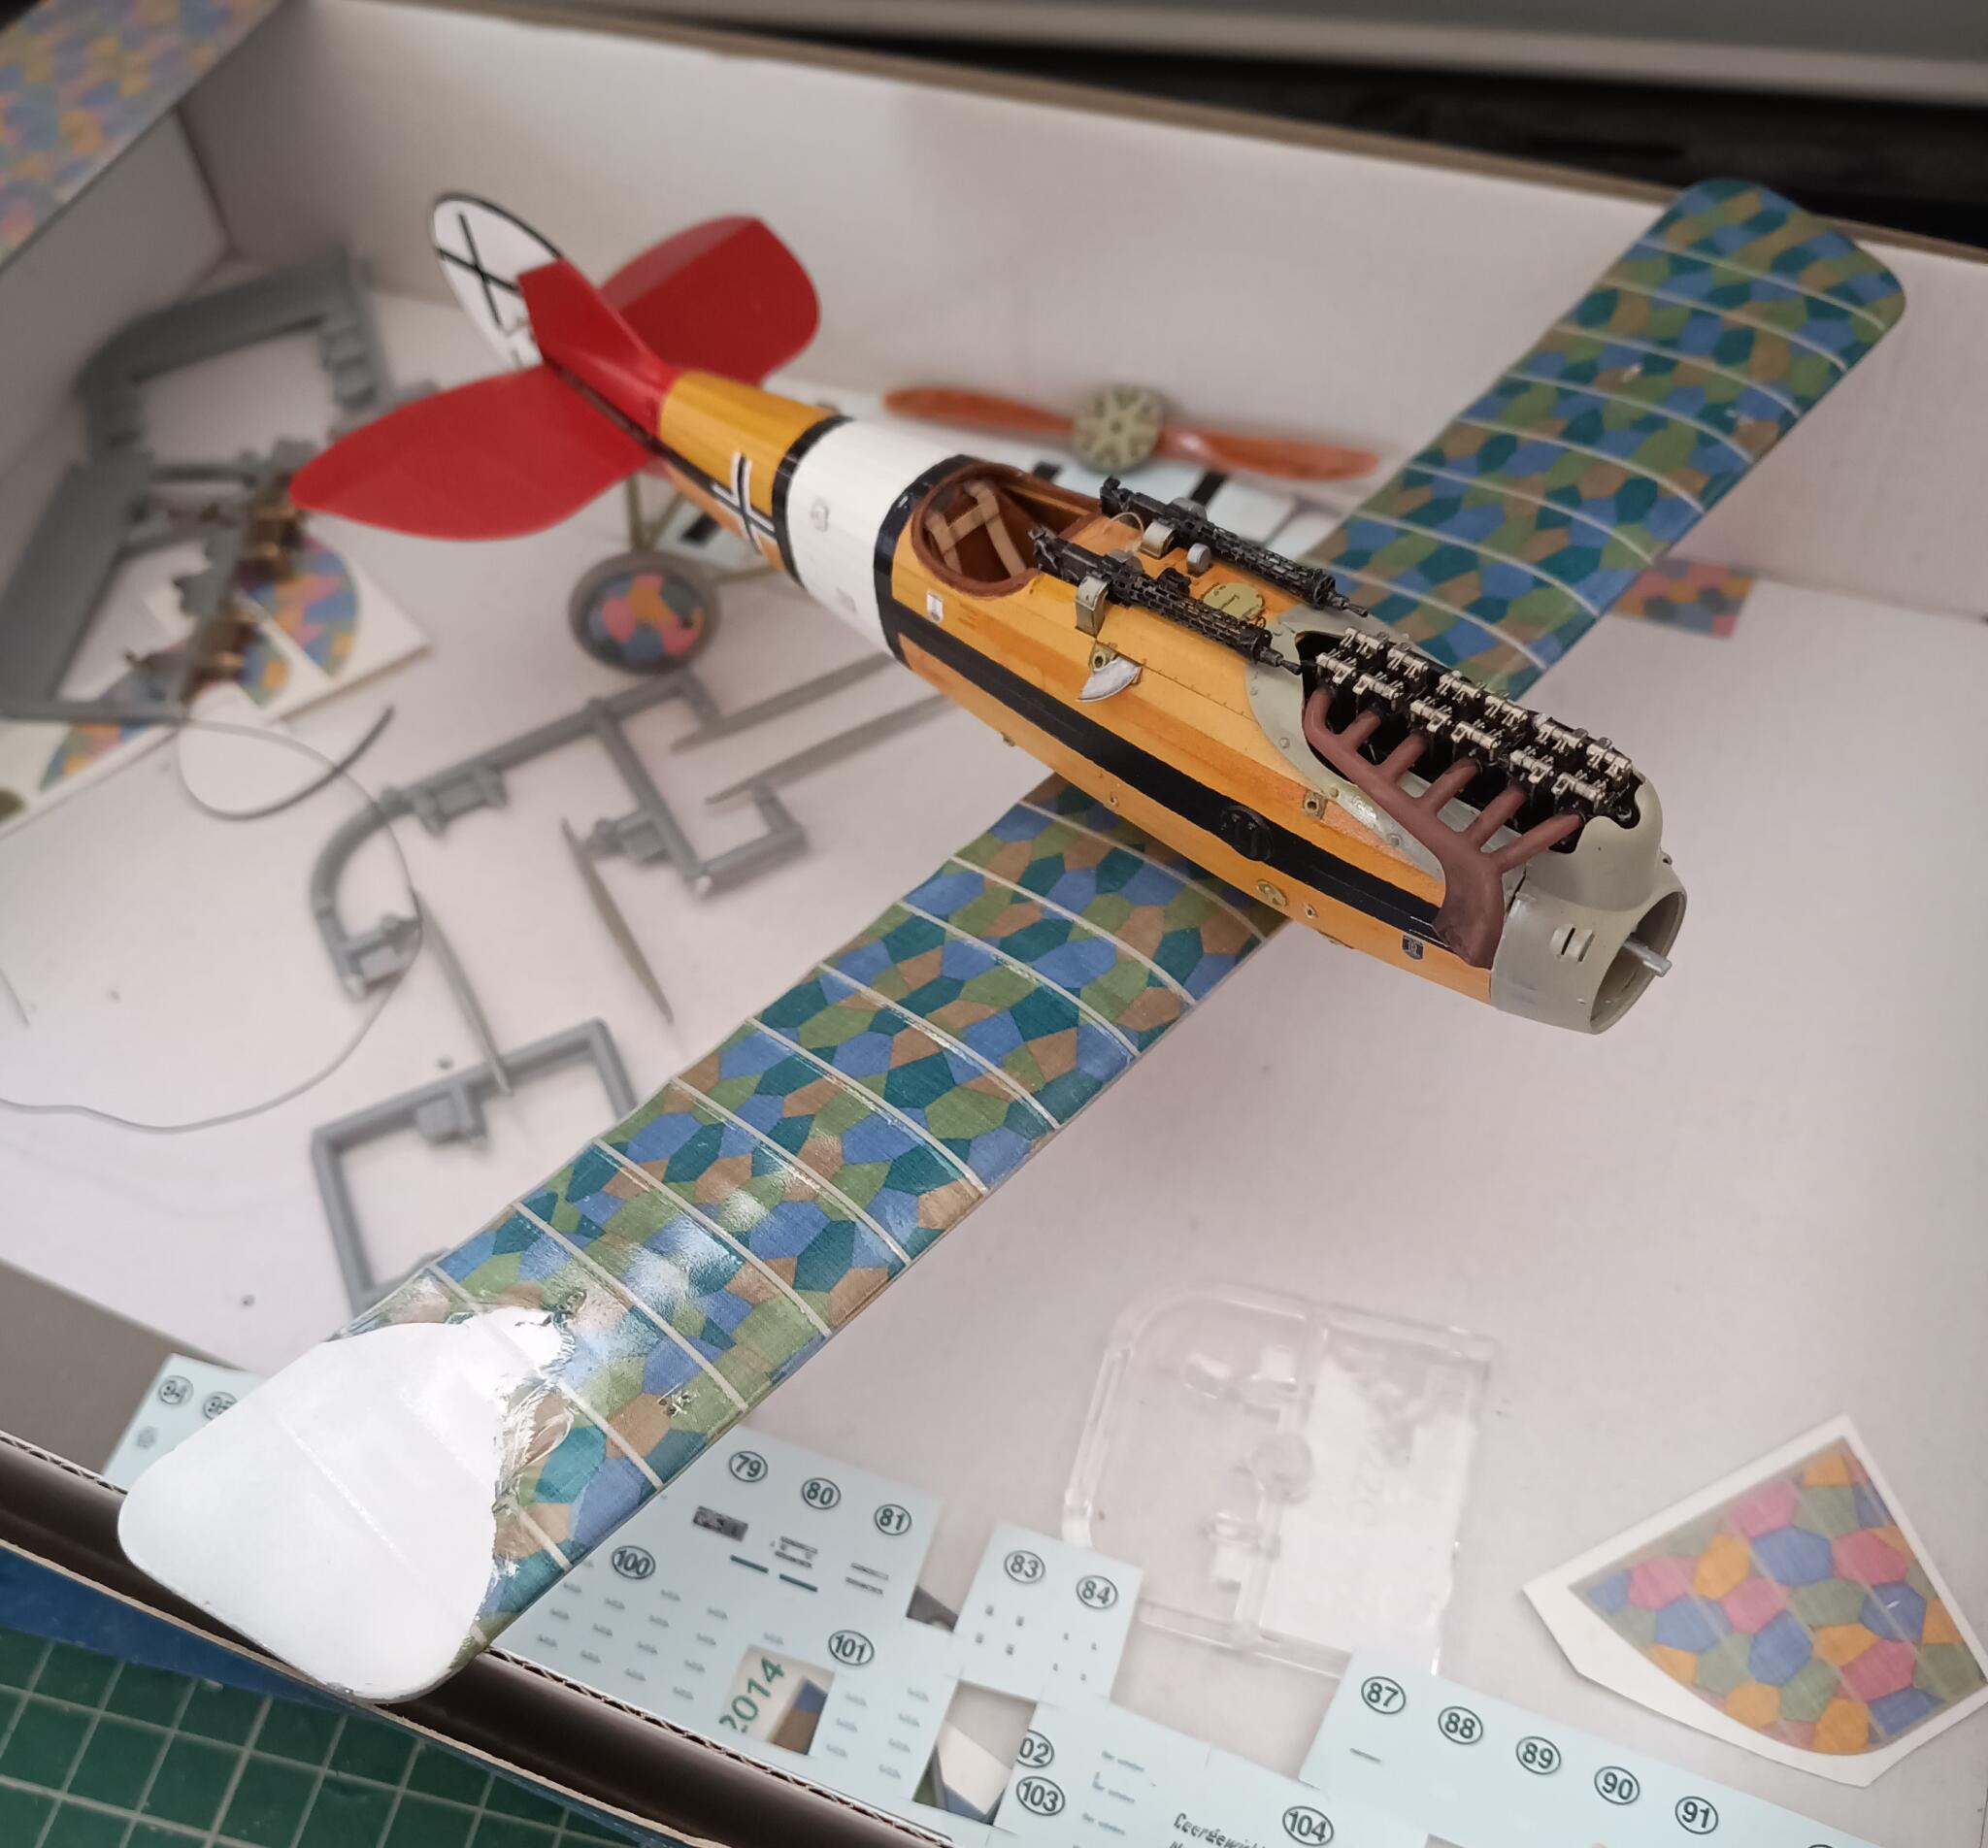
Getting excited as we approach the finishing line I opted to open out the wing holes prior to installing rigging lines. I usually use small drills or drill bits in a pin vice, but this time I thought I'd speed things up by using one of my favourite USB drills. Port lower wing - no problem, all cleared out. Starboard lower - I went too near the lozenge surface with the drill and must have touched the collet to the Aviattic decal. Suddenly a chunk of decal was caught in the drill and ripping off the wing. No oaths were issued - I was actually too shocked. I stared at the mess in disbelief.
As comprehension set in, I realised that I needed to fix this quickly or I maybe never would.
I sliced a straight line next to the nearest surviving rib tape and worked the torn decal off with a flat brush and lots of water.
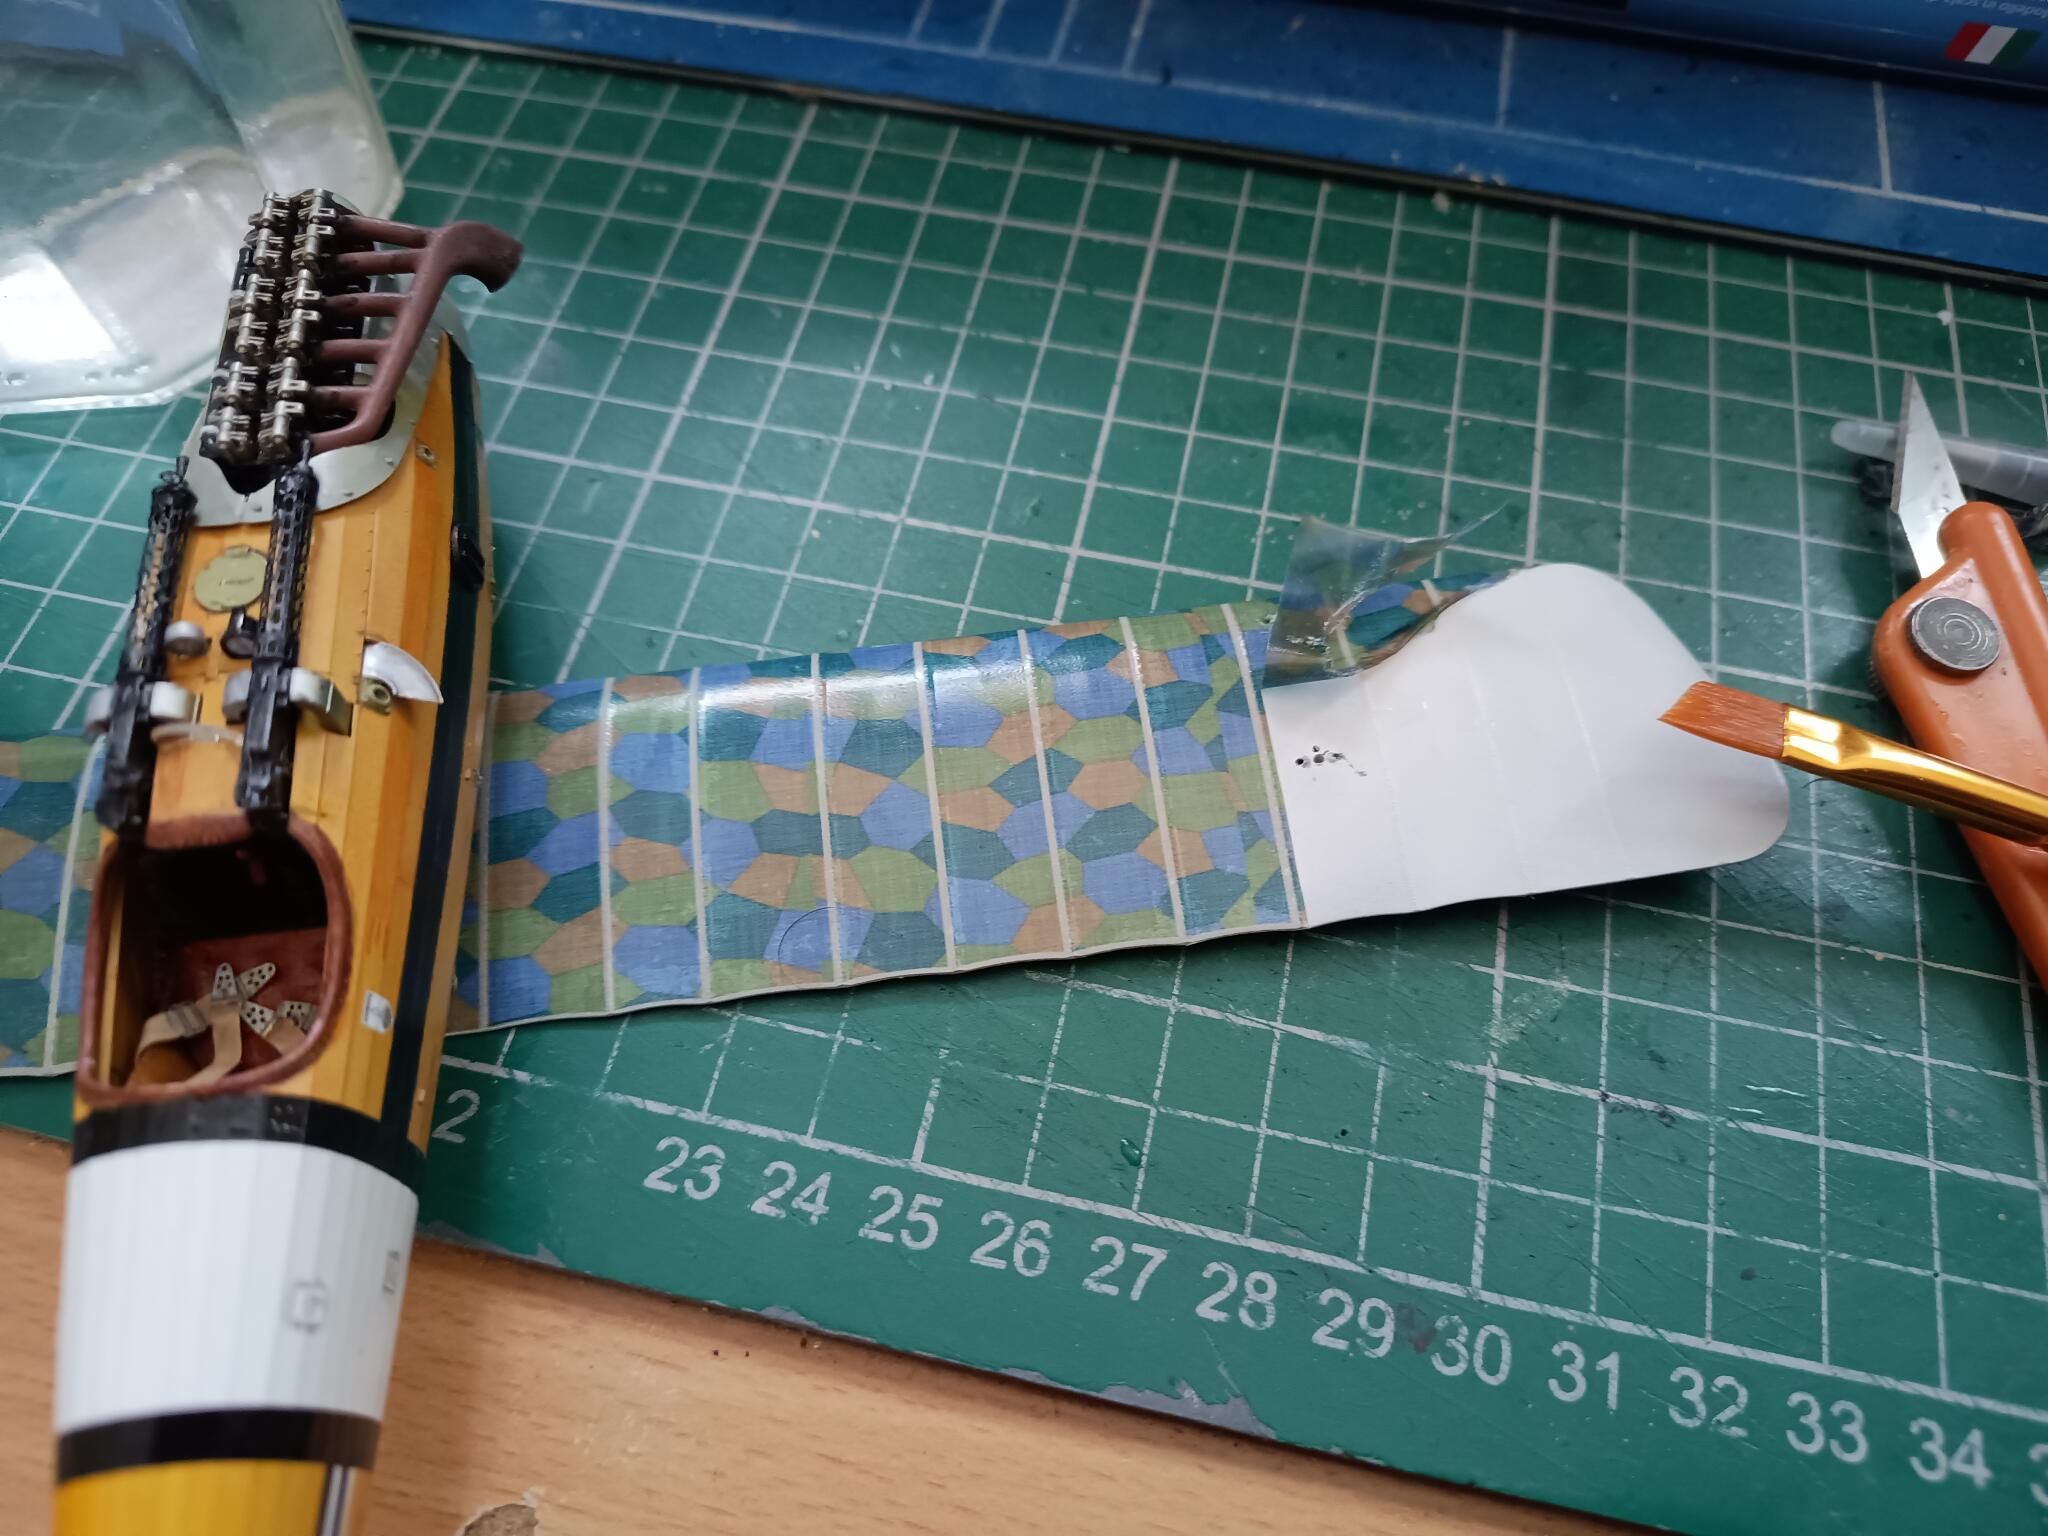
Slowly working the torn mess off I had a neat surface to work with.
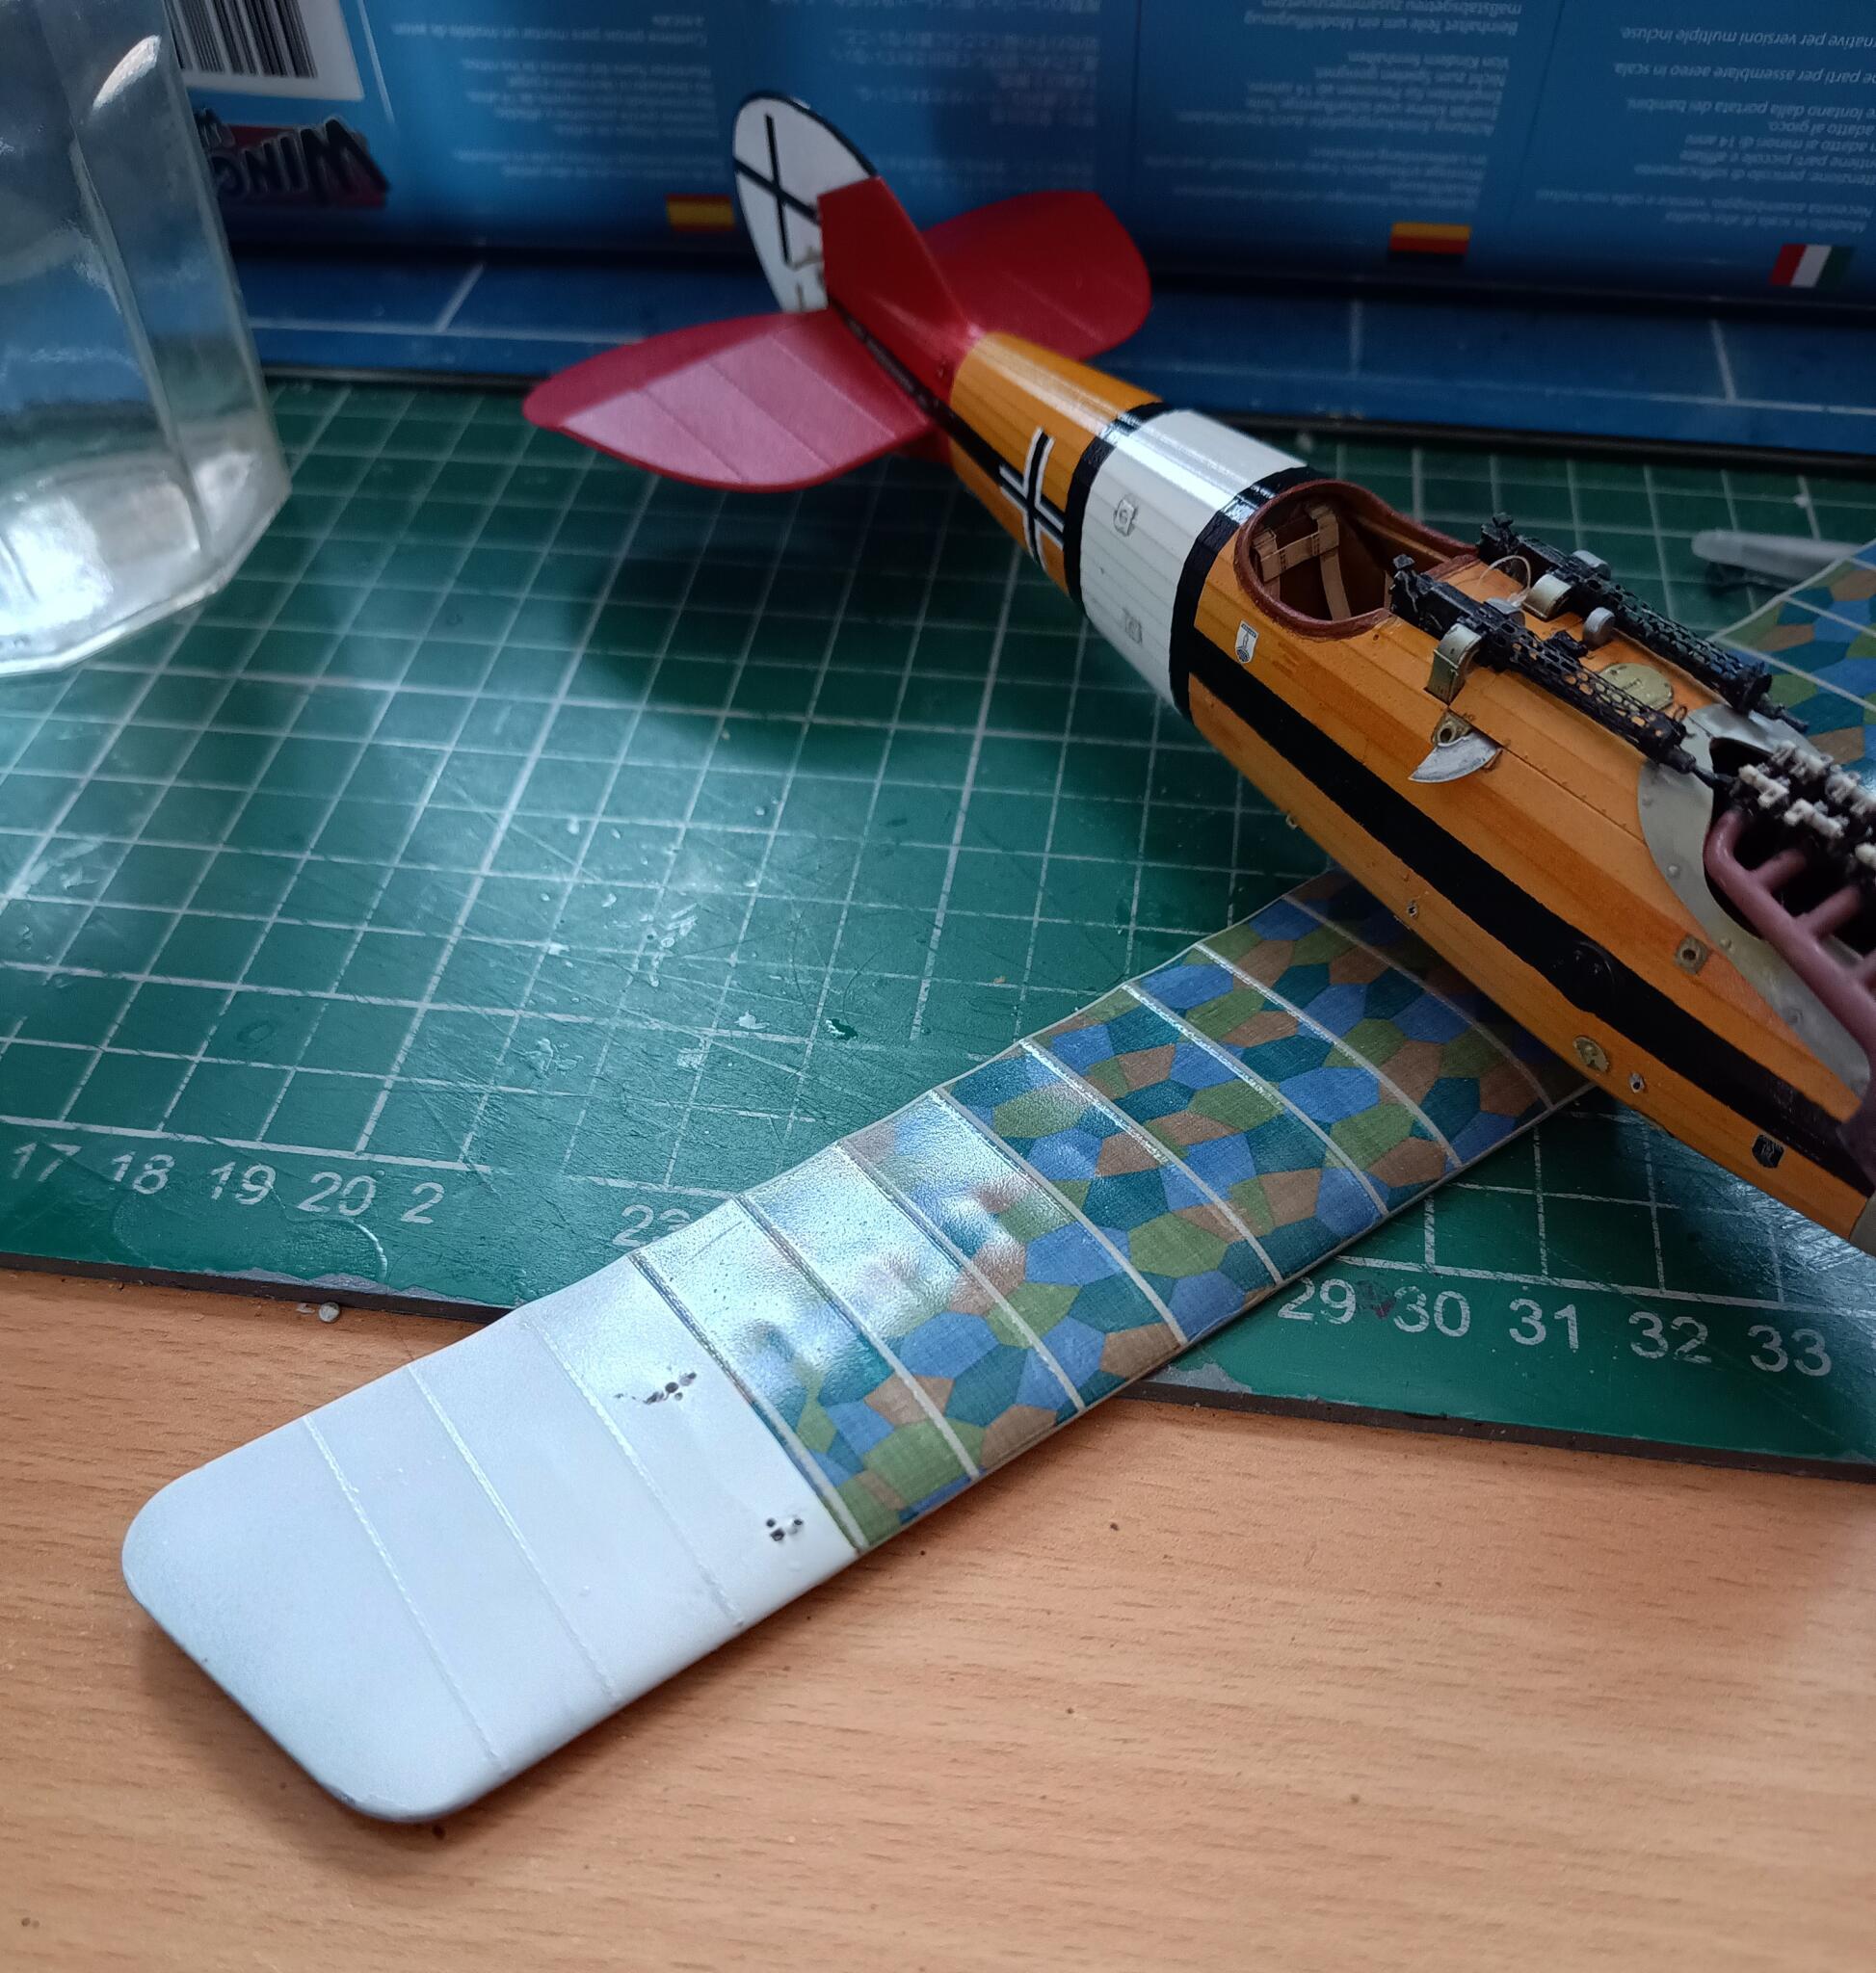
Fortunately, Aviattic include spare wing tip segments which came in handy, as well as a spare piece of lozenge that was just big enough to patch and match the pattern. Last job was to paint some spare decal film with pale gray/beige and slice into strip to apply as rib tapes over the new plain section. In fact it only took maybe an hour to fully repair as good as new. There's a lesson in there somewhere about just getting on with things rather than overthinking the difficulties!
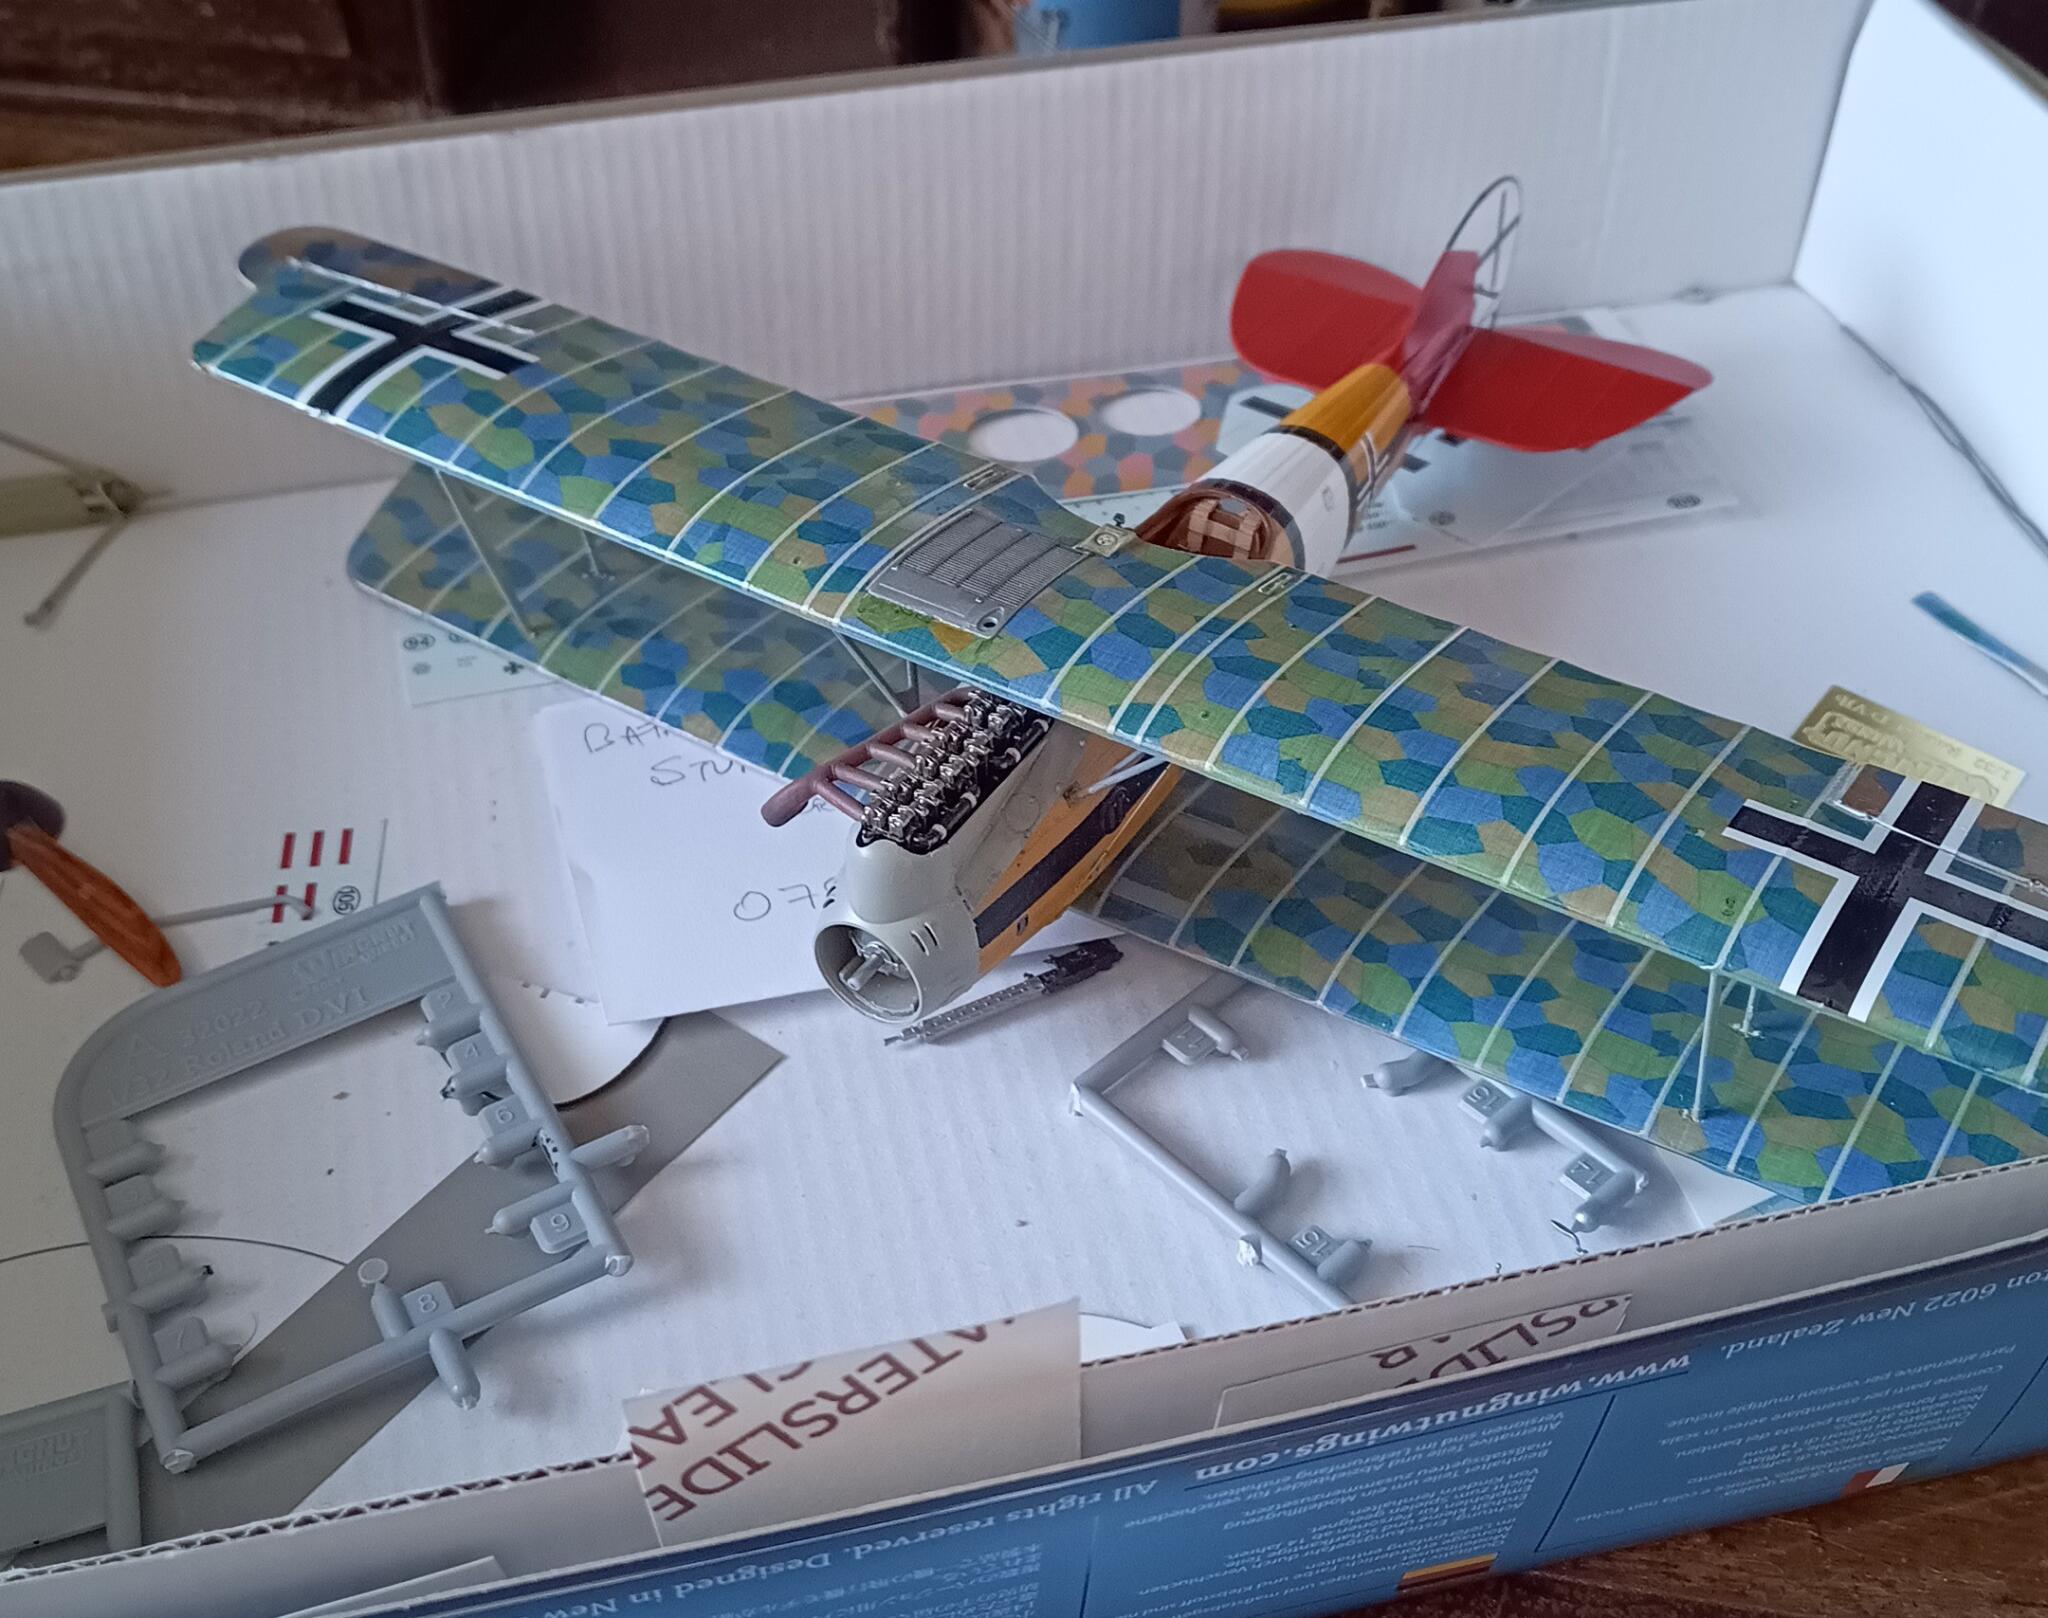
As you can see I've now got the top wing on, with nice big black crosses and the rigging is started. I'll push on with this and mount the undercarriage - Not far to go now.
(phew!!)
Sandy

