For various reasons which I won't bore you with my modelling has been very much a spectator sport of late but I have been fiddling with some bits on the Bristol; generally centred around ideas to scratch build various items only to decide the effort wasn't likely to be worth it.
Some real progress has been made recently though. The tailplanes are primed ready for a coat of Alclad. I copied the method Des used on his build & used short lengths of 0.5mm tube to represent the hinges. Bob's Buckles supplied the eyes for the rigging wires.
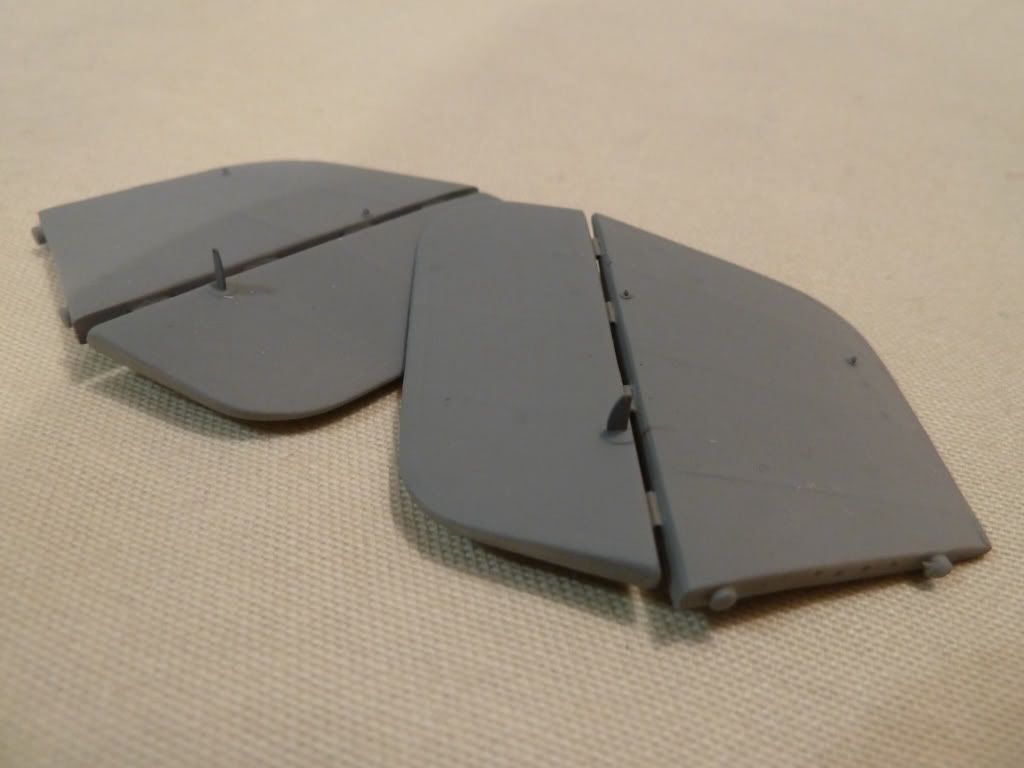
The wings are further on, painted with Alclad. The domed mounting points for the rigging are a pain to fix as the spigot on the domed part is far larger than the hole in the photo-etch 'washer' plate. It's not difficult to reduce the size of the spigot but it is difficult to hold the tiny domed part whilst it's filed to size.

I should have fitted these mounts after paint & decals as it makes decal application easier - but I didn't.

It's worth noting that some contemporary photos show the mounts as main wing colour not painted to match the roundel. I also got carried away & fitted the control horns which I then had to remove to allow either decal application or the masks which is what I ended up using.
Because of the rigging mounts being in place I decided to paint the roundels. Montex don't do a mask to suit the roundel diameter so I made my own from Frisket paper using an Olfa cutter. This was a new technique for me so I was pleased with the result. The Alcad came away with the mask in one or two tiny areas which are easy to touch up but other than that it worked fine. Just the red centre to go, I've made a mask for it but I may chicken out & use the kit decal which handily is a separate red circle.
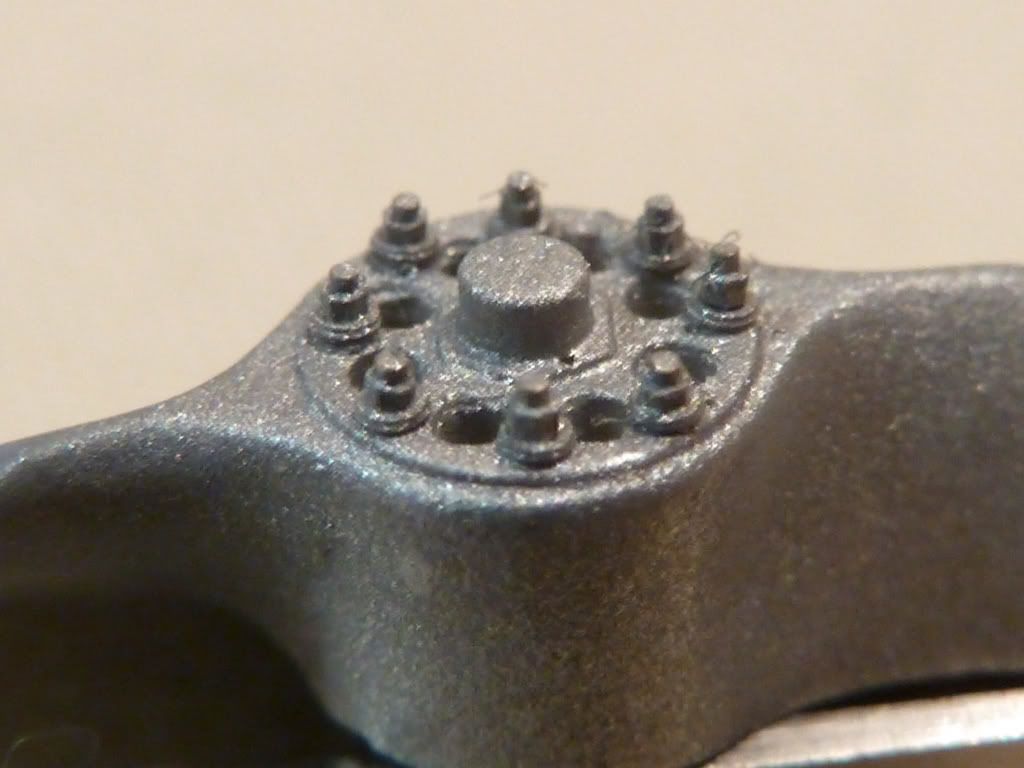
The kit supplies the centre section & boss of the prop as a separate item. It's partly visible through the hole in the spinner.
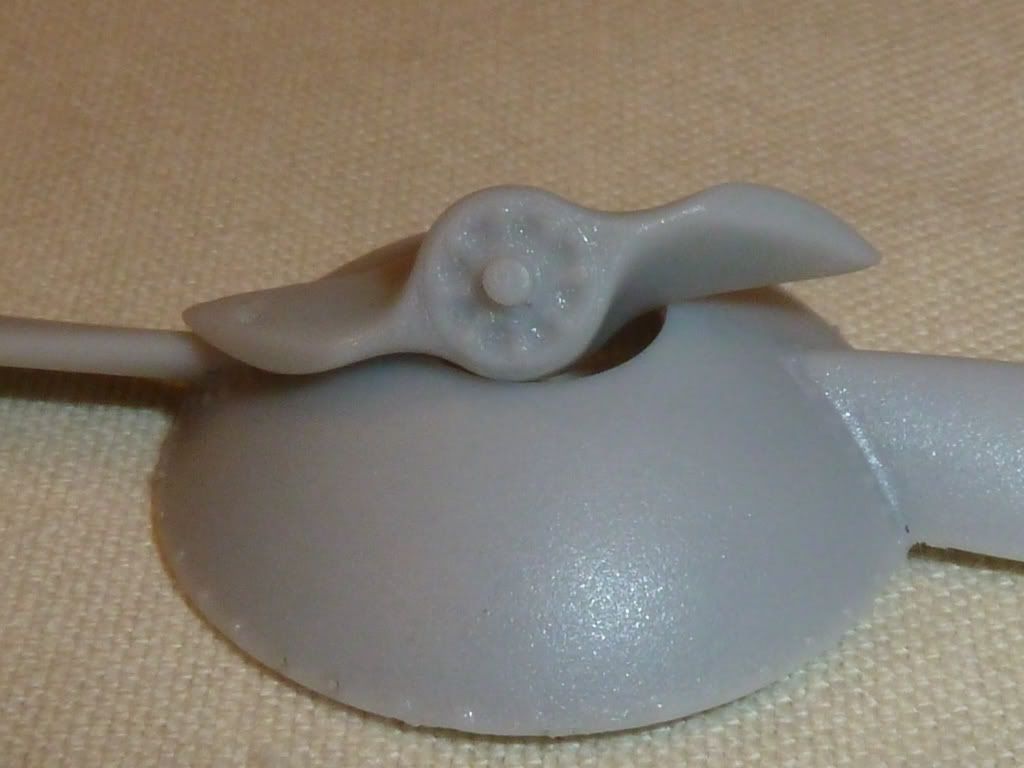
I cut the moulded bolts off & replaced with RB Motion bolts with separate washers. The grainy texture of the resin is apparent in the photo but not to the naked eye, in any case it needs a bit of smoothing & another light coat of primer.
The undercarriage legs are bound with what looks to be a strengthening wrap (in many but not all current photographs - depending on the aircraft). I tried to replicate this by binding thin masking tape around the legs then spraying a few coats of primer to build up a thickness, then removing the tape & spraying another couple of coats.
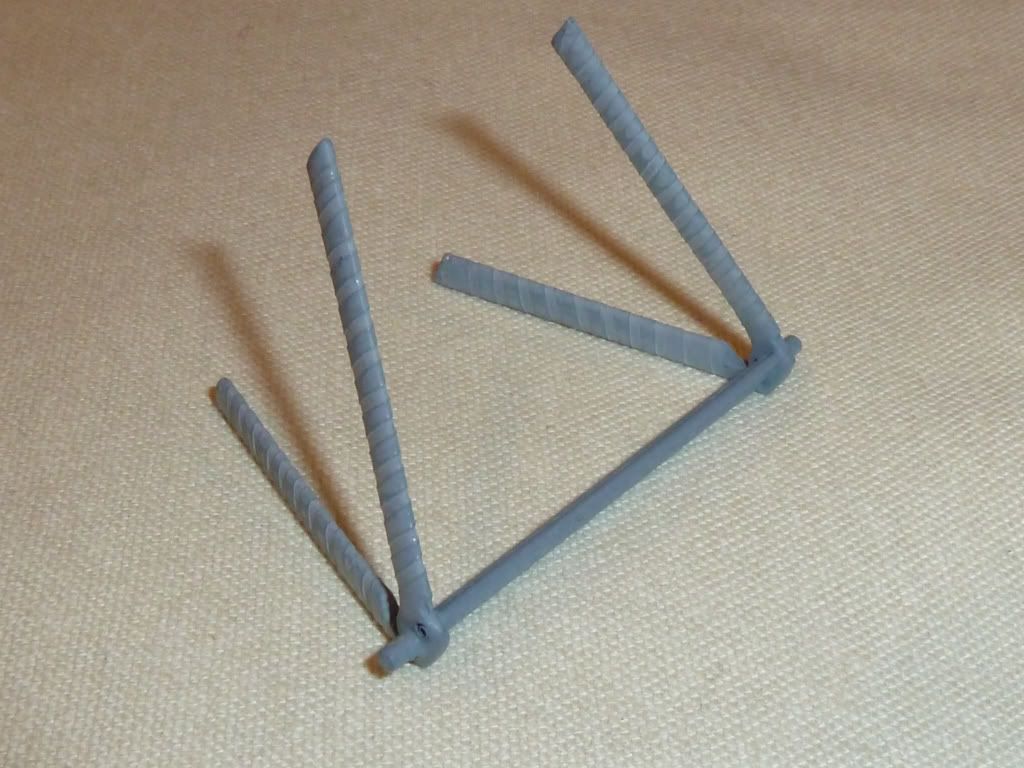
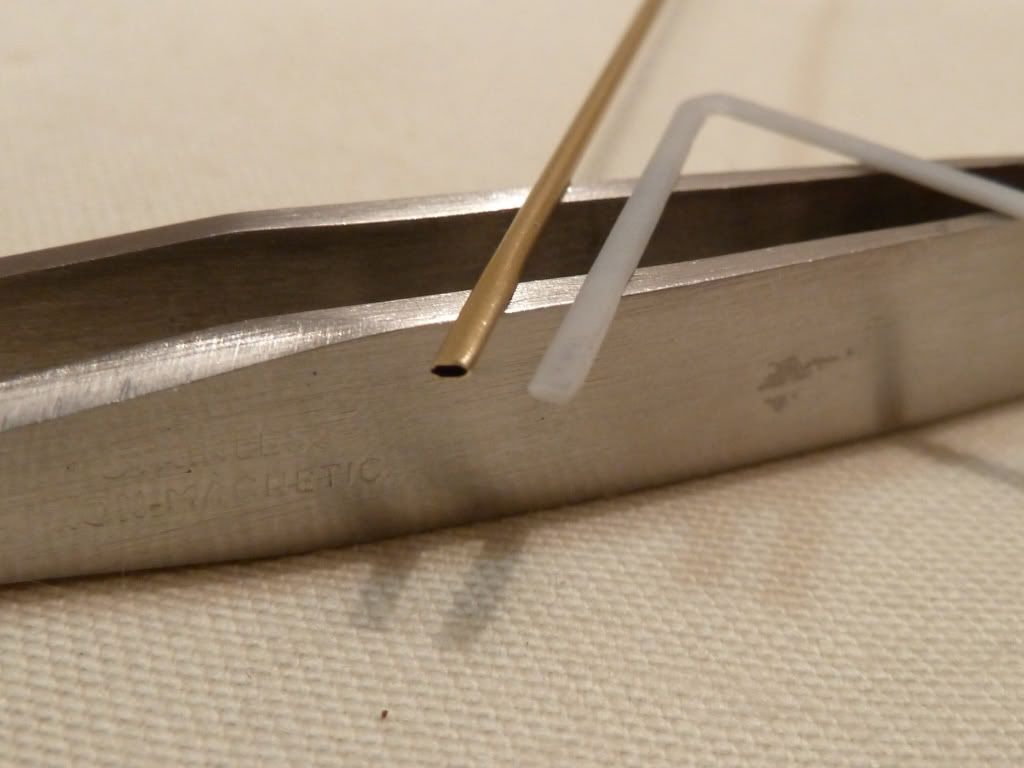
The central rigging 'tower' is formed from fairly flimsy resin struts which are a fairly flat oval in cross section - too flat really plus I'm concerned about them bending.

Albion Alloys 1.2mm thin wall brass tube flattens nicely to give a more accurate & far stronger version. Here I've just flattened part of a tube as a trial.
The rigging under the wings connects to a plate(s) protruding through the fuselage. Some current detail photos show the plate protruding as one piece with two holes whilst other aircraft (replicas) show the visible part of it as two separate lugs.
I thought I'd try to replicate this so although I may change the detail at the moment. I used 0.5mm tube, squashed the end & drilled a hole (0.25mm).
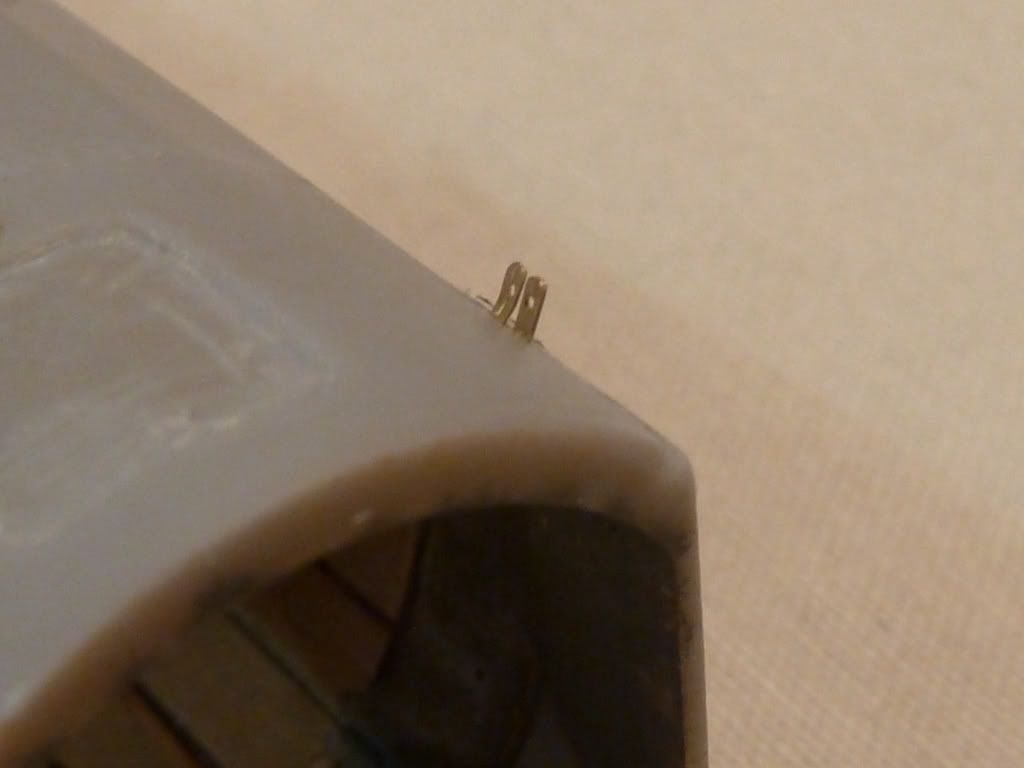
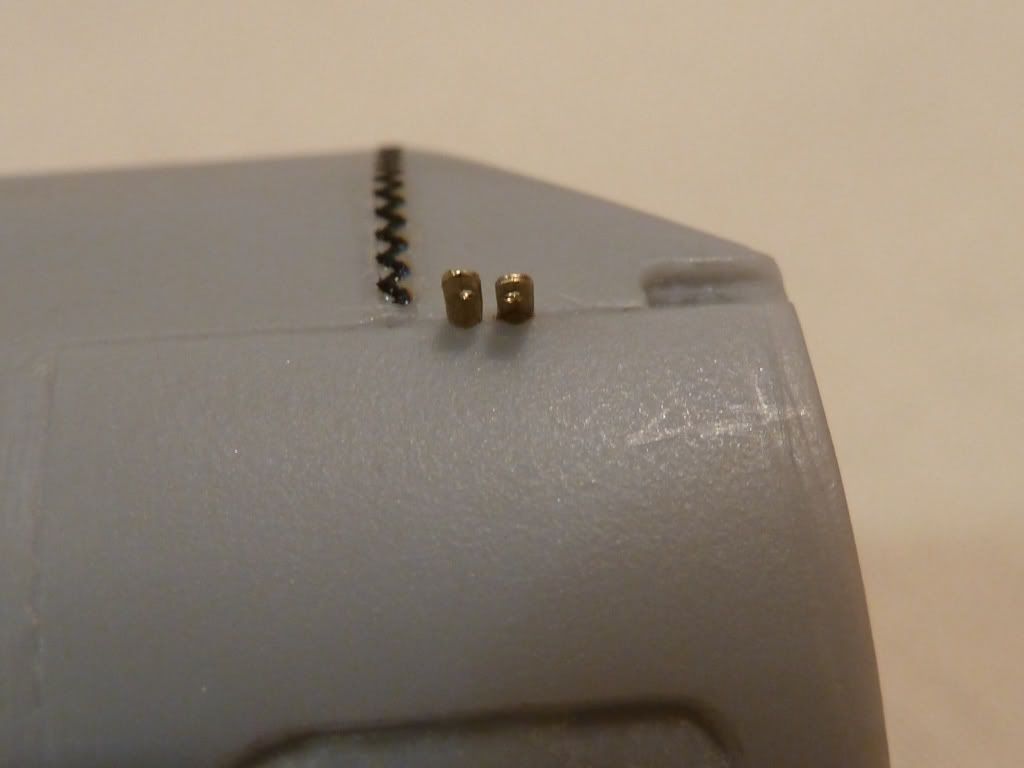
They are only roughly pushed into their holes at the moment & need adjusting for angle & projections.
The plan was to make a forked end connector for the rigging wire which will connect to the lug on the fuselage via a tiny bolt from RB.
This is my attempt so far.
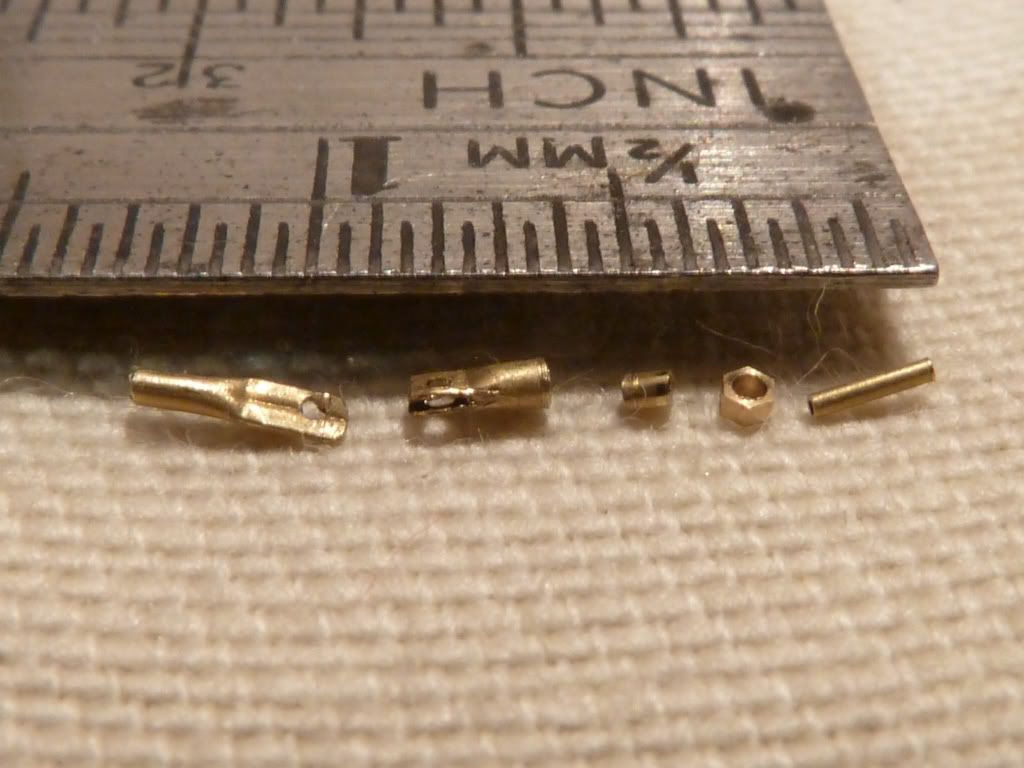
The part on the left is the fuselage lug. The end connector on the rigging wire is formed from a forked plate formed from a length of tube which is partly squashed then a hole drilled then it's split by filing away the sides of the flattened section - this slips over the first lug. Third from the left is a short length of tube which goes into the tubular part of the split connector to reduce the internal diameter to allow the thin tube on the right to slip partly in. The RB Motion nut slides over that acting as the adjuster nut (well not literally at this scale

). The rigging wire is glued into the end of the thinnest tube. A long winded description of a tiny item. I'll go down this route if I have to but I'm exploring ways of using the Gaspatch RAF connector.
That's about all so far.
Regards
Russell

