Thank you, Allan, Nigel and Joachim

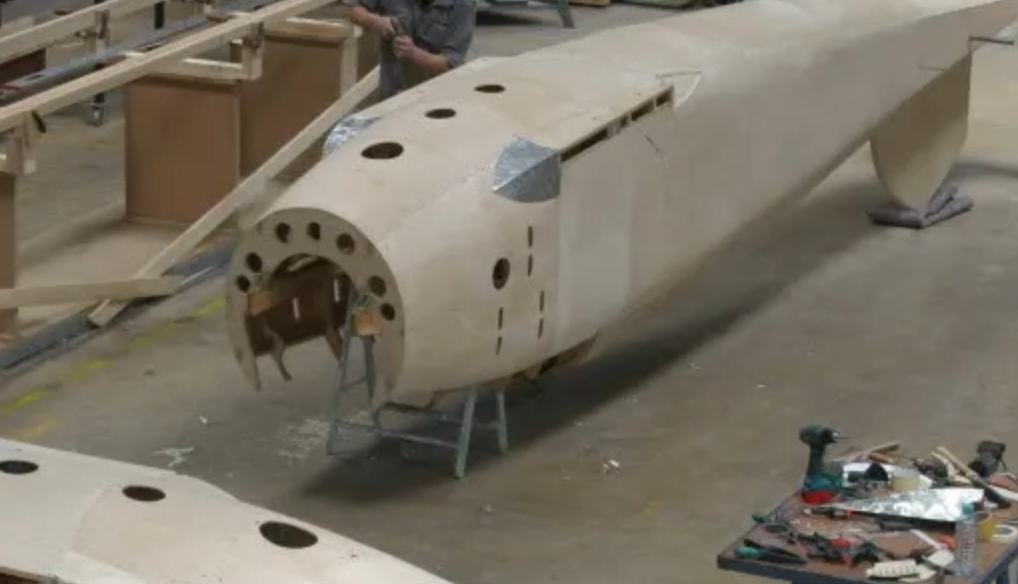
I keep finding wing root fairings in metal.


Yes, apparently there were actually both variants of the wing root fairings - sheet metal, painted or, in the case of Oeffag, very often bare, as well as plywood.
For the D.I and D.II series types - as far as I have found pictures - probably only plywood.
Also on the Albatros D.III partly plywood, partly sheet metal.
However, it is sometimes difficult to make a 100% assessment of the black and white photos when the distance to the aircraft is greater.
However, a visual color match between the gray-green painted maintenance flaps and ventilation slots and the wing fairing can also help in making a decision.
Of course, original close-up photos on which the wood grain is clearly recognizable are great - but such (original) pictures of the D.I/D.II are hard to find.
Here are three D.I examples:


And here are two Albatros D.II, the first by Wilhelm Leusch

And the second one here is the D.II by Rudolf Berthold

Here as an example the Albatros D.I D.435/16 where the fuselage is painted with camouflage.
Although I am sure that the wing panels were also made of plywood, it is not really possible to tell from the picture.
Were the wing cowlings painted over because they were made of wood like the fuselage, or were they made of sheet metal and the mechanic just painted over them in his zeal?
Interesting but on this picture the axial propeller still with the early logo, the dagger, instead of the later white and circular logo with the black ?A? (WNW says that the round Axial logo was rather pale gold instead of white).

Servus
Bertl
Translated with DeepL.com (free version)

