Okay, I started this build on 11 January 2021 and wrapped it up on 17 May 2021. It was/is a very enjoyable build. I built it out of the box except for Bob's Buckles Tubes and Eyelets, Gaspatch Turnbuckles and various rigging material.
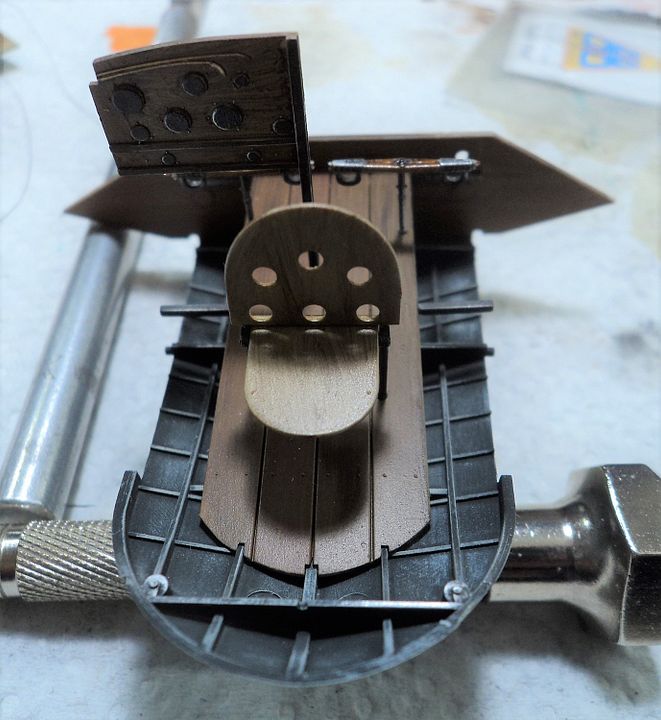
I didn't follow the steps in the direction booklet, I started with the cradle to support the hull, did the engines, guns, bombs and then moved on to the normal step by step construction. I left the guns, windshields, and props off until the very end. The instructions would have the modeler attach the lower wings to the hull and then attaach the bombs to the center section. I chose to attach the bombs to the center section prior to fixing the lower wings. Wingnut wings offers the modeler the choice to not cement the wings to the center section to allow easy removal for storage, but I think this is a great concept, but suspect the execution of removing and re-attaching the wings could preclude a disaster, so I chose to fix the wings to the center section. Otherwise the build progressed without any major issues. In hindsight, (always 2020) I would paint the chevrons starting from aft and work my forward to get the proper spacing, the same goes for the floats. I also chose to have the chevrons on the upper portion facing aft vice forward. There were really no clear images of the top of the hull so I went with aft facing. So, on with the show.
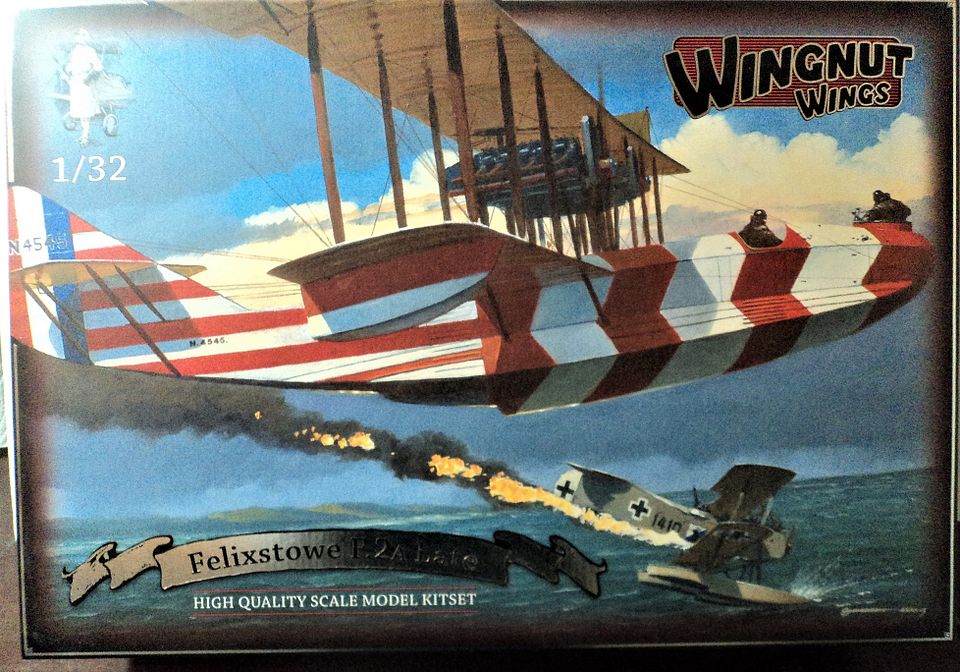
First up, the box. Great artwork by Gary Anderson.
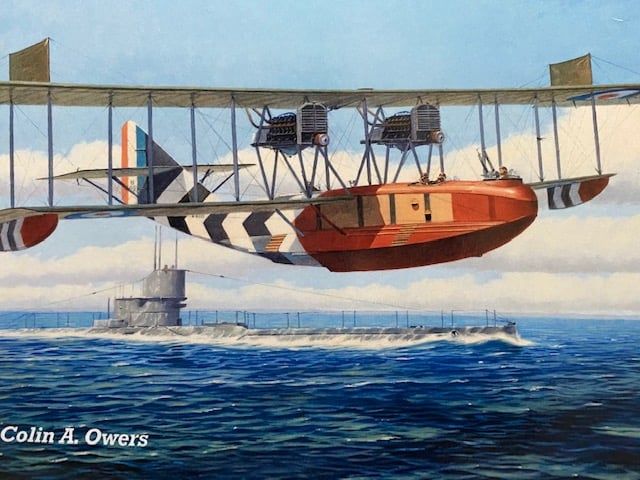
This cover art of N4099 was the inspiration for the build and the paint.
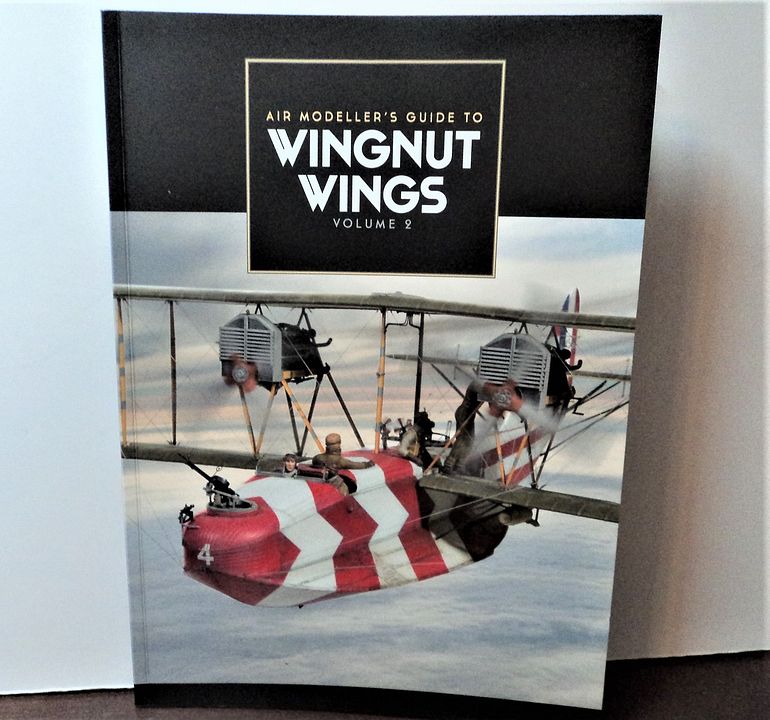
This book has a lot of good build hints on various Wingnut Wings Kits and I found the build log of the Felixstowe to be helpful.
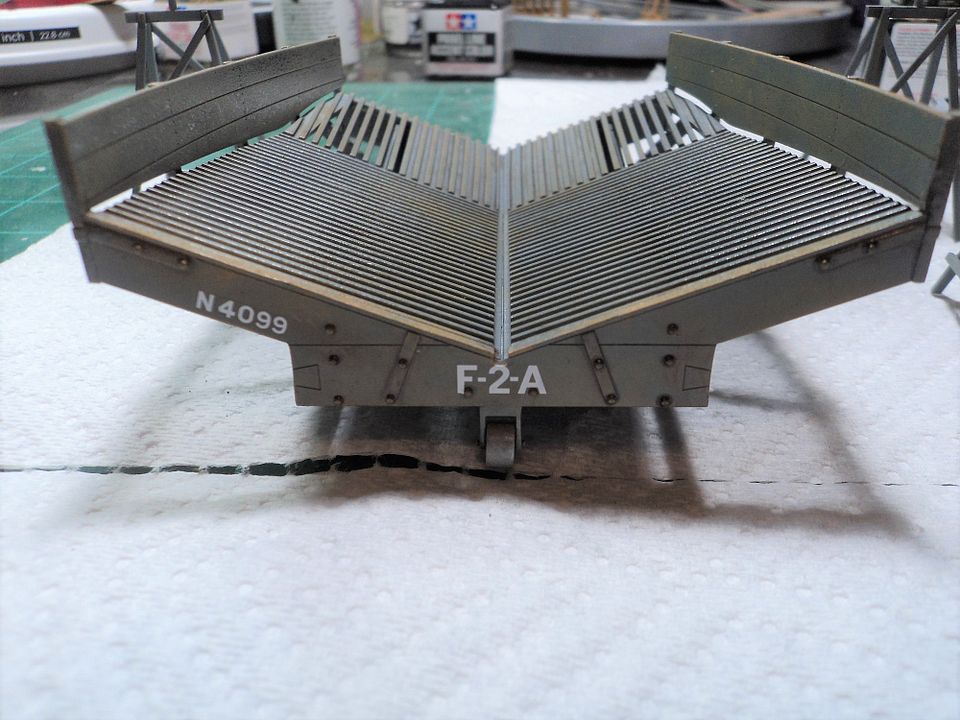
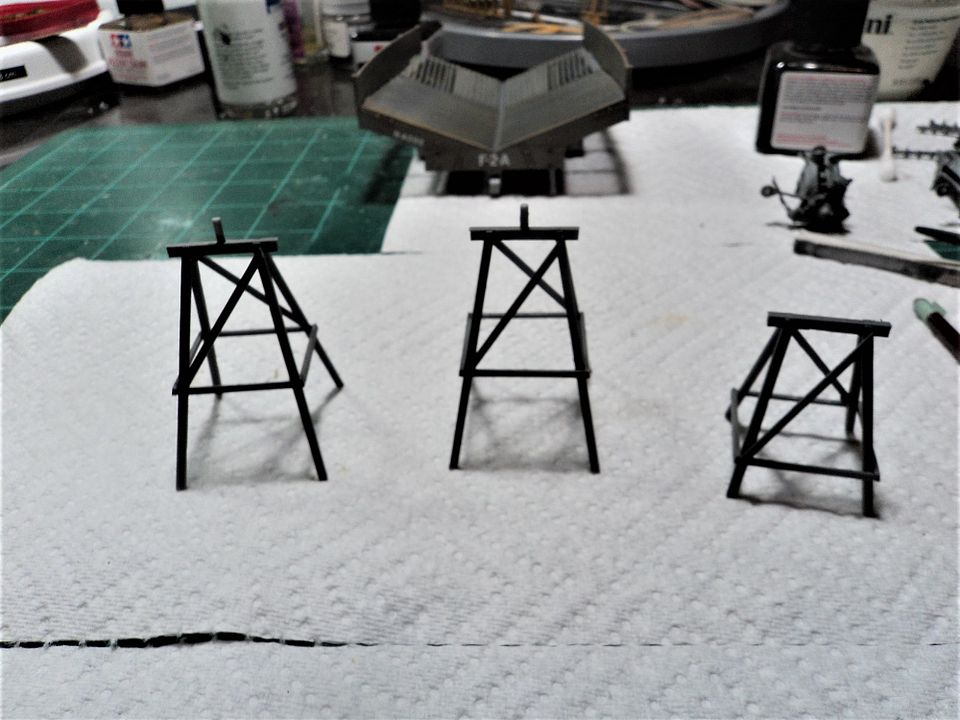
So, rather than start at the beginning of the instructions I started towards the end and worked my way backwards starting with the launching and recovery cradle and support stanchions. I painted it per instructions and did a small amount of weathering via dry brushing and Tamiya Black Panel line paint. I now had a support for the hull.
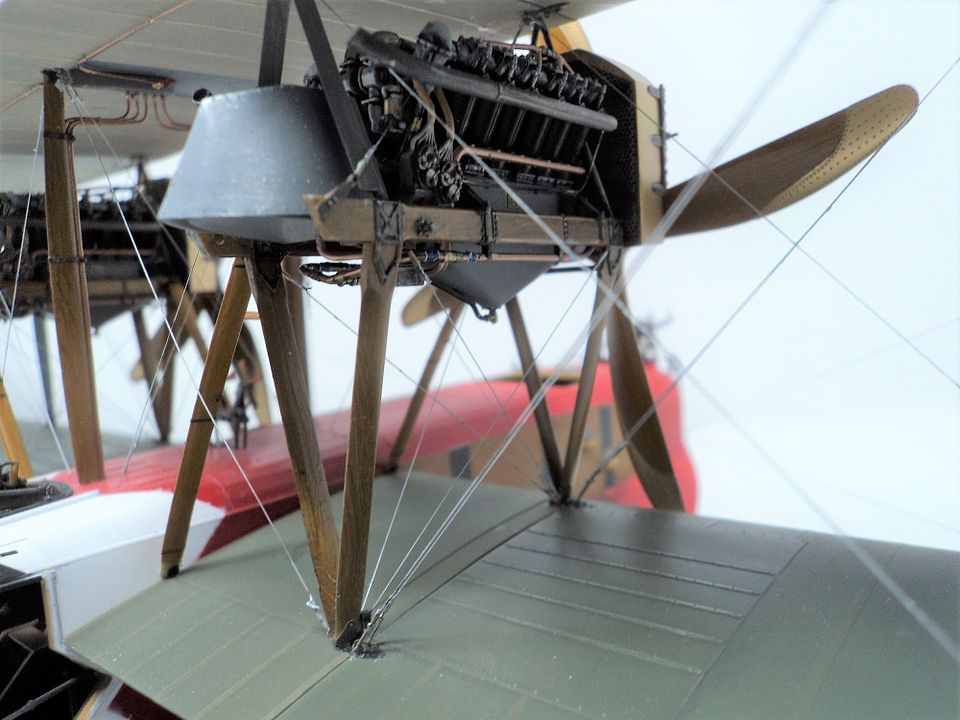
Moving along I assembled the engines. Normally I don't like this phase, I don't know why, but I found this to be rather enjoyable, save for trying to wrap those tiny decals around the pipe. Otherwise I am very pleased with the way they turned out.
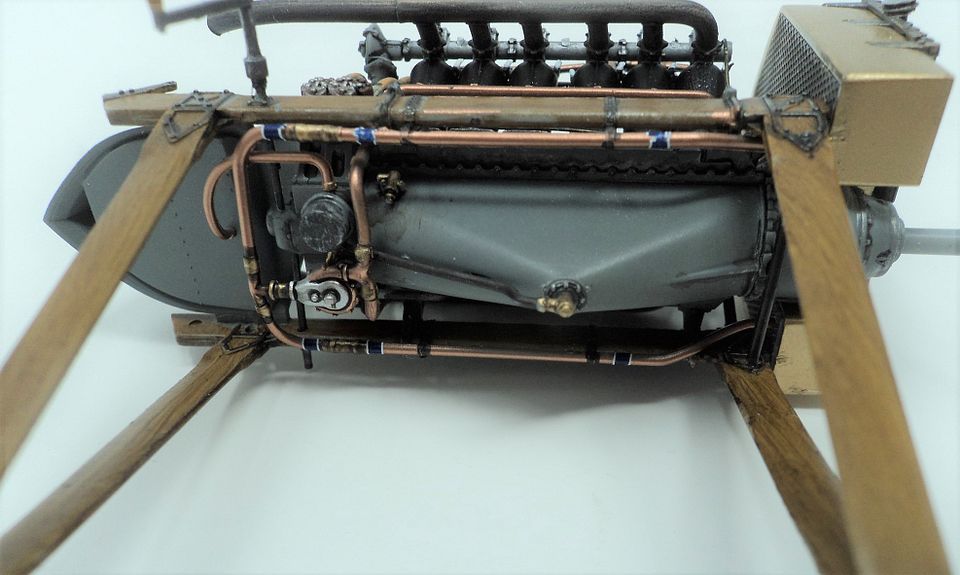
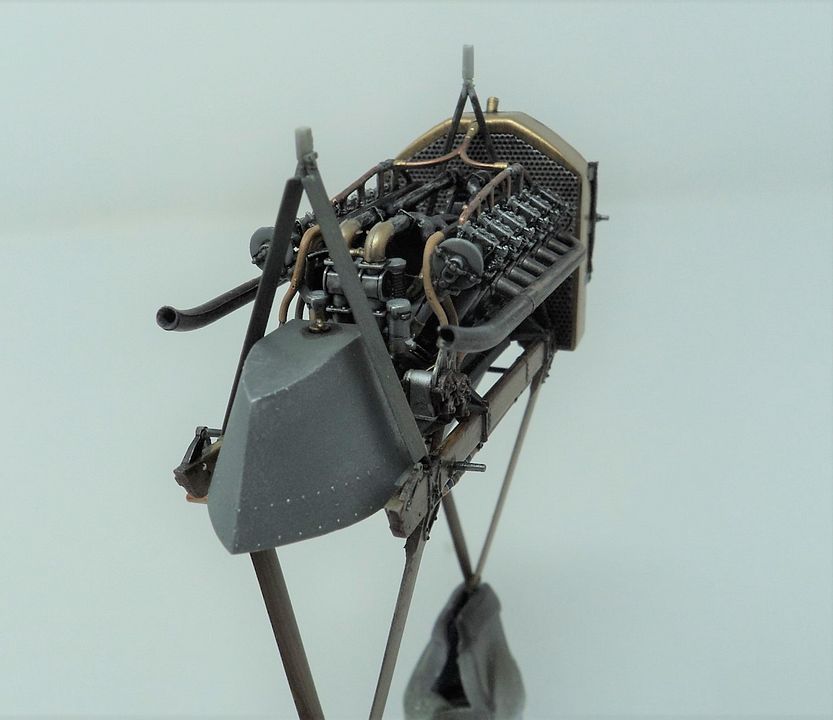
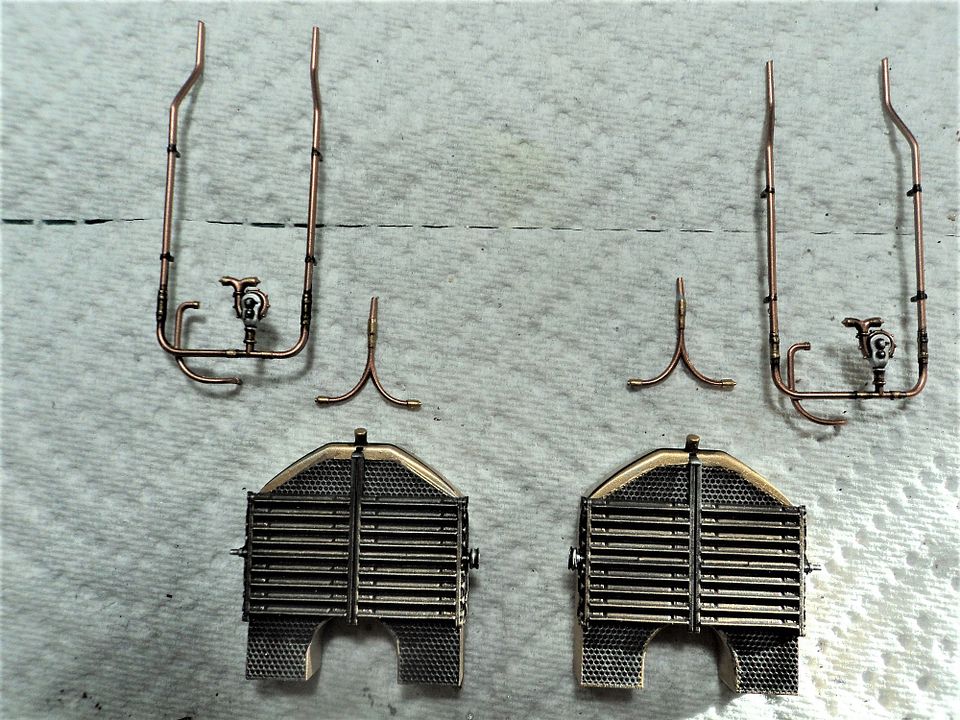
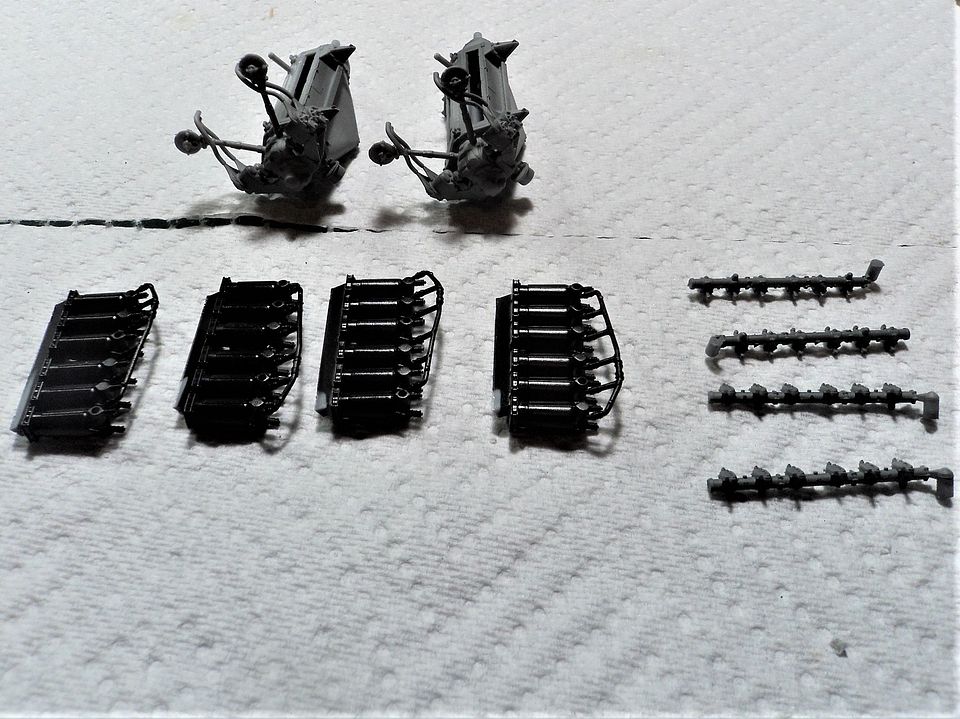
A word of caution on the engines ensure the engines are built left and right as there are pulleys that are left and right handed. WNW would have the modeler paint the radiators grey, but I opted for brass using ALCLAD Brass.
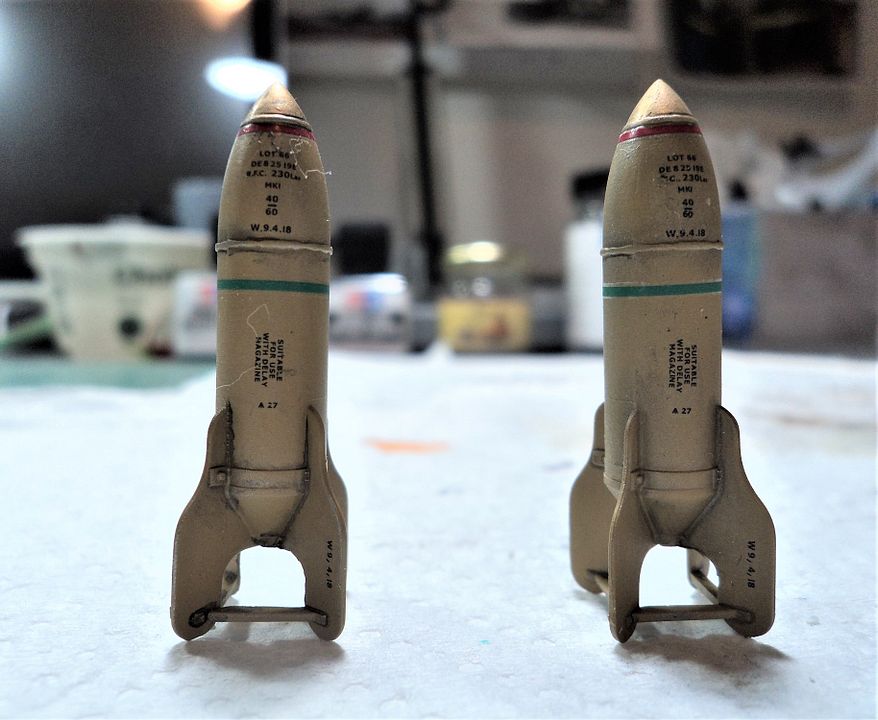
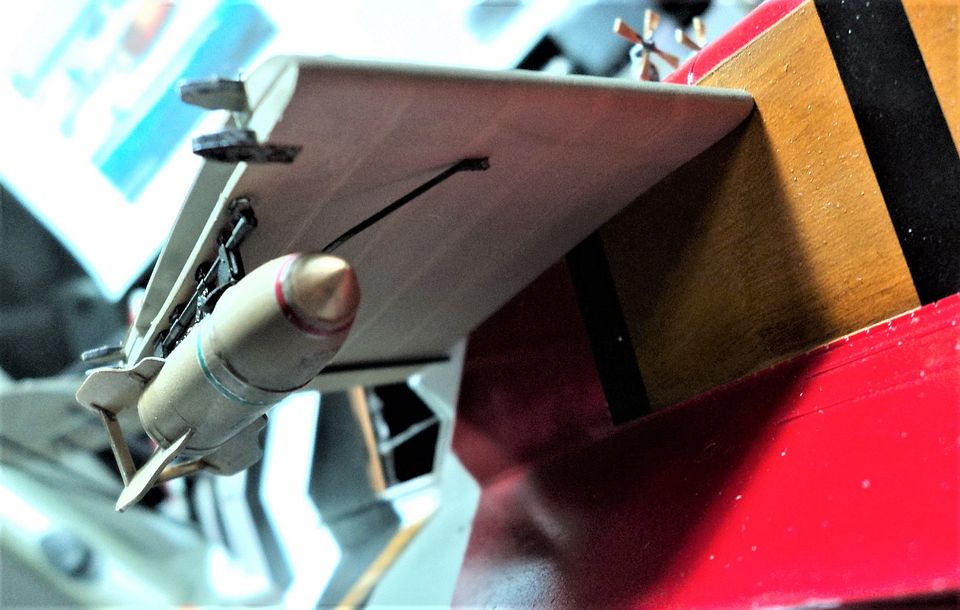
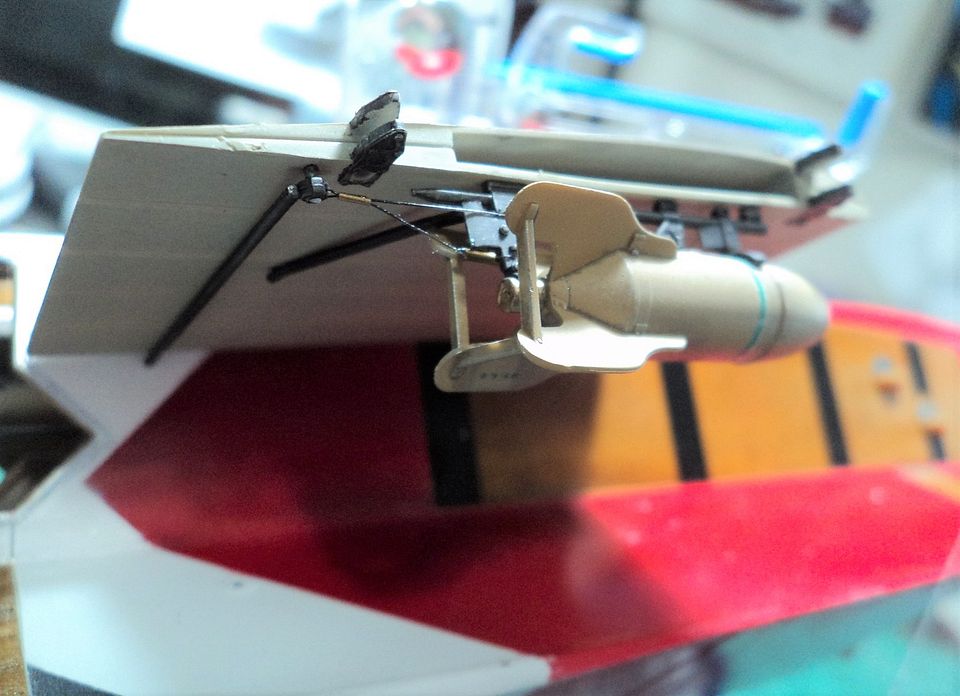
WNW Would have the modeler assemble and fix the bombs to the lower wing center section after the lower wing has been fixed. I thought it would be easier to work with the wing off.
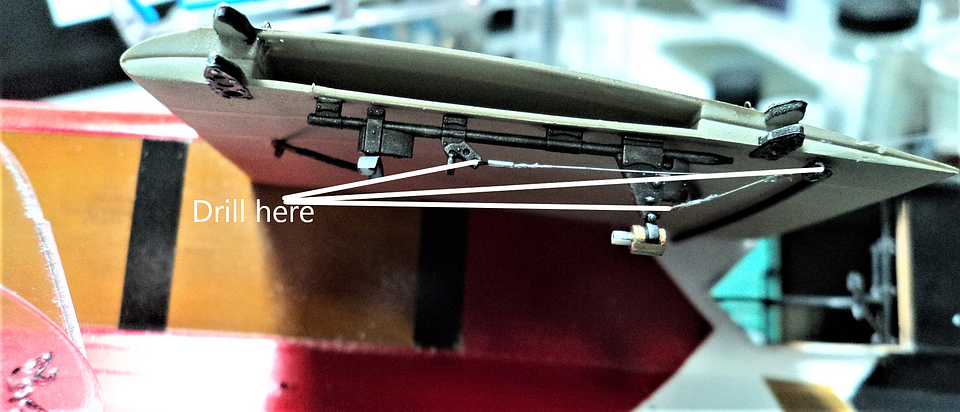
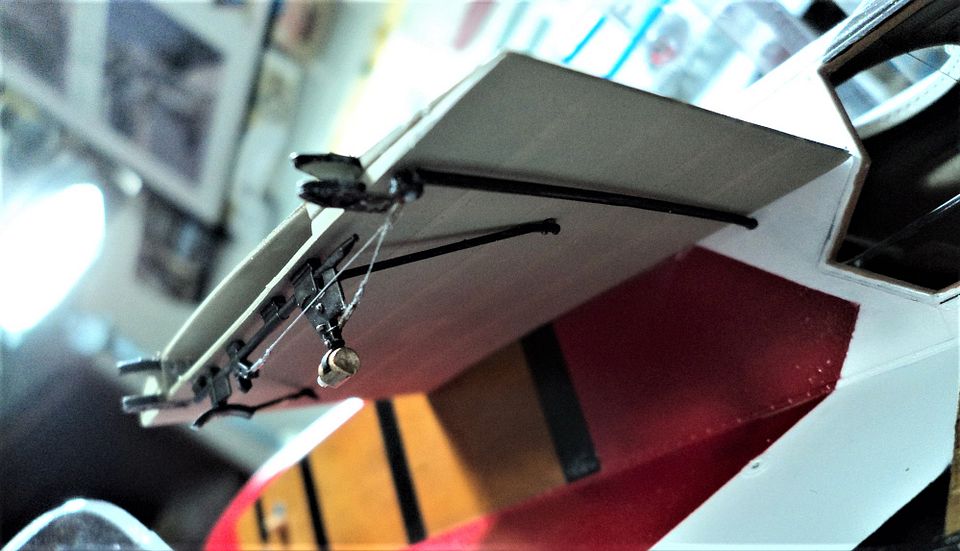
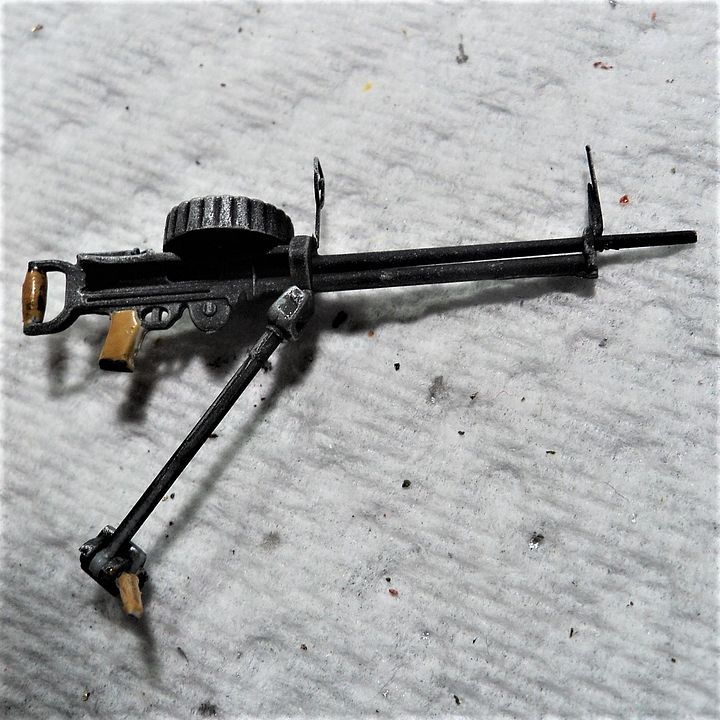
WNW Would again have the modeler install the guns prior to final assembly. The two waist gun mounts do need to be installed prior to buttoning up the hull, but the modeler can install the guns once the model is complete. Using care and some trimming on the mounts, it can be done.
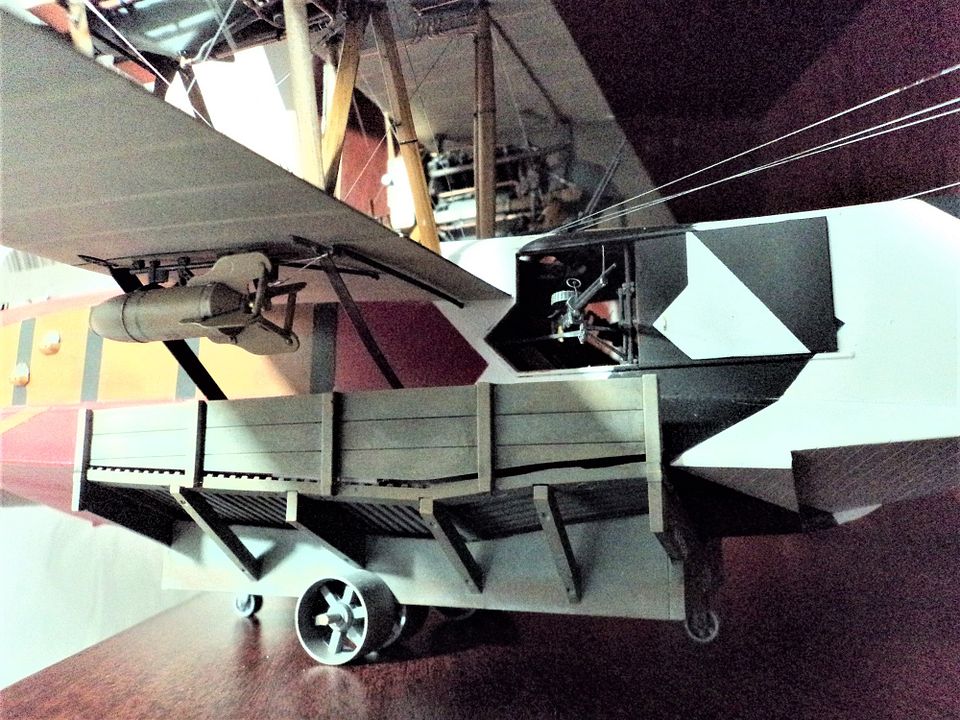
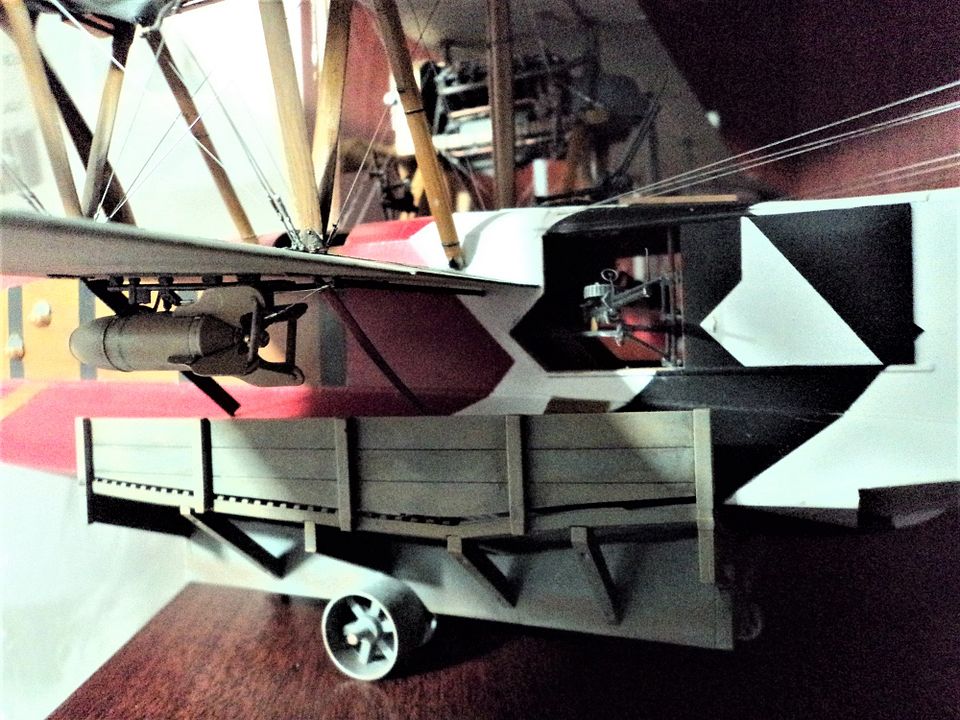
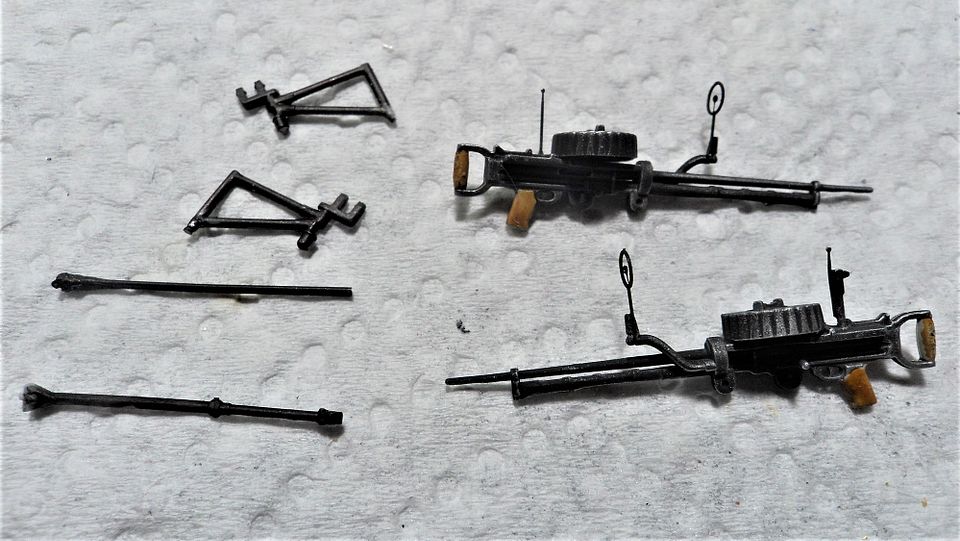
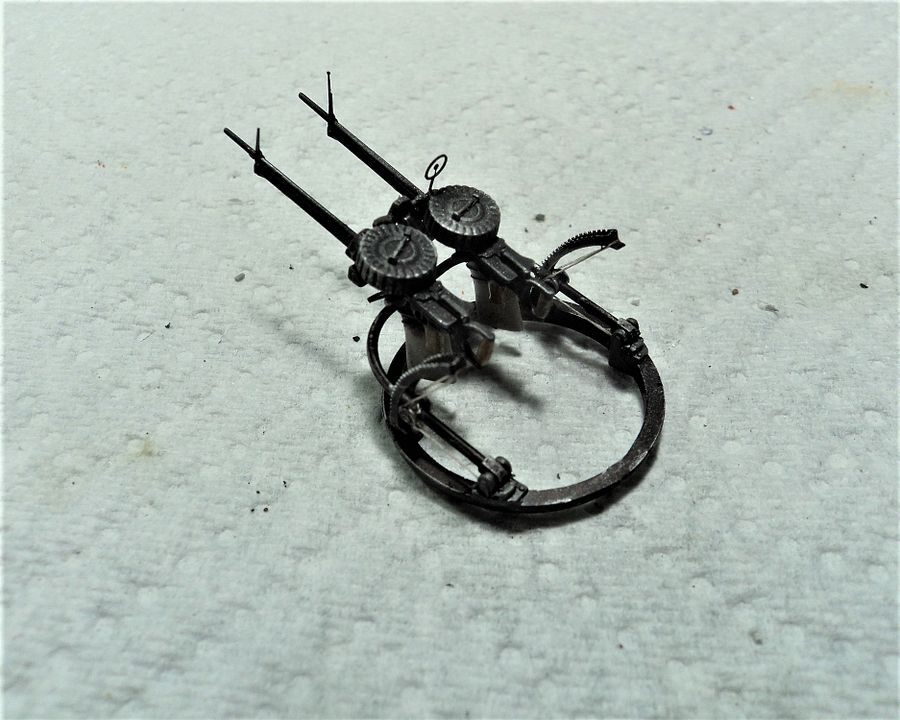
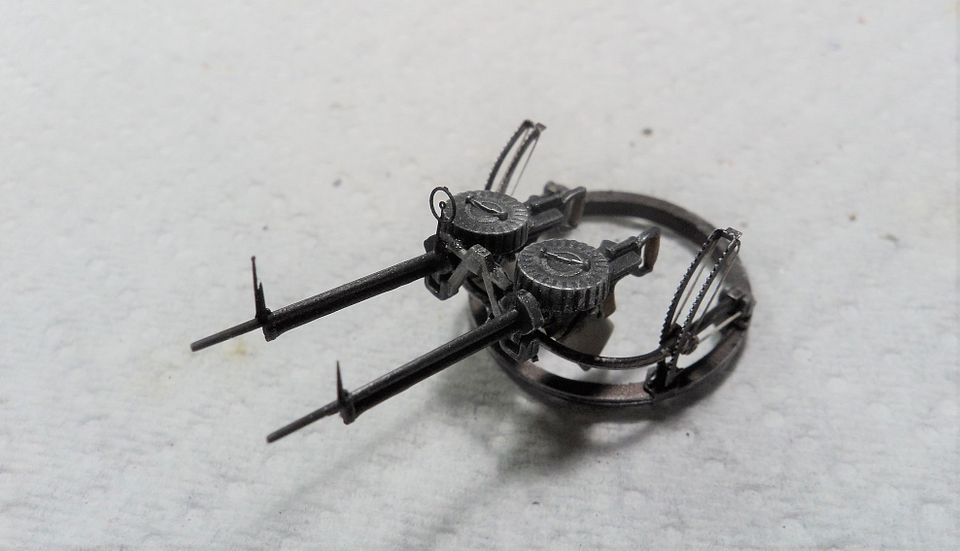


For the N4099 model the upper gun is on a stick like fixture. I chose to use the scarf ring mount and used that to mount to gun, installing late in the build. I like the looks of it.
At this point I went to the beginning of the instructions and worked my way back. Painting was as I went.
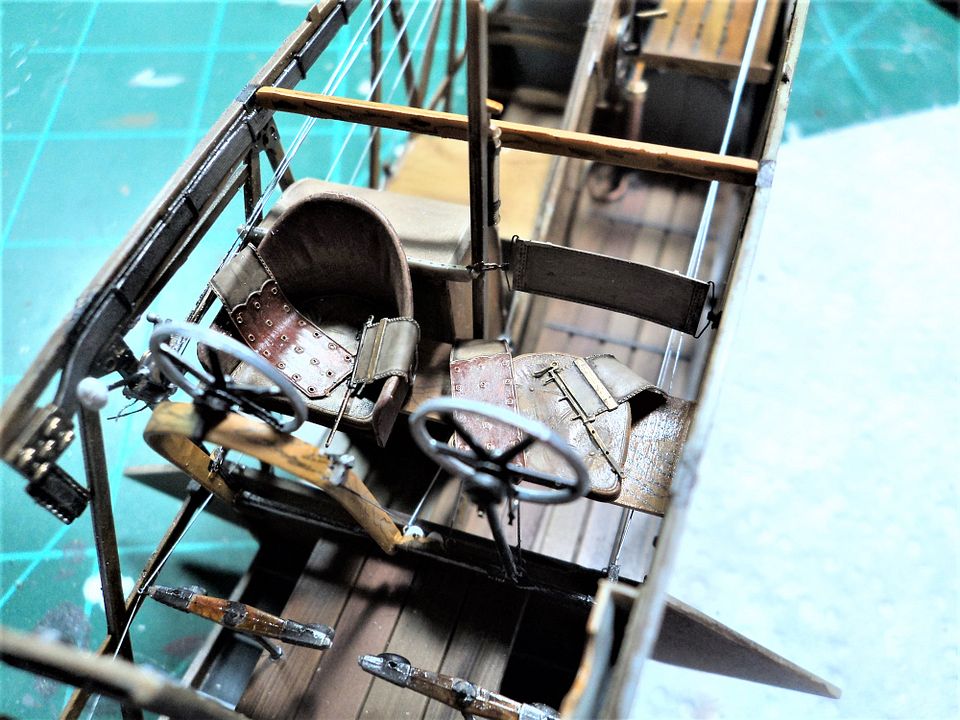
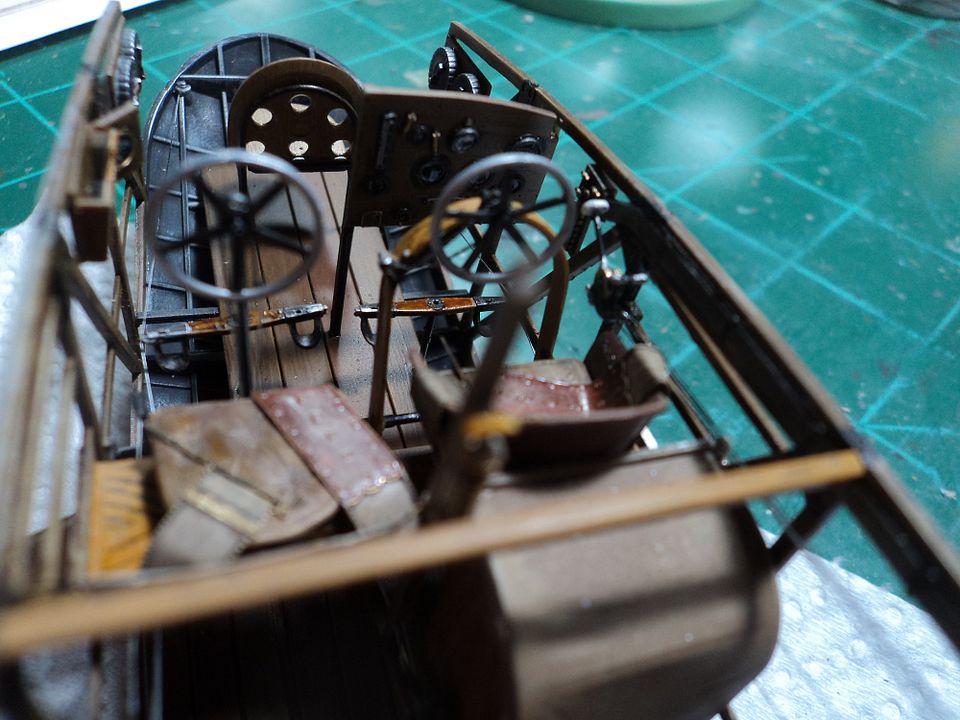
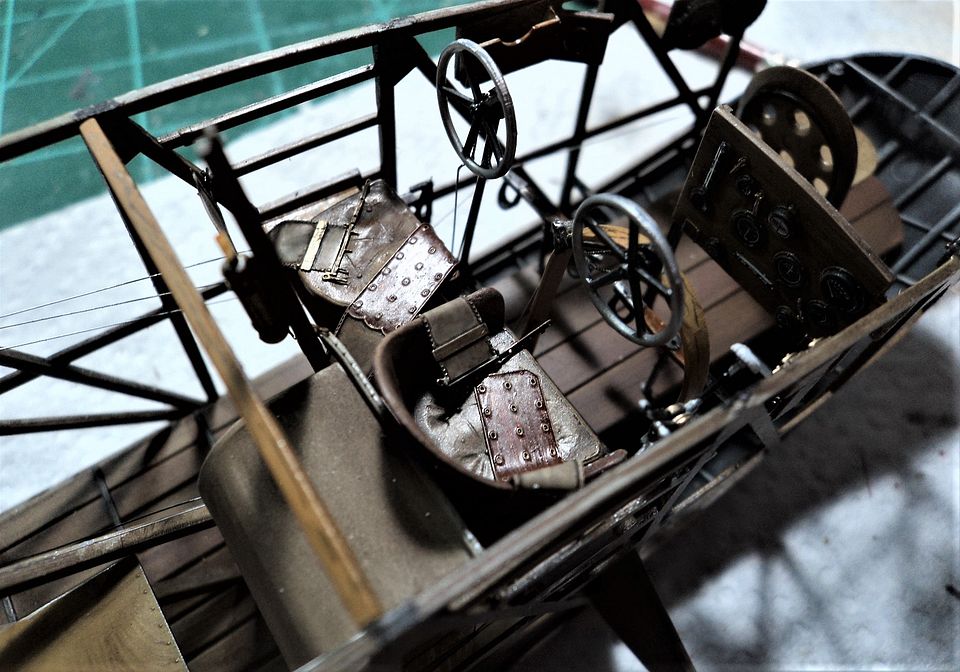
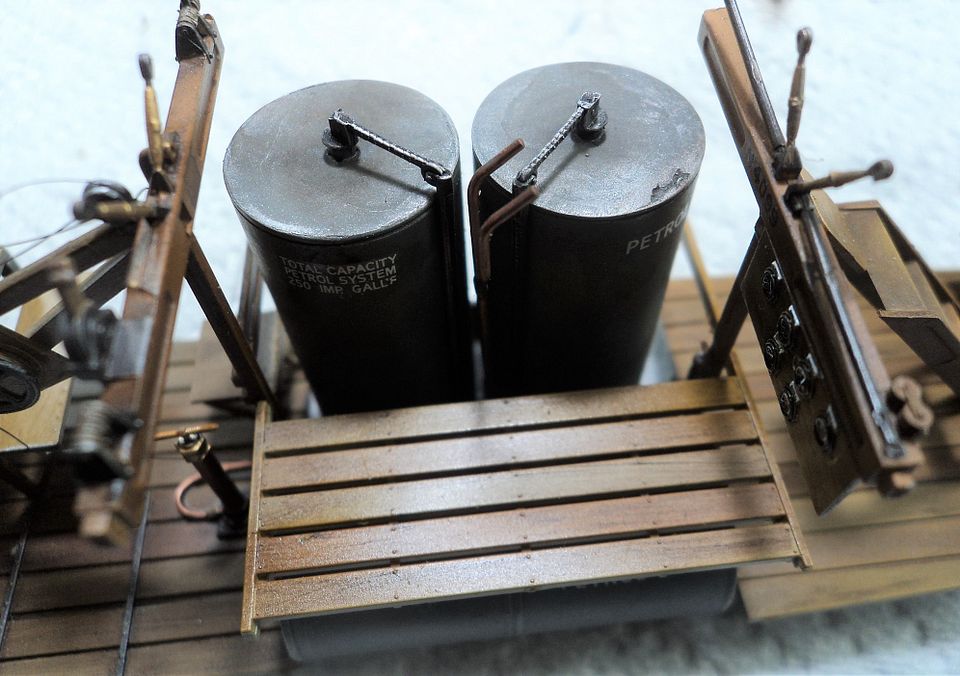
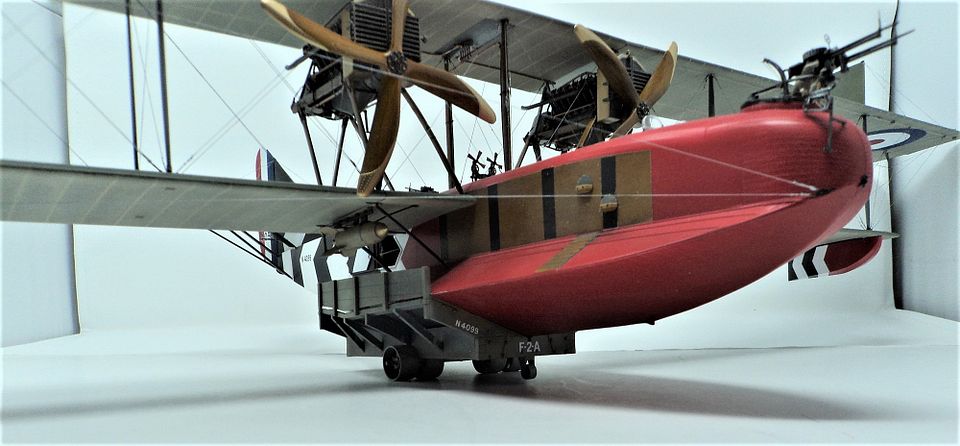
And finally finished:

.JPG?width=960&height=720&fit=bounds)
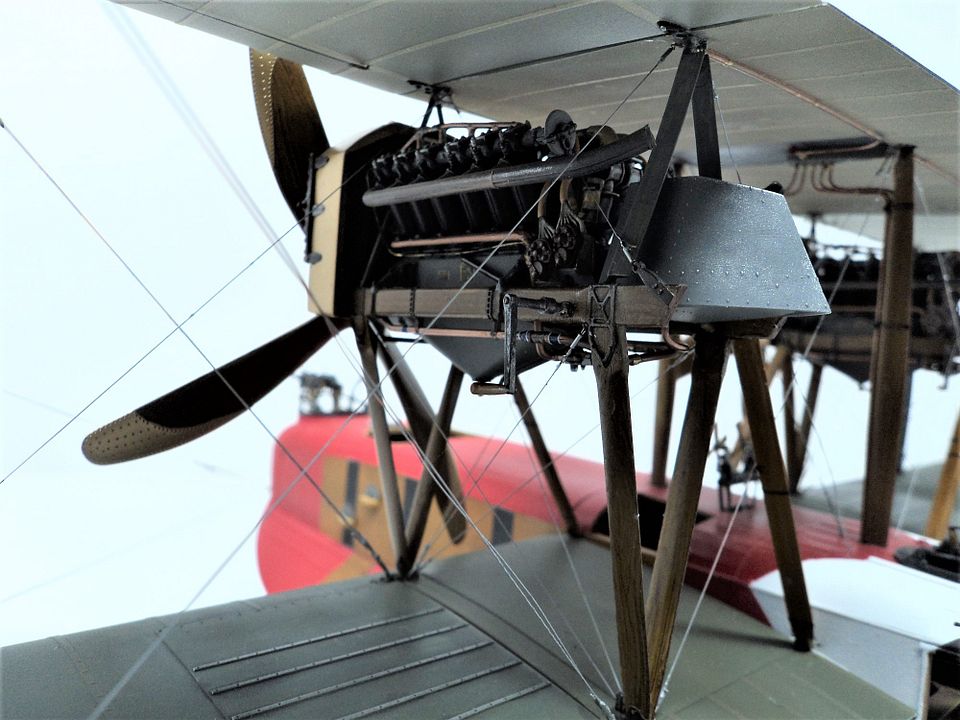
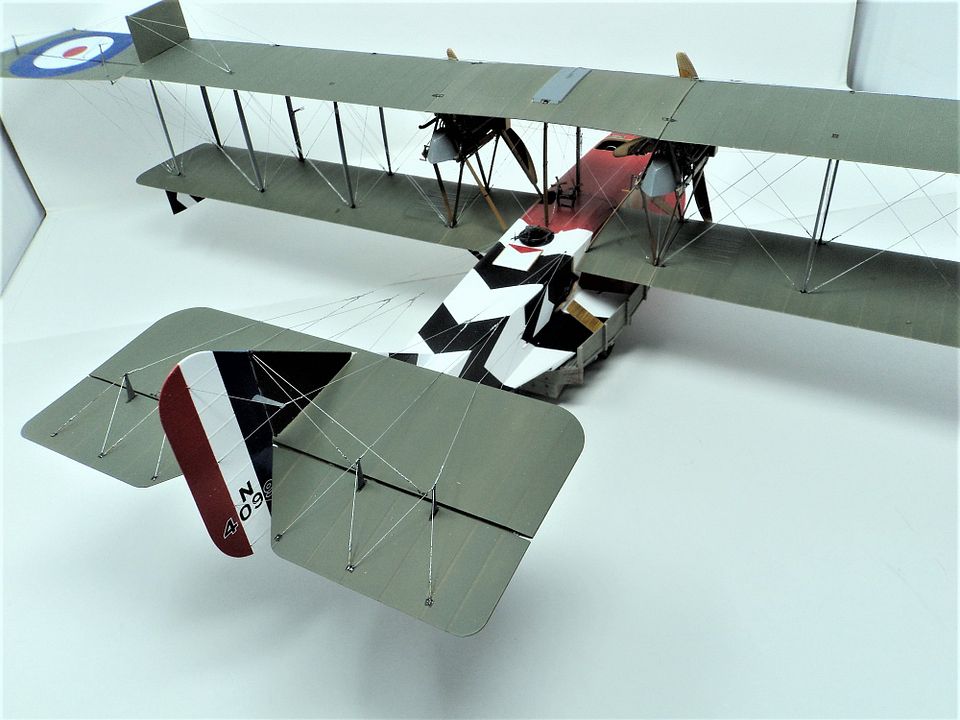
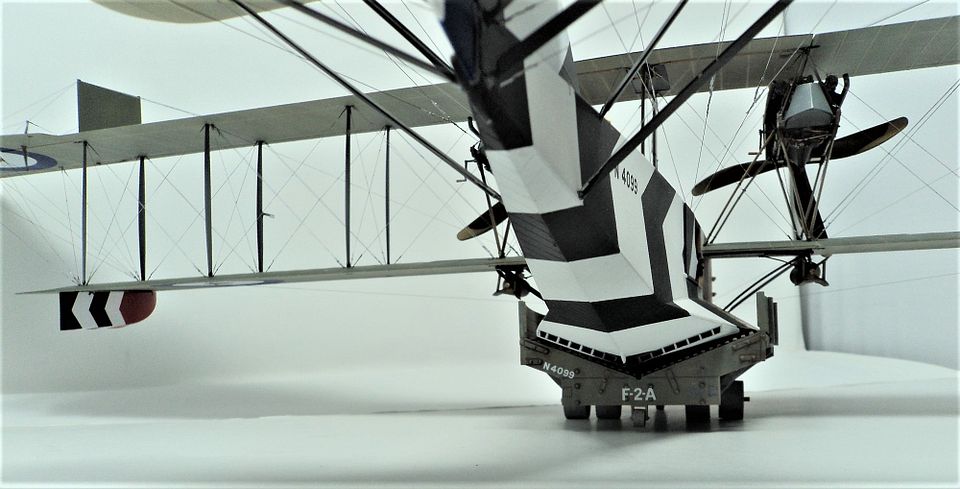
.JPG?width=960&height=720&fit=bounds)
.JPG?width=960&height=720&fit=bounds)
.JPG?width=960&height=720&fit=bounds)
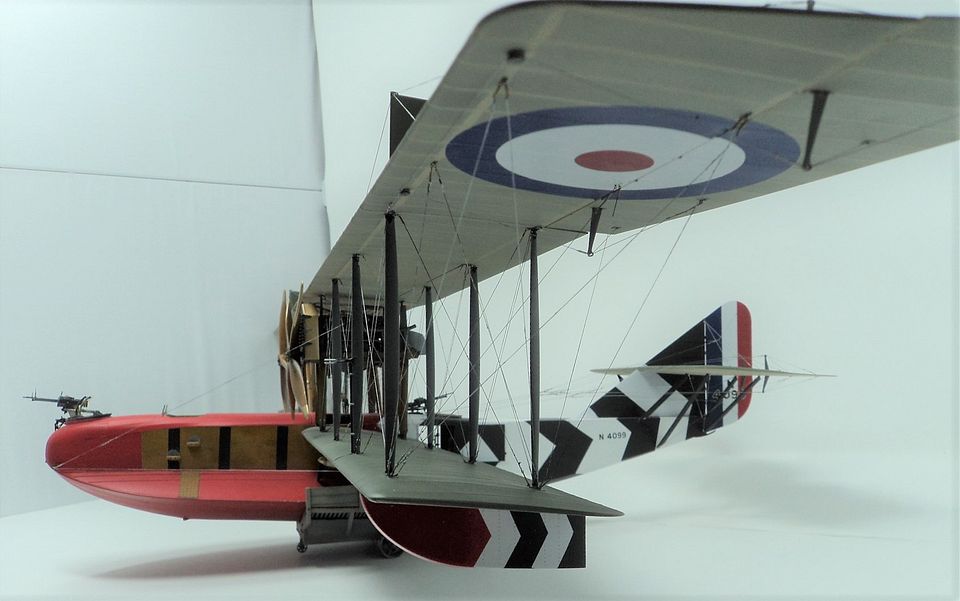
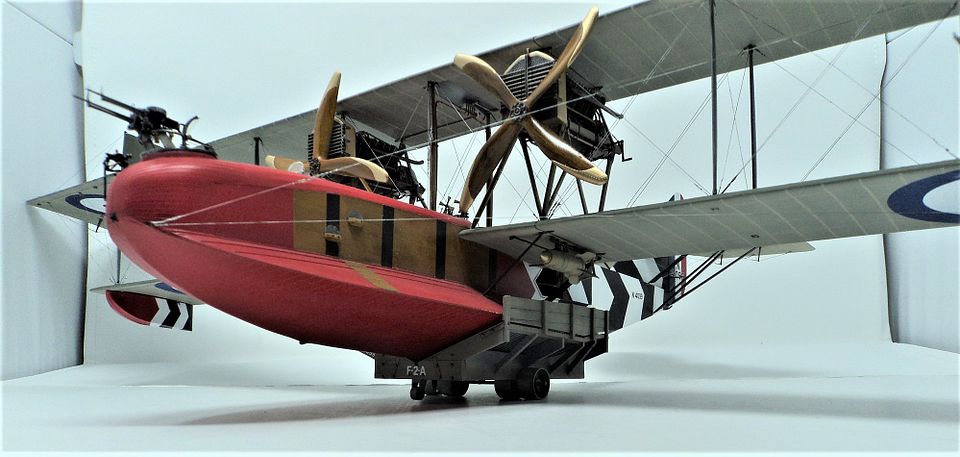
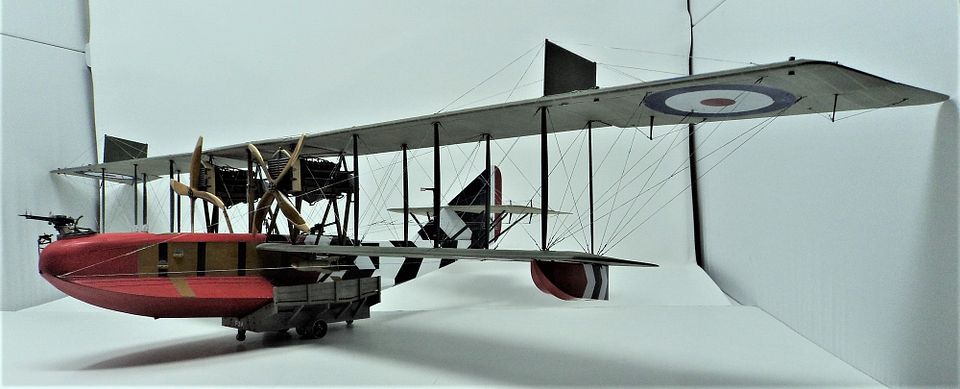
And there you have it. I used the non balanced ailerons as I like the look better than the balanced and it was delivered with the non balanced ailerons. The top gun, that's my choice as is the forward fuselage. The reference photo's and the profile show a solid red nose, but I like the wood grain to break it up. I would paint the cheverons starting from the rear of the airplane working my forward vice forward to aft. There were no clear images of the top of the airplane to denote which way the chevron tips should point. Should the point towards the bow, or the aft, so I opted for the aft. Another modeler on another forum went for the tips forward. EIther way it's a nice scheme.
I found it to be an ejoyable build. A lot of modelers think it will be difficult. It isn't. Time consuming? Yes, but not difficult I started on 11 January and put the waist machine guns in on 17 March 2021. It could have gone faster, but I work and some nights I just fussed a bit, most of the work was on the weekends. I would encourage any modeler who has a few Wingnut Wings kits built and has one of these in the stash waiting for that right moment to take it out and start.
Thanks for looking in.