Evening All,
Many thanks indeed to all of you who have dropped by and been kind enough to leave positive and encouraging comments. I really appreciate them, the more so after I had had such difficulties with the moulding process.
Gary: I do know that kits are available on the market, but I have a masochistic streak which means that I enjoy
making problems for myself trying to make my own parts.
Ian: I just wish my memory was better - it seems to be deteriorating rather too quickly for my liking! If it was better I might find solving some construction problems a little easier...!
Evening All,
I glued the new nacelle top to the sides while the rear of the nacelle was blocked off with thick card and filed to shape. A liberal amount of filler was applied to the joint between the moulding on the top of the nacelle and the sides and rear where the fit was not perfect. The obligatory sanding and filling followed...


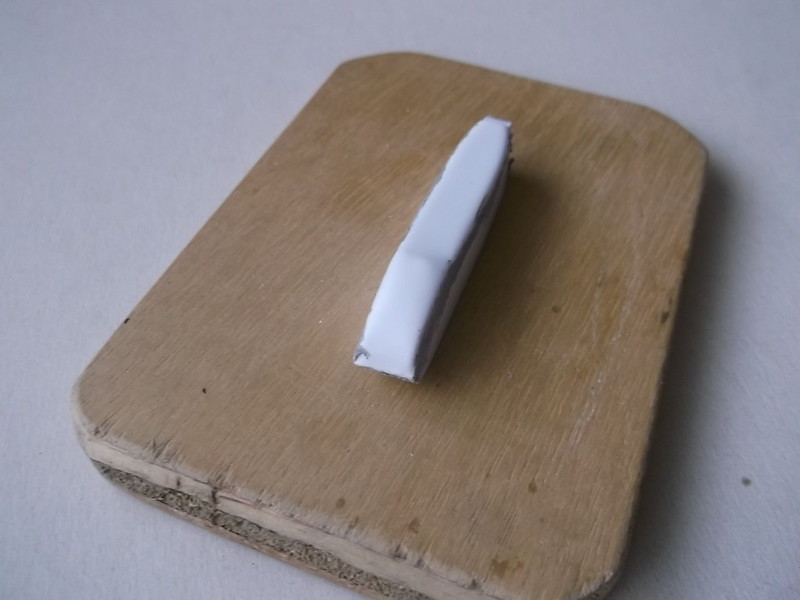
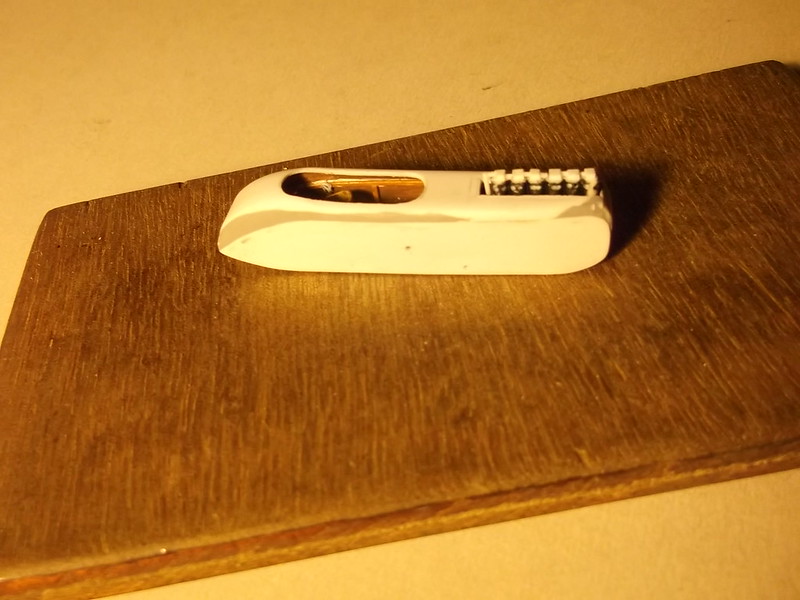
The nose now has the sharp edge and corners similar to those I managed to achieve on the Voisin. I have opened up the apertures for the cockpit and engine compartment in the nacelle. I cut around the outline of the openings with a new scalpel and finished the edges by carefully scarping and filing. The latter was a bit delicate as I did not want to damage the interior of the cockpit, although the pilot's seat was not in place at the time:


After fitting the pilot's seat I added some detail to the top of the engine: ie the part that will be just visible on the completed model. Basically I added the cam shaft from small pieces of rod between small cubes of card, the latter representing the housing for the valves on the top of the cylinders. Some thin pieces of rod on the side of the cylinders represent the carburretor intakes and I have drilled holes on the opposite side to take rod for the exhausts later. The engine was fixed into the rear of the nacelle so that I can now start painting.

Thanks for looking.
Stephen.

