Hallo friends,
here are some photos about the BrXIV:
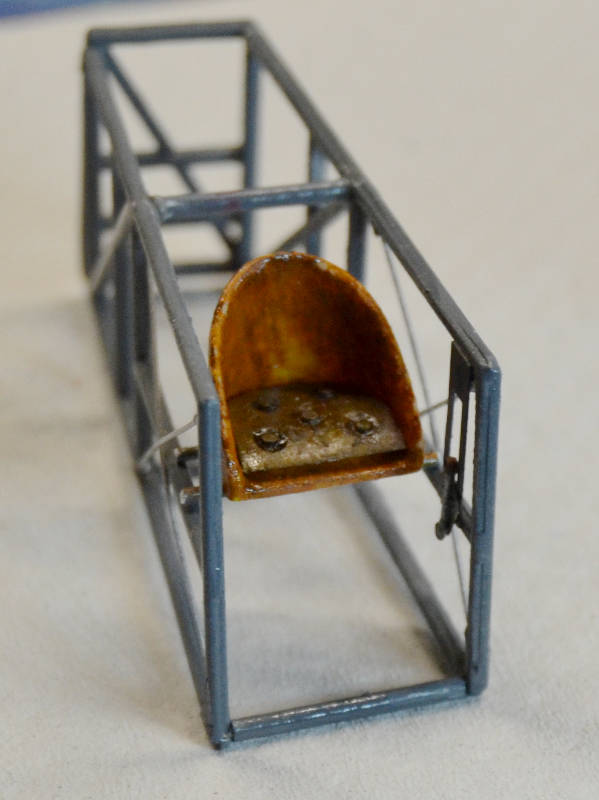
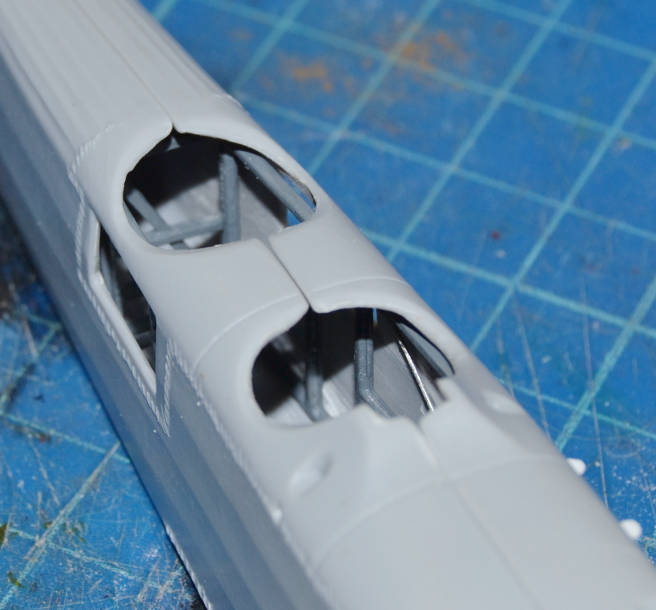
The cockpit cage is closed, the pilotseat is just laid on the framework:
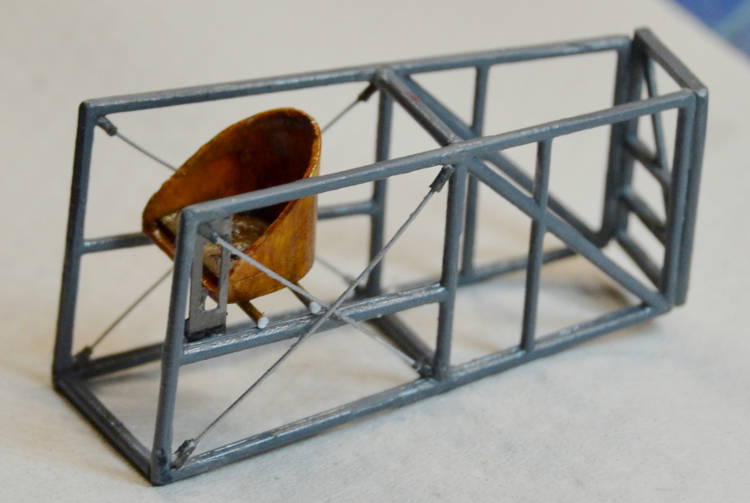

It took me several hours and diopters to understand how to make it fit inside the fuselage: using the pieces as they are supplied in the box the fuselage did not close.
At the end I gave up using two of the three transversal pieces and cut some crossbeams whose length was defined by hours of trial-and-errors.
The rearmost pglueing it against the rearmost wertical beams of the sides.
At the end the cage fits perfectly inside its hull:
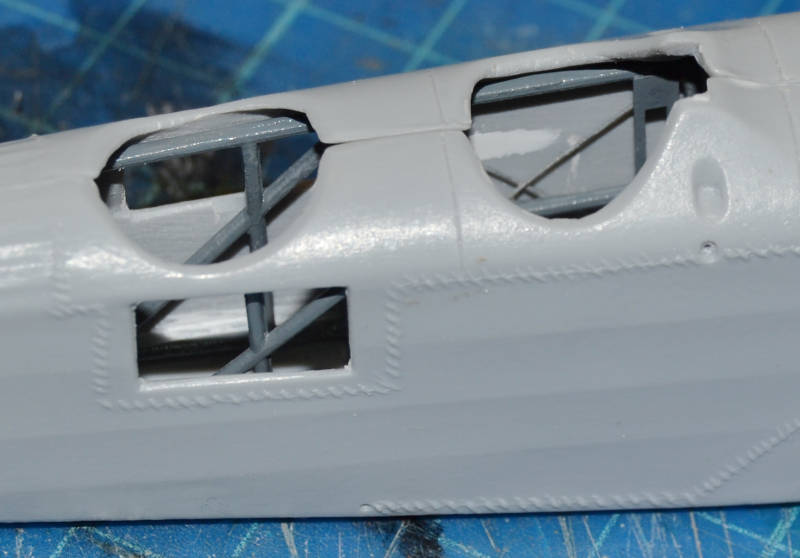
The rigging cables on both the sides of the pilot seat were made using 0.3 mm plasticard and the turnbuckles are obtained by drilling 0.8 mm plasticard rod with a 0.4 mm drill bit.
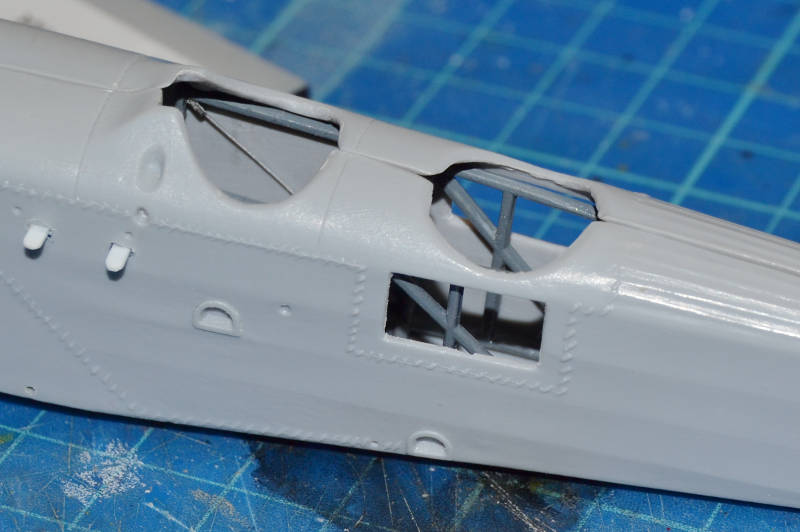
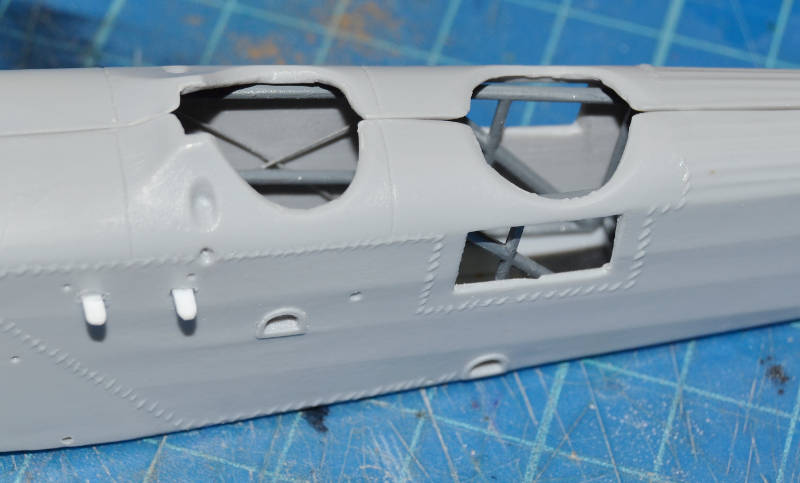
Another step towards the completion of the very complex cockpit installation was to fix the horizontal beam on which the control colums are set.
This was the cage as I dry fitted it initially, the horizontal beam I'm talking about is the white plasticard rod.
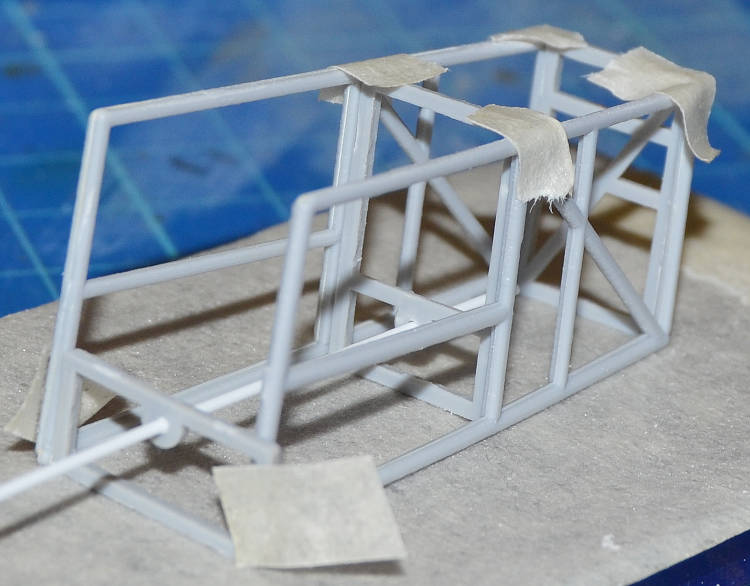
Now I will not use the two pieces which were conceived to hold it any more, so I will just cut the two subpieces that have the loop in which I inserted the white rod and glue them tht heir place after carfully shotening them to a suitable length.
The two control columns are supplied as photoetched pieces and I don't like the so flat.
Here is my plan to scratch build them: I will keep only the handles part and try to make a sandwich with some plasticard to make the handles round.
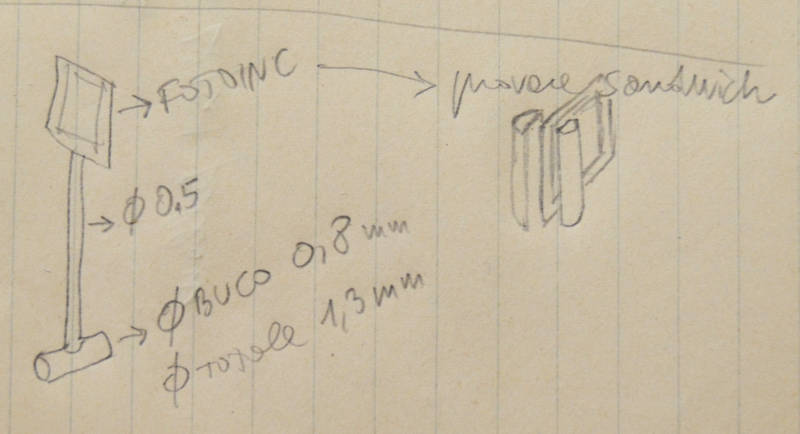
I'll keep the horizontal beam (diam. 0,8 mm) and have made 4 sleeves drilling plasticard rod 1.3 mm diam.
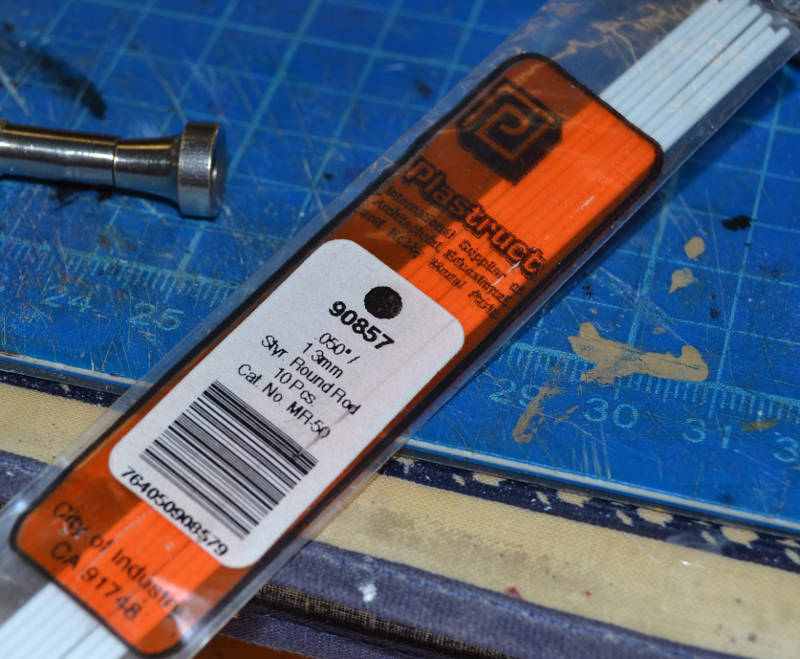
with a 0.8 mm drill bit.
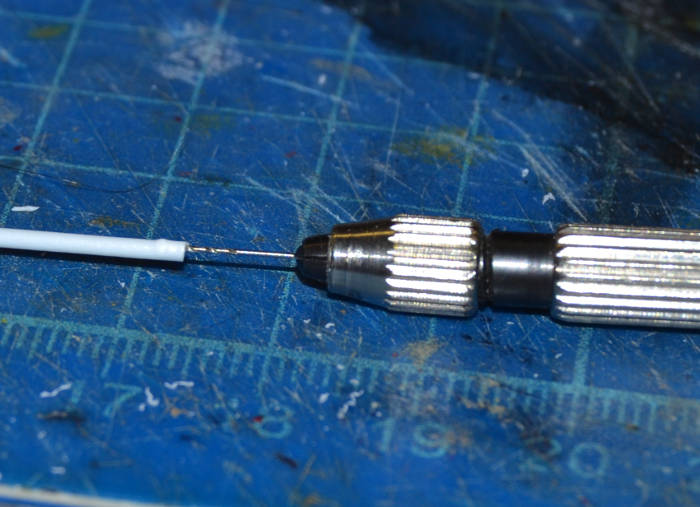
The beam will slide inside the sleeves and I'll try to drill the sleeves on their tops to host the control columns (diam 0.5 mm).
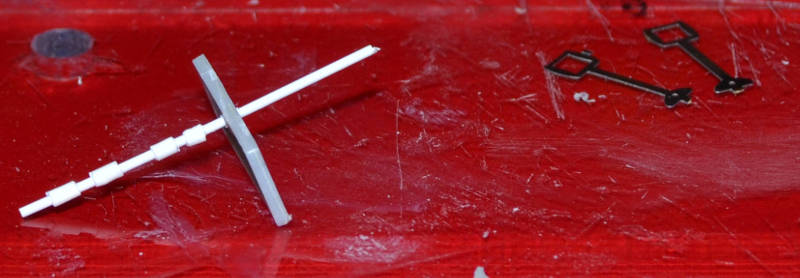
Here you can see the two photoetched columns and the sleeves (I need 2 but I made 4 in case the carpet monster is still hungry) inserted on the horizontal beam
Thanks for your attention
AnDonio

