Author Topic: WNW SE.5a Phoenix Project  (Read 10455 times)

Offline mgunns

  • Hero Member
  • *****
  • Posts: 2255
WNW SE.5a Phoenix Project
« on: October 30, 2012, 11:50:34 AM »
Greetings all:

With Des Permission I am putting this blog here.  Some on this forum have seen this on Aeroscale, but there are some here that may benefit from my mistake when tackling this kit. 

I have started this before and it ended up a mess, so it is just a build blog, I don't have AMS so no new ground will be broken; but I wanted to tackle this after seeing Lance's fine SE.5a in McCuddens markings with the fine a/m parts I decided to resurrect this kit that I started about 4 years ago when I returned to WWI modeling.  I had a temprary leave of senses and placed the kit in front of a space heater to "cure the paint", after forgetting it was there the heater melted some of the parts, so I got another kit, built it, and now feel ready to try again to salvage this kit as WNW now offers parts for a modest price.  I am not sure what markings I want to do it in so I have a 4 blade and two blade prop for whatever I decide.
This is not a hard kit, but it is complex and proper fitment is key to smooth modeling.  The instructions, albeit good, jump around a bit in the early interior stages and if one gets impatient or rushes, disaster and frustration can ensue.  Hopefully this will help someone new to the WNW SE.5a
Per usual the by now familiar box cover:
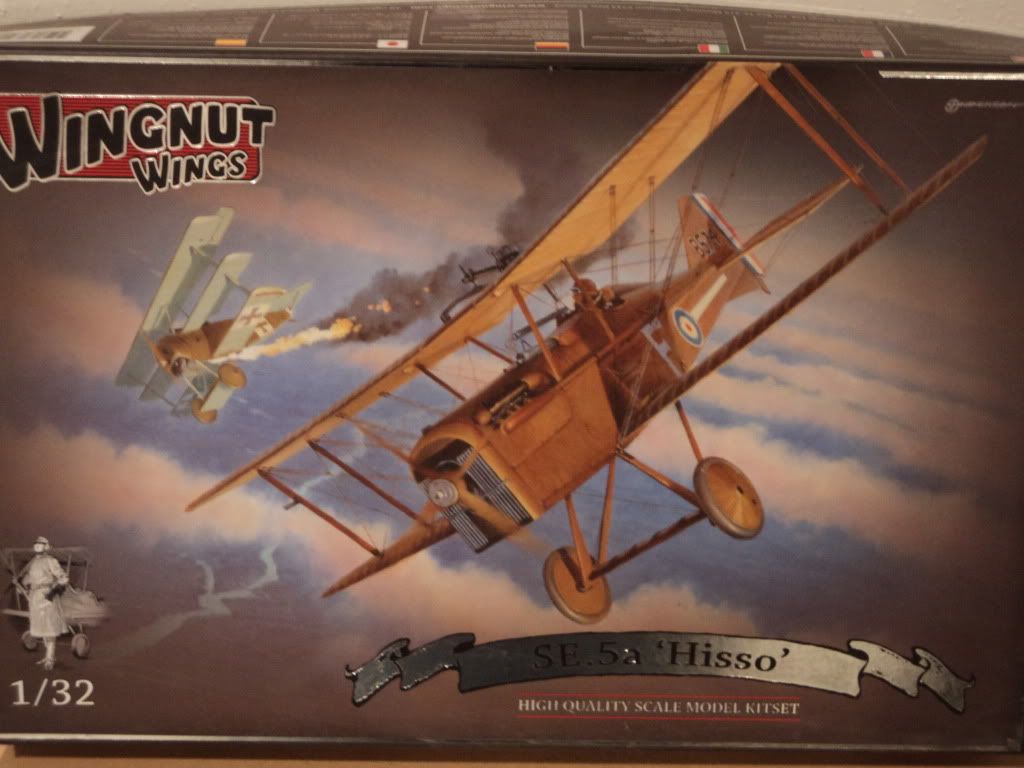


When I started this back in 08 I was new again to the WWI modeling side of the house and always liked the SE.5 and started in on this kit. My modeling skills were somewhat rusty and I rushed the model to include putting it under the space heater to hasten the drying of the paint: well as will happen I got distracted only to find to my horror much of the plastic had been melted. I was devestated. I quit the blog then and there. I tossed some parts, quickly retrieved them and now four years later am applying surgery and skills I have learned from building and this forum and am ready to try again.
Here are some of where I was at that time:
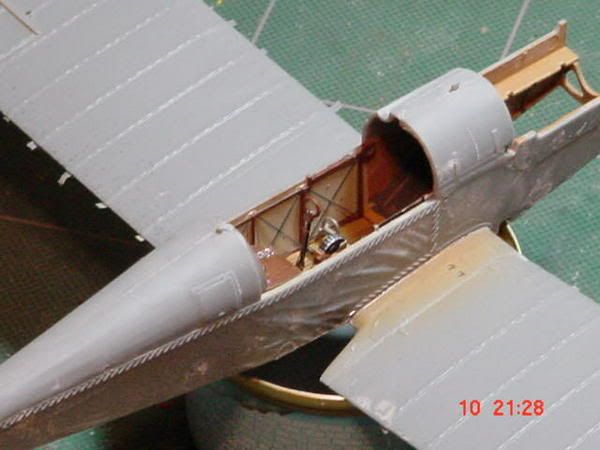

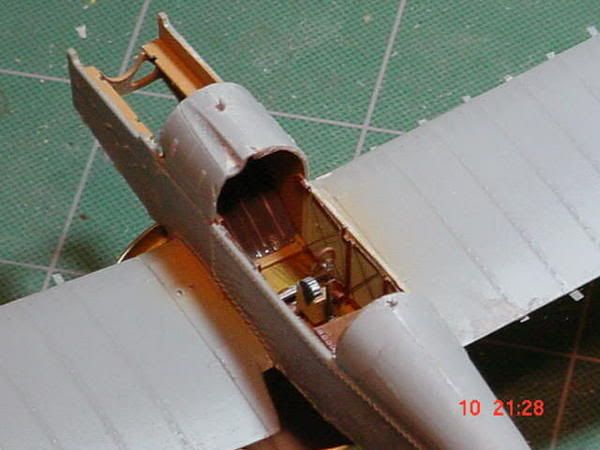
I had gotten further than this as I had the cockpit coming and paint on the airplane. I was frustrated as I was using PE for the first time and had not filed down the plastic, so I had fit problems, it was a mess.


I had also missed the part in the instructions on page 8, parts D3 and D2 and on page 9 parts D12 and D13. The aileron mounting parts which hold the ailerons place in the wings: the instructions aren't real clear and unless one studies the instructions they can be overlooked, as I did, they are shown below.

Page 8:
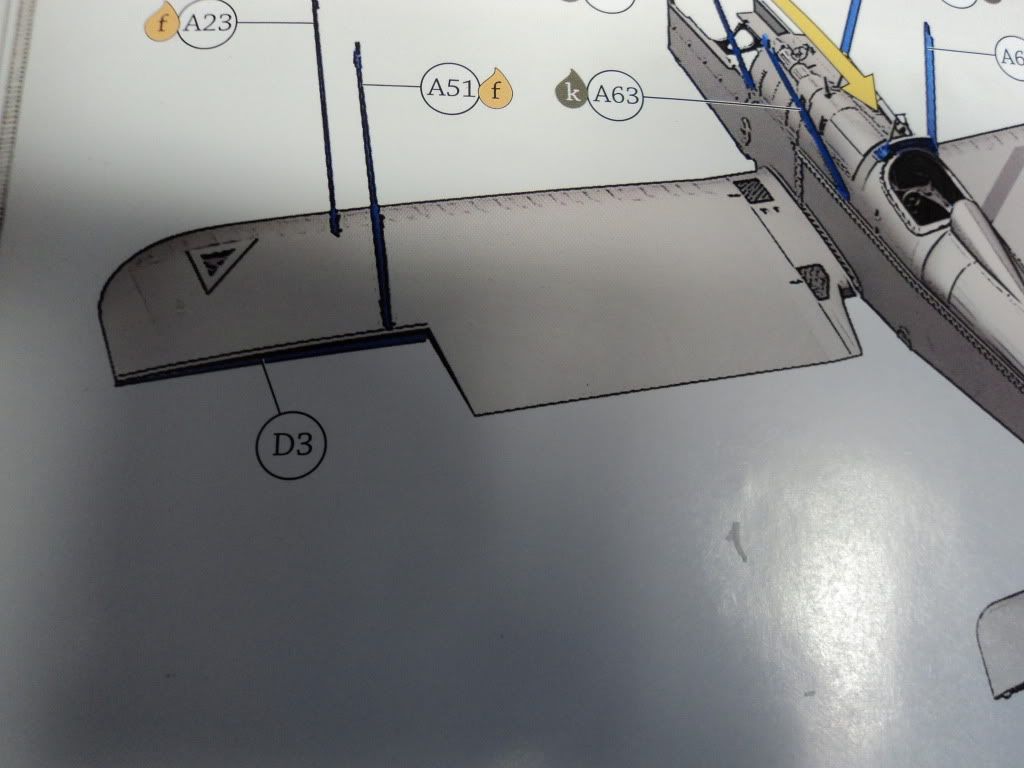
Page 9:
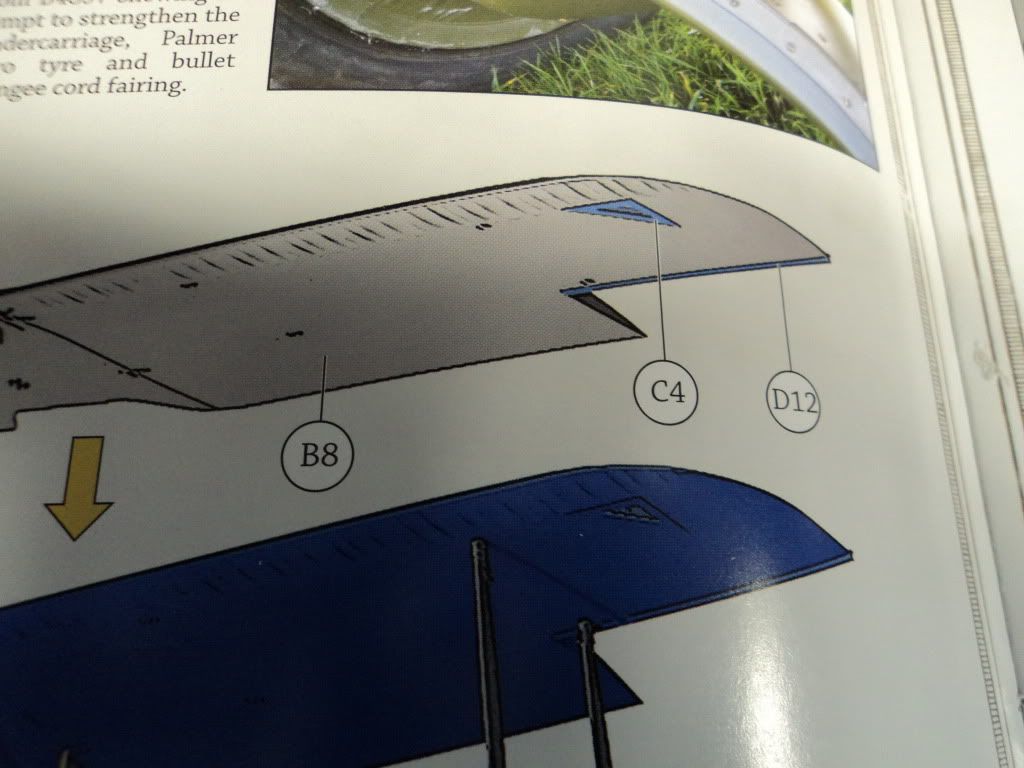

You can see in this photo where I had left those parts off by the gap. I thought it odd that they didn't fit properly and I had thought I had followed the instructions, but I had missed it completely until I did the second kit.  This has now been repaired.
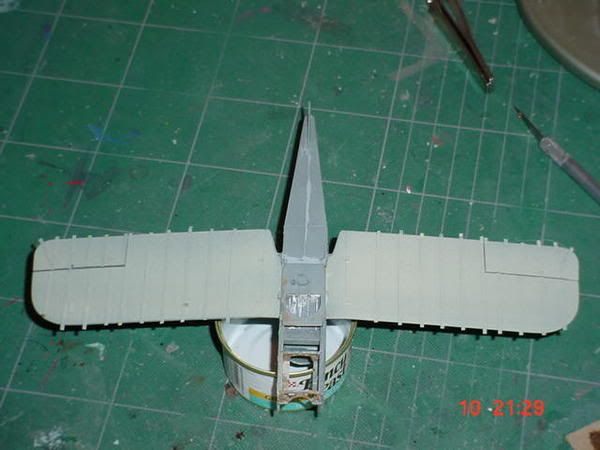


I took the ailerons off the wings and installed those parts that I had left off and repainted the undersurfaces of both wings.  Now there is no unsightly gap, and the ailerons fit much better.
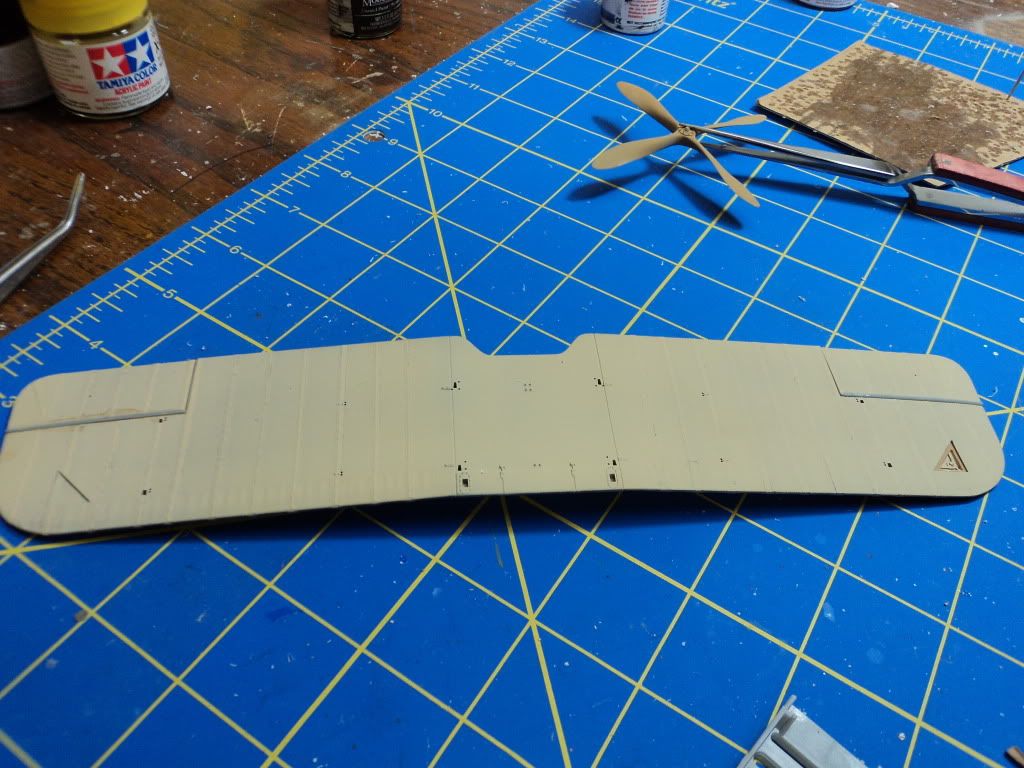


I am presently working on the cockpit interior and will try something different. I have seen some of the modelers assemble one fuselage half to the wing to enable the modeler access to the cockpit interior and rig the controls. That is where I am at now.
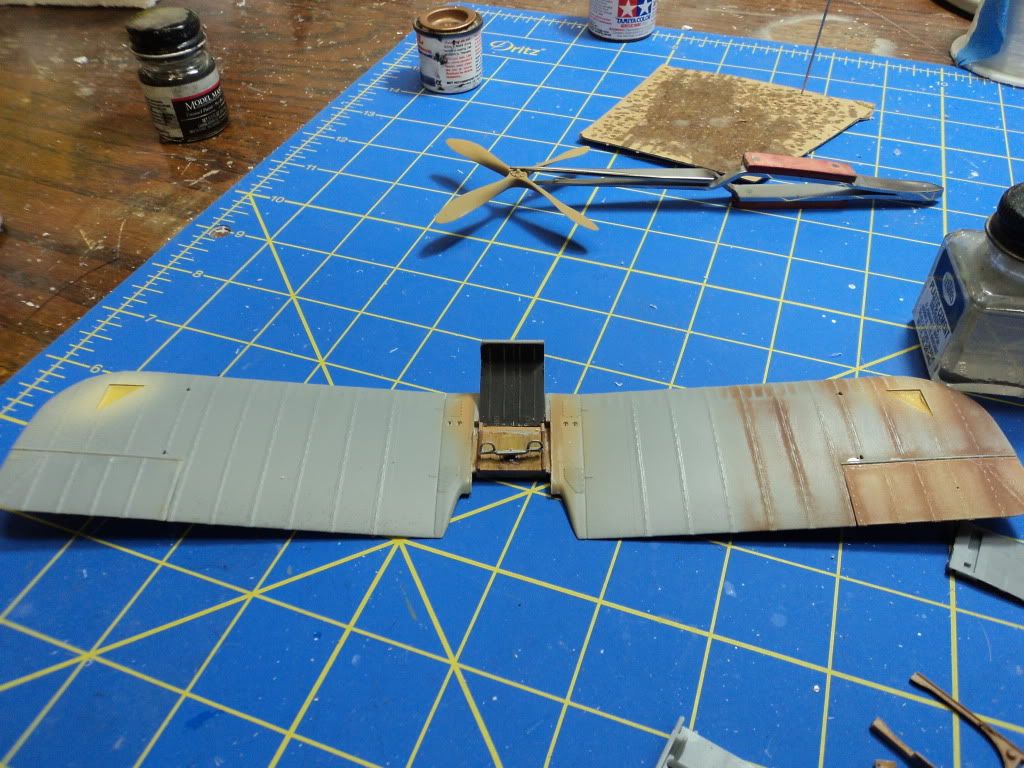
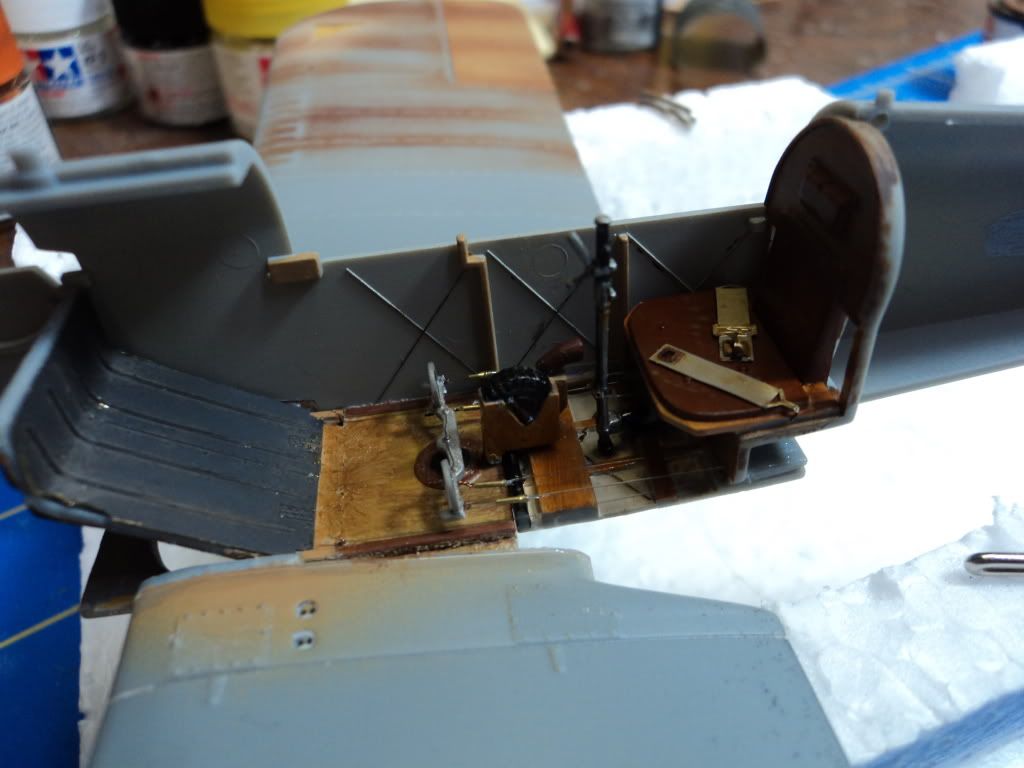


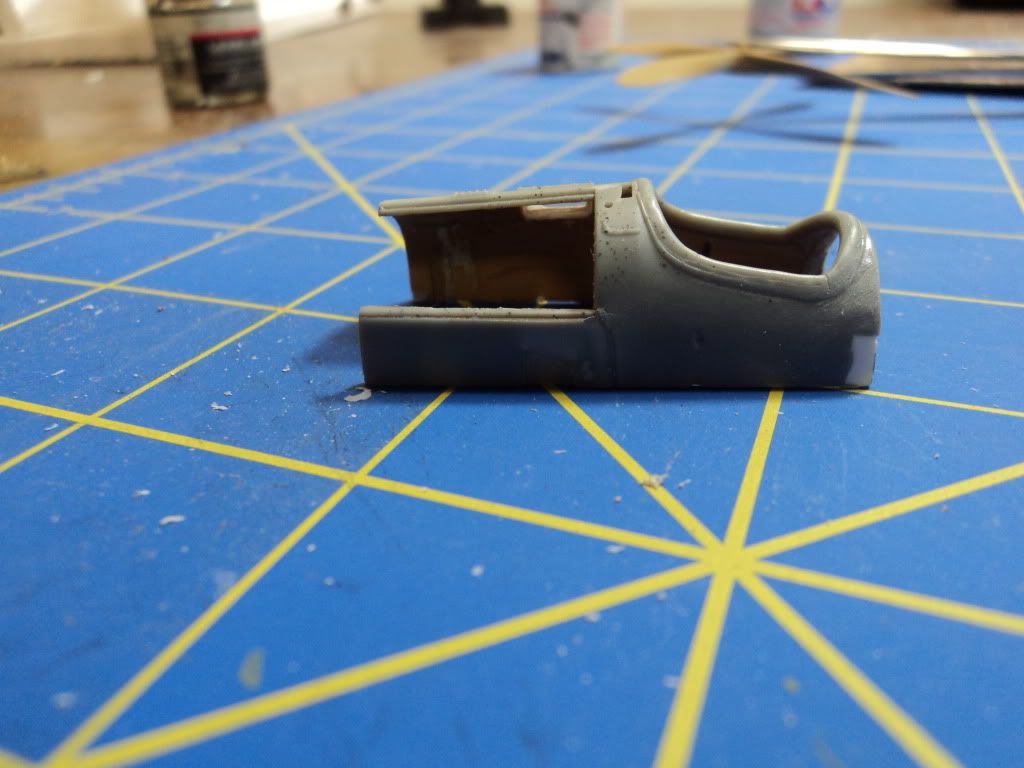
Here is the cockpit coming with repairs. Thre was a chunk out of the back side, you can see where I repaired it with sheet plastic and the forward part was off when I pulled the coming apart trying to salvage it. I had tossed it but managed to retrieve it from the trash and it is now repaired satisfactorialy.

Stay tuned for more of the rise of the Phoenix.

Thanks for stopping by.

Best
Mark
« Last Edit: October 30, 2012, 11:52:08 AM by mgunns »
Mark

We few, we happy few.....

Offline mgunns

  • Hero Member
  • *****
  • Posts: 2255
Re: WNW SE.5a Phoenix Project
« Reply #1 on: October 30, 2012, 12:05:40 PM »
Okay Folks, here we go with more progress,I did some work on the interior that I hadn't done on the first go around. I followed some of Des' ideas and didn't button up the cockpit per the instructions. I rigged the controls using Bob's Buckles and "invisible thread" By not buttoning up the fuselage, I was able to rig the controls, and then thread the rigging material through the holes in the base of the seat and secure them in the back with super glue.


And now ready to button it up but not before putting the cross bracing beneath the floorboards.
I had the Eduard PE set for this a/c that I used some of in the second build, but wasn't comfortable using it, so I put it to use this time, being more comfortable using it.


And now the fuselage halves are together:


Okay, one area of this kit that can cause the modeler a lot of grief, at least it did me, is part A45, the firewall "thingy":  on page three it shows part A45 in place, but it is unclear exactly how it is to be fixed to part A38 which appears on page five.

Here it is on the model:

Then on page 4 it shows the assembly of A45 in place with the fuselage halves in place.  It was all a bit confusing as it didn't seem to follow the sequence of events:

And here it is on the model:

It is at this stage of assembling on page three that the modeler should refer quickly over to page five to see how how part A38 is fixed, then when the starboard fuselage half is fixed to the wing, part A45 can then be adjusted for proper fitment onto part A38. It is very confusing and can lead to a poor fit of that part of the cowling assembly.
I left if off until I had the fuselage halves put together, at that stage it becomes clear how it is supposed to fit and can easily be fitted in its proper place.  If the modeler fixes it as shown on page three, it can be improperly placed and lead to much modeler angst.
Mark

We few, we happy few.....

Offline mgunns

  • Hero Member
  • *****
  • Posts: 2255
Re: WNW SE.5a Phoenix Project
« Reply #2 on: October 30, 2012, 12:16:41 PM »
As mentioned, I am not gifted with AMS, so this pretty much OOB with few exceptions.  As I plan on having the motor buttoned up, I did not spend a lot of time on it.  Part E18, I think it is an oil cap launched somewhere so it is gone.
So here it is:


I got the instrument panel finished.  I used the Tamiya Flesh and then went over it with WINTON Raw Umber and Burnt Siena.  I painted the bezels silver and gold, applied the decals, put a drop of Future on the dials and viola!

At this stage I fixed the cockpit coming to the fuselage.

It is coming along and I will be posting more photo's of the model as I progress.  The instructions are pretty straight forward from here on.  With looking ahead, pre fitting, and studying, the modeler should have no further issues.
Thanks for stopping by

Best

Mark
Mark

We few, we happy few.....

Offline Des

  • Administrator
  • Hero Member
  • ******
  • Posts: 9325
    • ww1aircraftmodels.com
Re: WNW SE.5a Phoenix Project
« Reply #3 on: October 30, 2012, 12:25:16 PM »
An excellent salvage of this model Mark, you have done a great job getting things back on track, it is looking really good so far.

I also found the instructions to be a little confusing, but like all of the Wingnut instruction booklets they need to be read thoroughly before any work commences.

Fitting the interior before closing the fuselage certainly makes finishing off the interior so much easier, some of the control cables would be near impossible to fit after the fuselage is closed up.

Looking forward to the next update.

Des.
Late Founder of ww1aircraftmodels.com and forum.ww1aircraftmodels.com

Offline coyotemagic

  • Hero Member
  • *****
  • Posts: 7710
  • "Here's to not buggering it up." -Winston Chuchill
    • My Models
Re: WNW SE.5a Phoenix Project
« Reply #4 on: October 30, 2012, 12:43:40 PM »
Outstanding save, Mark.  She's coming along beautifully now.  I have 3 WNW kits in my stash and I have paid very close attention to the fit issues many of our brethren have had.  All stored away for the day when I might actually build one.  I'm so glad to see you back on track with this one.  (Hey, Chris!  Are you taking notes?)
Cheers,
Bud
"All men dream: but not equally. Those who dream in the dark recesses of the night awake in the day to find all was vanity. But the dreamers of day are dangerous men, for they may act their dreams with open eyes, and make it possible." -T. E. Lawrence

Offline Whiteknuckles

  • Hero Member
  • *****
  • Posts: 1335
Re: WNW SE.5a Phoenix Project
« Reply #5 on: October 30, 2012, 01:03:14 PM »
Great work Mark, it's interesting to see and read of your problems and perseverence - thanks.
Looking forward to further progress.

Andrew
Eternal Apprentice

Offline pepperman42

  • Hero Member
  • *****
  • Posts: 4503
  • Sergeant, my brown pants.......
Re: WNW SE.5a Phoenix Project
« Reply #6 on: October 31, 2012, 12:59:15 AM »
Thanks for posting the "heads up" type material. This will help all WNW Se5a builders.

Steve

Offline mgunns

  • Hero Member
  • *****
  • Posts: 2255
Re: WNW SE.5a Phoenix Project
« Reply #7 on: October 31, 2012, 01:08:34 AM »
Thanks Folks:

I will be posting more as this unfolds and my observations on the instruction sheet.  Hopefully these findings will assist.

Best

Mark
Mark

We few, we happy few.....

Offline Chris Johnson

  • Hero Member
  • *****
  • Posts: 1959
Re: WNW SE.5a Phoenix Project
« Reply #8 on: October 31, 2012, 01:33:10 AM »
This is a great build log Mark! I haven't built this kit yet, but you can bet that I'll be referring to this log when I do. You and I seem to approach things in a similar manner. I get myself into these situations all of the time, but as I hate to quit anything, I inevitably salvage what I can and carry on. I came the closest to tossing in the towel yesterday that I ever have, but now I'm glad I didn't. It's inspiring to see you encounter your own adversity and work your way through it.

Cheers,

Chris
You can have it good; You can have it fast; you can have it cheap. Pick any two, but all three are impossible.

Offline lcarroll

  • Administrator
  • Hero Member
  • ******
  • Posts: 8654
Re: WNW SE.5a Phoenix Project
« Reply #9 on: October 31, 2012, 04:28:41 AM »
Phoenix is still rising very nicely Mark. I recall some "muddling about" with the sequence on Part A45 as well. Don't remember the exact details but I do know I had to go outside the Plans' sequence to make it work. Small challenge for you, I know this is going to be a great addition to your line up.
Cheers,
Lance :)

Offline mgunns

  • Hero Member
  • *****
  • Posts: 2255
Re: WNW SE.5a Phoenix Project
« Reply #10 on: October 31, 2012, 08:26:08 AM »
Thanks Chris:

I almost did the same with this, but hung on to it and am glad I did.  I hope that when you tackle this kit, that the mistakes I made and lessons learned will assist you with this kit.  Thanks for checking in and your comments.

@Lance:

Thanks Lance.  I have built 6 WNW kits and they all seem to have a nice flow to them, for some reason this one doesn't.  It is a great kit, but it just doesn't have that flow to it.   I sent suggestions to WNW about their instructions and possibly redoing them if they ever re-issue the kit.   
Thanks for checking it out.

Best

Mark

I came the closest to tossing in the towel yesterday that I ever have, but now I'm glad I didn't. It's inspiring to see you encounter your own adversity and work your way through it.

Cheers,

Chris
Mark

We few, we happy few.....

Offline mgunns

  • Hero Member
  • *****
  • Posts: 2255
Re: WNW SE.5a Phoenix Project
« Reply #11 on: November 02, 2012, 11:33:03 AM »
Greetings everybody:

Okay, not a whole lot to show for the time I have spent on this.  I did the Vickers MG using the WNW provided sight and the Lewis using the Eduard PE.
 The Vickers:

And the Lewis

The Eduard set for the WNW SE.5a is quite extensive and for the very erudit.  I used the front site tang, and a couple of other pieces to dress it up.
For the barrel I used a "Bob's Buckles" section.  I remember somebody railing on Lance Caroll for not using a piece of tubing for his barrel, which he did correct, so as not be "railed" on, I used this.

Moving along, I used the Eudard Inspection port framing.

I preshaded in the usual way, I put down a coat of Tamiya XF-55 Deck tan then with thin strips of masking tape, masked off the ribs, put down a coat of Tamiya XF-54 Dark Sea Gray, then when set, pull the tape and paint again with XF-55 until one achieves the desired effect.  I learned this from Keith a.k.a. Kornbeef.

and

I also used the PE hinges on the storage door, and I pinned the rudder for ease of assembly and strength.


In addition, as can be seen I fixed the cabane struts.  I pinned the rudder as it is just a flush fit, and isn't very strong, so following the lead of some of the more advanced modelers here, I drilled and pinned the tail and rudder assembly.
Stay tuned for more exciting news as it occurs.  Needless to say, I am not following the directions step by step, but rather looking more for ease of painting and rigging and then putting it all together.   Right now it is the little things that will eventually fit into the overall model.
Thanks for looking

Best
Mark
Curmudgeon at large
« Last Edit: November 02, 2012, 11:41:16 AM by mgunns »
Mark

We few, we happy few.....

Offline mgunns

  • Hero Member
  • *****
  • Posts: 2255
Re: WNW SE.5a Phoenix Project
« Reply #12 on: November 02, 2012, 10:54:57 PM »
Okay folks:

A little more progress.  I have spent a lot of time with PE and small details and managed to overlook a detail, sort of on purpose.  On page 12 of the instructions it calls for the installation of the control horns parts A-21 on the elevators parts B-9 and B-11 prior to assembling the tail assembly.


I left them off as they can easily break with masking, handling and painting.  I will have to cut them in half and install that way.


I fixed the engine, radiator, and cover and cemented parts A64, A65, A53 & A54 to D7 the engine cover.

It is starting to look like an airplane now.
Anyway, back to the bench and more updates later.

Thanks for stopping by

Mark
Curmudgeon at large
Mark

We few, we happy few.....

Offline mgunns

  • Hero Member
  • *****
  • Posts: 2255
Re: WNW SE.5a Phoenix Project
« Reply #13 on: November 02, 2012, 11:09:12 PM »
Okay, one more thing:

These are the markings I am going to the airplane in.  I think they are neat, and I like the two bladed prop.


Best

Mark
Mark

We few, we happy few.....

Offline Chris Johnson

  • Hero Member
  • *****
  • Posts: 1959
Re: WNW SE.5a Phoenix Project
« Reply #14 on: November 02, 2012, 11:13:43 PM »
It's coming along nicely Mark. One question though. Aren't you a little concerned about the strength of your control horns once you've cut and glued them back together again? They're delicate to start with and my concern would be in applying tension to the control lines for fear of snapping them.

Cheers,

Chris
You can have it good; You can have it fast; you can have it cheap. Pick any two, but all three are impossible.