One last big hurdle is the undercarriage (there are also some small ones left). The kits struts where roughly formed white metal pieces. After cleaning and sanding them into shape to be sufficient for the scale, they seemed to be to soft und fragile. I didn't trust them and made the decision to replace them with scratch made parts.
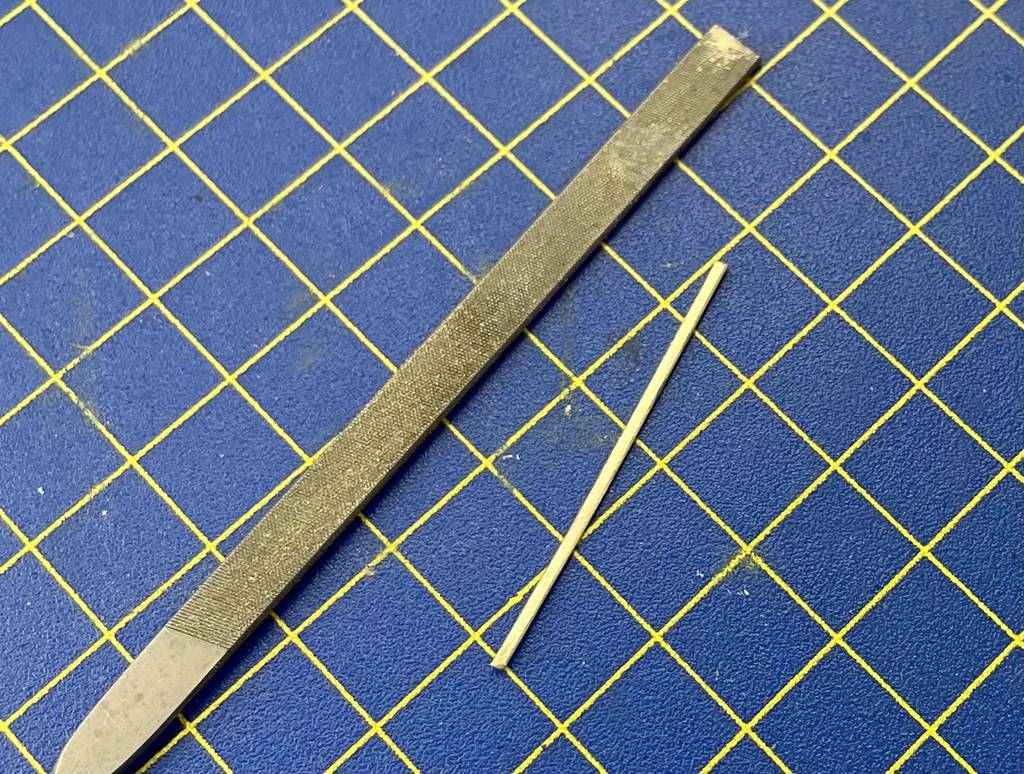
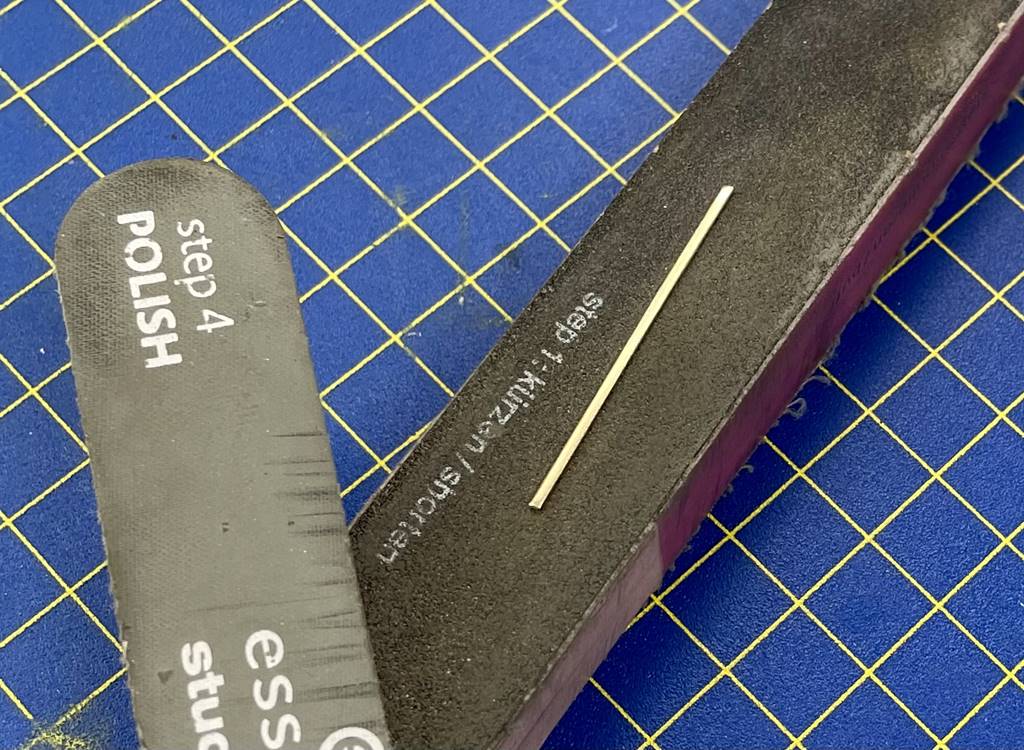
I used brass struts (my stock of Strutz parts is emptying slowly but steady) which had to be filed somewhat thinner. After this was done, I smothed them between two nail files.
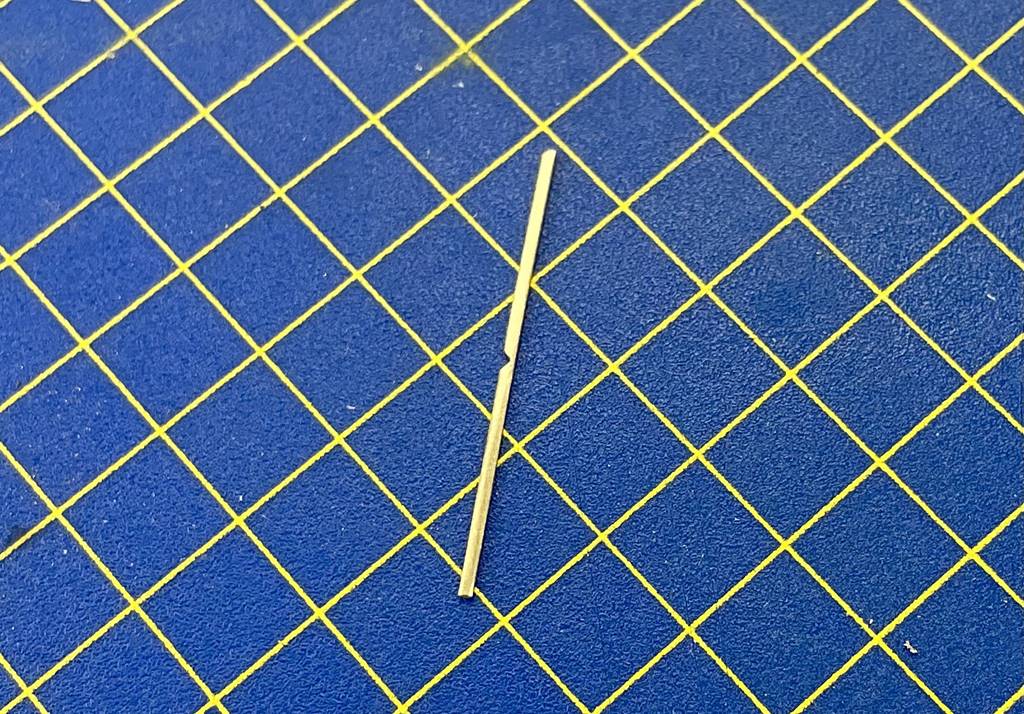
In the next step a v-shaped notch was filed into the strut, then I bended the strut in the direction of the notch, using a scetch as guidance

Then the tip was soldered and again filed
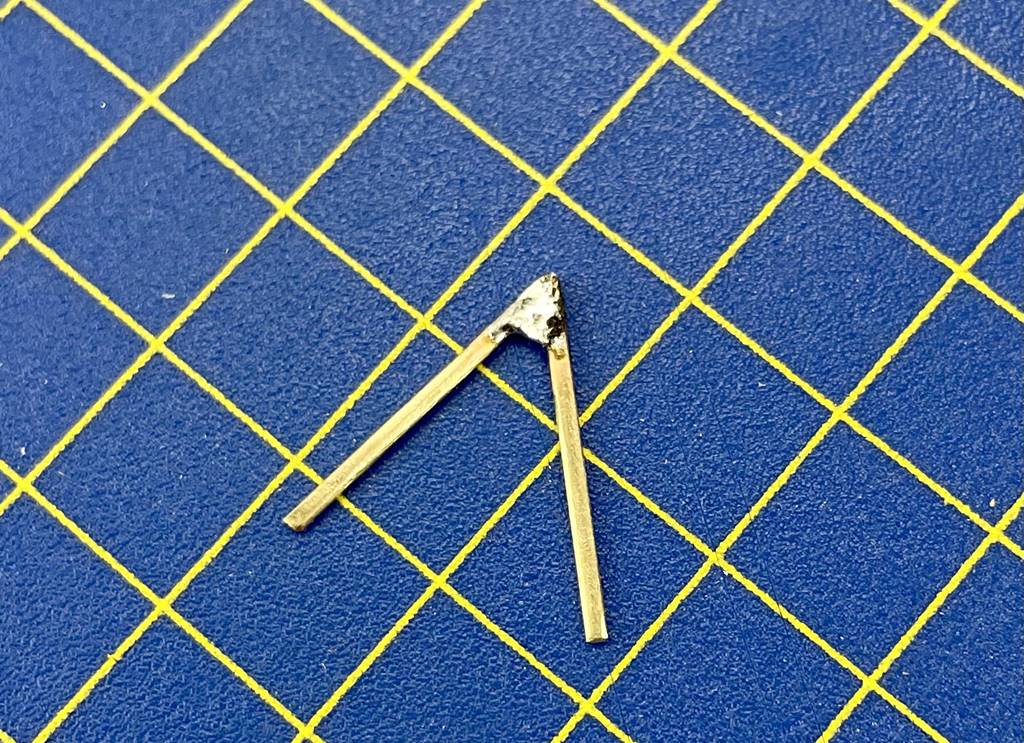

In the last two steps, I drilled a hole into the tip and then everything was filed and sanded into shape
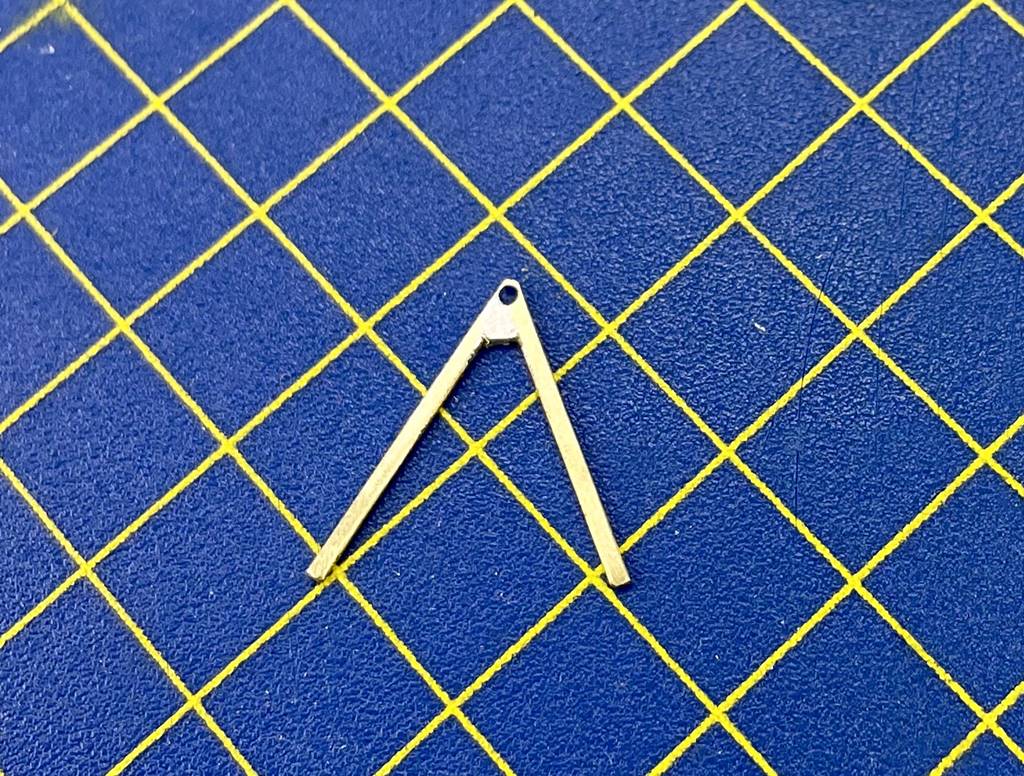

Thes first side of the undercarriagewas ready

I used the kit part For the center part of the undercarriage but exchanged the en bloc casted front bar with a separat brass bar.
then I fixed it on my workbench, using it as guidance for the struts which were glued to the fuselage with two compund adhesive. The two Lego bricks supported the correkt high and straightness. (sorry for the low quality picture)


