Well, guys, I finally started this one - or I'd better say 'these ones', as it is my first double build. A fellow modeler asked me if I could do his B II when I would do mine. I agreed, and here I am.
I think the Kit is well known to everyone here, so I won't post pics of the sprues here. You find an abundance of information on the WNW homepage.
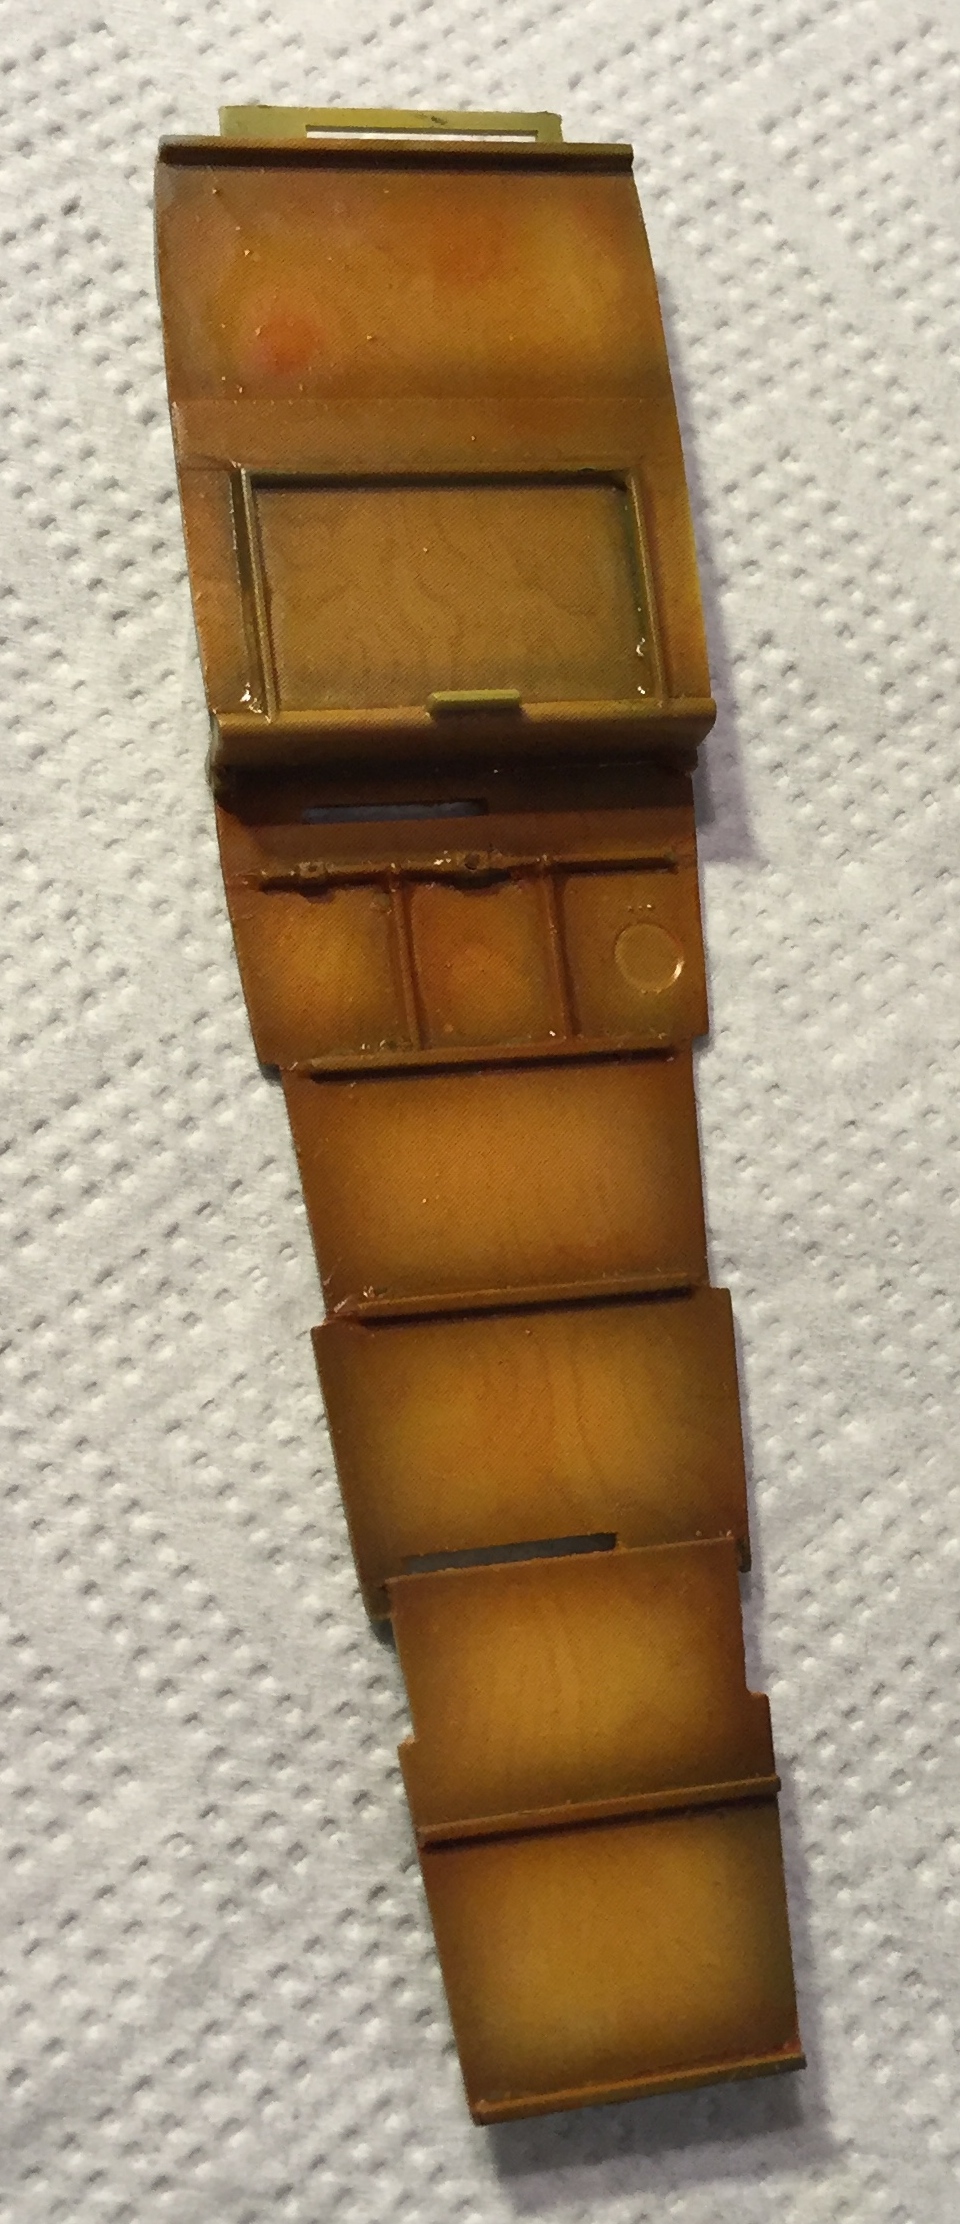
First step for me was a dryfitting of all the cockpit components (as expected they fit perfectly). There is a tube construction containing the rear cabane struts that seemed to be a bit weak in plastic. But then I discovered, that it will not only be glued to the cockpit floor, but on both side parts too, so there's enough stability. The fuselage is cut into four main parts, two sides and upper and lower part. That avoids seems in the middle of the top or underside respectively, as with usual two part fuselages. Cool stuff...
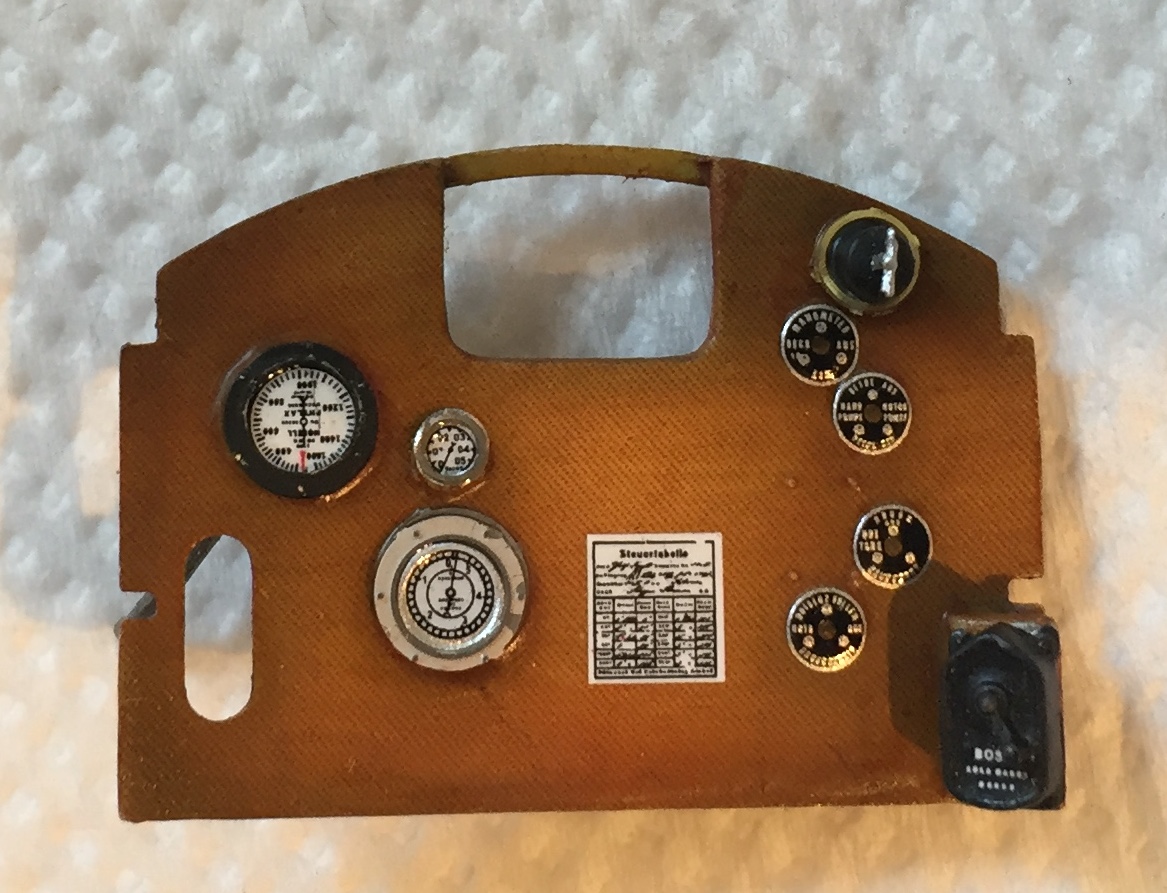
Then came the usual procedure for wooden surfaces: Buff, preshading on the panel lines, lighting up their middle and toning down the whole affair. Then Uschi's decals and after all a shot of clear yellow or orange respectively. Here are first pics of the main parts and the dashboard. Here I used the kit's decals and additional HGW bezels. I also used HGW's seat belts as I was curious how they would look like and they are really fine (although I like my teabag belts too...)
There were times, when I didn't like to have two projects going on for the same time ... Long gone

. I didn't want to let my friend wait until I finished my diorama...
Borsos

