Hello all,
Thought I'd share another of the builds I had been working on and completed before the end of last month.
This one was requested by one of my gamer friends for his personal aircraft and so I had to create the logo used on it as well.
As most of you may know, Merlin Models kits are not known for being shake the box or snap together type kits. Some work needs to be done with each part in order to make them... usable. Also, this particular kit came with no strut material and requires the modeler to be able to make them.. wing and landing struts both. Hence being called a craftsman kit regarding difficulty.
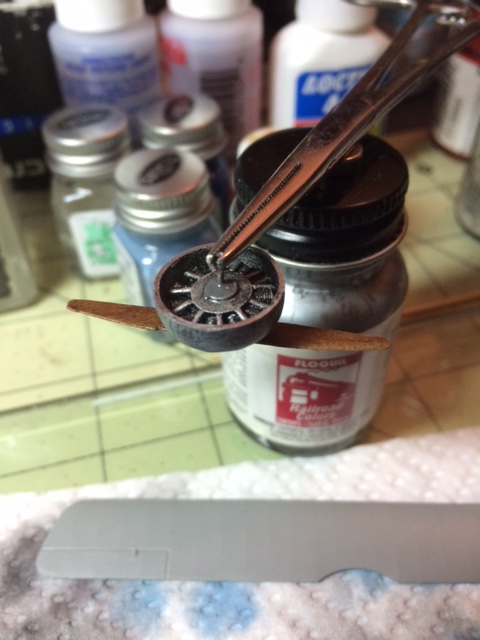
This kit also included quite a bit in regards to metal parts: Engine, cowling, guns, wheels, seat, floor, prop, and the axle. In order to use these parts, I became friends with my JB Weld tubes several times during this project. Timing with the use of JB Weld can be critical since it can shut down progress for a day once used while it sets and cures. For large parts requiring the use of JB Weld, I started using it in select areas of the part leaving a place to add CA in order to hold it in place while the JB Weld cures.
For example, I used a straight pin as the prop shaft and fixed the prop to the pin using JB Weld. Once cured, I made a couple small washers for spacers on the shaft to prevent the flow of additional JB Weld along the shaft; placing them on either side of the cowling as it was added to the shaft. Adding JB Weld to the inside of the center hole of the completed engine after it was added to the shaft and allowing it to cure completed the engine/prop assembly and when mounted onto the fuselage, the engine and prop were allowed to move together.
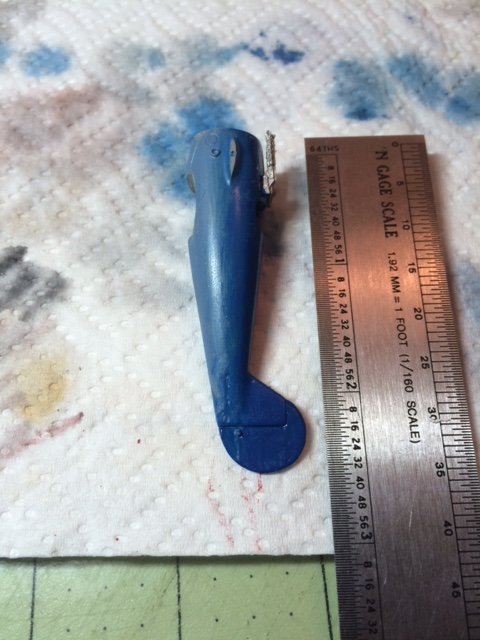
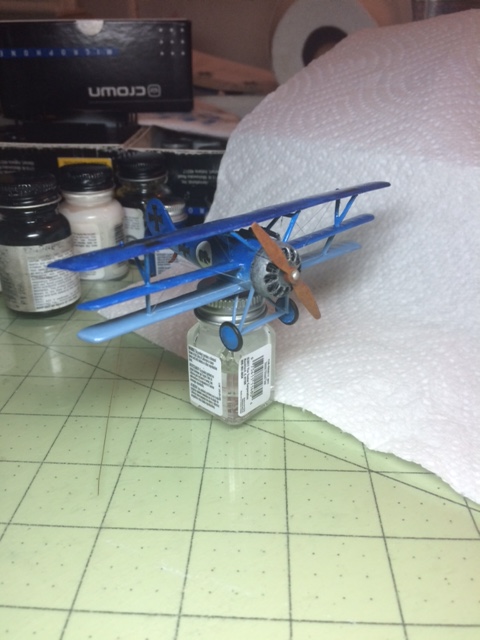
Completing the fuselage assembly and painting it as requested gave me this:
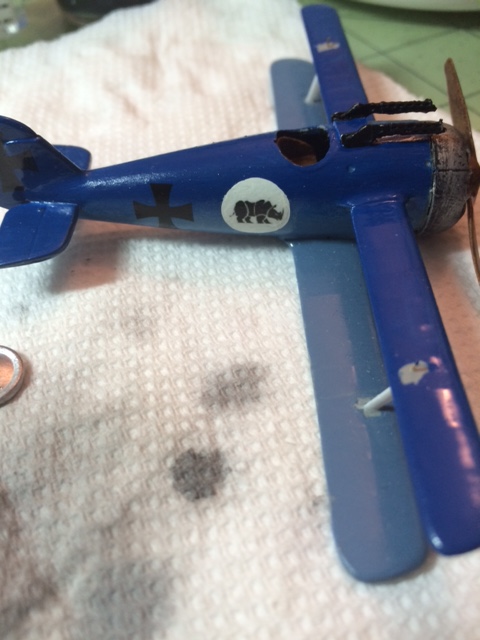
Adding the lower and mid wings as well as the markings including his personal logo. The logo is made up of two decals. The white background was cut from a Russian roundel.
After adding hand made struts and rigging, it all came together as this:
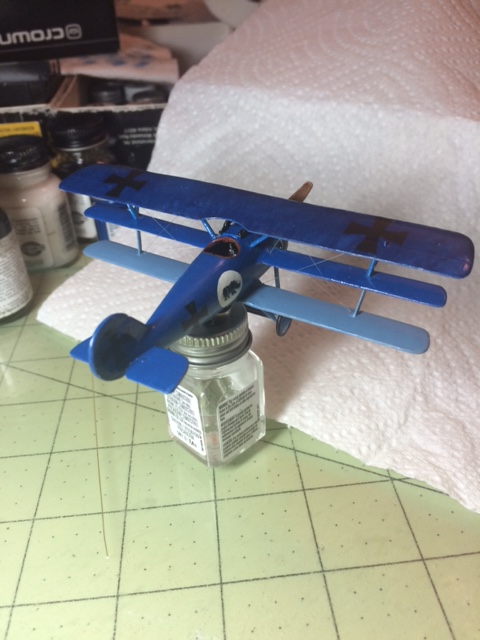
All wing and strut joints were drilled and pinned with 0.012" brass wire to help hold it all together.
Rigging is 2 lb mono filament 0.004" diameter. Paints are Testor enamels.
Thanks for looking!
John

