The build continues

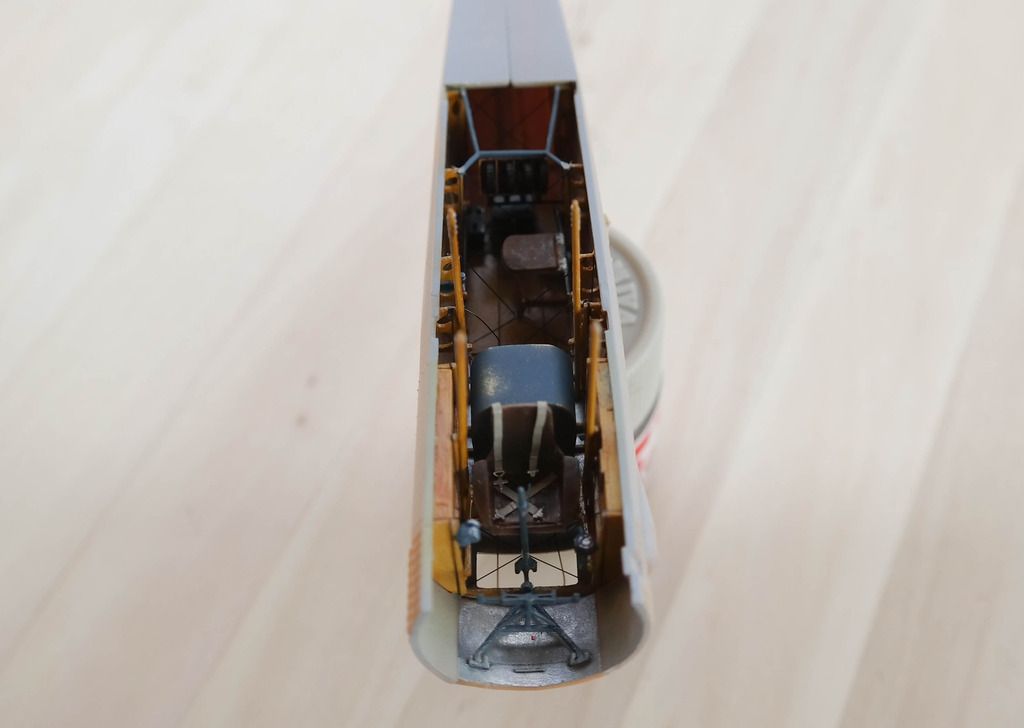
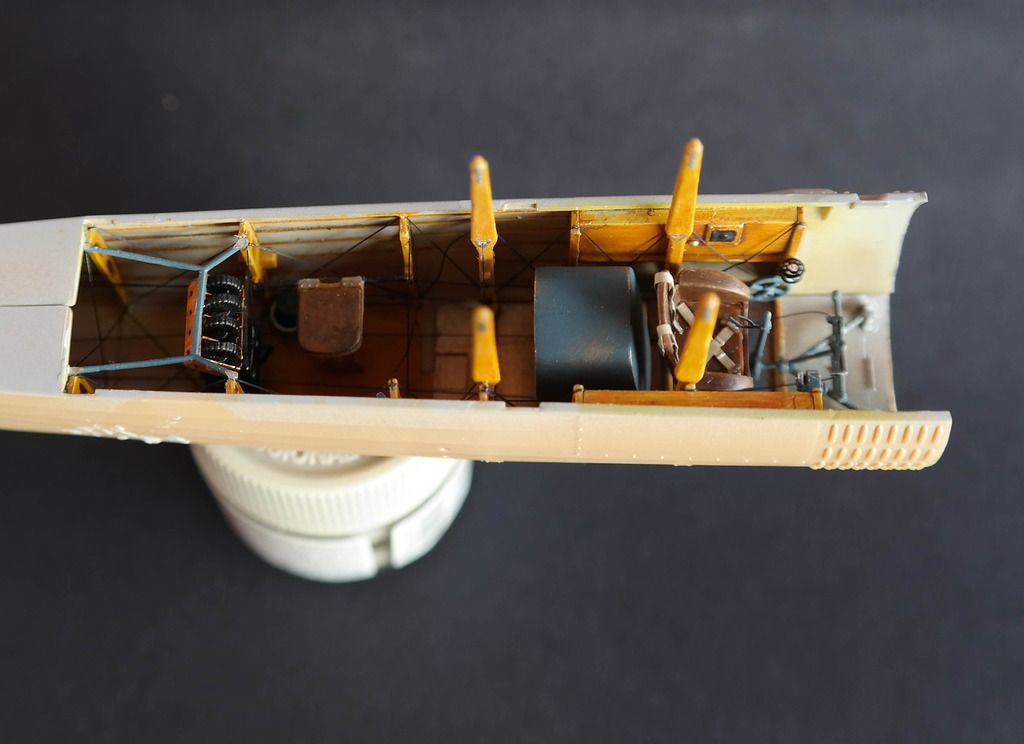
I have closed the fuselage and here I encounter the first difficulties with the fit. Maybe it is just mine kit, but the halves of teh fuselage were warped a bit and gluing them was a small issue, that was overcomed with a lot of rubber bands, curses, swears and other similar fit and glue enhancements! Somehow I succeed in breaking a wire after I glued the halves and repairing is impossible. The good thing is taht it is so far inside that it will be hardly visible.
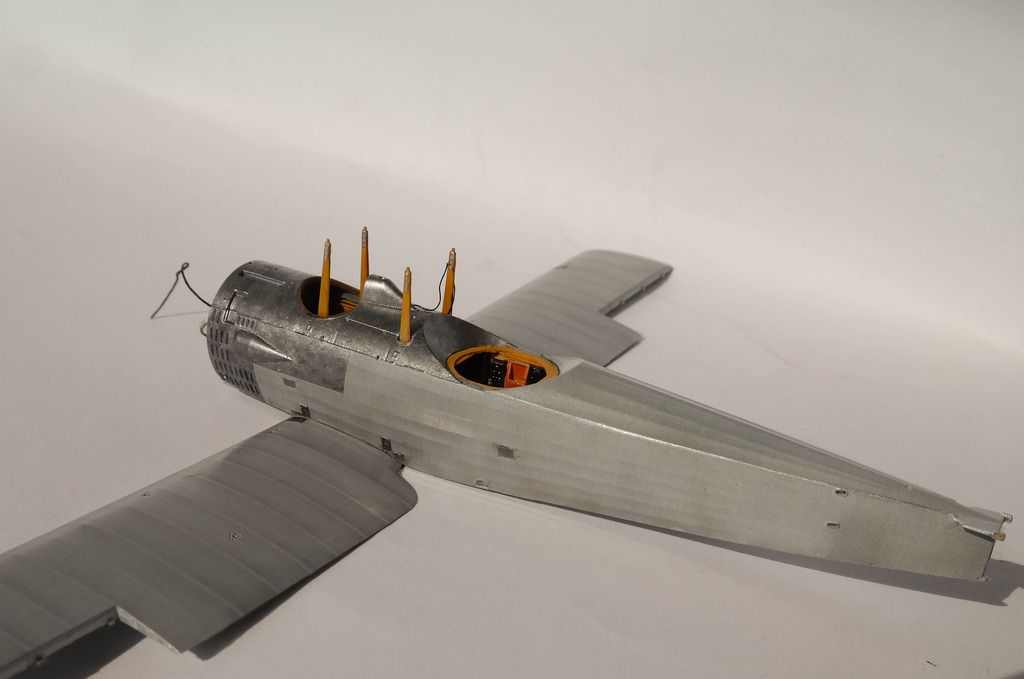
The natural metal panels were painted using the "Bertl's technique"- main colour ALclad II Stainless steel, the aluminium is too light and looks too much like the colour of the silver dope, I wanted to achieve better contrast between the two similar colours. AFter it with cut to 2-3mm round brush, I made spots with Iron and Chrome Silver (Gunze metalizers, NOT acrylics) and just then all the 3 colours were polished with cottonbud in order to get rid of the borders between them...more or less.
For the main colour of silver dope, I used white and chrome silver (both Gunze acrylics) in ration 3 white:1 silver chrome, but it was too dark. Si I repainted with 5 white:1 silver, this way receiving a very light grey colour with metalic glitter. I'm not sure how accurate this is, but it is pleasing for my eye. After this I masked the rib tapes and sprayed very diluted Tamiya Smoke to make the darker lines around the ribs and to make dirty spots here and there. I used the following mixture Tamiya clear (gloss):Tamiya Smoke:Mr. Leveling Thinner in ration 2:1:2 and very low pressure.
I decided to be using the new Aviattic linen decals for this plane and particularly the light german variant. They are in 1/32 scale, but I think that on 1/48 they used convincing enough, even thou out of scale. Those decals are nearly completely trasparent and just adds the fabric texture and a bit of greyness to the paintwork. I'm not sure if it is visible from the pictures, but in real looks terrific. The decals were layed over the silver dope, which was quite glossy in a very convinient way. Unfortunately I made few mistakes and the decal will probably will not be enough, so the upper wing will be attached when I got new quantitis...or the horizontal stabilizer and the rudder
Next step will be preparation for the rigging, preparing the engine and the details that should be glued over the metal panels.
Thats all for now, as usually any comments, reccomendations, questions or constructive criticism are most welcome!
best regards,
Sasho