As promised, a step by step making masks on a die cutting machine with Tamiya "kabuki" tape.
The machine comes with a cutting matt with a renewable adhesive surface. In most cases you apply your work material to the adhesive matt and shove it into the machine. And you can do this with tape, too, but getting it up from the matt without ruining is going to be difficult. The solution is to tape a piece of the backing paper that comes with the adhesive refills to the matt (the backing paper won't stick to the adhesive on the matt on
either side.)
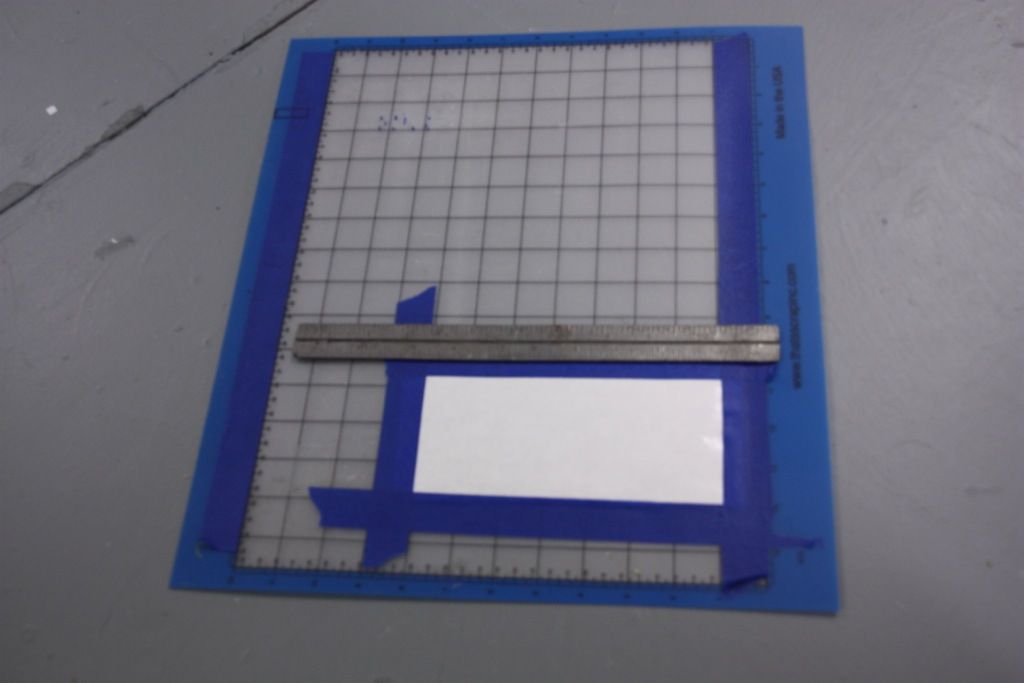


Now you place the tamiya tape onto the backing, and insert the whole shebang into the machine. You line up the head with the lower right hand corner of the tape, using the controls on the cutter, and lock that in as the 0,0 point.
On the Bullet only a very light cutting force of 15 (it goes up to 255, which = 1250 grams) is required for kabuki tape. Force and speed can be set with controls on the cutter or via software.


You can design your work in just about anything that can save .svg files. The software that comes with your machine will allow you to create designs, too. I do all my design work in Adobe Illustrator, albeit an ancient version; it is extremely precise and powerful. The first step is to set up a document size that represents the cutable area -- in this case about 1.5 inches tall x 7 inches wide. Here I am making some Spade masks for my Fokker:

The next step is to fire up the software that comes with the machine -- in this case "Sure Cuts A Lots" aka SCAL. The file is imported and positioned on the virtual cutting table. There are various ways you can set the registration between the virtual cutting table and the workpiece; the easiest way is to set 0.0 on the machine as I did earlier and let the software work relative to that. So -- the picture on the screen doesn't match where the work is actually taped to the cutting table...

Next -- you hit "cut" and adjust a few things like the number of passes and blade offset.

Light stuff like Kabuki tape does not require multiple passes. In a few seconds your design is cut out.
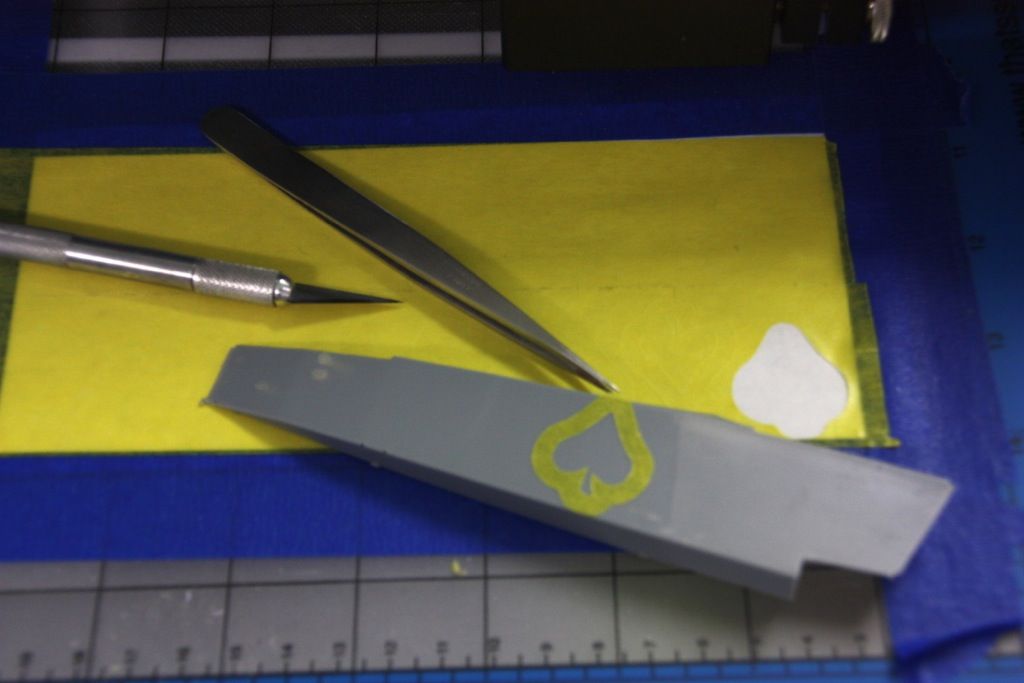
You can't see them, but there are 3 more perfect little spade masks cut on the tape. Gently lift them up and apply...

