Thank you for the kind words, my friends.
It has been a while since I could post an up-date, but there has been considerable progress, and most of it I did manage to get pictures taken of, if not processed through until recently. So this will be a fairly long post....
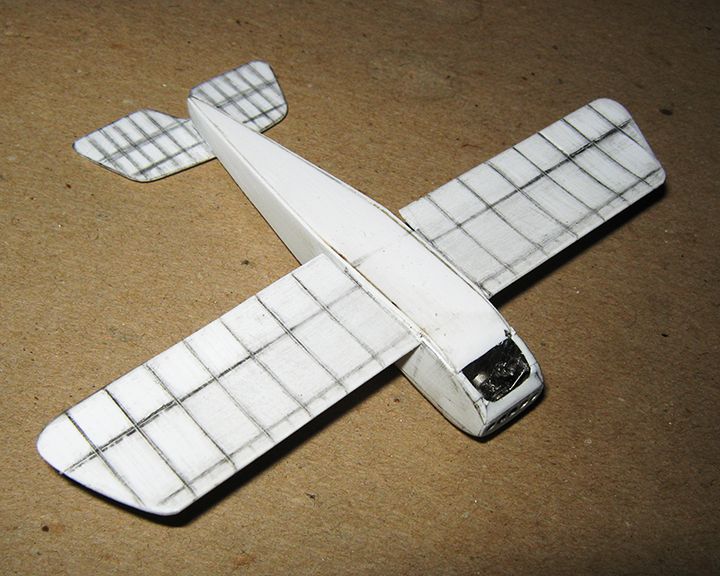
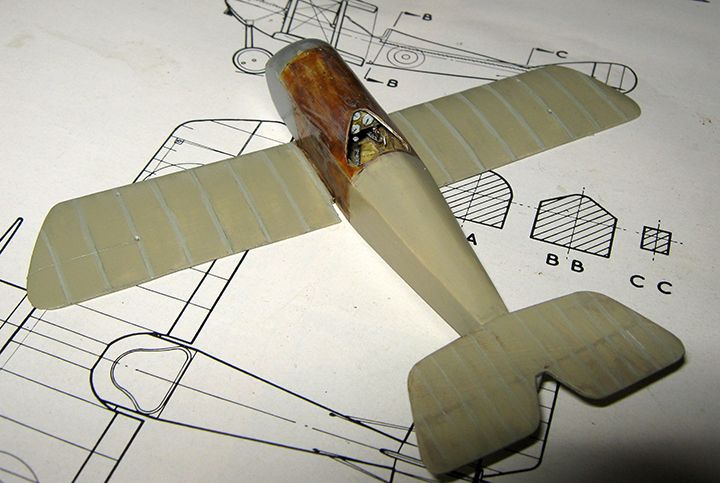
The first item was getting the cowling completed. This involved cutting in some surface detail down low on the forward fuselage sides, and piecing together the lower portions of the cowling after the motor had been affixed.
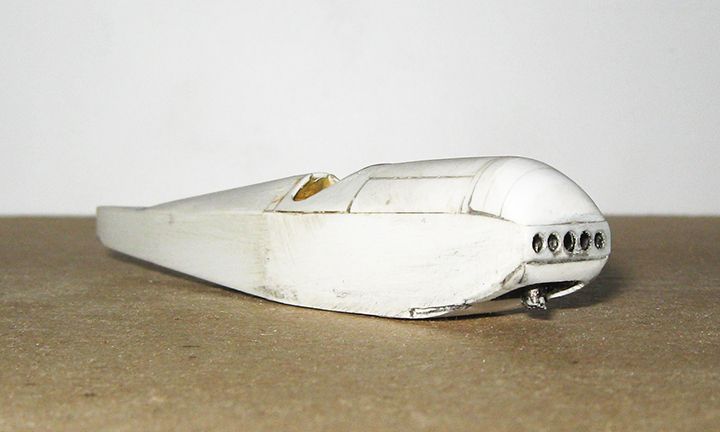
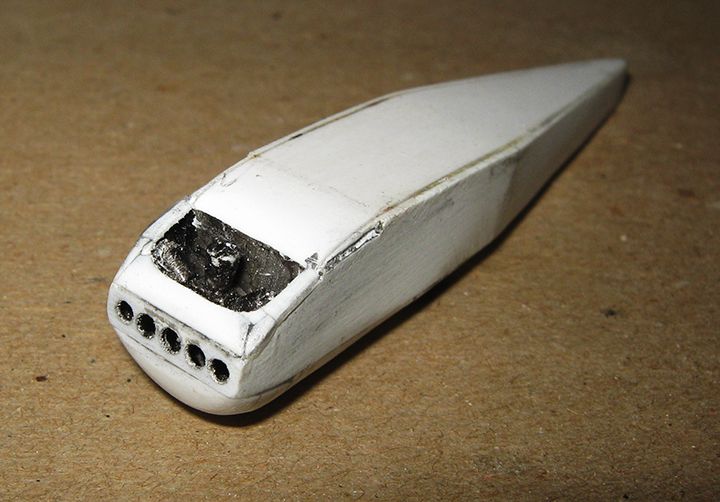
It was necessary to replace the front strip; it took several attempts before I managed one with satisfactory perforations. The underpart of the cowling is built up from a total of seven small pieces (five 'parts'; and two 'patches' where angles were sanded through). This took quite a while, though a lot of the time was spent figuring out how to do it and how to make it work. If I were to do it again, it would be a fairly direct process and not take more than an hour or two. I am not sure what is going on on the lower fuselage sides, but I suspect there is a fuel and oil tank directly behind the engine. The deliberately thick sides and bottom gave ample play for the cutting.
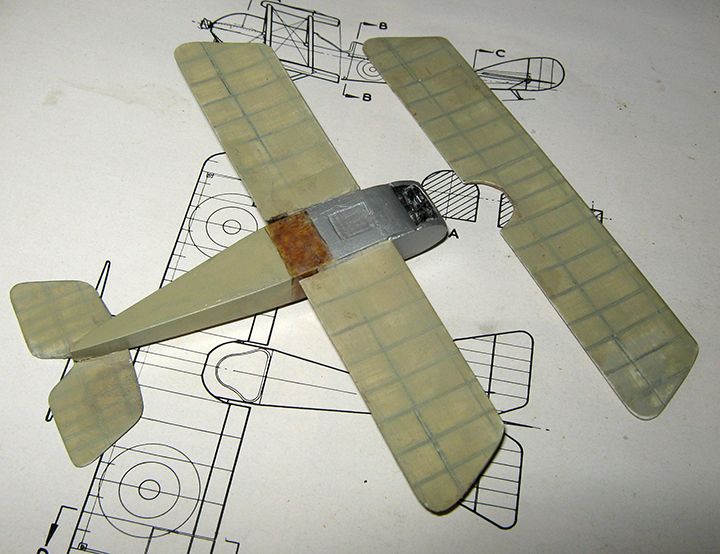
Next step was finishing the horizontal tail-plane and attaching this and the lower wings to the fuselage.
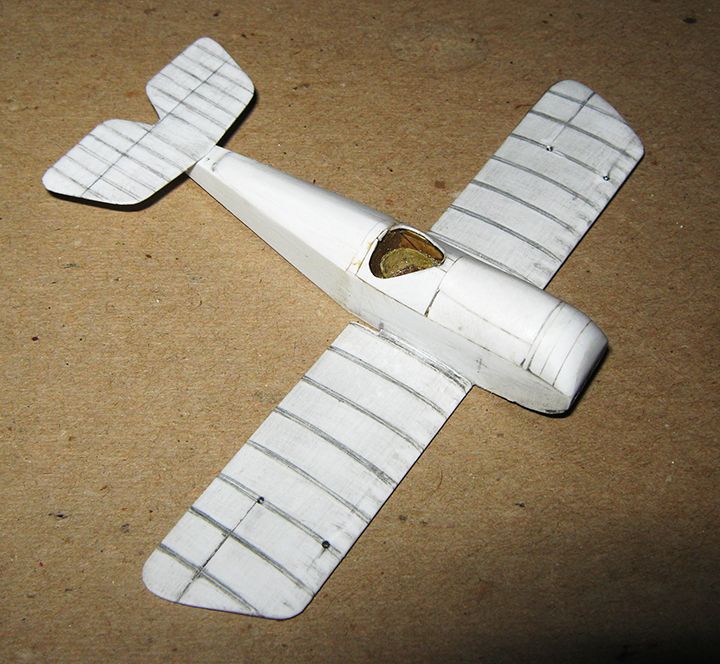
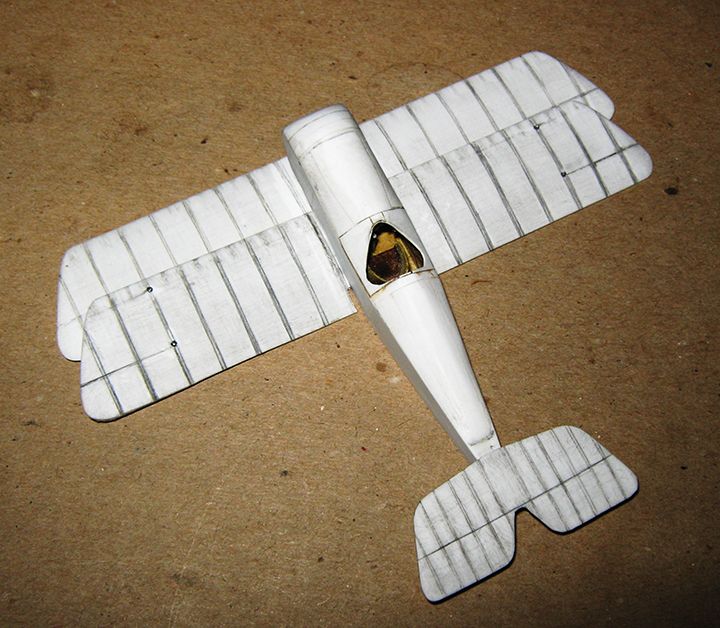
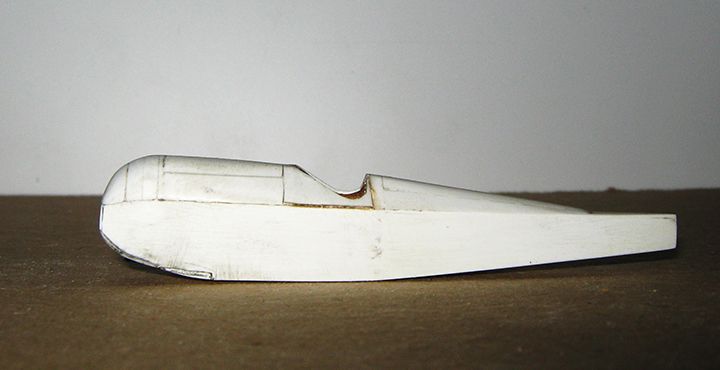
This went fairly smoothly, and I feel good about the prospect of locator holes lining up, and that sort of thing. There has been some more refining of the sculpting on the nose.
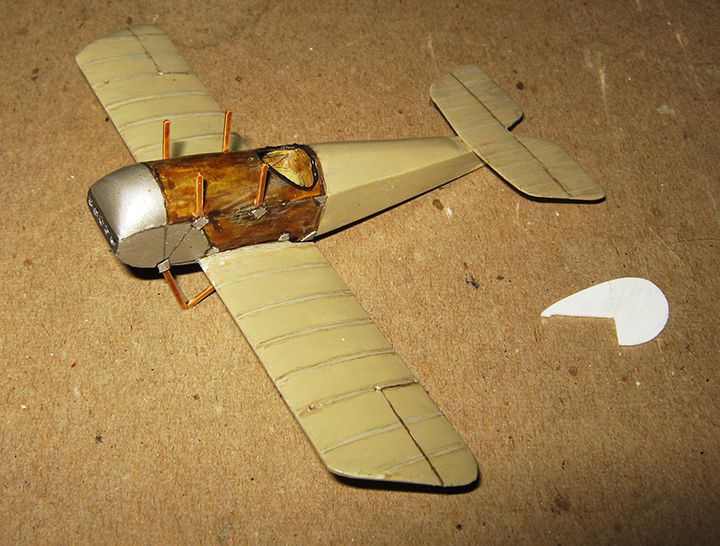
After putting in cabane locator hole in the fuselage, painting has commenced....
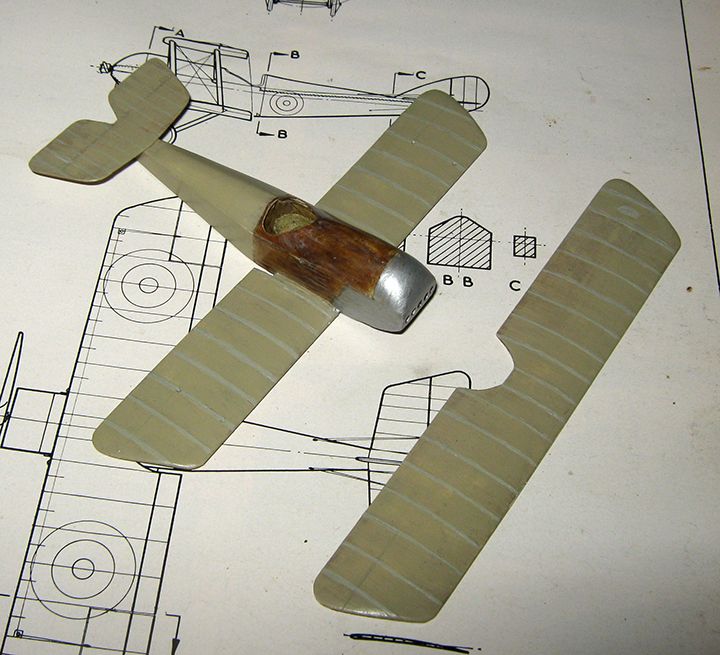
The linen colour is PollyScale 'Old Concrete' cut with some 'IJA Grey'. I do not intend to weather this machine as heavily as I did the Short 827. The only major piece left to make is the vertical tail surface (this has to fit over the tailplane, and goes up to the end of the triangular decking). Wheels and propeller will come from the spares box; I am very glad to note in the in-service up the Tigris picture, wheel covers are in place.
Here is how things stand now, after a solid session this weekend....
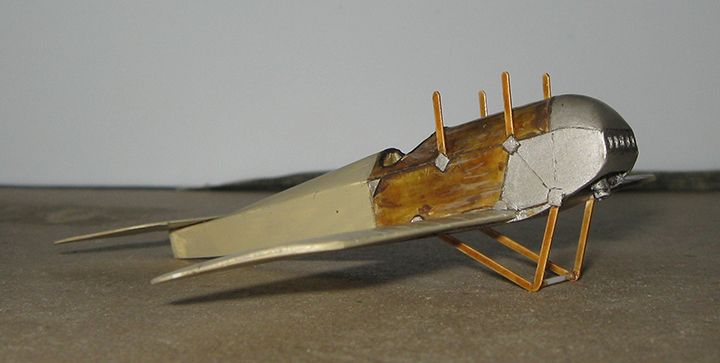
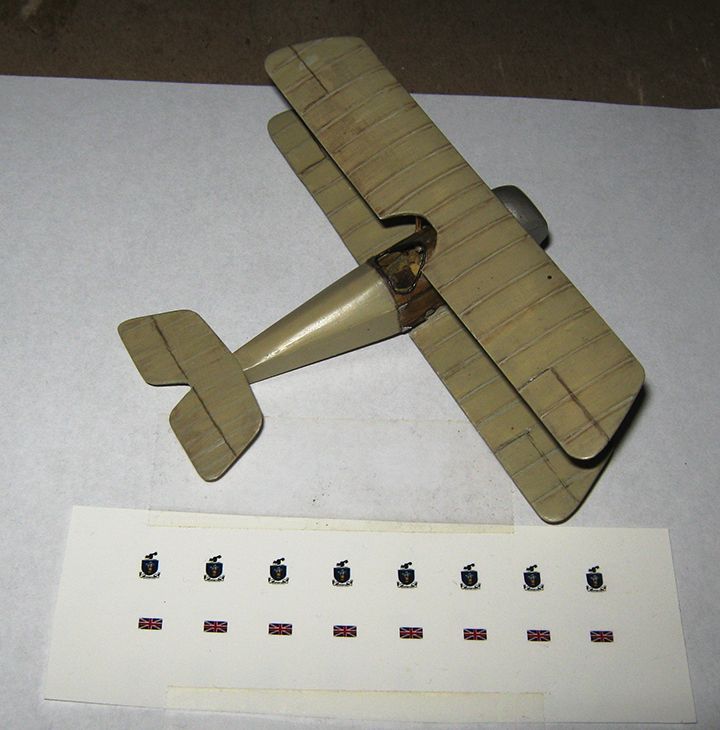
Undercarriage and cabanes are on, as are the various 'fish-plates' at critical joints, and a coaming for the cockpit, and the vertical tail surface has been made. The fish-plates are a bit over-scale in thickness, but such is life in 1/72. Finish over-all has been tightened up a bit. One nice thing about the design is that there is no splay to the undercarriage or the cabanes, which makes them easier to set up. I thought it best to put in the cabanes first this time, as I think getting in the fish-plates would have been trickier with the upper wing on. I will rig the cabanes before attaching the upper wing. Last picture shows the upper wing resting on the cabanes in a test-fit (it slipped a little askew, I am only going to press the strut ends in solidly once...). This picture shows the miniature Union Jacks wife set up for me (two will go on the rudder, one each side), as well as shield emblems for the U.S.A.A.C. Air Corps Technical School, for an OT build I am also working on (an early P-40 in bare metal finish).

