Have gotten solidly underway on this, friends; another from the first Baghdad campaign....
Here is the machine being modeled:
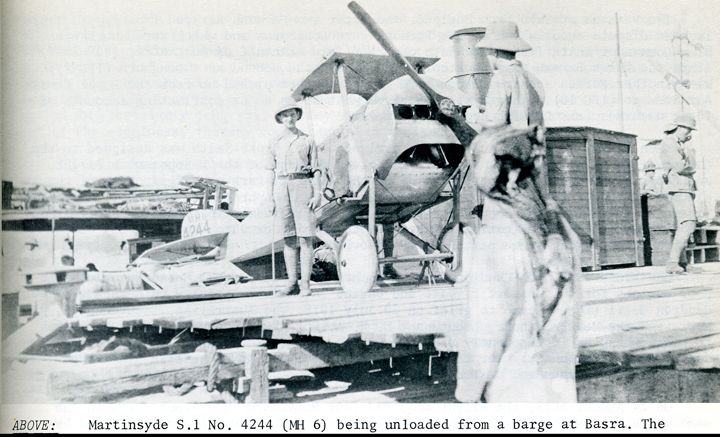

The machine, flown by Maj. Riley, played a pivotal, if unfortunate. role in the battle of Ctesiphon, which led to the siege of Kut and eventual surrender of Gen. Townsend's command.
Here is the 'scratch-builder's kit'....
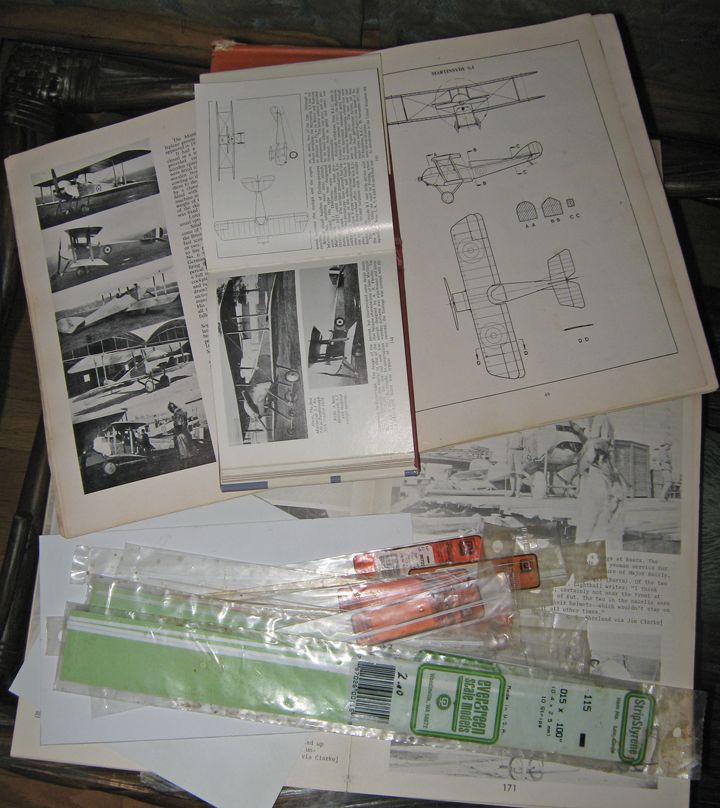
I am using the drawings from old and extremely tattered Harleyford Fighters 1914-1918 book, supplemented by Mr. Bruce's Fighters Vol. I, and whatever pictures I can scrounge up, with the old issue of Cross and Cockade covering this campaign providing some detail on the particular machine, 4244/MH6.
Here are the basic pieces made first:
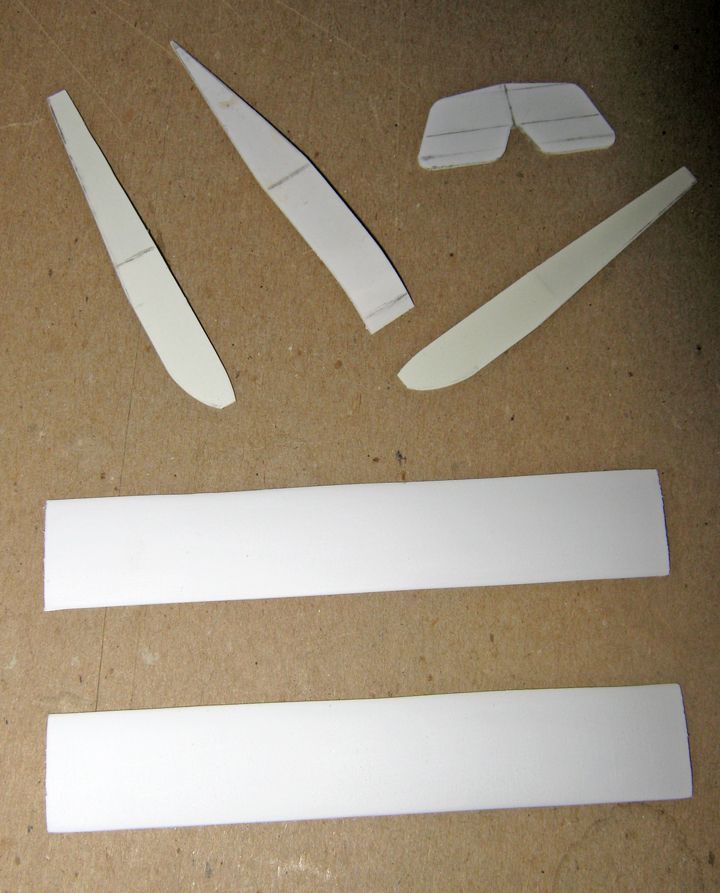
Rectangles at the bottom are blanks for the wings: it does not show in the picture, but they have been sanded to airfoil section, with appreciable camber. They are a little over-size in chord, to allow for further sanding when the ribs are put in, and the final shaping of tips and center-sections is done. They are made from 2mm styrene sheet.
At the top is the blank for the horizontal tail surface. It is made from 1mm sheet, and will be sanded down appreciably. Vertical tail surface will not be made till fuselage assembly is done (or at least its rear portion is done).
The other pieces are blanks for the fuselage sides and bottom. The sides are made of 0.75mm (0.03") sheet, and were taped together when they were trimmed to shape. They go only up to the line of the upper longeron. The bottom piece is made of 1mm (0.04") sheet; it is underwidth by the drawing to allow for fastening of the side pieces.
Here are the wings with ribs in and tips shaped:
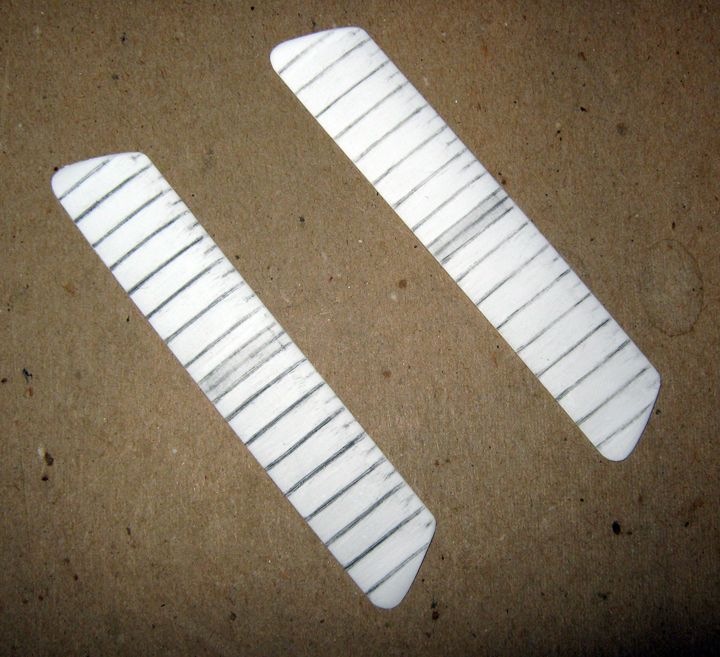

At this stage, there is no need to differentiate between upper and lower wings, as span and chord are identical. When I choose which will be which, appropriate trimming to the center sections will be made. In the second picture, you can see something of how the 'tapes' stand out, and of the 'sag' between them. Ribs are first drawn in pencil, then scored on either side of the pencil line. The area between ribs is scraped with the curved edge of a #10 blafde, and gone over with a 'swizzle stick' sander (length of foam backed emery about 3/16" wide). Finally, the thing is swiped over a few times with a fine-grit sanding stick moved span-wise.
Here is the fuselage, with the blanks shown earlier assembled, and the rear decking and firewall put in.
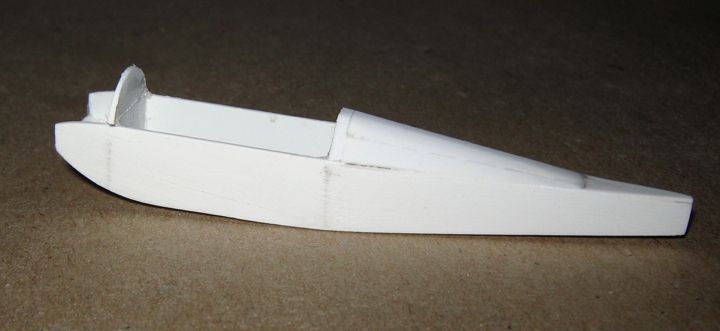
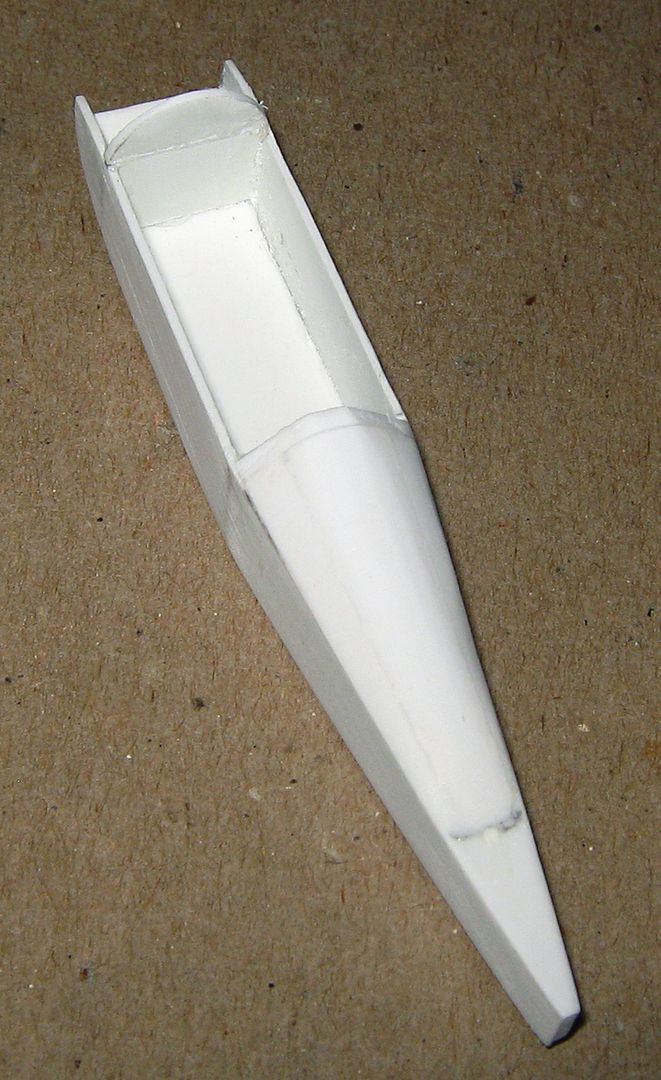
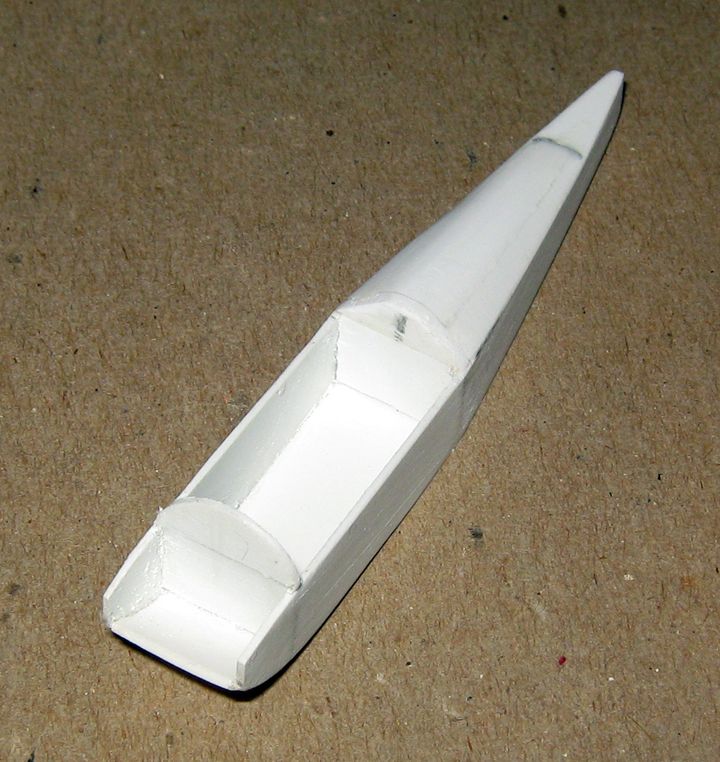
For the rear decking, a backing piece was put in at the cockpit rear (what will be the cockpit rear, anyway), with a 'cap' put atop this to define the shape in front. Then a thin sheet of plastic was put down, from this to the very rear. The rear decking itself is two pieces of 2mm sheet, the first sanded to a 'wedge' shape before being attached. These were then trimmed and filed to match in plan and profile, then sanded to shape in section.
The firewall was put in the same way the cockpit rear was, in two pieces --- one between the sides and one 'capping it'. The portion of the fuselage bottom that is in front of the firewall will be trimmed out later, but for now remains to lend sturdiness to the cheek-pieces.
Next will be work on the cockpit interior....

