On to the interior:
I followed the sequence per WNW instructions. I didn't break any ground here, other than I can't figure out for the life of me how those pesky PE strips go on the cockpit floor. It's a mystery to me, so I left them out.
Working along with Bertl and others on the Forum, I painted the floor Tamiya XF 78 and painted the two little hatches a mixture of XF78 and some yellow.

I left the molded on rigging and turnbuckles in as it isn't all that noticeable in the finished model. I then proceeded to apply the wood grain with oils. I painted the hinges a brass, just because I liked the effect.
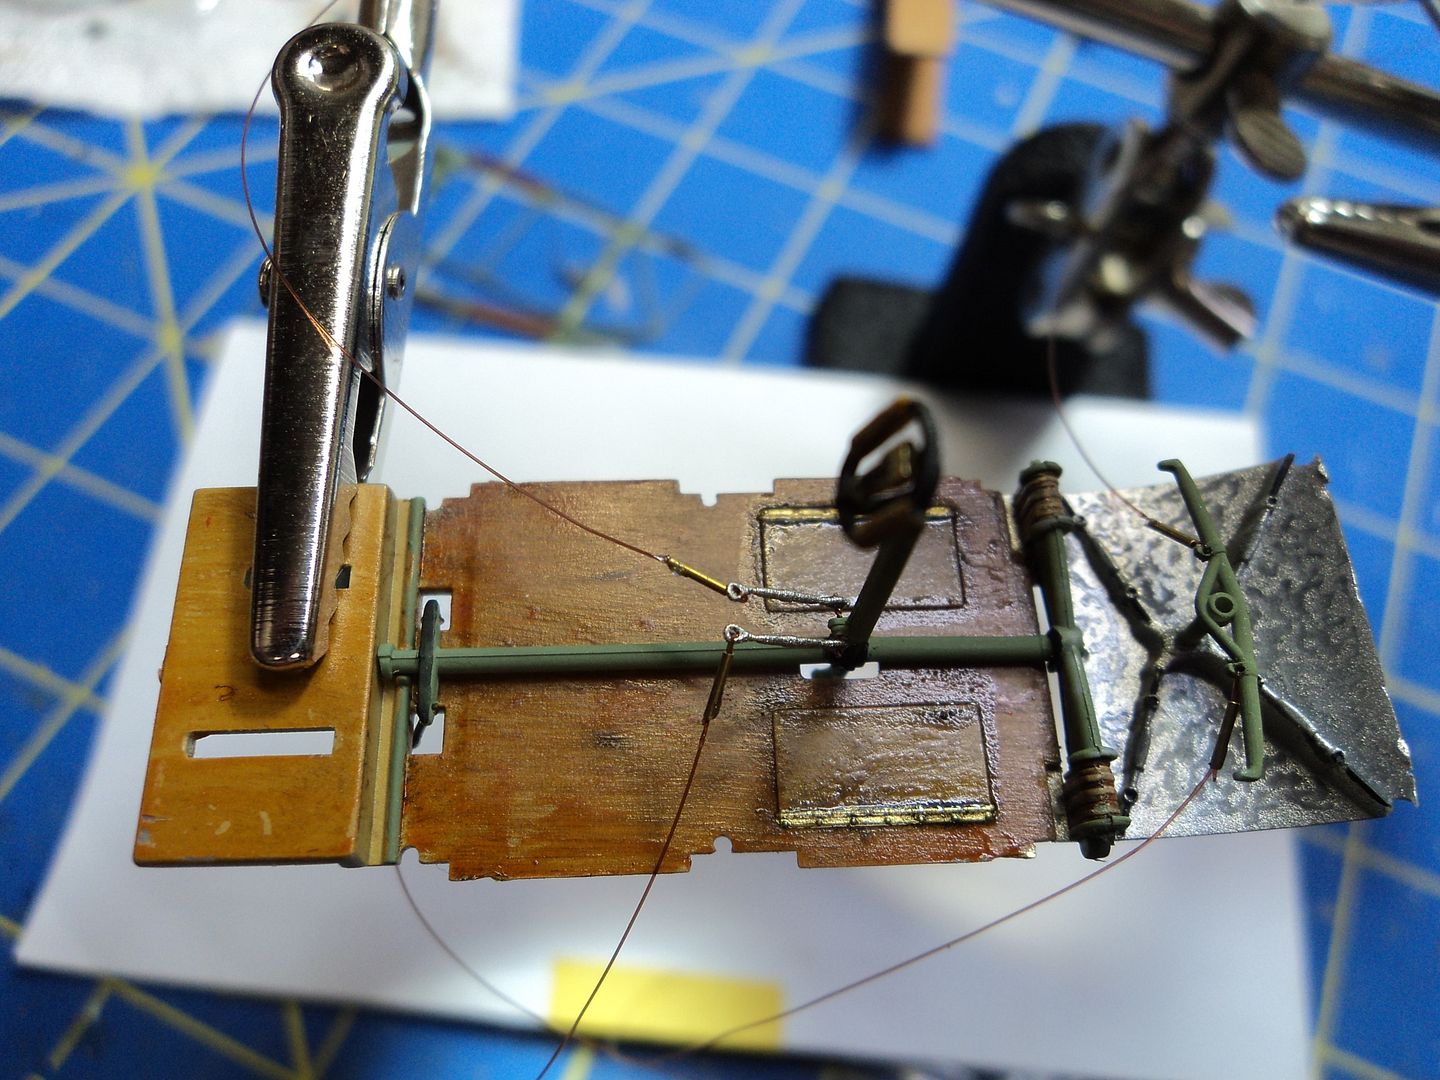
My cat shares the house with my wife and I so there is cat hair in some of the paintwork.
I did practice the swirls on the forward portion of the cockpit floor.
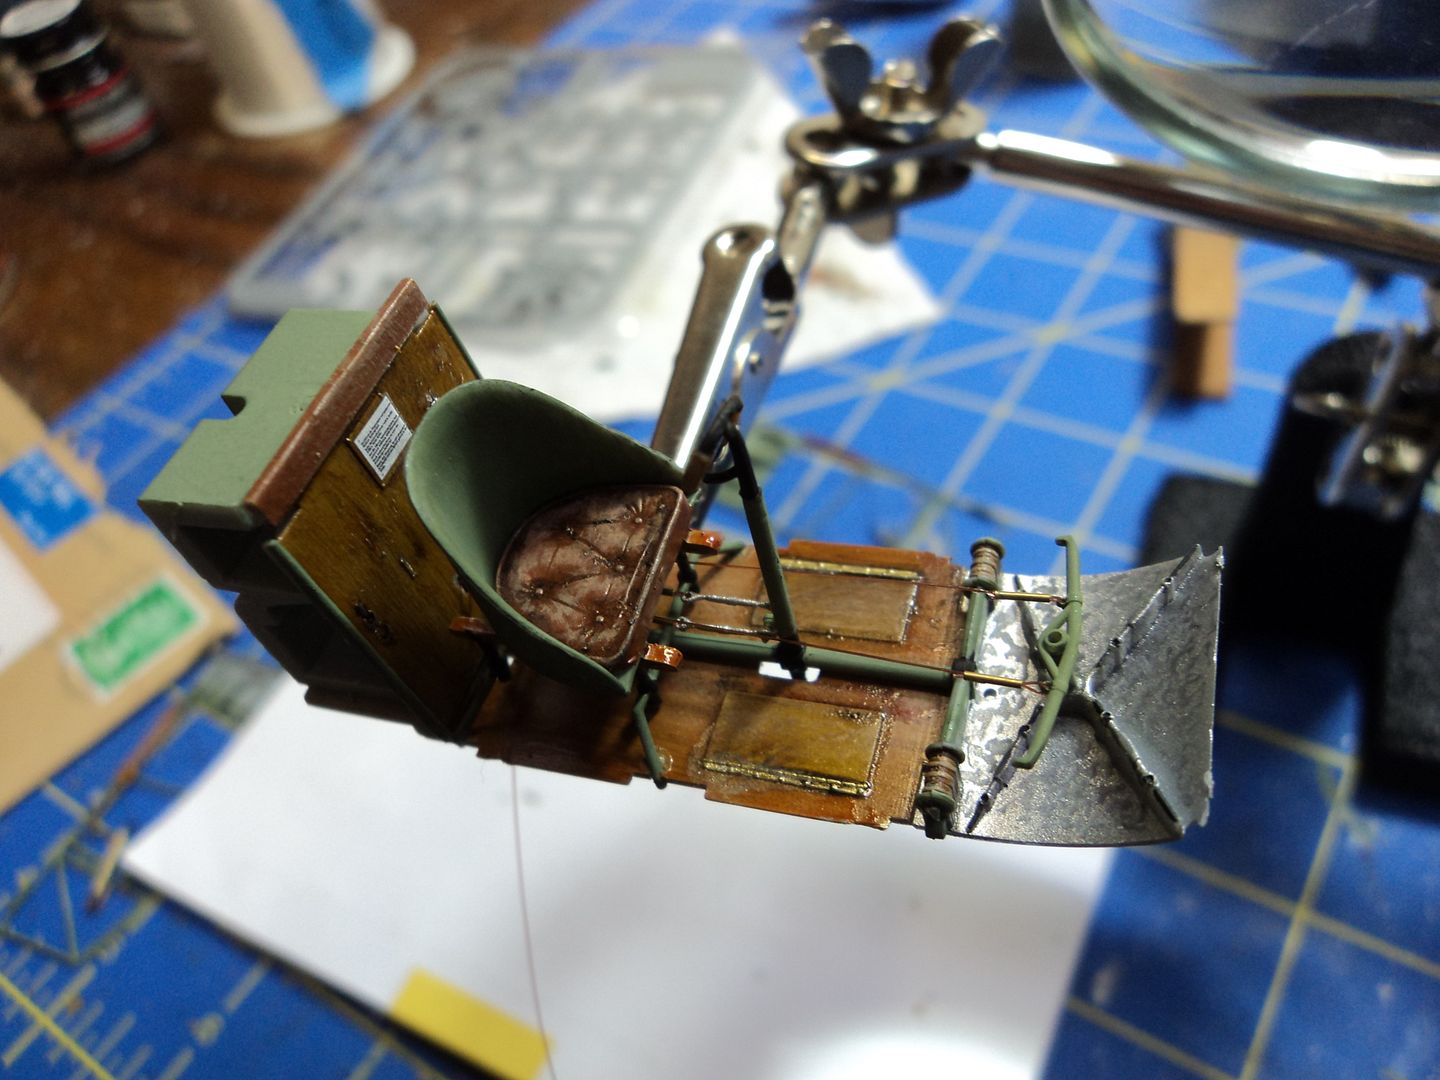
I used Gaspatch 1/48 type C turnbuckles for the rigging attachment points on the Control column and the rudder pedals.
The almost finished interior.
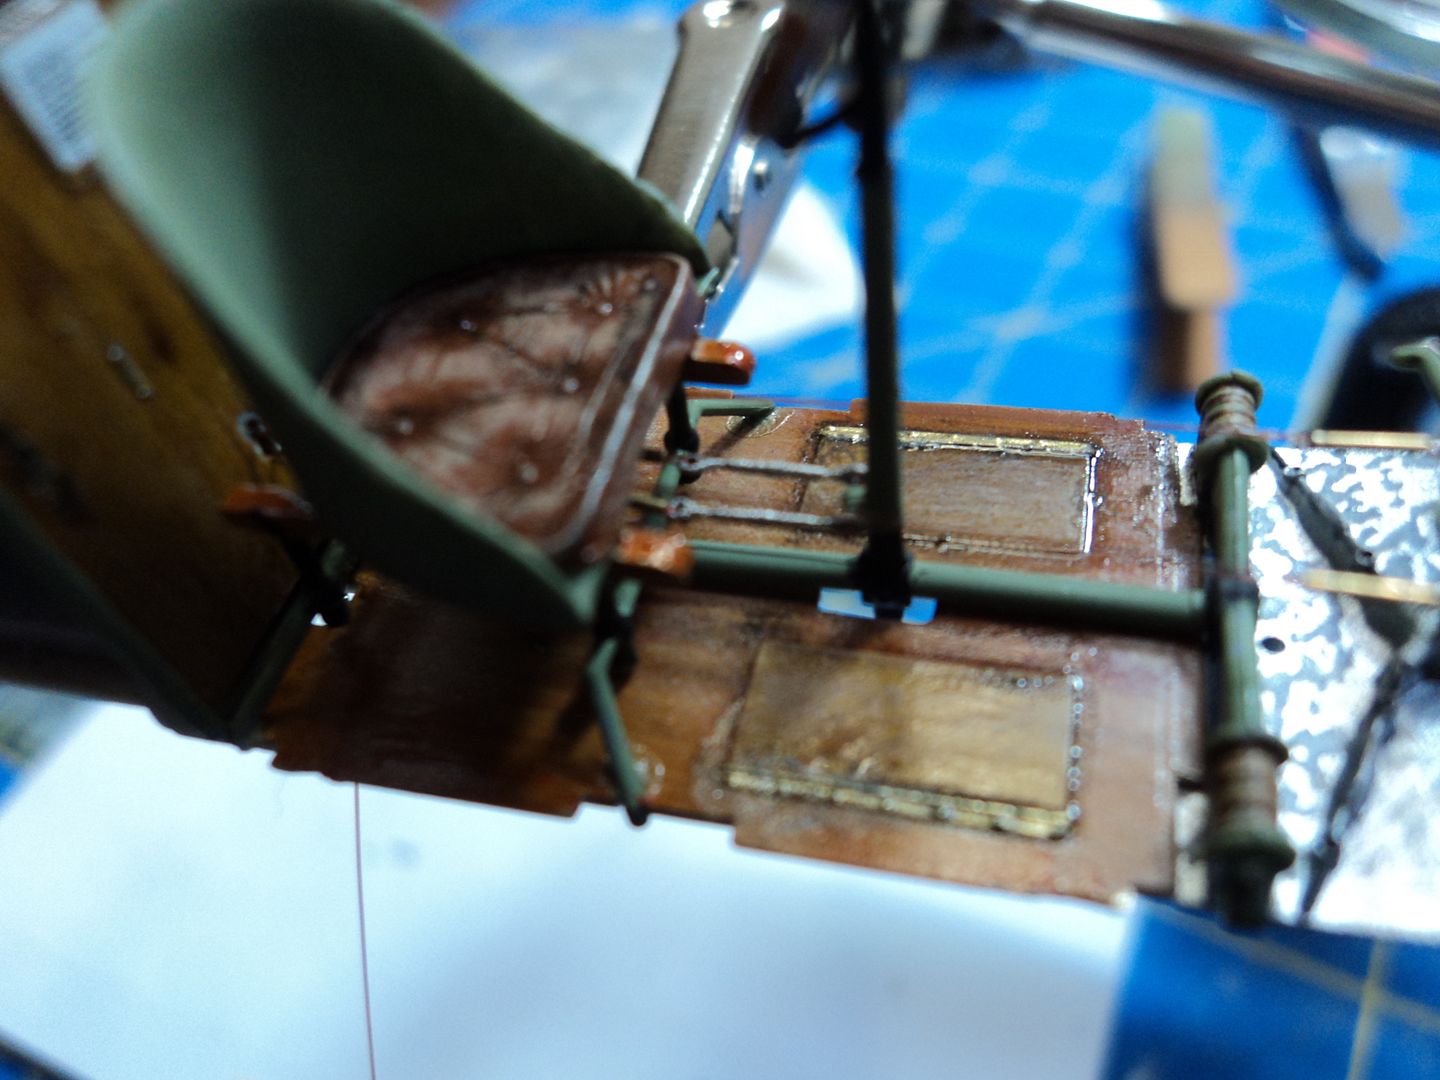
I used the PE Seatbelts, but next time I am going to opt for the HGW ones. PE is just too fiddly, although they look the part.
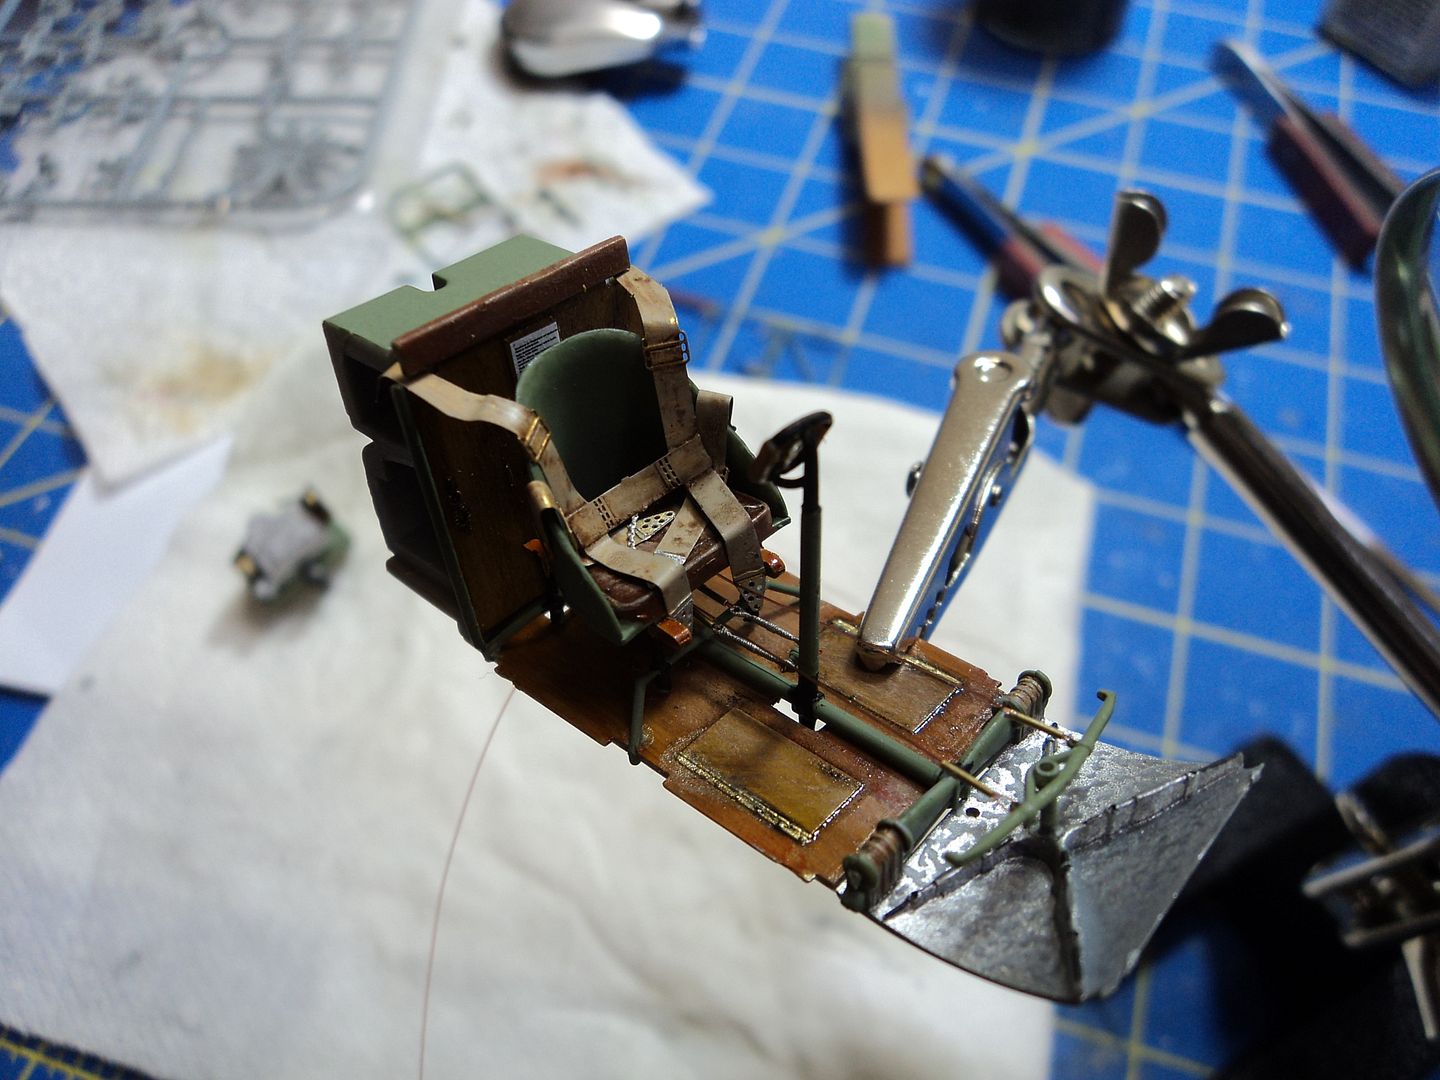
I was happy with the 'weathering of the seat cushion, but the PE belts pretty much cover that up.
I proceeded to continue to assemble the interior. I used EZ line and Bob's Buckles. Care should be taken to run the wire on the back side of the framework. I naturally ran it over the front side and ran into a bit of a problem with the PE part 6, but managed to recover with no noticeable fit problems.
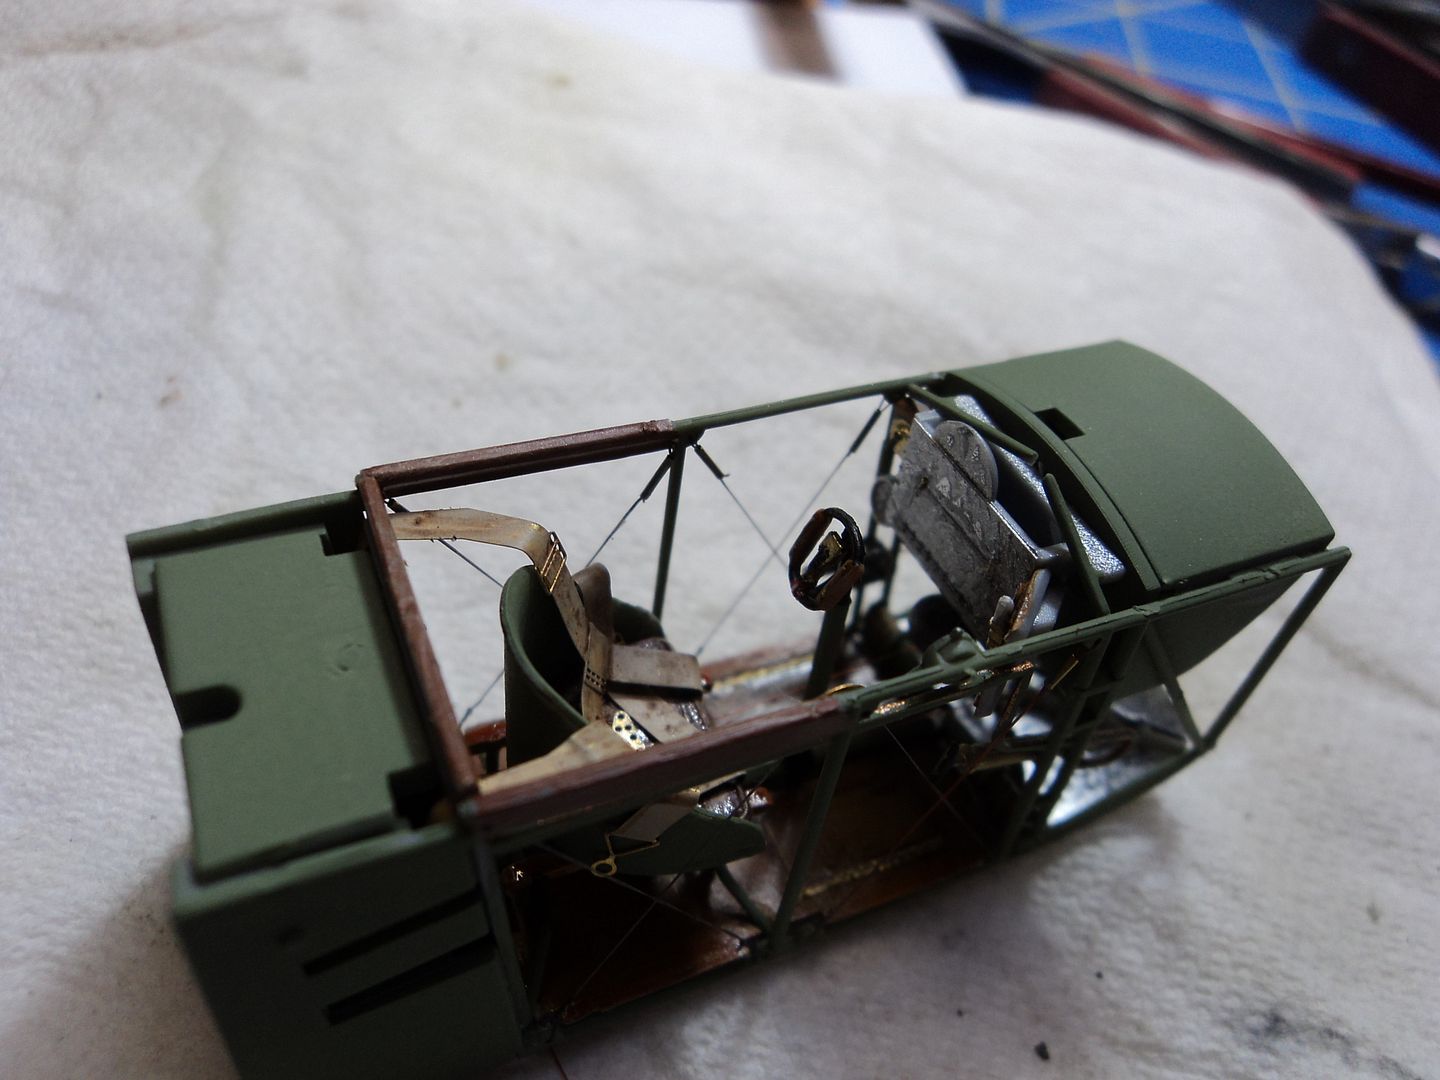

I painted the interior as called out by WNW and gave the natural metal the swirl treatment and I used the capillary oil method to highlight the access doors. I was happy with the results.
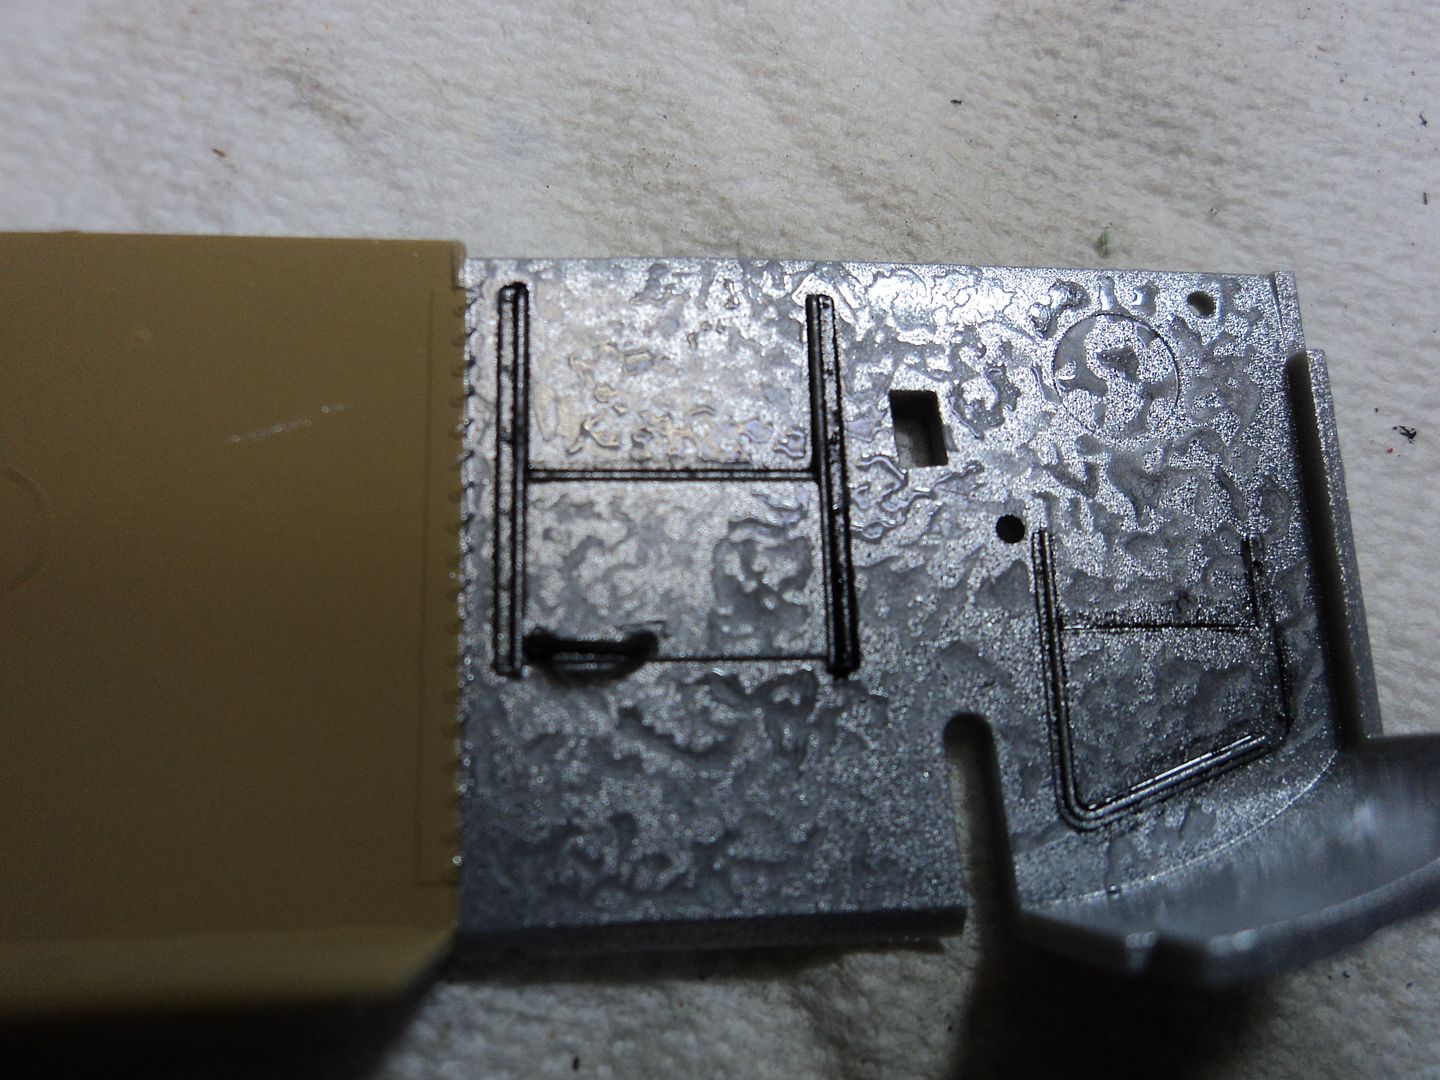

I then proceeded to button up the fuselage. I filled in the seams and painted the fuselage white. For the frames I used a pencil and then painted the fuselage Tamiya FX 60 as called out by WNW in the instructions. I am happy with the effect.

One of the things the modeler must be careful of is to drill holes in the bottom of the control column to attach the rigging. Bertl has a great shot of what he did. I drilled the hole prior to fixing the control column to the cockpit floor. Once the fuselage was buttoned up, I took a piece of wire I cut off a Bob's buckles eyelet and fixed it. I then attached one each Gaspatch 1/48 Type C turnbuckle.

I then attached the rigging that I ran from inside the cockpit to the turnbuckles. In my haste I realized that I had attached the wrong ones. These should have gone to part A45 in the undercarriage, not yet attached. So, upon realizing my mistake, I improvised and attached a length of EZ line through the slots in the underside of the fuselage and will attach those to the part A45 at the appointed time.
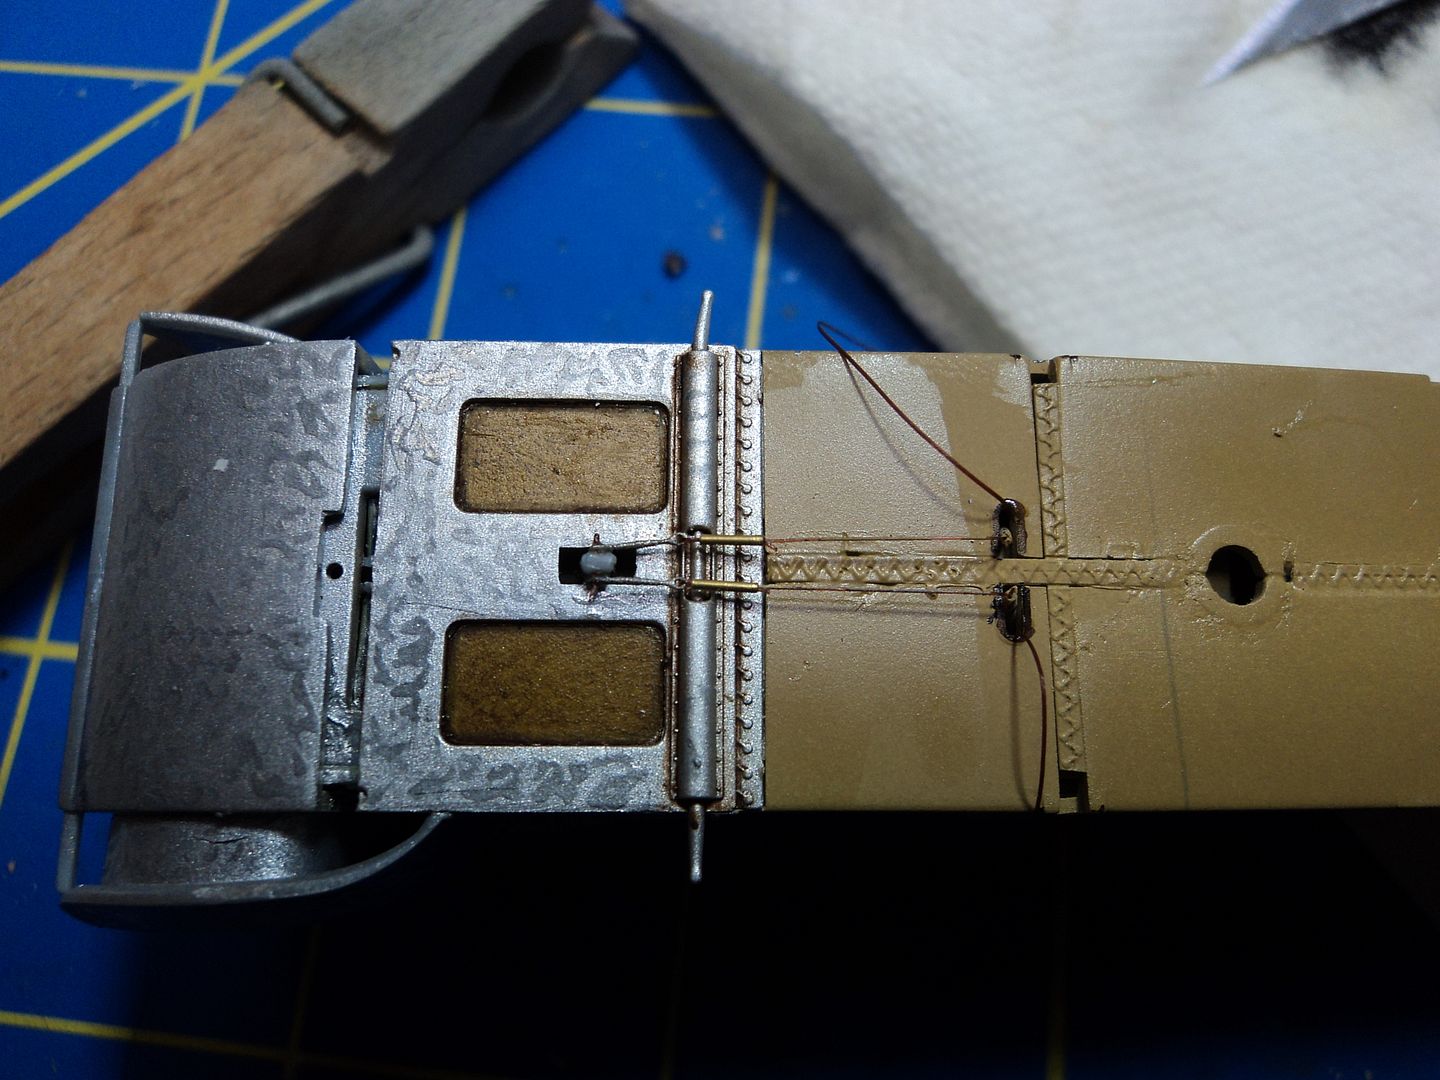
I hate it when I do that and get ahead of myself!
