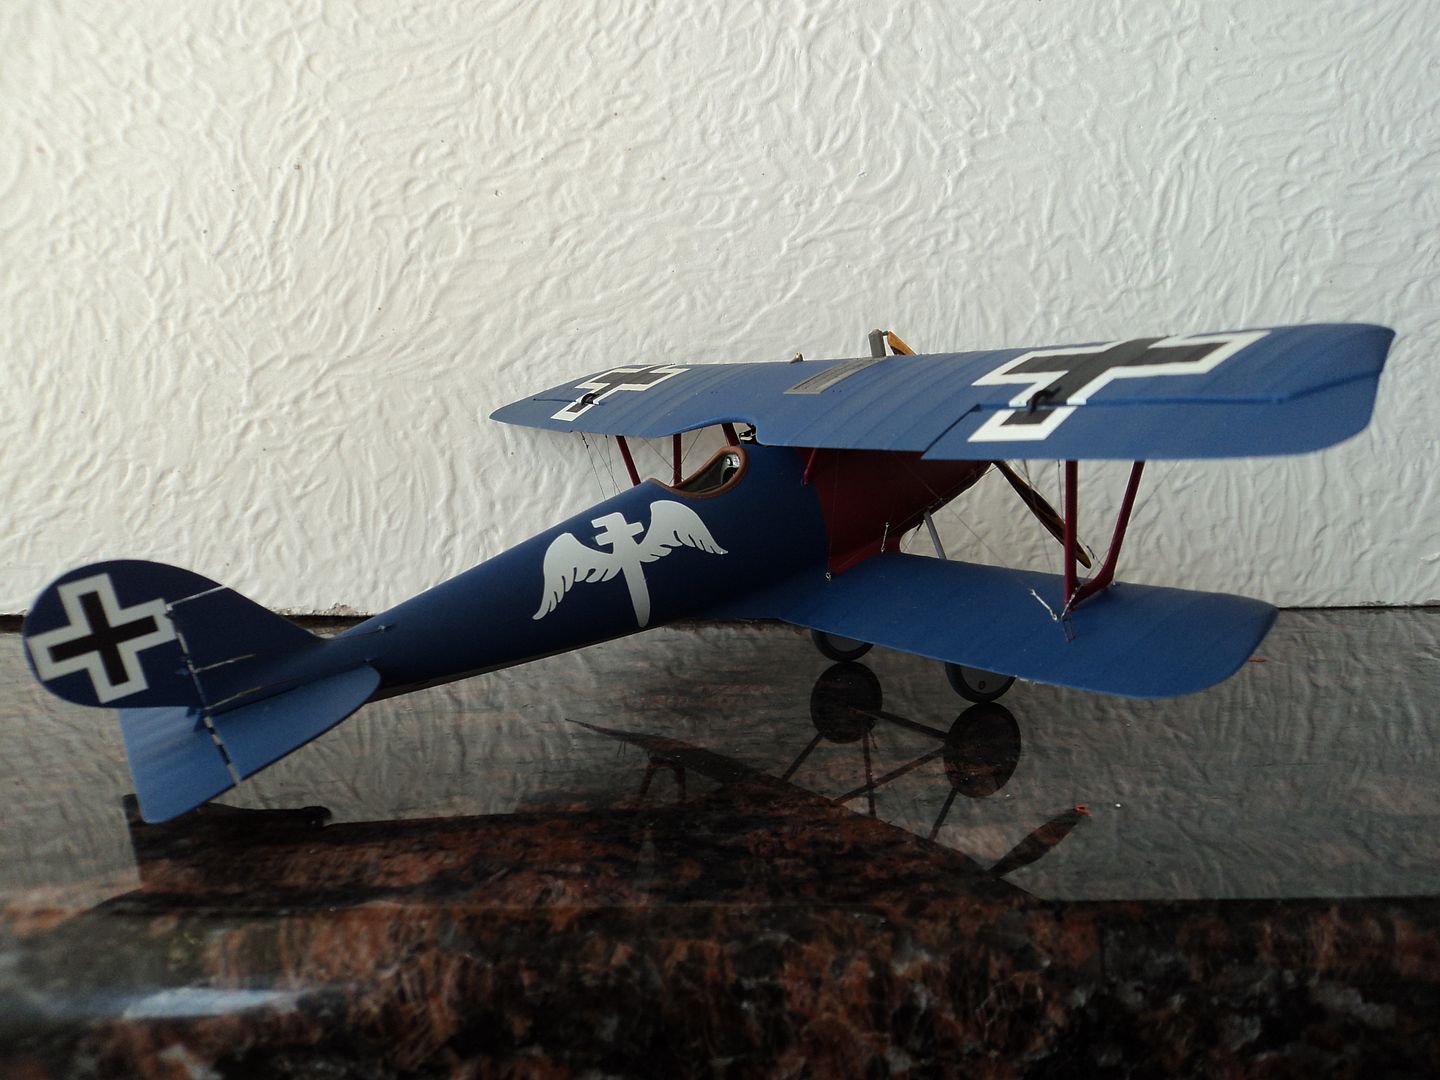
Greetings all:
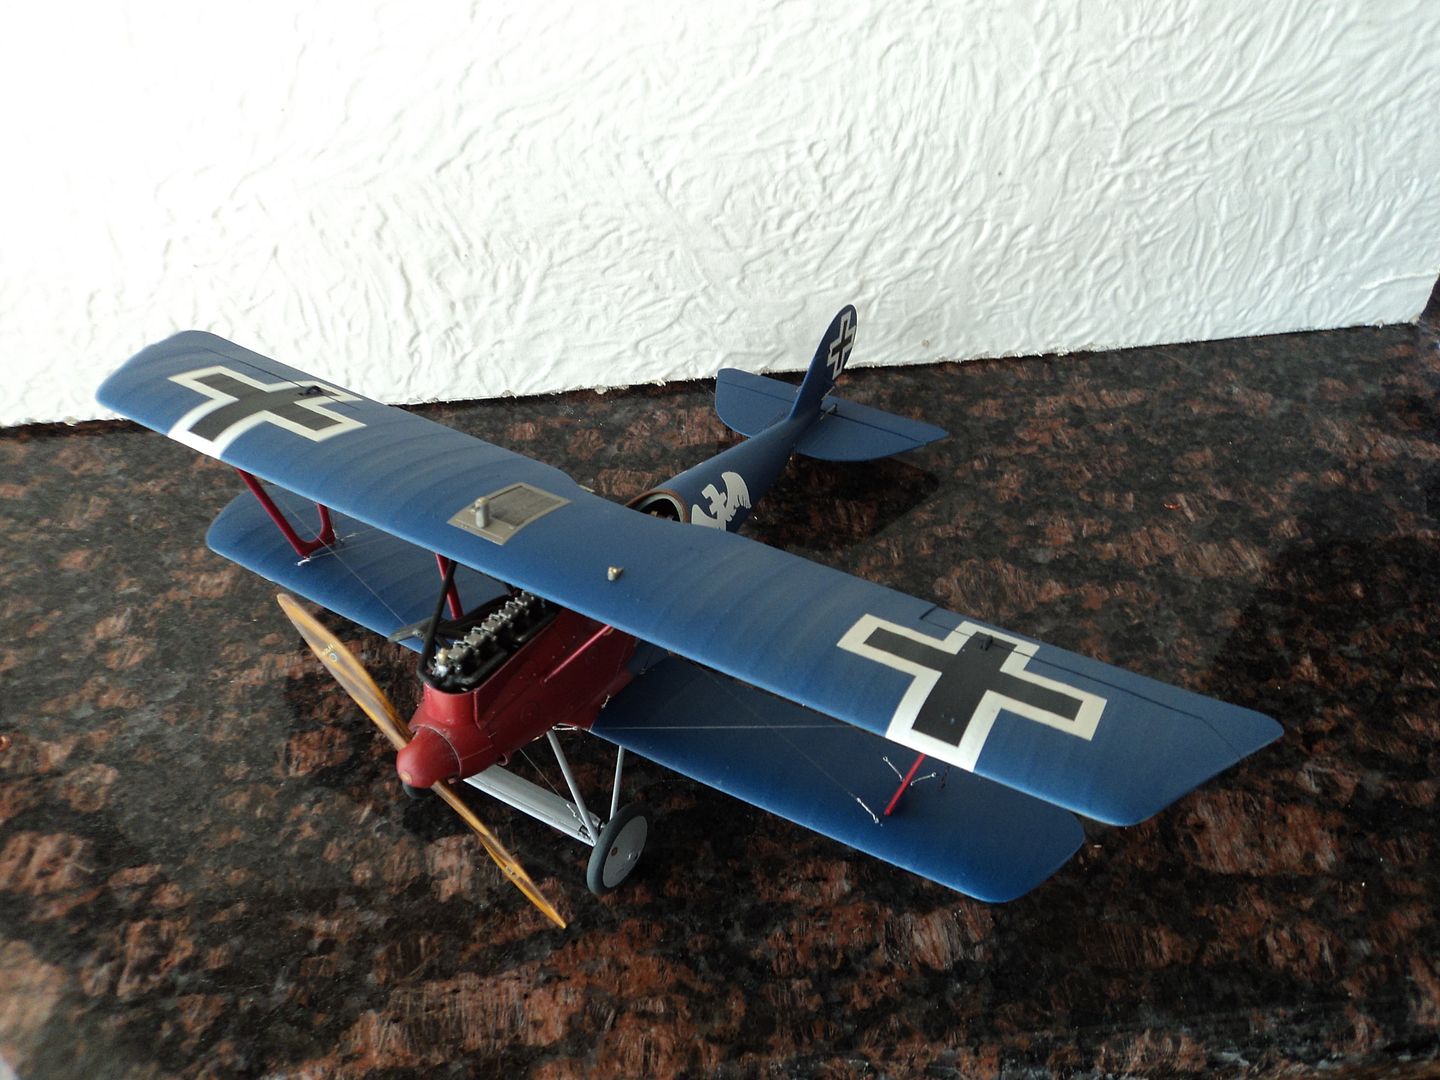
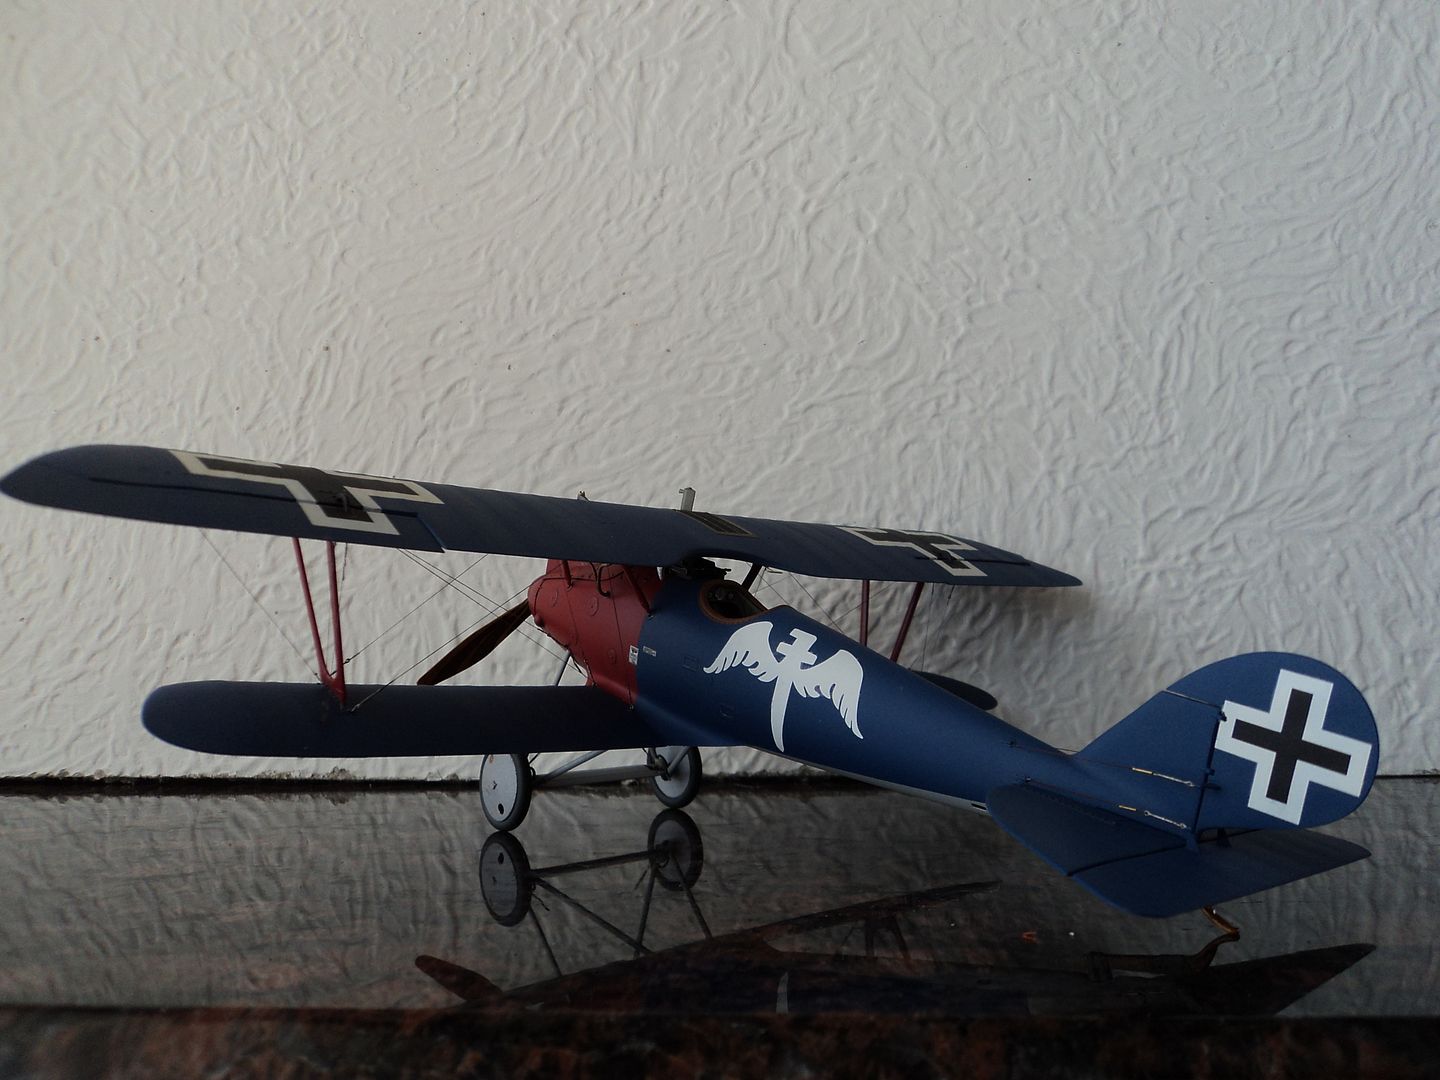
I had finished reading the book "Iron Man" by Peter Kilduff and was inspired to build his Pfalz DIII.a as he liked it. I had purchased the WNW decal sheet "Flying Circus part 2" 30020 originally to build Degelow's Pfalz, but I liked the version on the Pheon Sheet better and built that one instead. So I got some use out of the sheet.
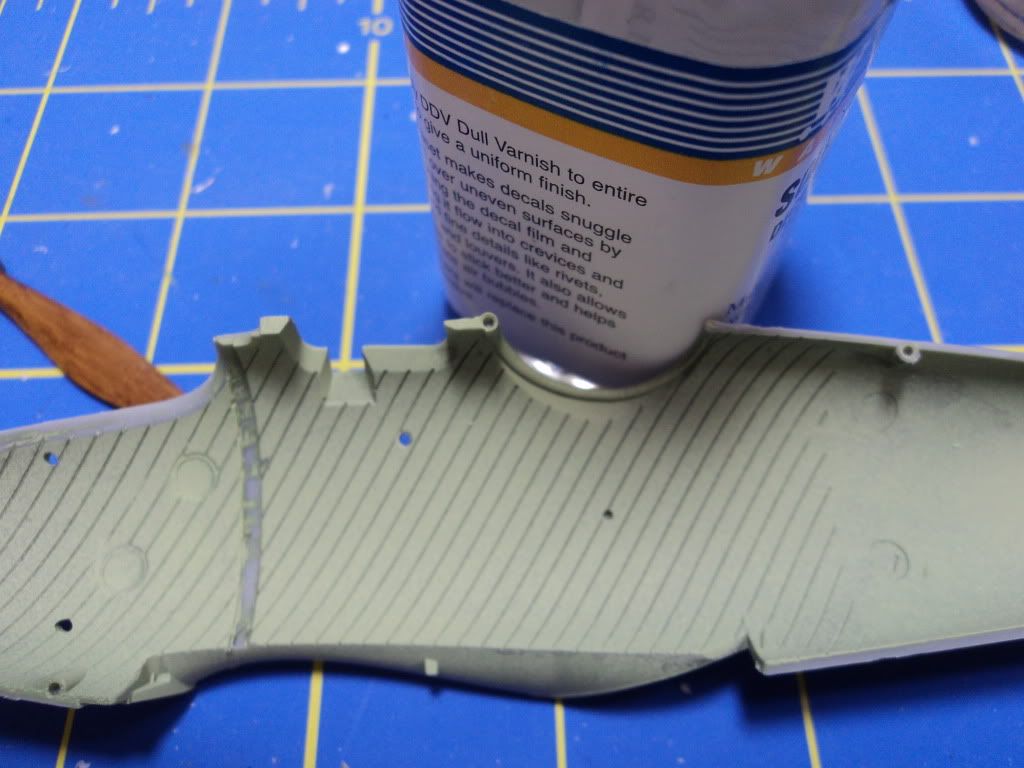
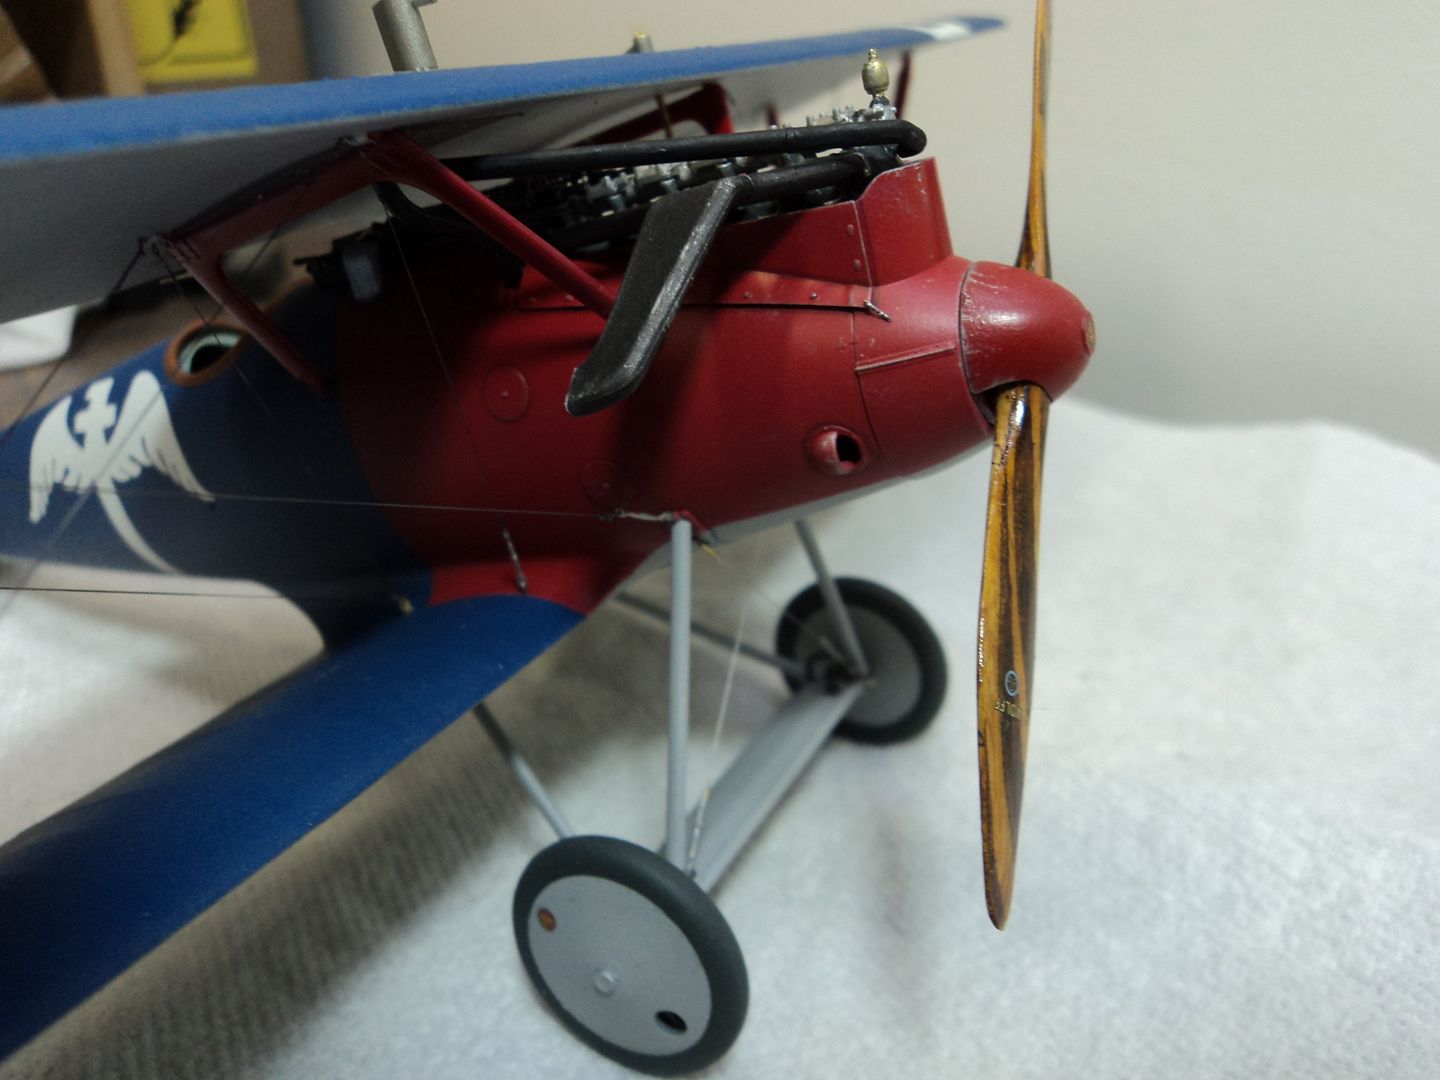
The kit is OOB except for the usual "Bob's Buckles" and "Gaspatch" turnbuckles. I used a drop or two of Testors MM Desert Sand in the Dullcoat mix to give some streaking affects in the wings to tone down the black and white and the overall blue. For the access hatches and panels I traced them with a fine point "Sharpie" permanent marker and then painted. It had the desired affect. I then went over the engine area and dry brushed with Testors Pla Silver to pick out the small details. I didn't want to go overboard so I kept the weathering to a minimum. For the radiator, rather than paint it aluminum (aluminium for our UK/Australia/NZ brethren) I used Testors Model Master Jet Exhaust, I like the effect.\
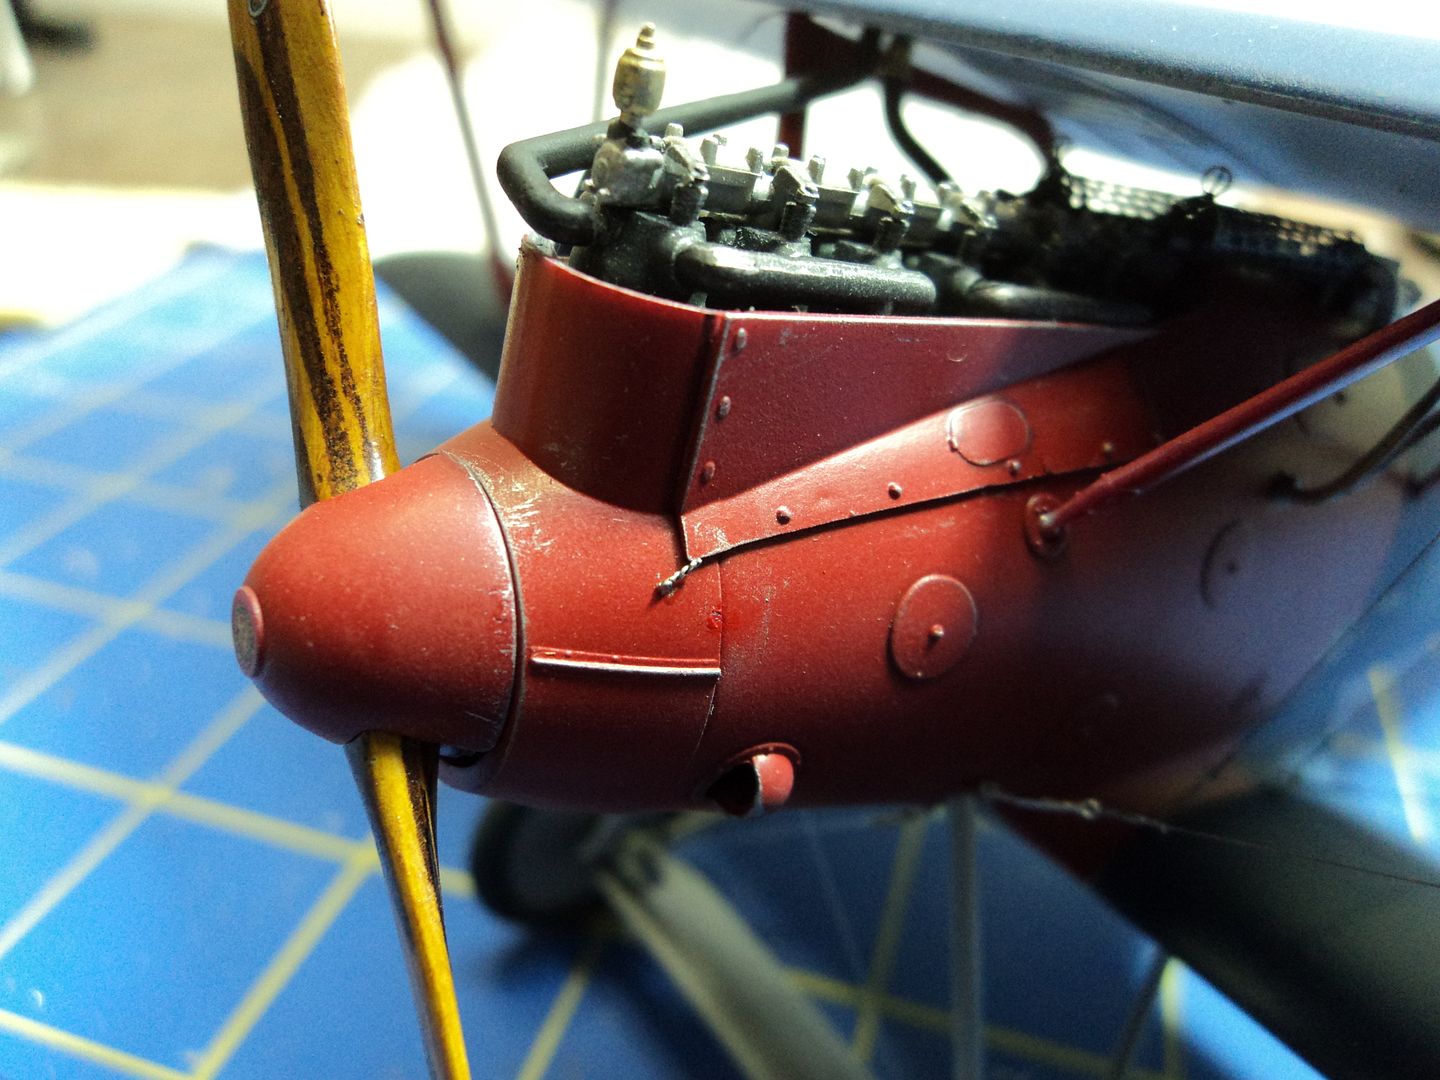
Looking at Bob Von Bucklemeisters Completed Pfalz I was impressed with the springs he fashioned for the front cowling panel, so, I used some of his very own eyelet stems to replicate this feature. Again, I am happy with the overall affect. The paint is as was called out by the WNW instructions using Tamiya Acrylics.
Here are the photo's for your viewing.
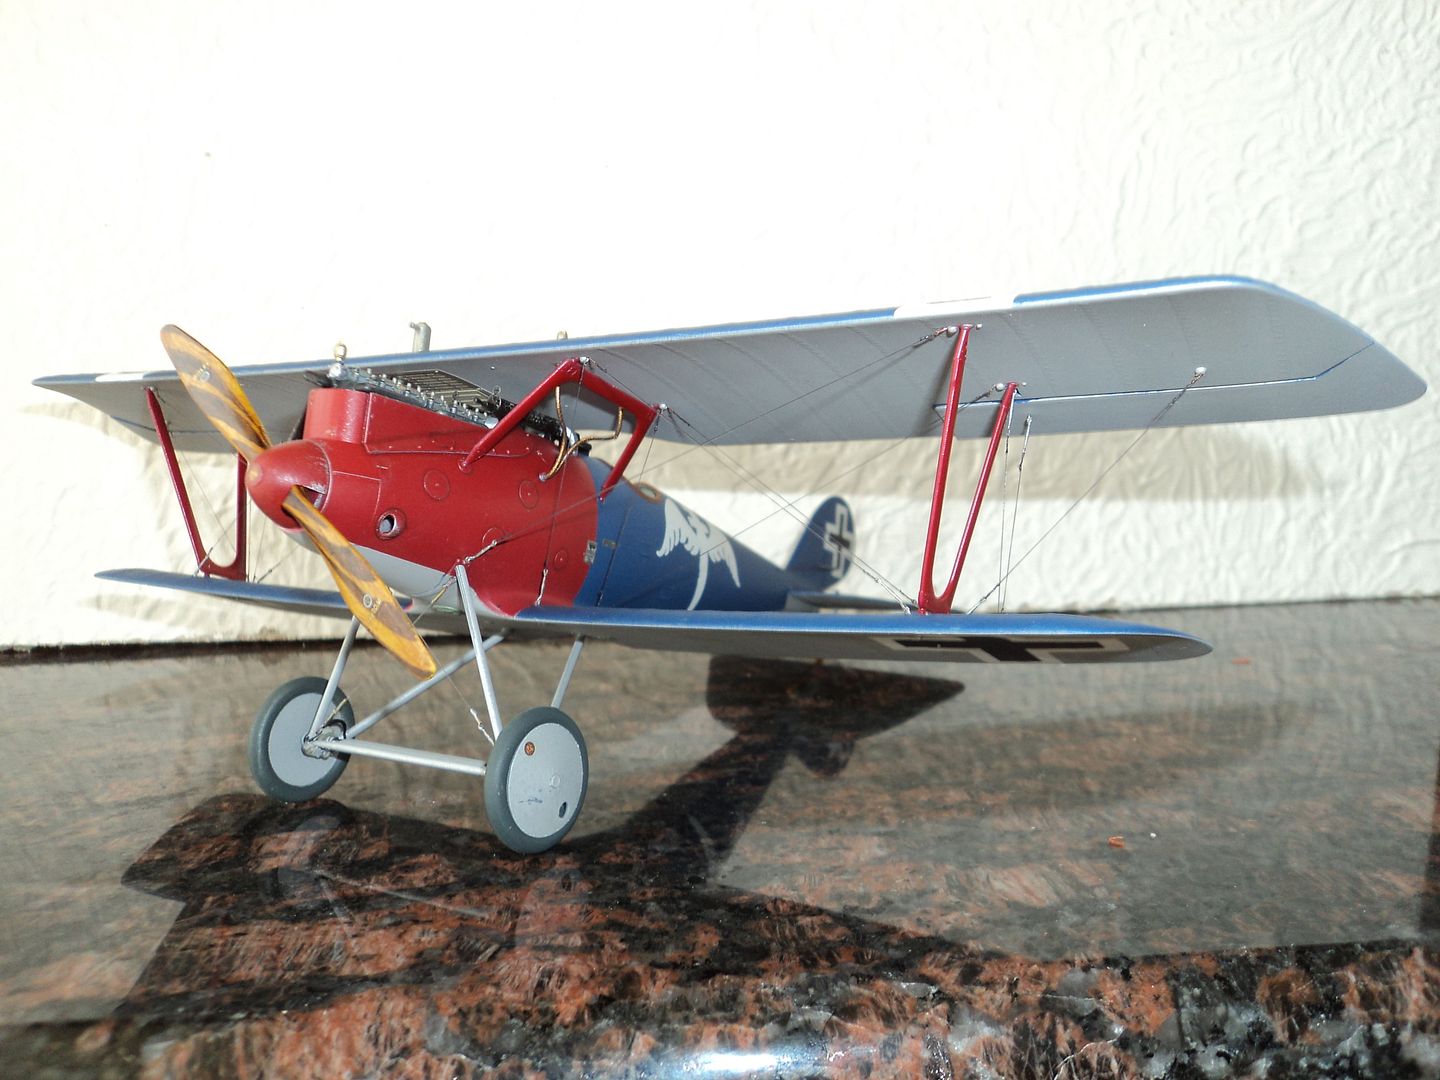
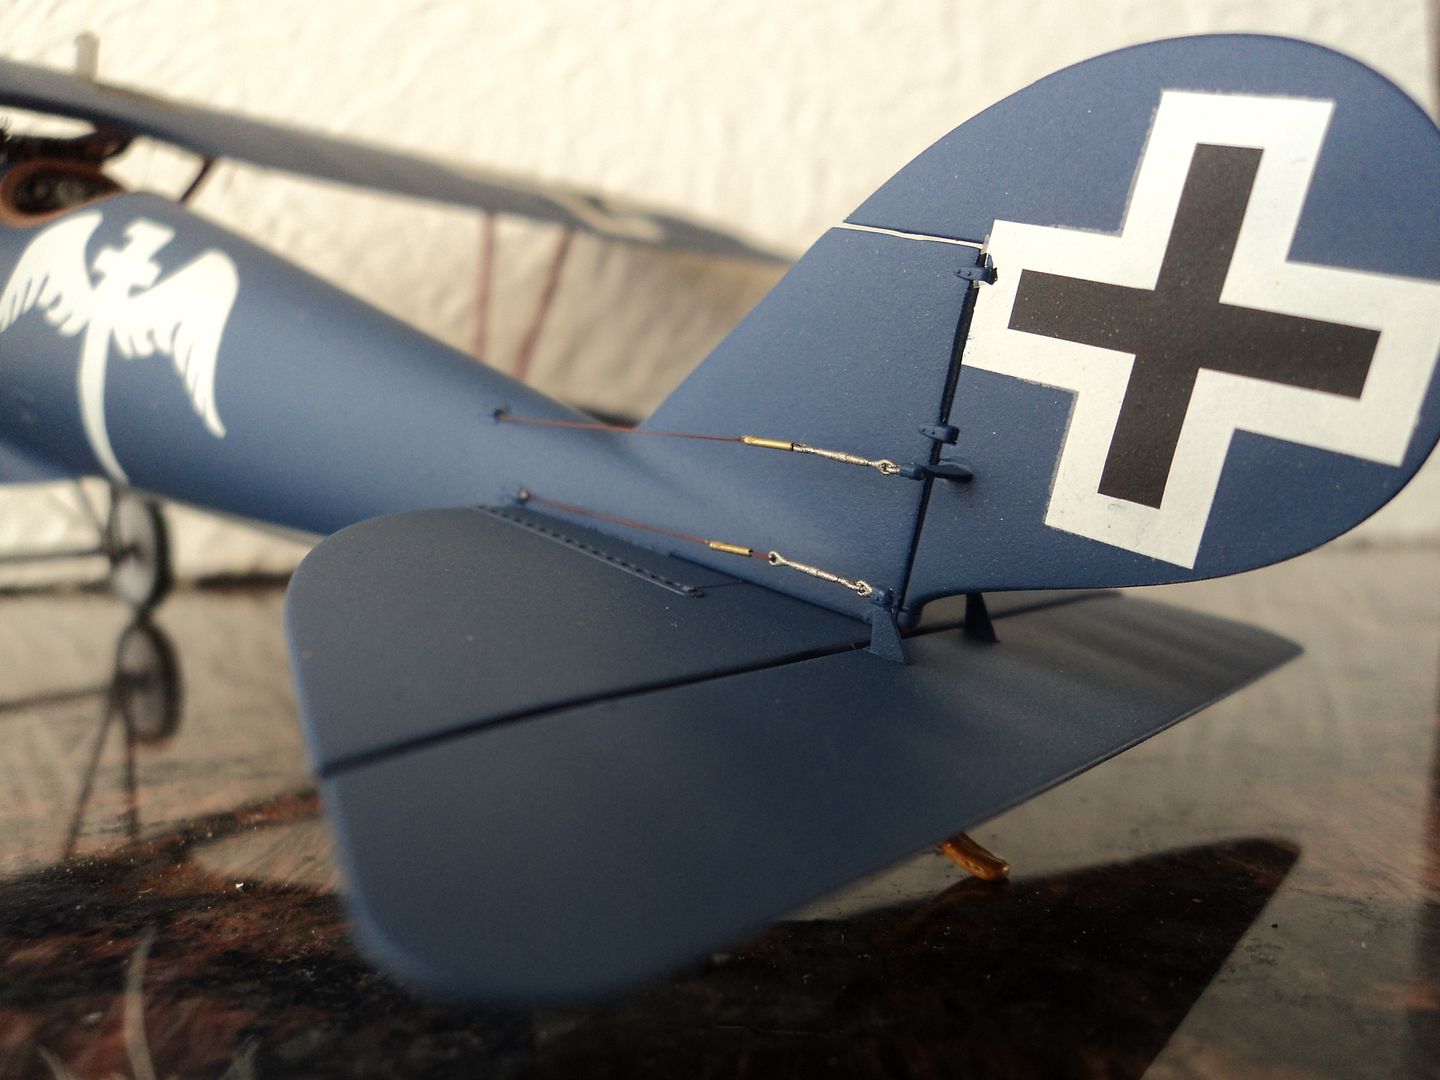
Here I used EZline, Gaspatch and Bob's Buckles. I drilled out the control horns using a #79 drill and then super glued the Gaspatch turnbuckle to receive the EZ line and used Bob's tubing to finish the procedure.
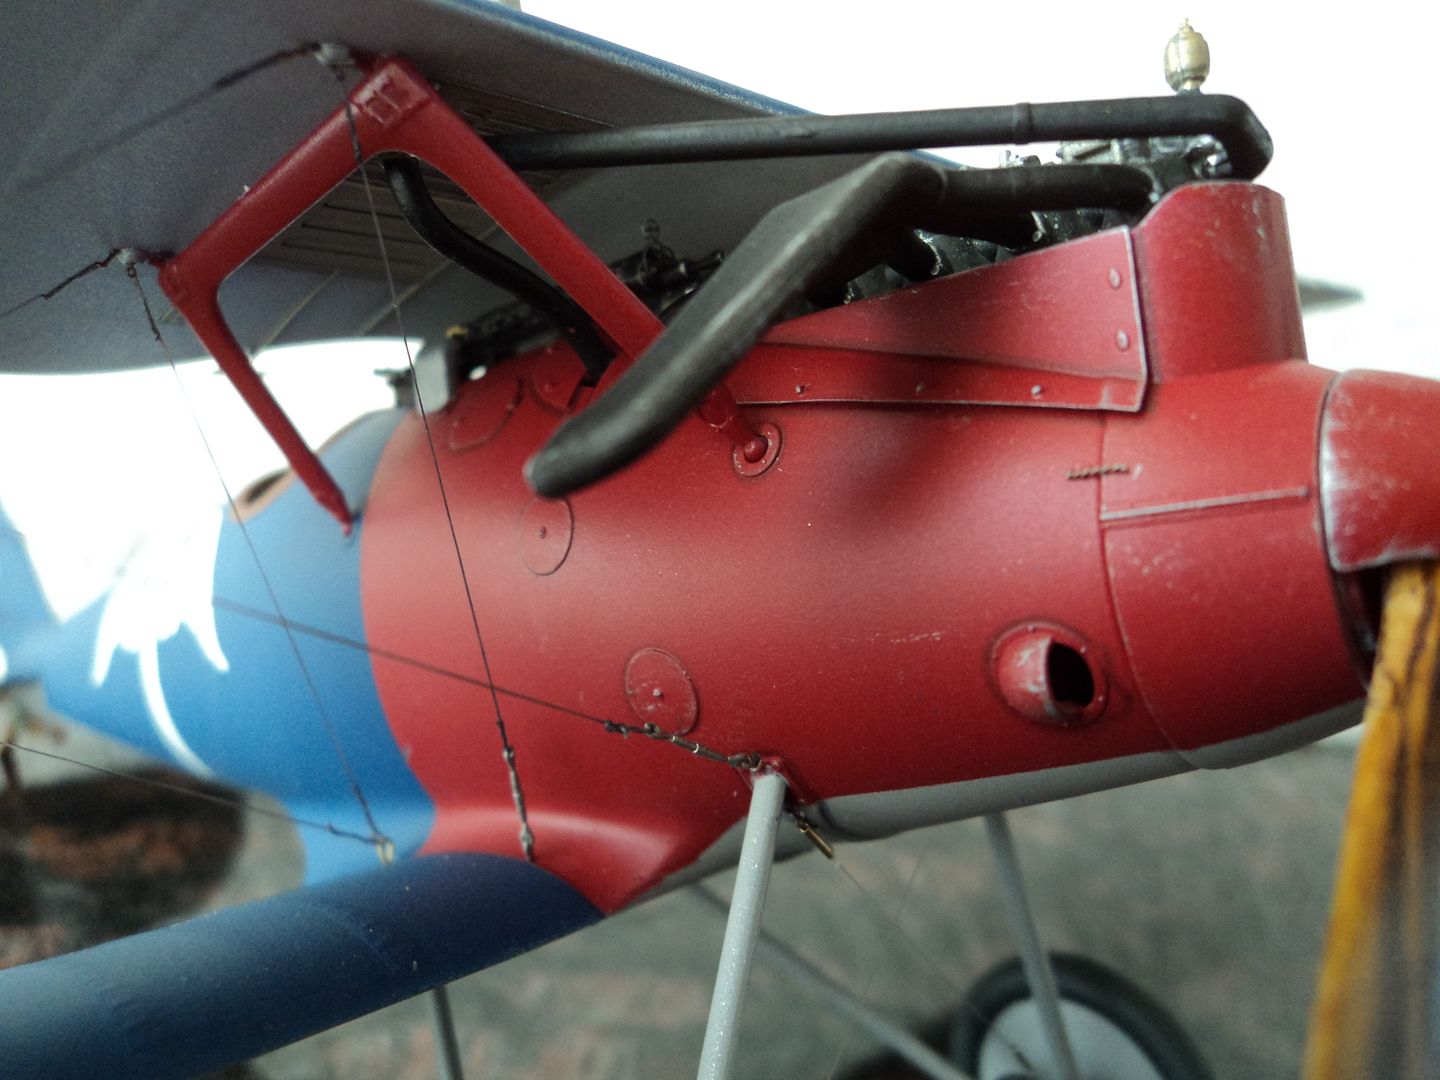
Here you can see the subtle affect of the prepainted Sharpie tracing.

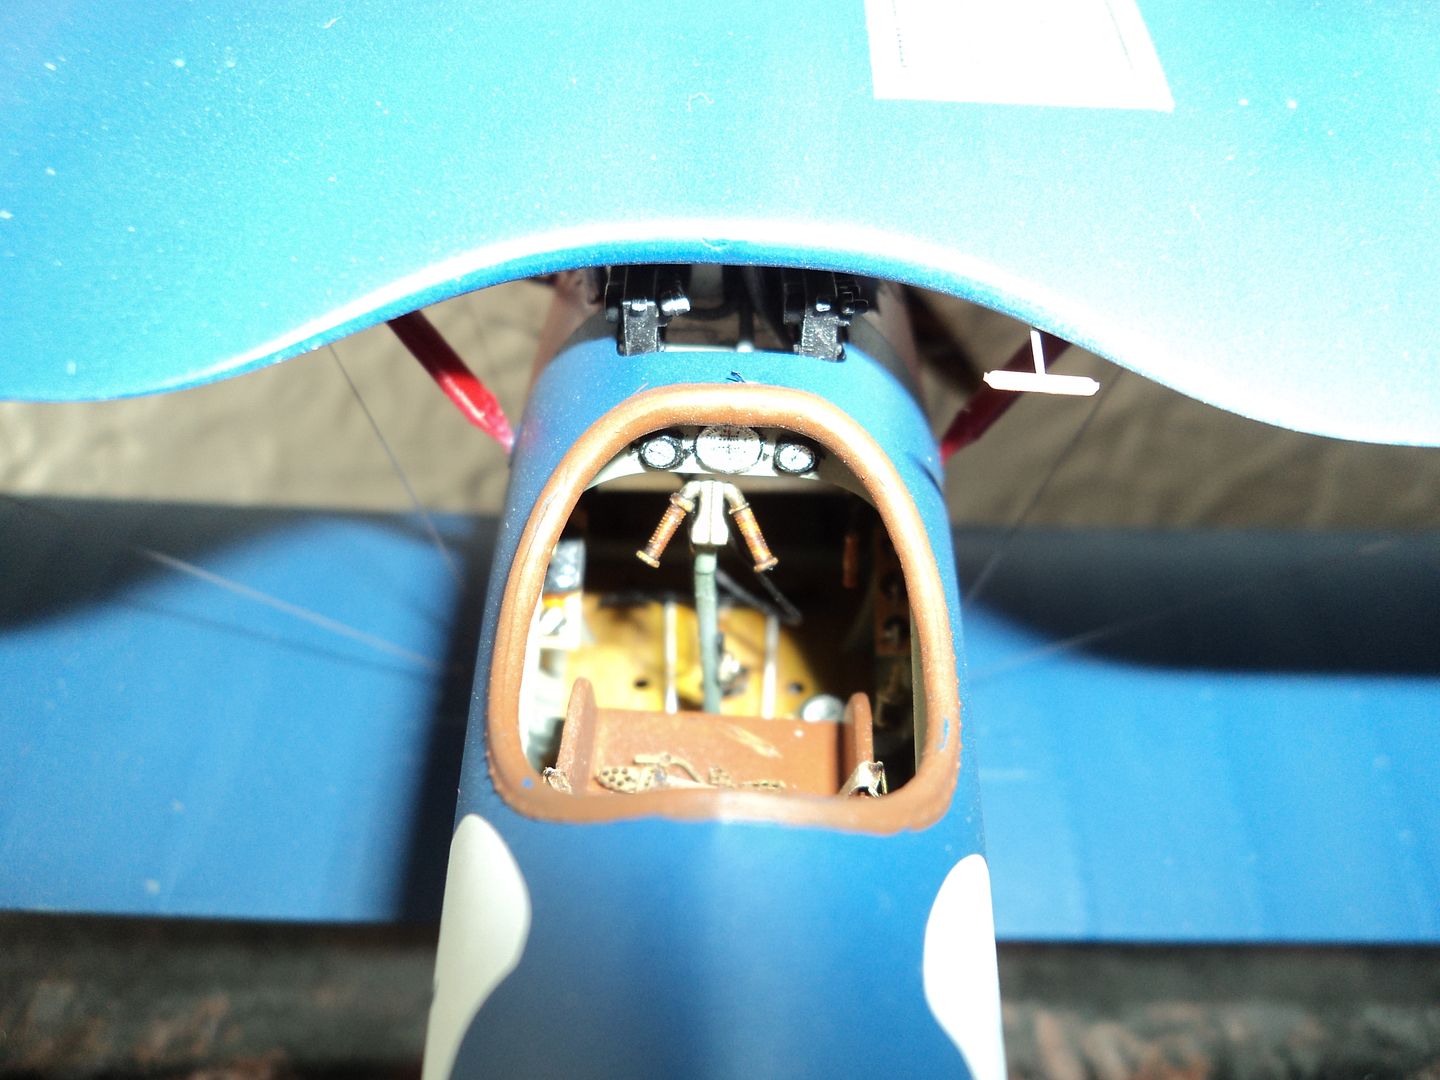
For the interior, to highlight the wood strips, I used the sharpie method.
Interior

Woops Wrong one!
A special thanks to Lance Carroll who pointed out the cowling attachment springs were not attached properly. Duly appreciated Lance. In my haste I didn't check the references and just put them on where I thought from memory they should go. I have changed them. Behold the new pictures with the corrected spring attachment.
This is truly a great forum where our fellow modelers can point out errors in a friendly manner.
Best
Mark
Best
Mark

