Thanks folks!

Dal - probably won't get any models down to the ACT show, it's a bit of a hike from Brisbane! Might try and find an excuse to head down the weekend of the show though...

I now have the fuselage closed up.
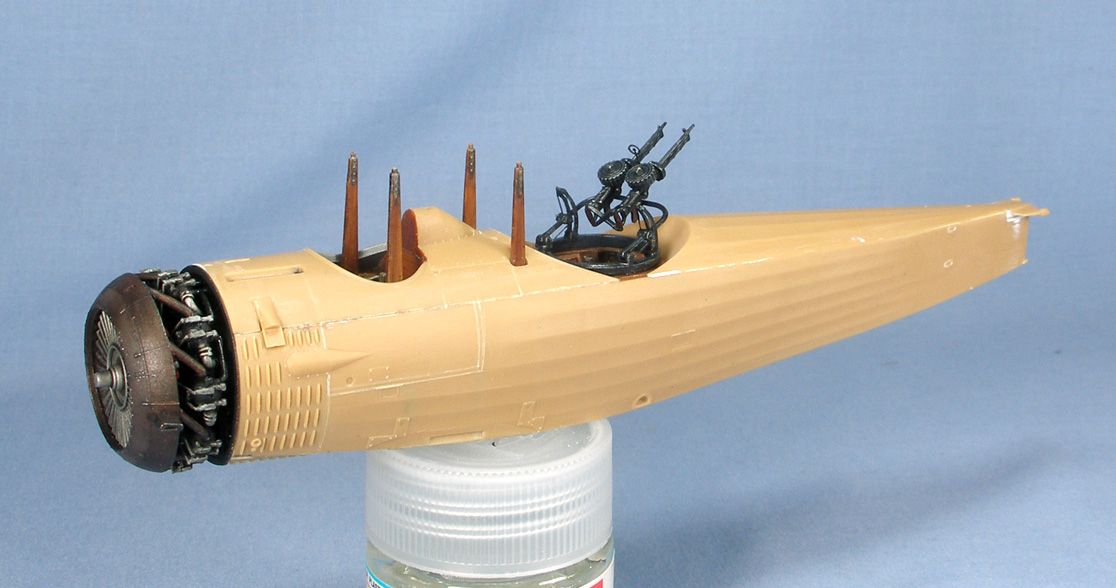
The interior is a tight squeeze - the easiest way I found in the end was to glue the two fuselage halves together first to minimise the gaps for clean up, then slot the centre part in afterwards. This was also tricky as the struts need to slot into the correct position without snagging on any of the wires or other interior components. The camera extends past the back end of the floor piece, and the whole lot needs to slide backwards once it's roughly in place (if I build this model again I will add the camera in after the fuselage sides and floor is in). It took me a few goes and a few broken bits of rigging later to get it into the correct place. The mating edges of the centre floor piece to the fuselage sides is angled to a knife edge right at the bottom edge of the fuselage, which means you need to use glue sparingly. It's also tricky to get the floor flush with the fuselage sides and underside, so I found a little filler was needed here (though not too much). The upper decking "shelf" in the cockpit also needs to slide around the struts and the forward cockpit components. It was also a tight squeeze so I needed to do some trimming here and there to get the shelf to sit flush. Likewise the upper fuselage parts needed to slide around the struts, and took some persuasion to get in the right spot and a little filler here and there, but again nothing too dramatic.
Next is the wings. This is a simple butt-joint with a small tab which I don't think will hold up too well. I might try and pin the wings but the join is right on that knife-edge I spoke of earlier so I am worried I might split open the join or dislodge cockpit components if I try this....

One nice touch though is that there's a wing alignment jig supplied.
BC

