Then I worked on the fuselage:
no pins or pegs or holes, just faible traces on the surfaces suggesting the position of the joint points...
That's one of the bigger drawback of this kit (IMHO)
I did it myself:
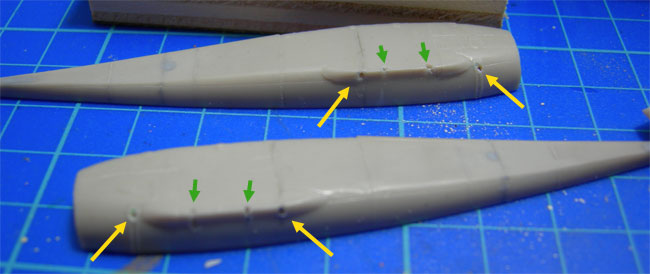
Yellow arrows indicate the holes that wil host the struts coming up from the floaters (they weren't there)
Green arrows indicate holes to insert the wings.
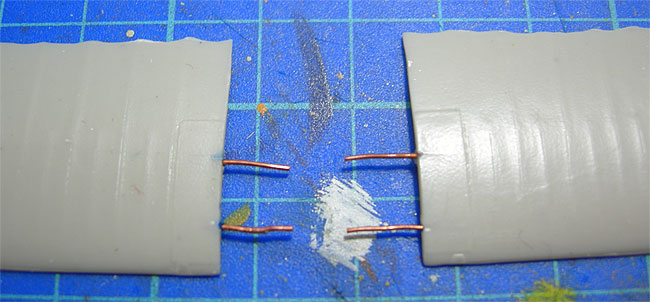
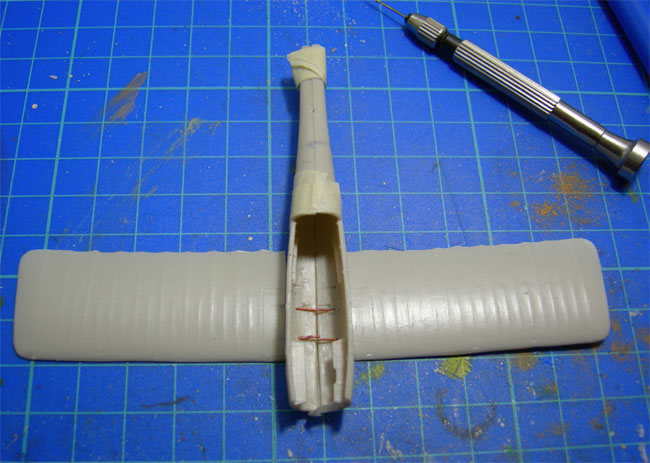
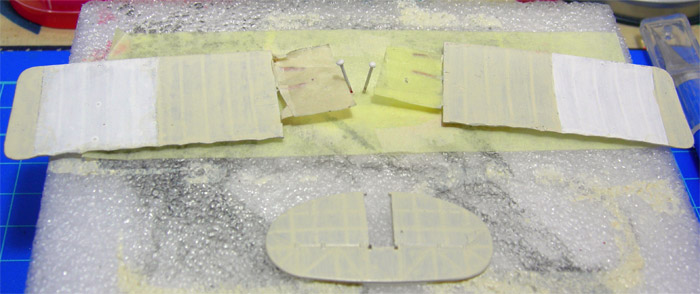
Then I inserted copper pegs in the wings to join them to the fuselage:
and had a "dry" try
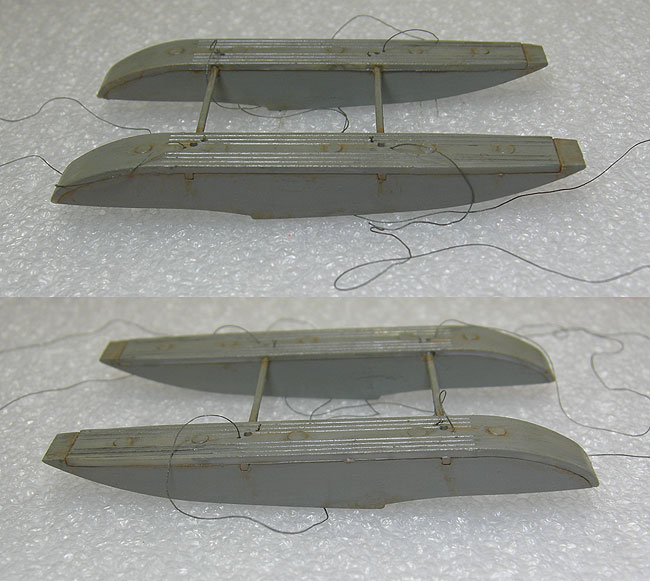
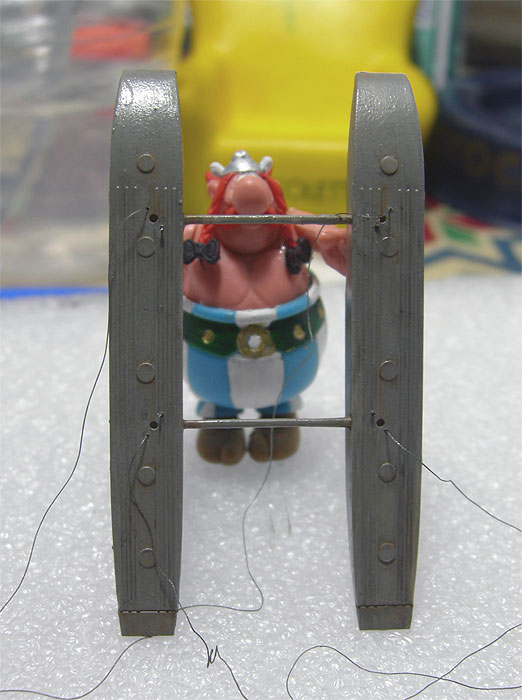
FLOATERS:
Drilled, rigged, gued and painted:
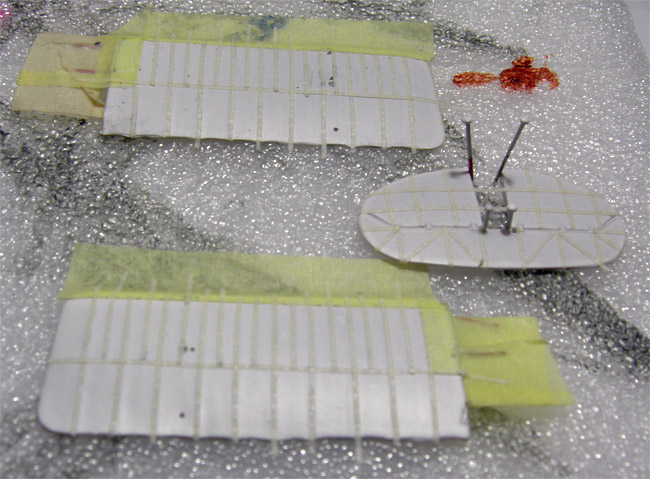
I worked on the wings and tail planes, masking the ribs with some 0,75 mm tape...
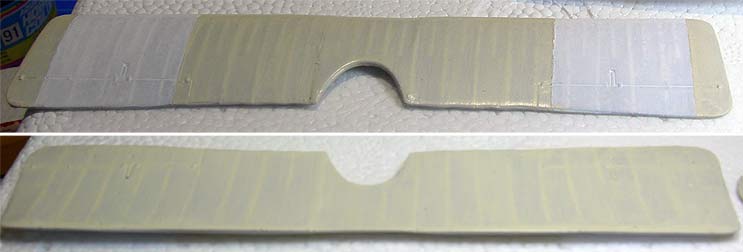
Meanwhile I made some test to decide how to paint the wood grain:
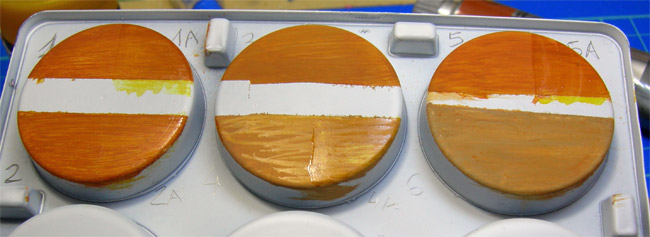
I decided to adopt the top right solution
- base coat of acrylic yellow ochre
- streaks of diluted Natural Sienna
- Coating of clear yellow (Gunze)
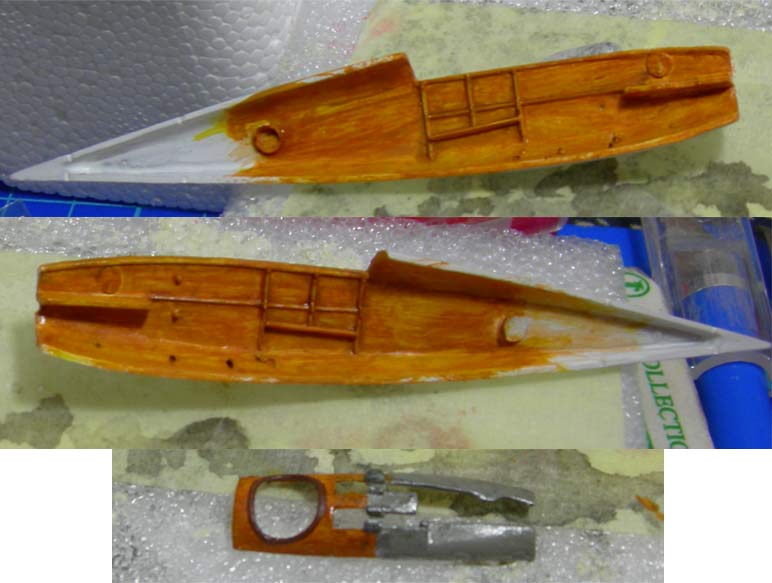
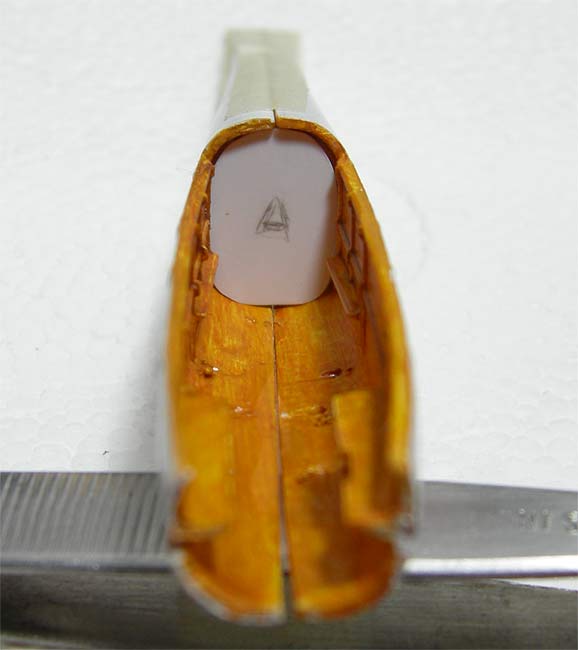
Then I painted the cockpit and made a try to put some piece with the closed fuselage. I decided to go on detailing the cockpit with the closed fuselage.
I must be sincere but I have no documentation about the interior details of the W4 (I have the Windsock mini datafile but there is nothing interesting in it) so I take bits and pieces of inspiration from other builders and WIPs doing this version ad also other non floating Albatrosses
Piece "A" is a screen usually seen behind the seat ...