Okay folks, here she is finished on the bench, except for some weathering chalks I'll add to the wheels:
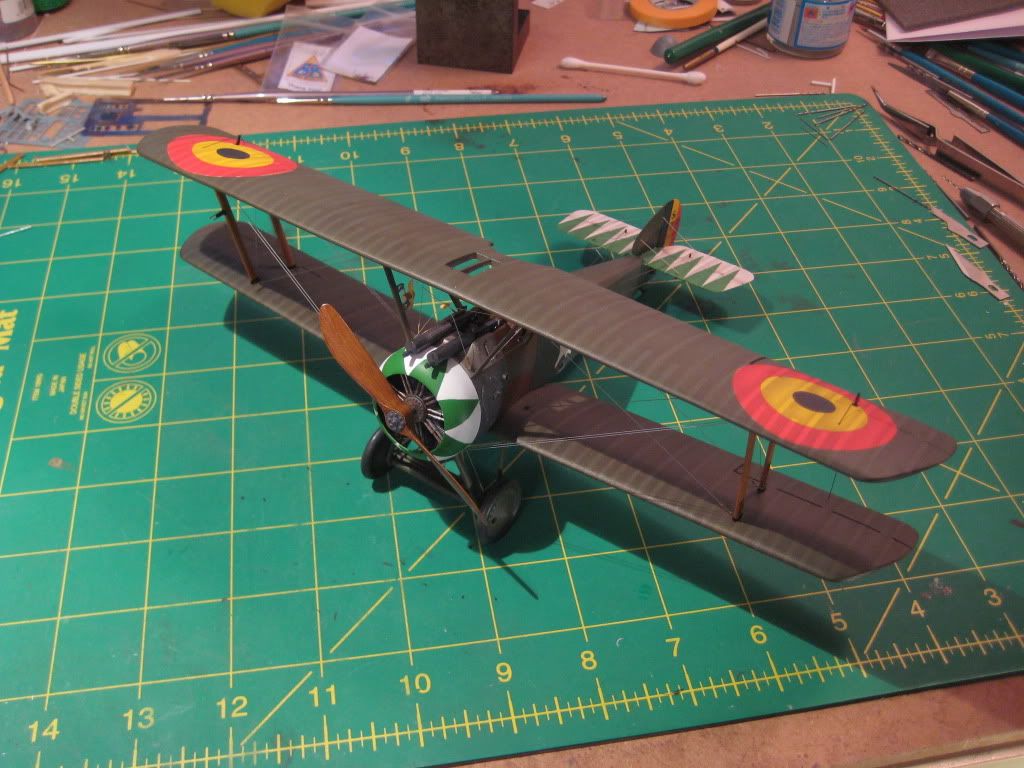


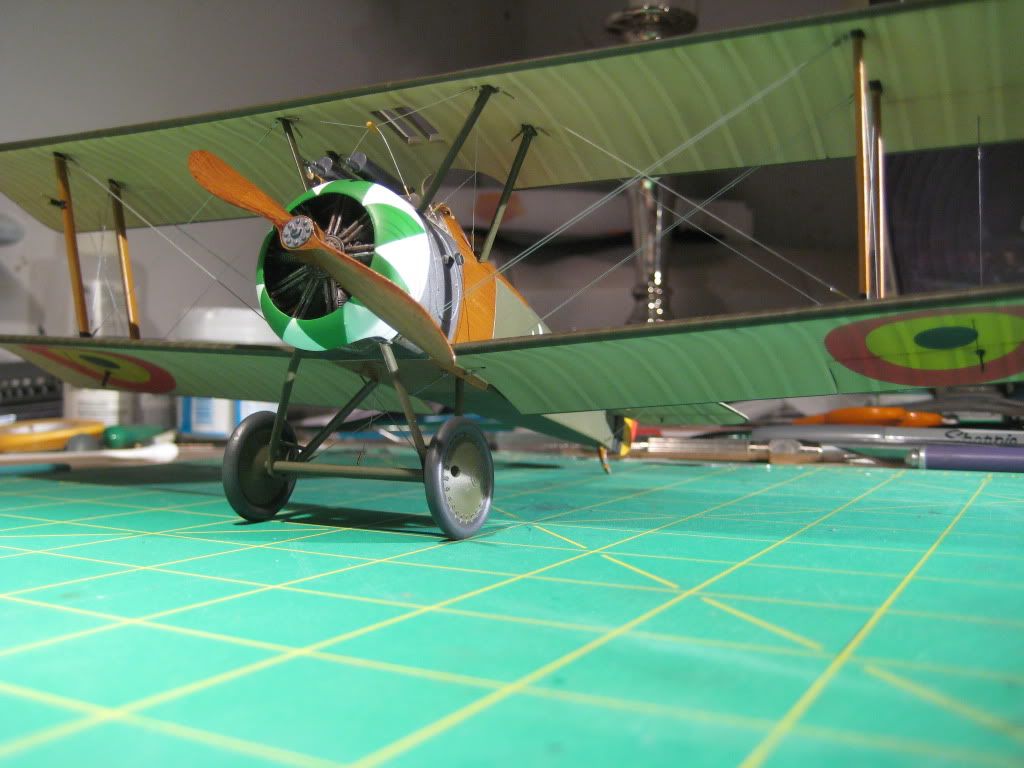

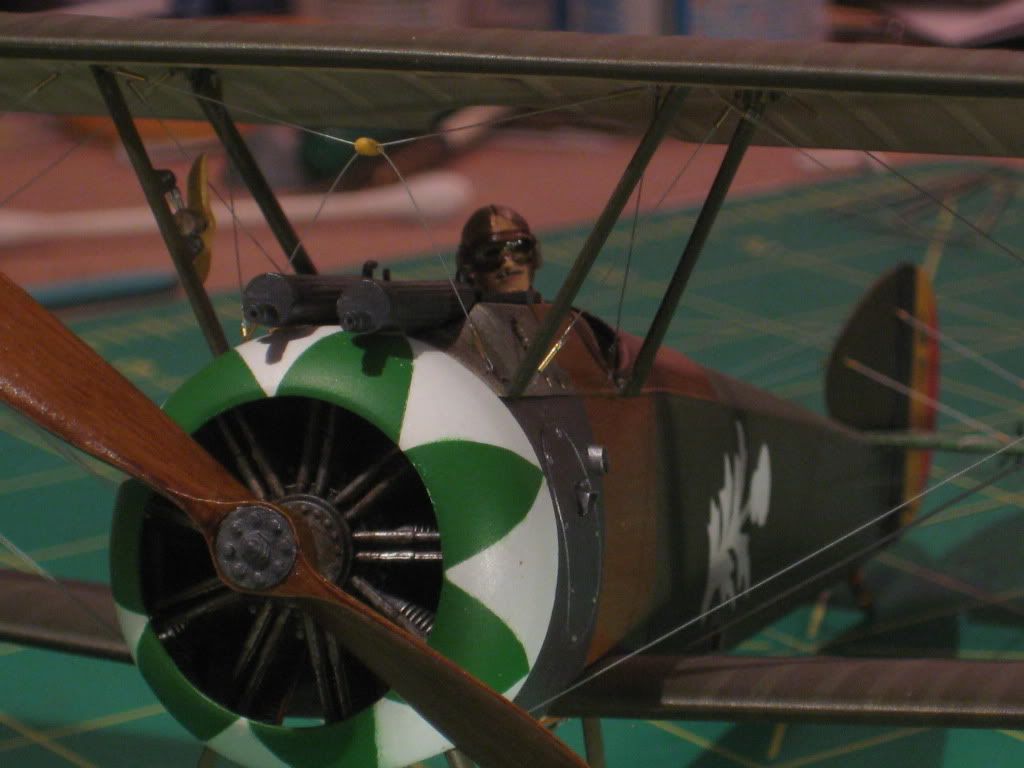
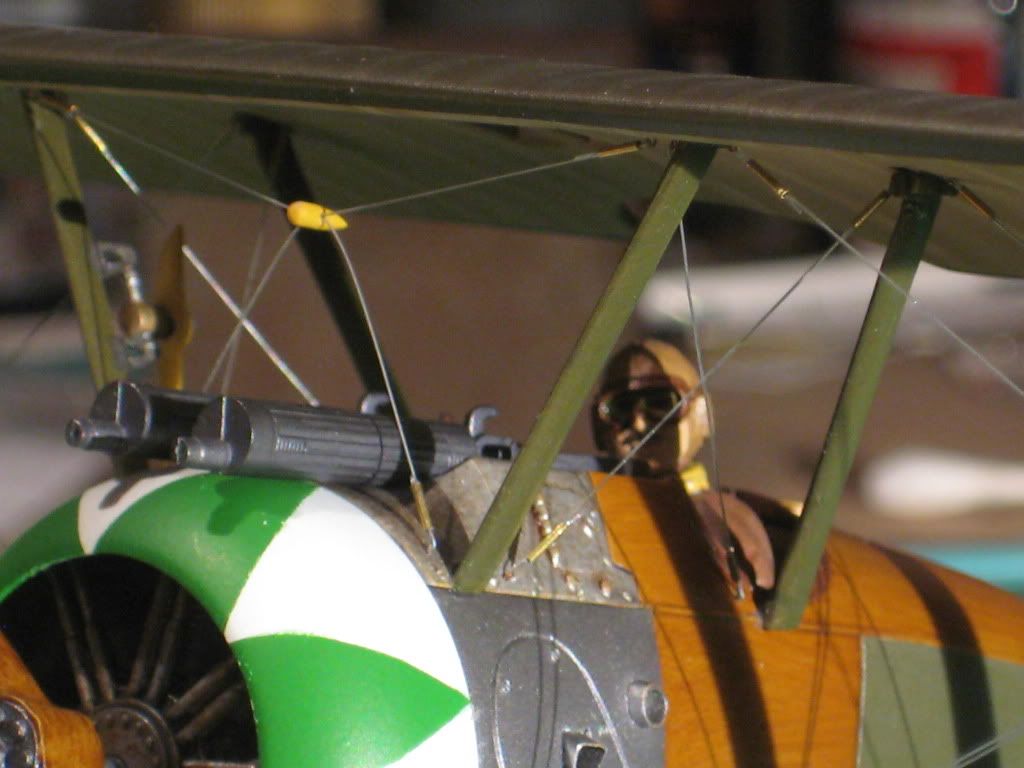


I have posted a fair number of photos here, because the final product will be included in a vignette scene, rather than in Completed Models. Rigging is mostly monofilament with Bob's Buckles equipment for the turnbuckles and eyelets. I find this rigging approach, as described in a tutorial on the main site, to be the most effective an easiest method to achieve good results. It's just very comfortable for me. However, I did try something new with the aileron control lines between the wings. I had added my own brass horns with bits of tube on top, so I thought I would use EZ-Line to keep these taught while reducing stress on the horns. I think it worked well and am pleased with the experiment, although I did lose one tube through handling during the general rigging process, and had to just CA the line to the top of the horn. That worked out fine.

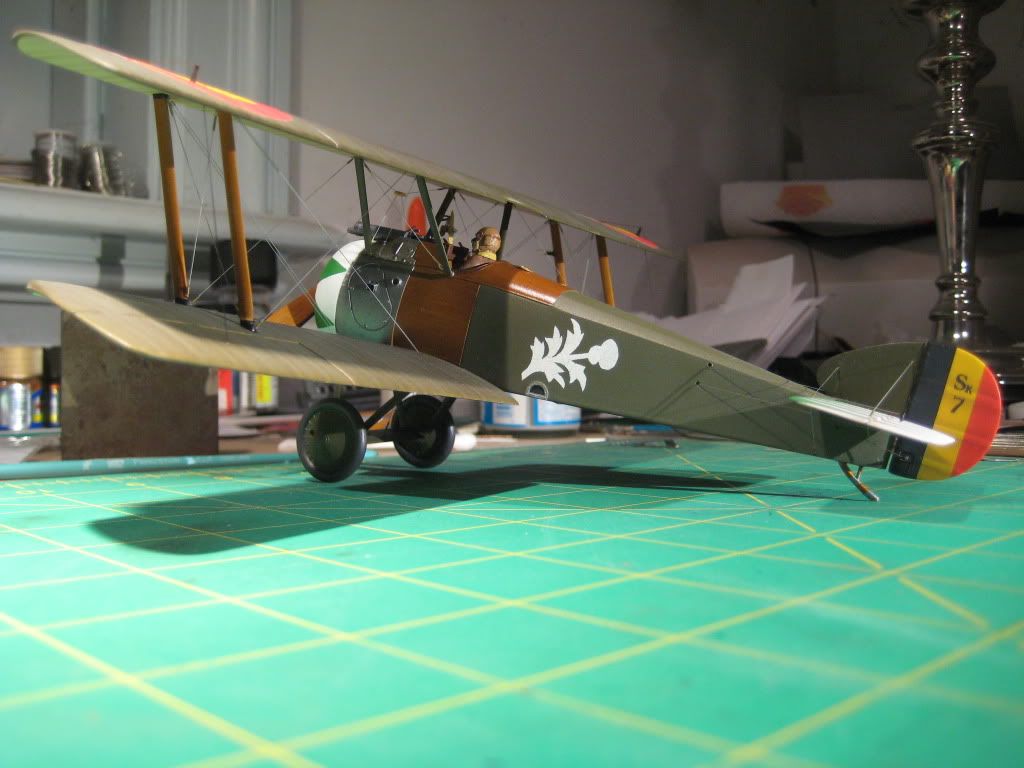
She looks like a Camel to me! I am very pleased with how she came out. The Hobbycraft/Academy kit was a nice build even with its quirks that I have noted along the way. This was an enjoyable build even with the extra time necessary for corrections and fixes. I found it less taxing than the average Roden kit--the parts fit was better, I think. My biggest problem area was the cabane strut fit/positioning, but that's true of every non-WNW kit I've ever built. Other than that, things went together rather well. I must again thank Des for his very helpful bulld log on the main site, and highly recommend it as a primer and guide for anyone tackling this kit. With a little extra work, you get a very nice looking Camel for your collection. As Mark observed--how cool is that?!

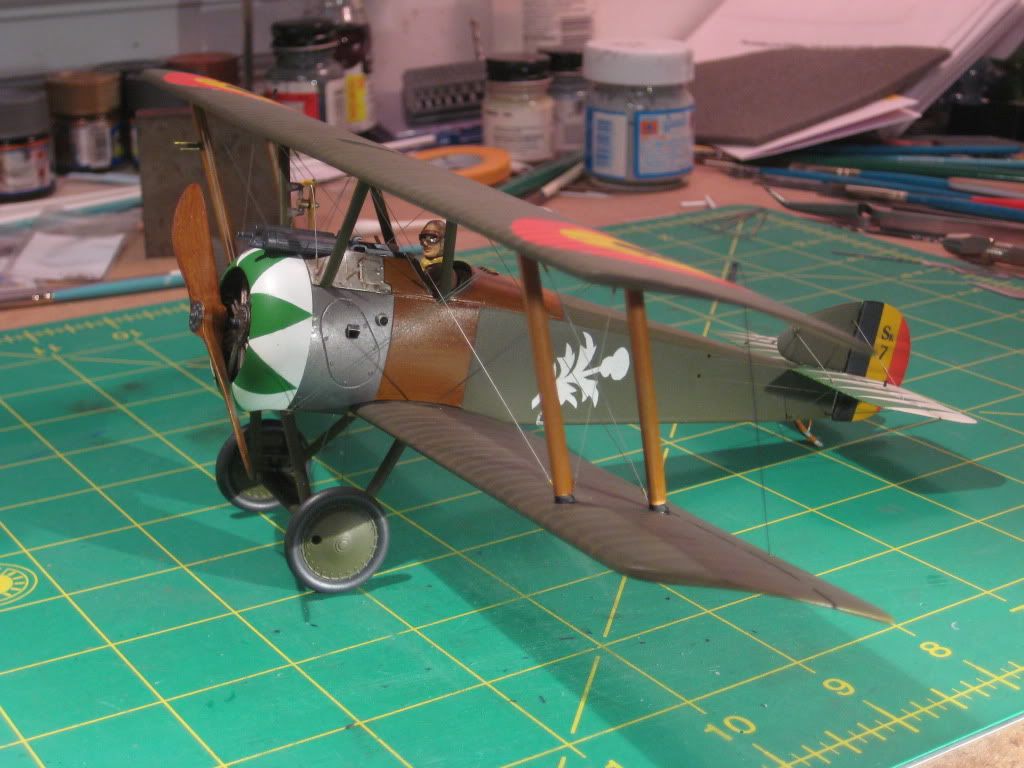
I am also quite happy with the way the pilot figure came out. The PJ Productions figure is very nice, and fit in the cockpit with some surgery to reposition limbs. Adding a seated figure to a cockpit is a tricky proposition, but it worked here. The PJ instructions say the figure is for an SE5, so maybe the fit would be better in those kits.
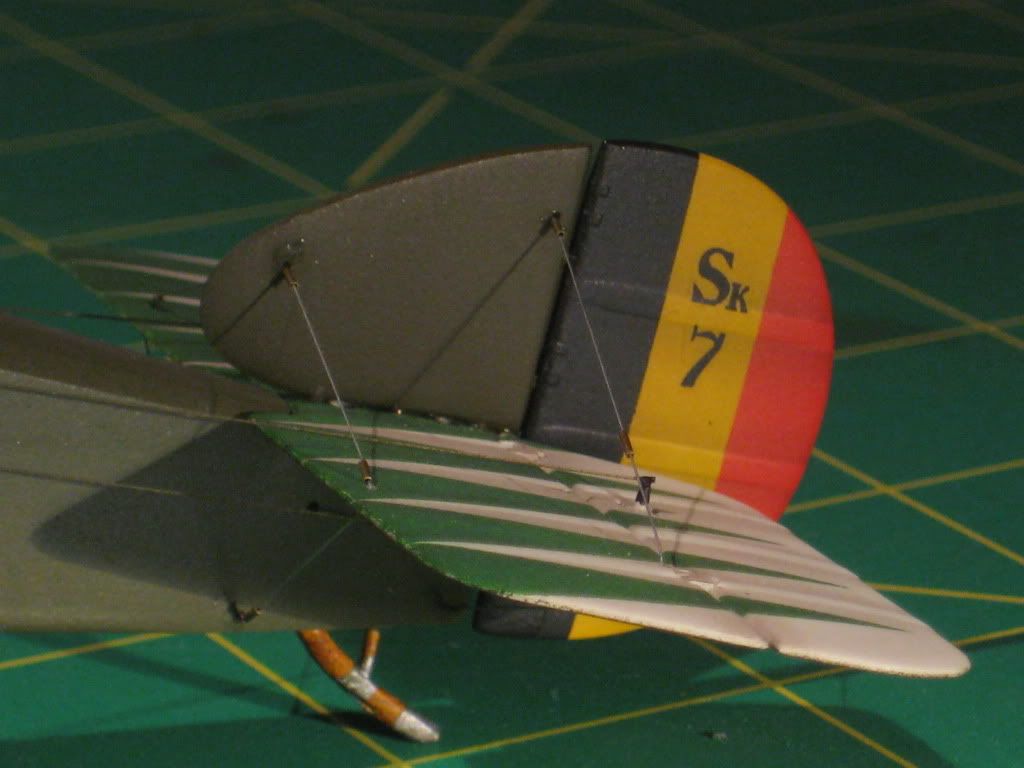
The Spada decals were an iinspiration and a good reference, but were otherwise a disappointment as decals. The cockades are not opaque and the PC10 shows through, making them useless. The thistle I found to be impossible to get off the backing paper without the very thin decal disintegrating because of the intricate design which must be cut out befor applying, and the green triangles for the cowling simply do not fit. The only decals I ended up using were the green stabilizer flashes and the black rudder codes. Nonetheless, this disadvantage was turned to advantage by the necessity of having to paint the markings! One of the most valuable parts of this build for me was learning to use the circle cutter to make masks to paint cockades, and confirmng that I could cut a decent mask of an intricate outline like the thistle by hand with a fresh #11 blade. As an added advantage, I think Von Buckle has been inspired to use his vinyl cutter to offer up cockade masks! What will they think of next?

This project is not finished yet. I need to prepare the vignette base and paint the mechanic swinging the prop. That should all be done by the weekend (we've got the weekly snowstorm coming in tonight, another foot or so, so I'll be off work tomorrow--extra modeling time between shoveling out!). I'll post the final vignette photos over in Aircraft Dioramas.
Thanks for sharing this project with me and for all of the support. I am very pleased to add Lt. Olieslager's Sopwith Camel to my collection and to share his very interesting story with you.
Regards,
Bob

